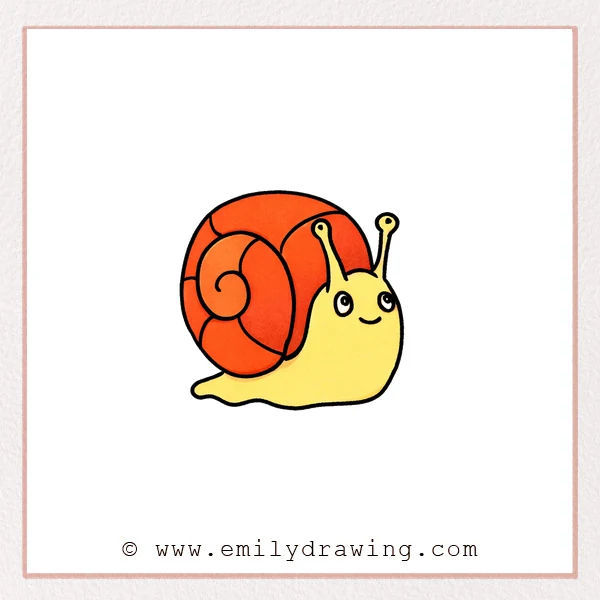
This easy drawing tutorial shows how to draw a cartoon snail step by step. We will build it slowly with simple curved shapes that work well for drawing for beginners. Take your time and let the lines stay soft.
What You Will Need
- Pencil and eraser
- Black pen or marker (optional, for outlining)
- Colored pencils, crayons, or markers (optional)
Here are my RECOMMENDED Art Supplies!
- Crayola Coloring Set (140 Pieces – Mega Value!)
- 24 Colored Crayon Set
- A4 Printer Paper
- Crayola Coloring Pencils
- HP Home Printer with Instant Ink!
Time needed:
22 minutes.
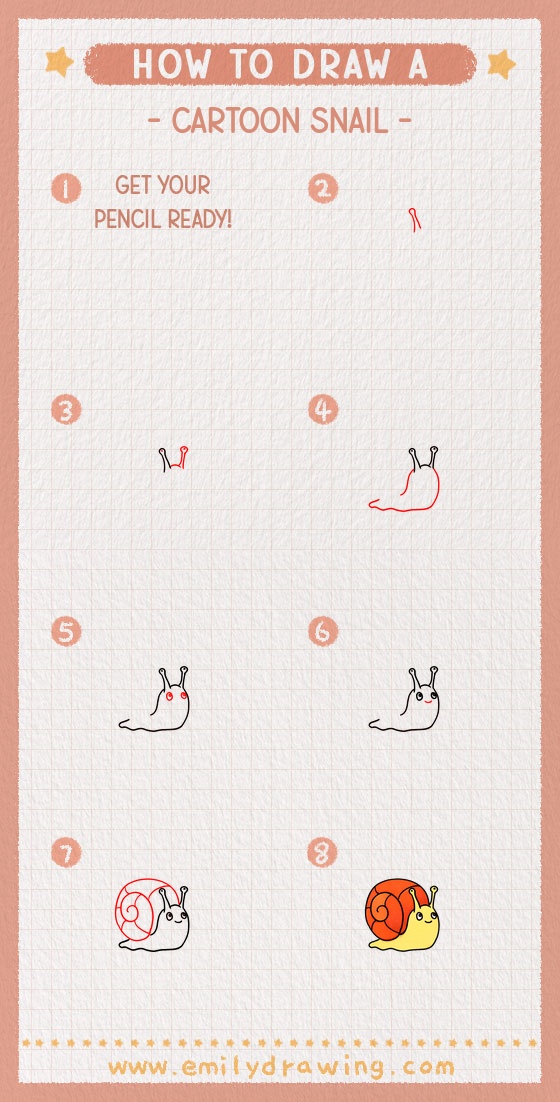
Step-by-Step Drawing Guide
Step 1: Draw One Eye Stalk
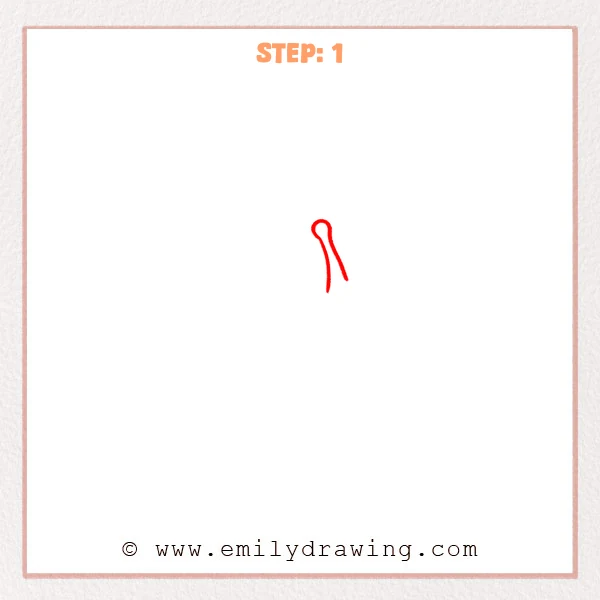
Start near the upper middle of the page and sketch a slim curved line rising upward. End it with a small rounded tip. Add a second, almost-parallel curved line that comes back down to give the stalk thickness.
Pro Tip: Keep the gap even between the two lines for a clean stalk.
Step 2: Add the Second Eye Stalk and Forehead Bridge
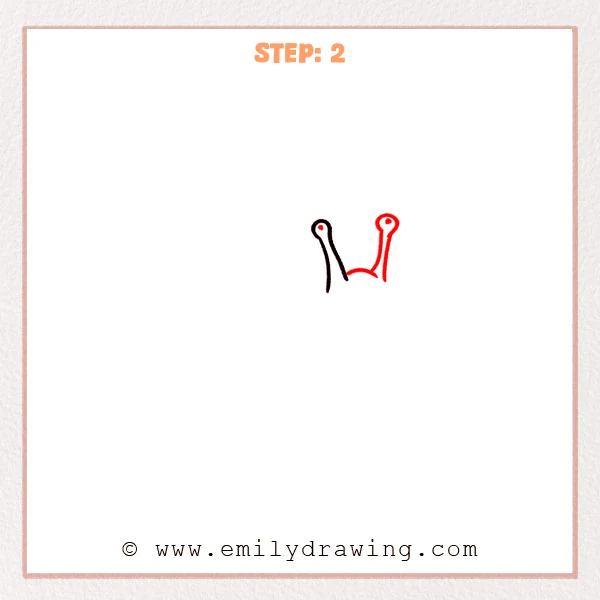
Next to the first stalk, draw a second slim stalk with a small rounded tip, keeping the two heights similar. Then add a gentle curved line between the stalk bases to form a small forehead bridge. Leave facial features for later.
Pro Tip: Draw the forehead bridge lightly so it blends into the body later.
Step 3: Draw the Snail’s Body and Base
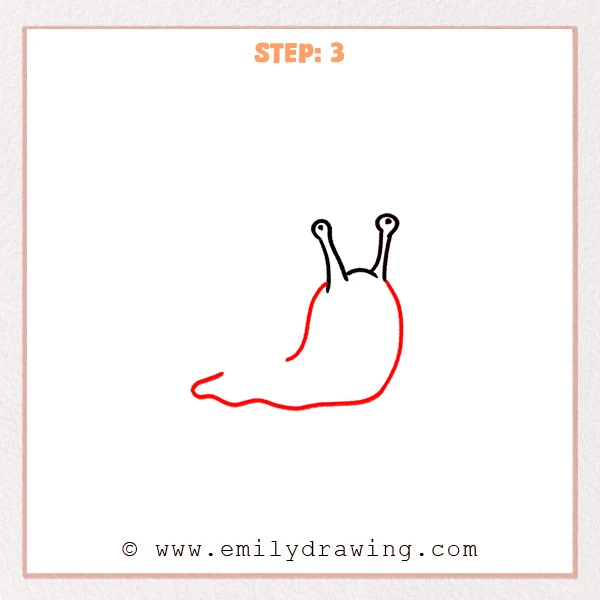
Extend the body down from both sides of the head area, making the right side a large, smooth curve for a soft back. Add a long, gentle wavy line across the bottom stretching left to form the crawling base, with a small upturned curve at the front. Let the shape feel rounded and relaxed.
Pro Tip: Keep the bottom waves subtle so the snail looks stable.
Step 4: Draw Two Big Face Eyes
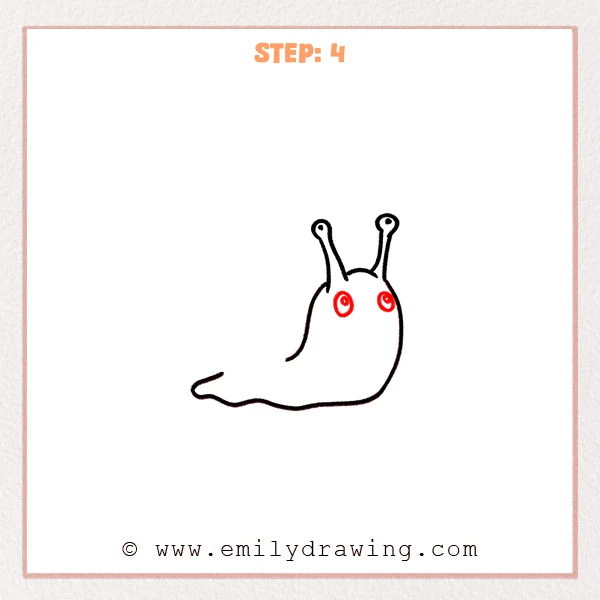
On the front of the head, draw two large round eyes with a small gap between them. Inside each eye, add a smaller pupil and leave a tiny highlight spot for shine. Keep the eyes on the face area, not on the back.
Pro Tip: Keep both eyes the same size for a balanced, cute expression.
Step 5: Add a Cute Smiling Mouth
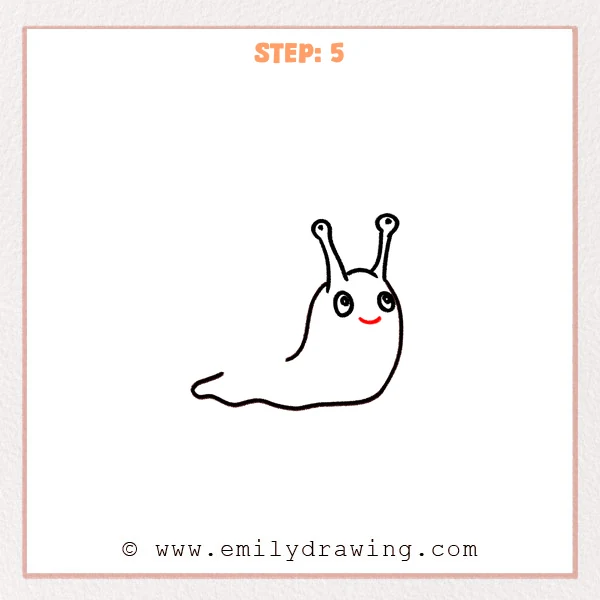
Just below the eyes, slightly to the right, sketch a short upward curve like a tiny crescent. Round off both ends so the smile feels soft. Keep it a little higher on the face to leave room for chubby cheeks.
Pro Tip: A shorter smile looks cuter, with only a gentle upward curve.
Step 6: Draw the Big Spiral Shell and Segments
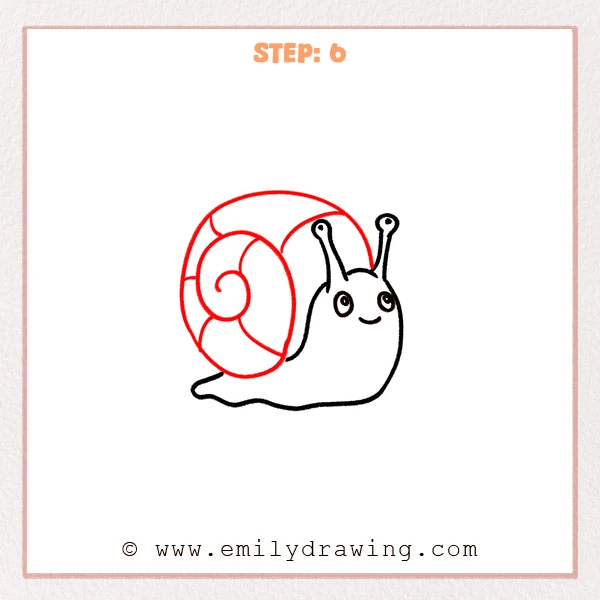
On the back half of the body, add a large rounded shell that arches over the snail’s back. From the center, draw a spiral that curls outward in smooth turns to form the shell swirl. Finish by adding a few curved dividing lines to create shell sections and more volume.
Pro Tip: Let the spiral spacing widen gradually to keep it natural.
Step 7: Color in your drawing!
Fun Facts
- Snails carry their shells as protection, like a tiny home.
- Many snails move using a smooth “foot” that glides along the ground.
- Snails leave a shiny trail that helps them slide more easily.
Pin it now, Draw later!
You now have a full cartoon snail made from easy shapes and gentle curves. For coloring, try a warm brown shell and a light gray or pale green body. Add soft shading under the shell and along the bottom edge to make the form look round.
One common beginner mistake is making the shell spiral turn in sharp corners. Keep each turn smooth, and let the spiral grow gradually as it curls outward.
Practice this step by step drawing a few times, changing the shell size or the smile. If you want another easy drawing tutorial, try drawing a different small animal next.
Get the FREE Printable Drawing Guide
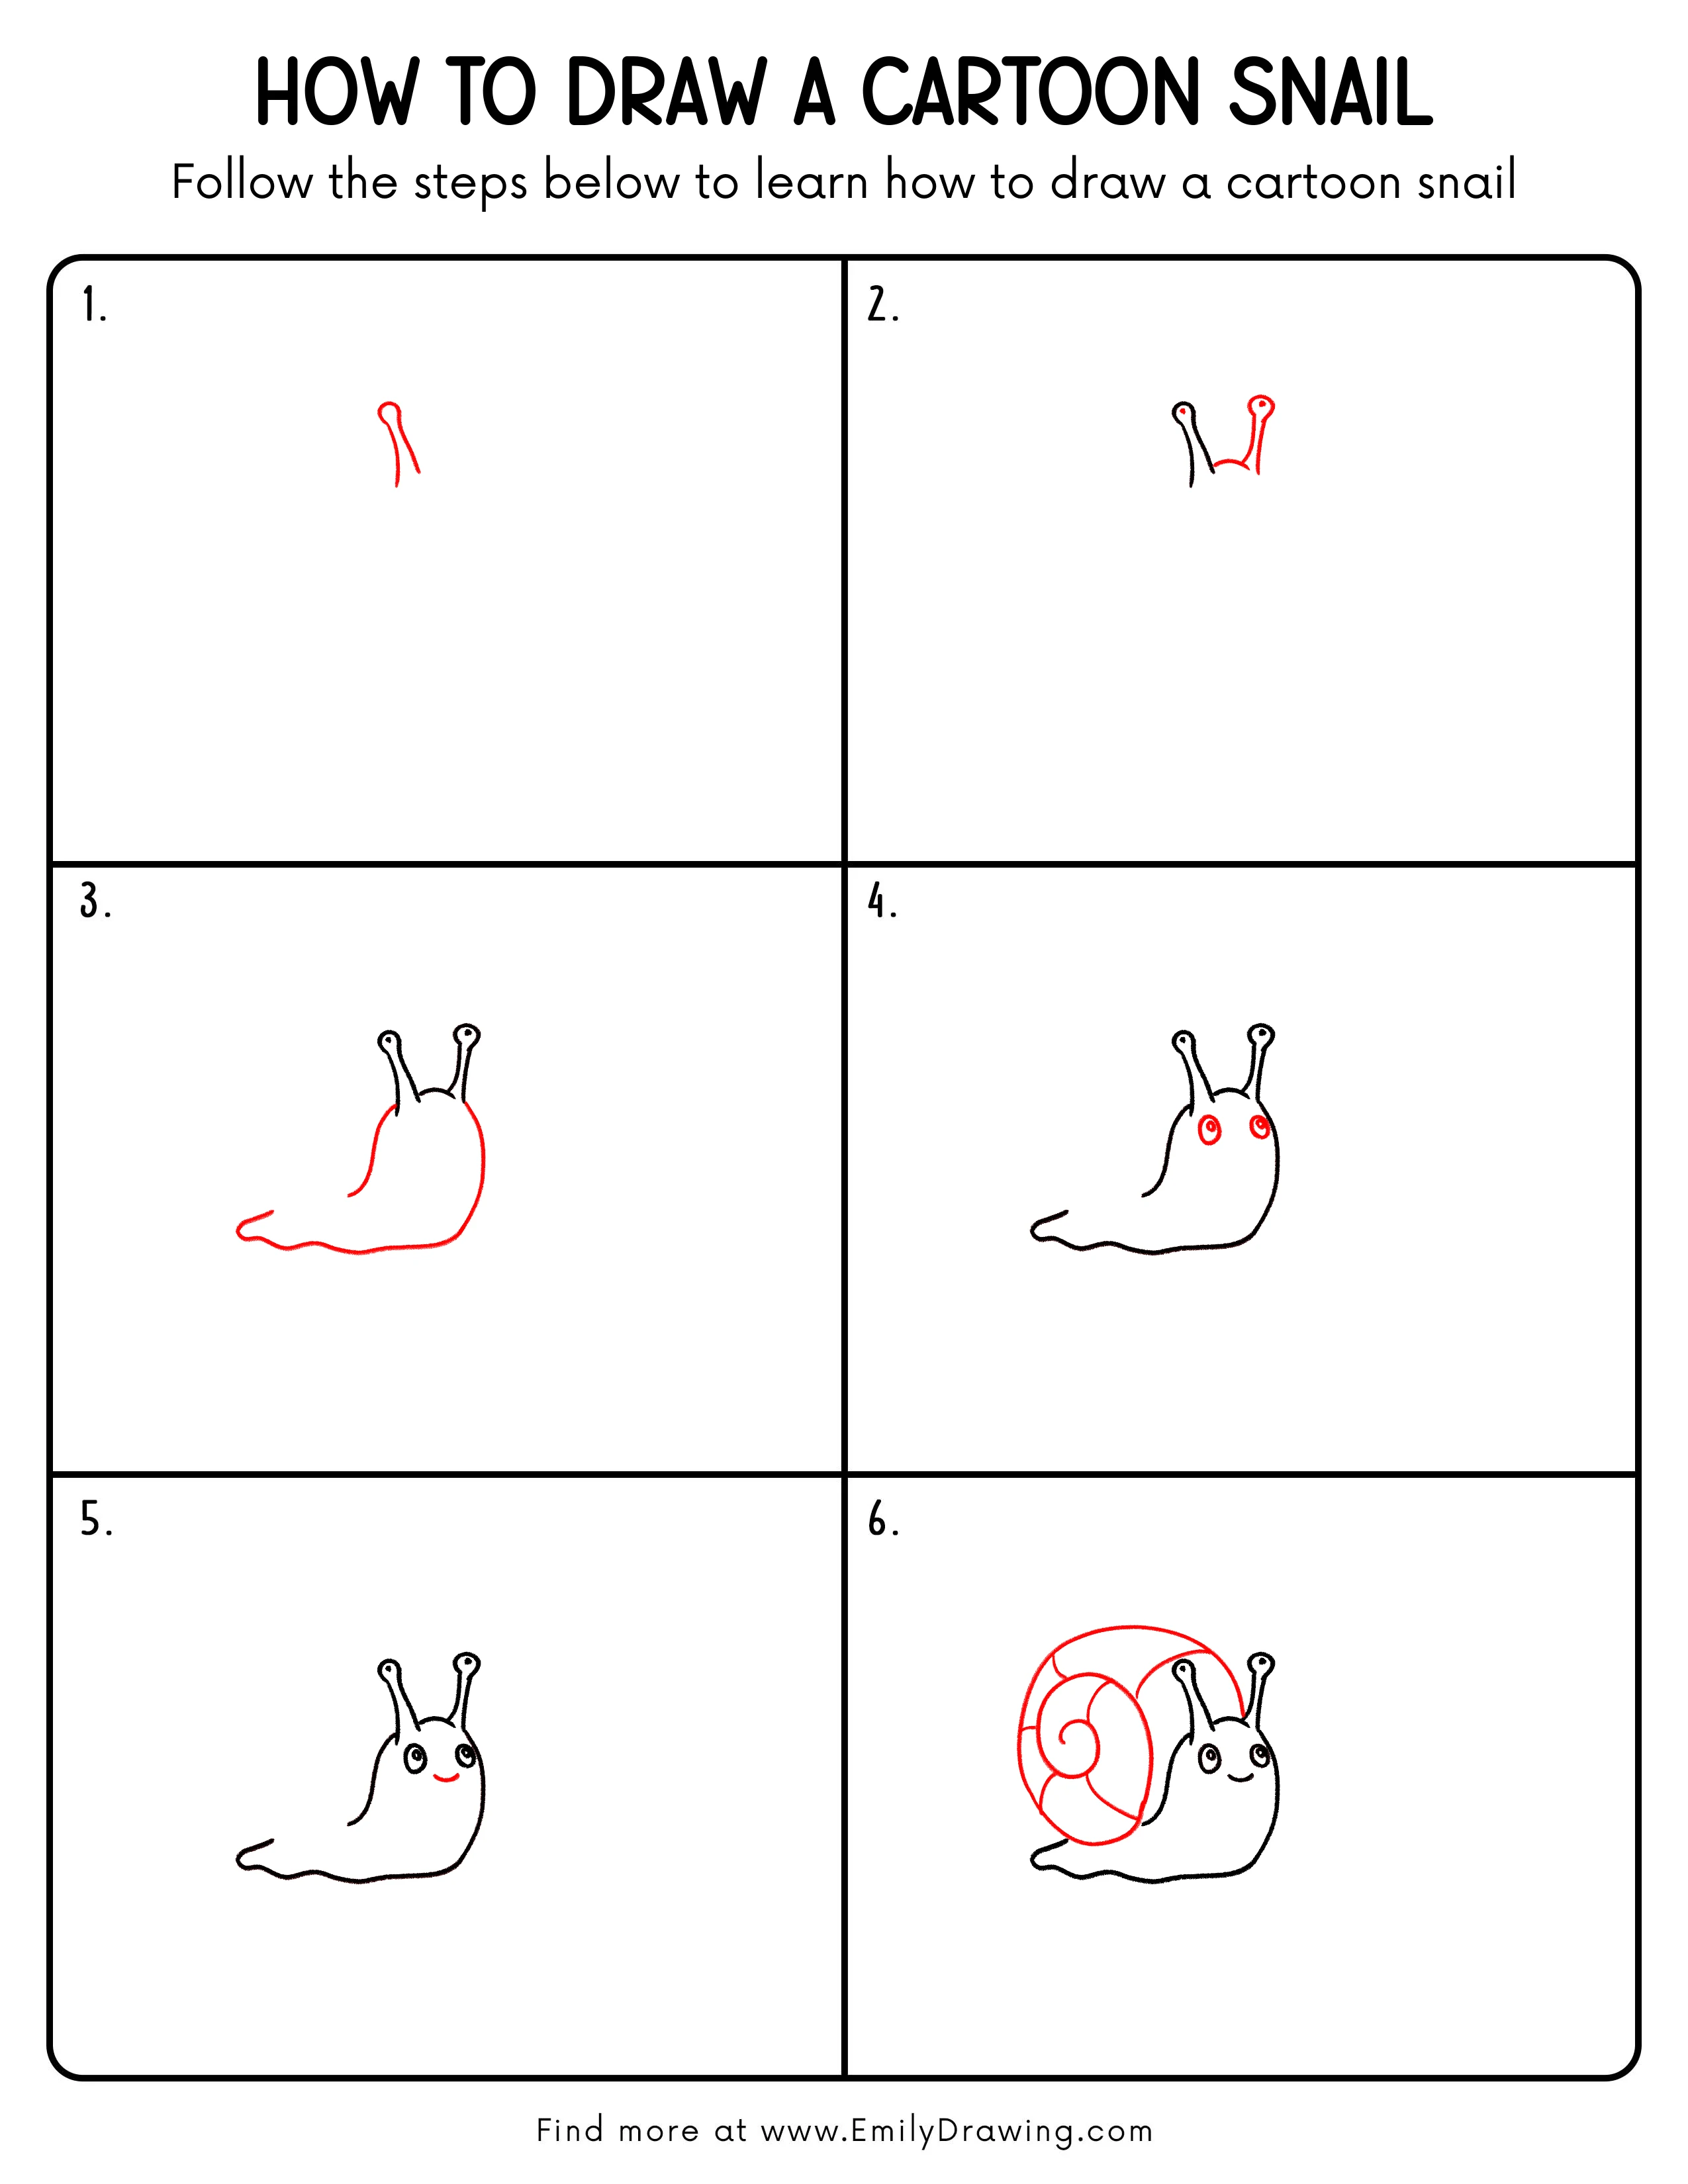
FREE Download Printable Cartoon Snail Drawing Tutorial
Frequently Asked Questions
How do I make the snail look even cuter?
Make the eyes slightly bigger and keep the smile small and soft.
What if my shell spiral looks uneven?
Start with a tiny center curl, then widen the spacing a little each turn.
Can I draw this cartoon snail facing the other way?
Yes. Mirror the body shape and place the shell on the opposite side.