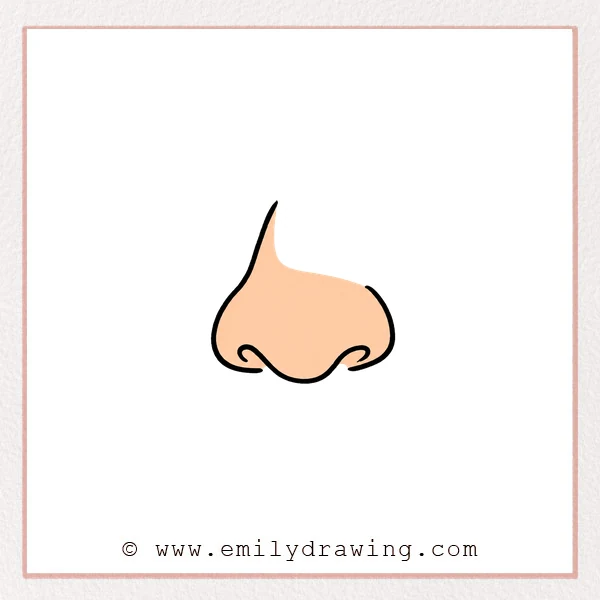
Learn how to draw cartoon nose features using a few confident curves. This drawing for beginners builds an expressive nose through simple, connected shapes.
What You Will Need
- Drawing paper
- Pencil and eraser
- Fine black marker
Here are my RECOMMENDED Art Supplies!
- Crayola Coloring Set (140 Pieces – Mega Value!)
- 24 Colored Crayon Set
- A4 Printer Paper
- Crayola Coloring Pencils
- HP Home Printer with Instant Ink!
Time needed:
26 minutes.
Step-by-Step Drawing Guide
Step 1: Begin the Nose Bridge
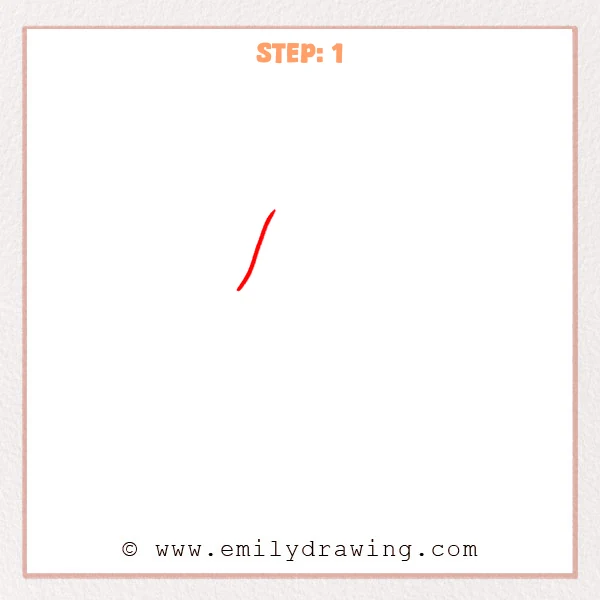
Draw a slender line that curves gently down toward the left. Let the lower end bend outward slightly.
Pro Tip: Use one light stroke to keep the bridge smooth.
Step 2: Form the Left Wing
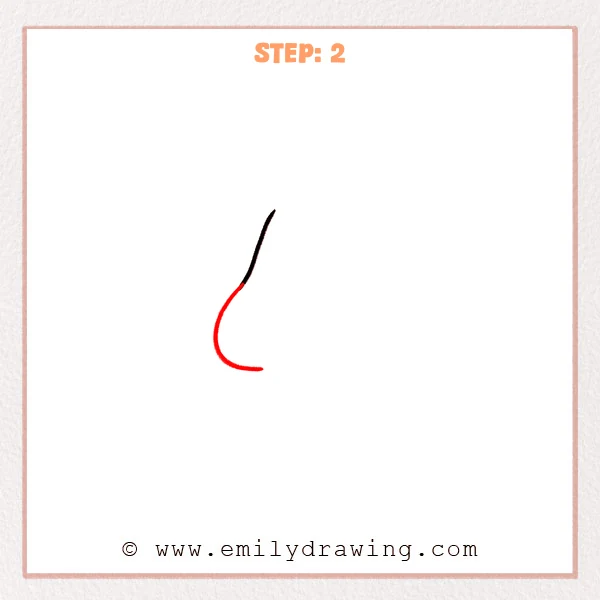
Continue downward into a broad rounded curve. Sweep the line inward along the base of the left nostril area.
Pro Tip: Round the lower turn gradually instead of making a sharp corner.
Step 3: Add the Right Wing
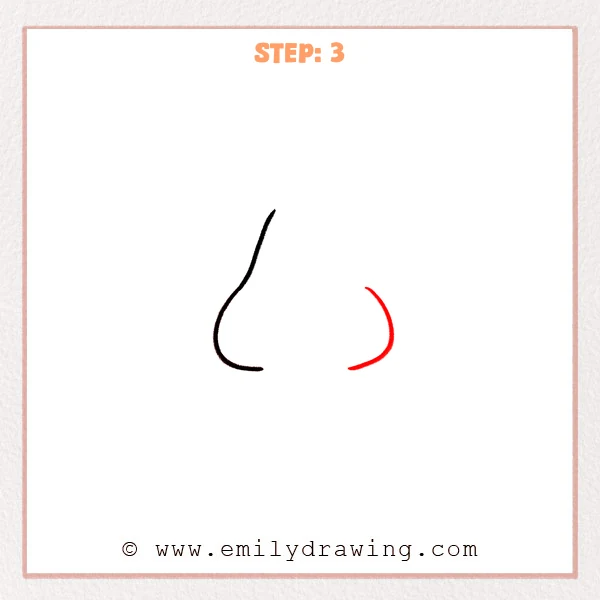
Draw a separate curved line on the right side. Bow it outward before turning inward near the bottom.
Pro Tip: Keep the right wing slightly shorter than the tall bridge side.
Step 4: Shape the Left Nostril
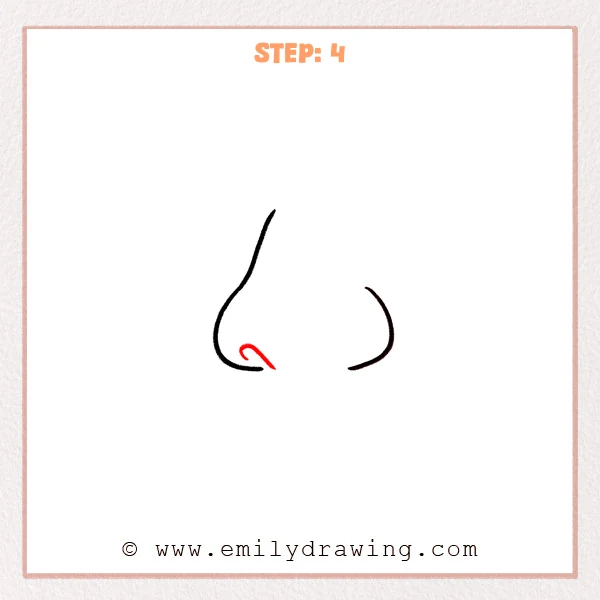
Add a small inward curl above the left base line. Extend its end diagonally toward the empty center.
Pro Tip: Leave open space inside the curl so the nostril stays clear.
Step 5: Round the Nose Tip
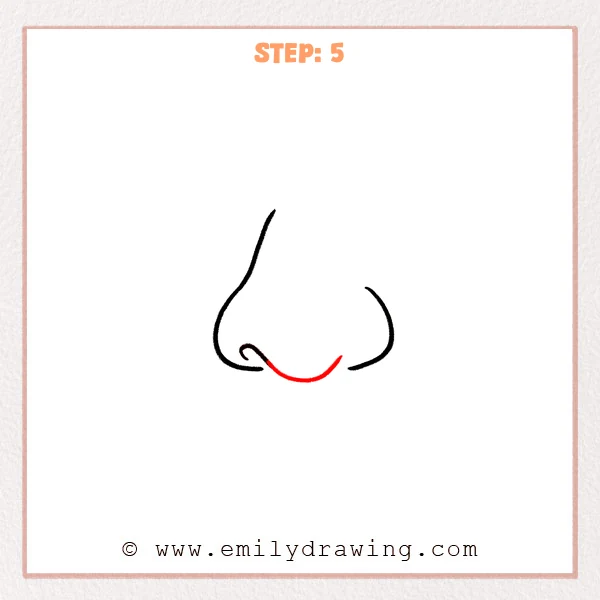
Continue from the left nostril into a shallow central bowl. Raise the curve toward the right side without touching it yet.
Pro Tip: Place the bowl’s lowest point near the nose’s center.
Step 6: Finish the Right Nostril
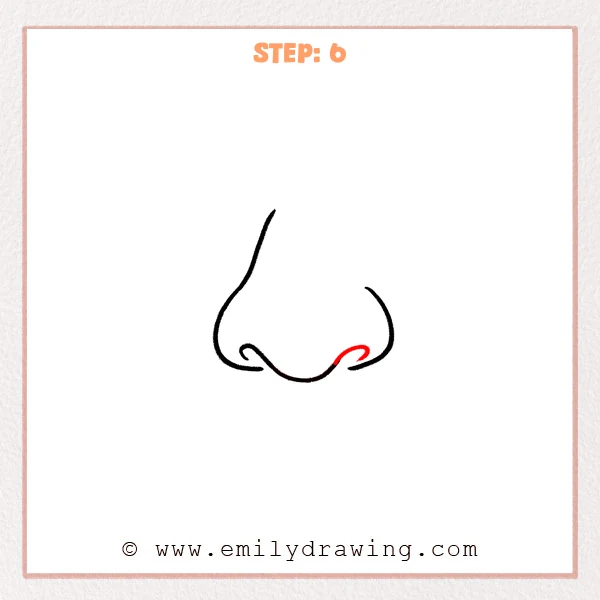
Turn the central curve upward into a matching inward curl. Bring its tip close to the right wing to complete the nose.
Pro Tip: Compare both nostril curls before darkening your final lines.
Step 7: Color in your drawing!
Fun Facts
- Cartoon noses can suggest personality with only a few curved lines.
- Uneven side lengths can make a front-facing nose feel naturally dimensional.
- Open gaps between curves keep a simple drawing light and readable.
Pin it now, Draw later!
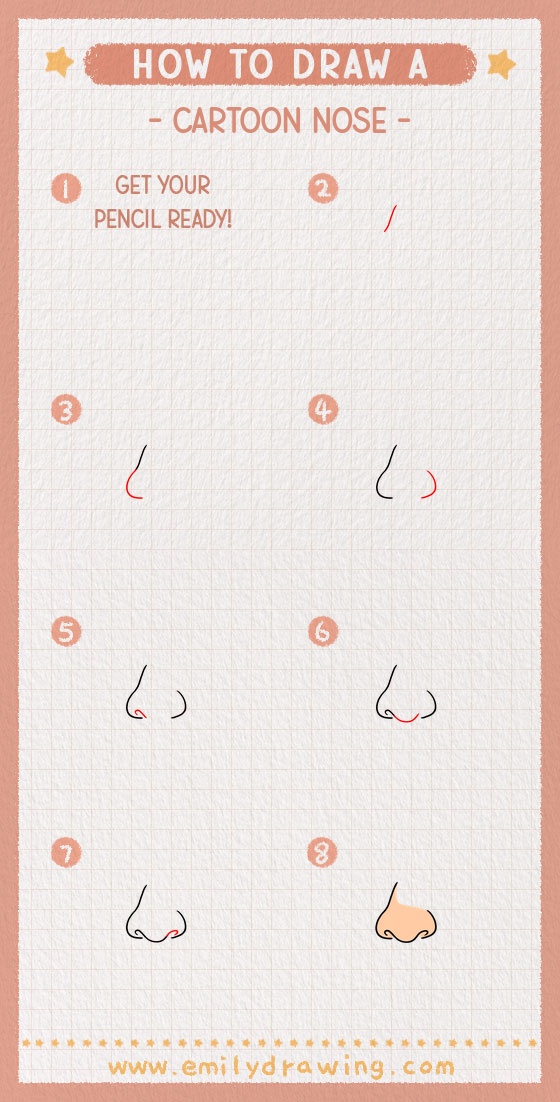
Smooth any shaky curves and erase unnecessary construction marks. Your cartoon nose is complete, so practice changing its width and angle for new characters.
Get the FREE Printable Drawing Guide
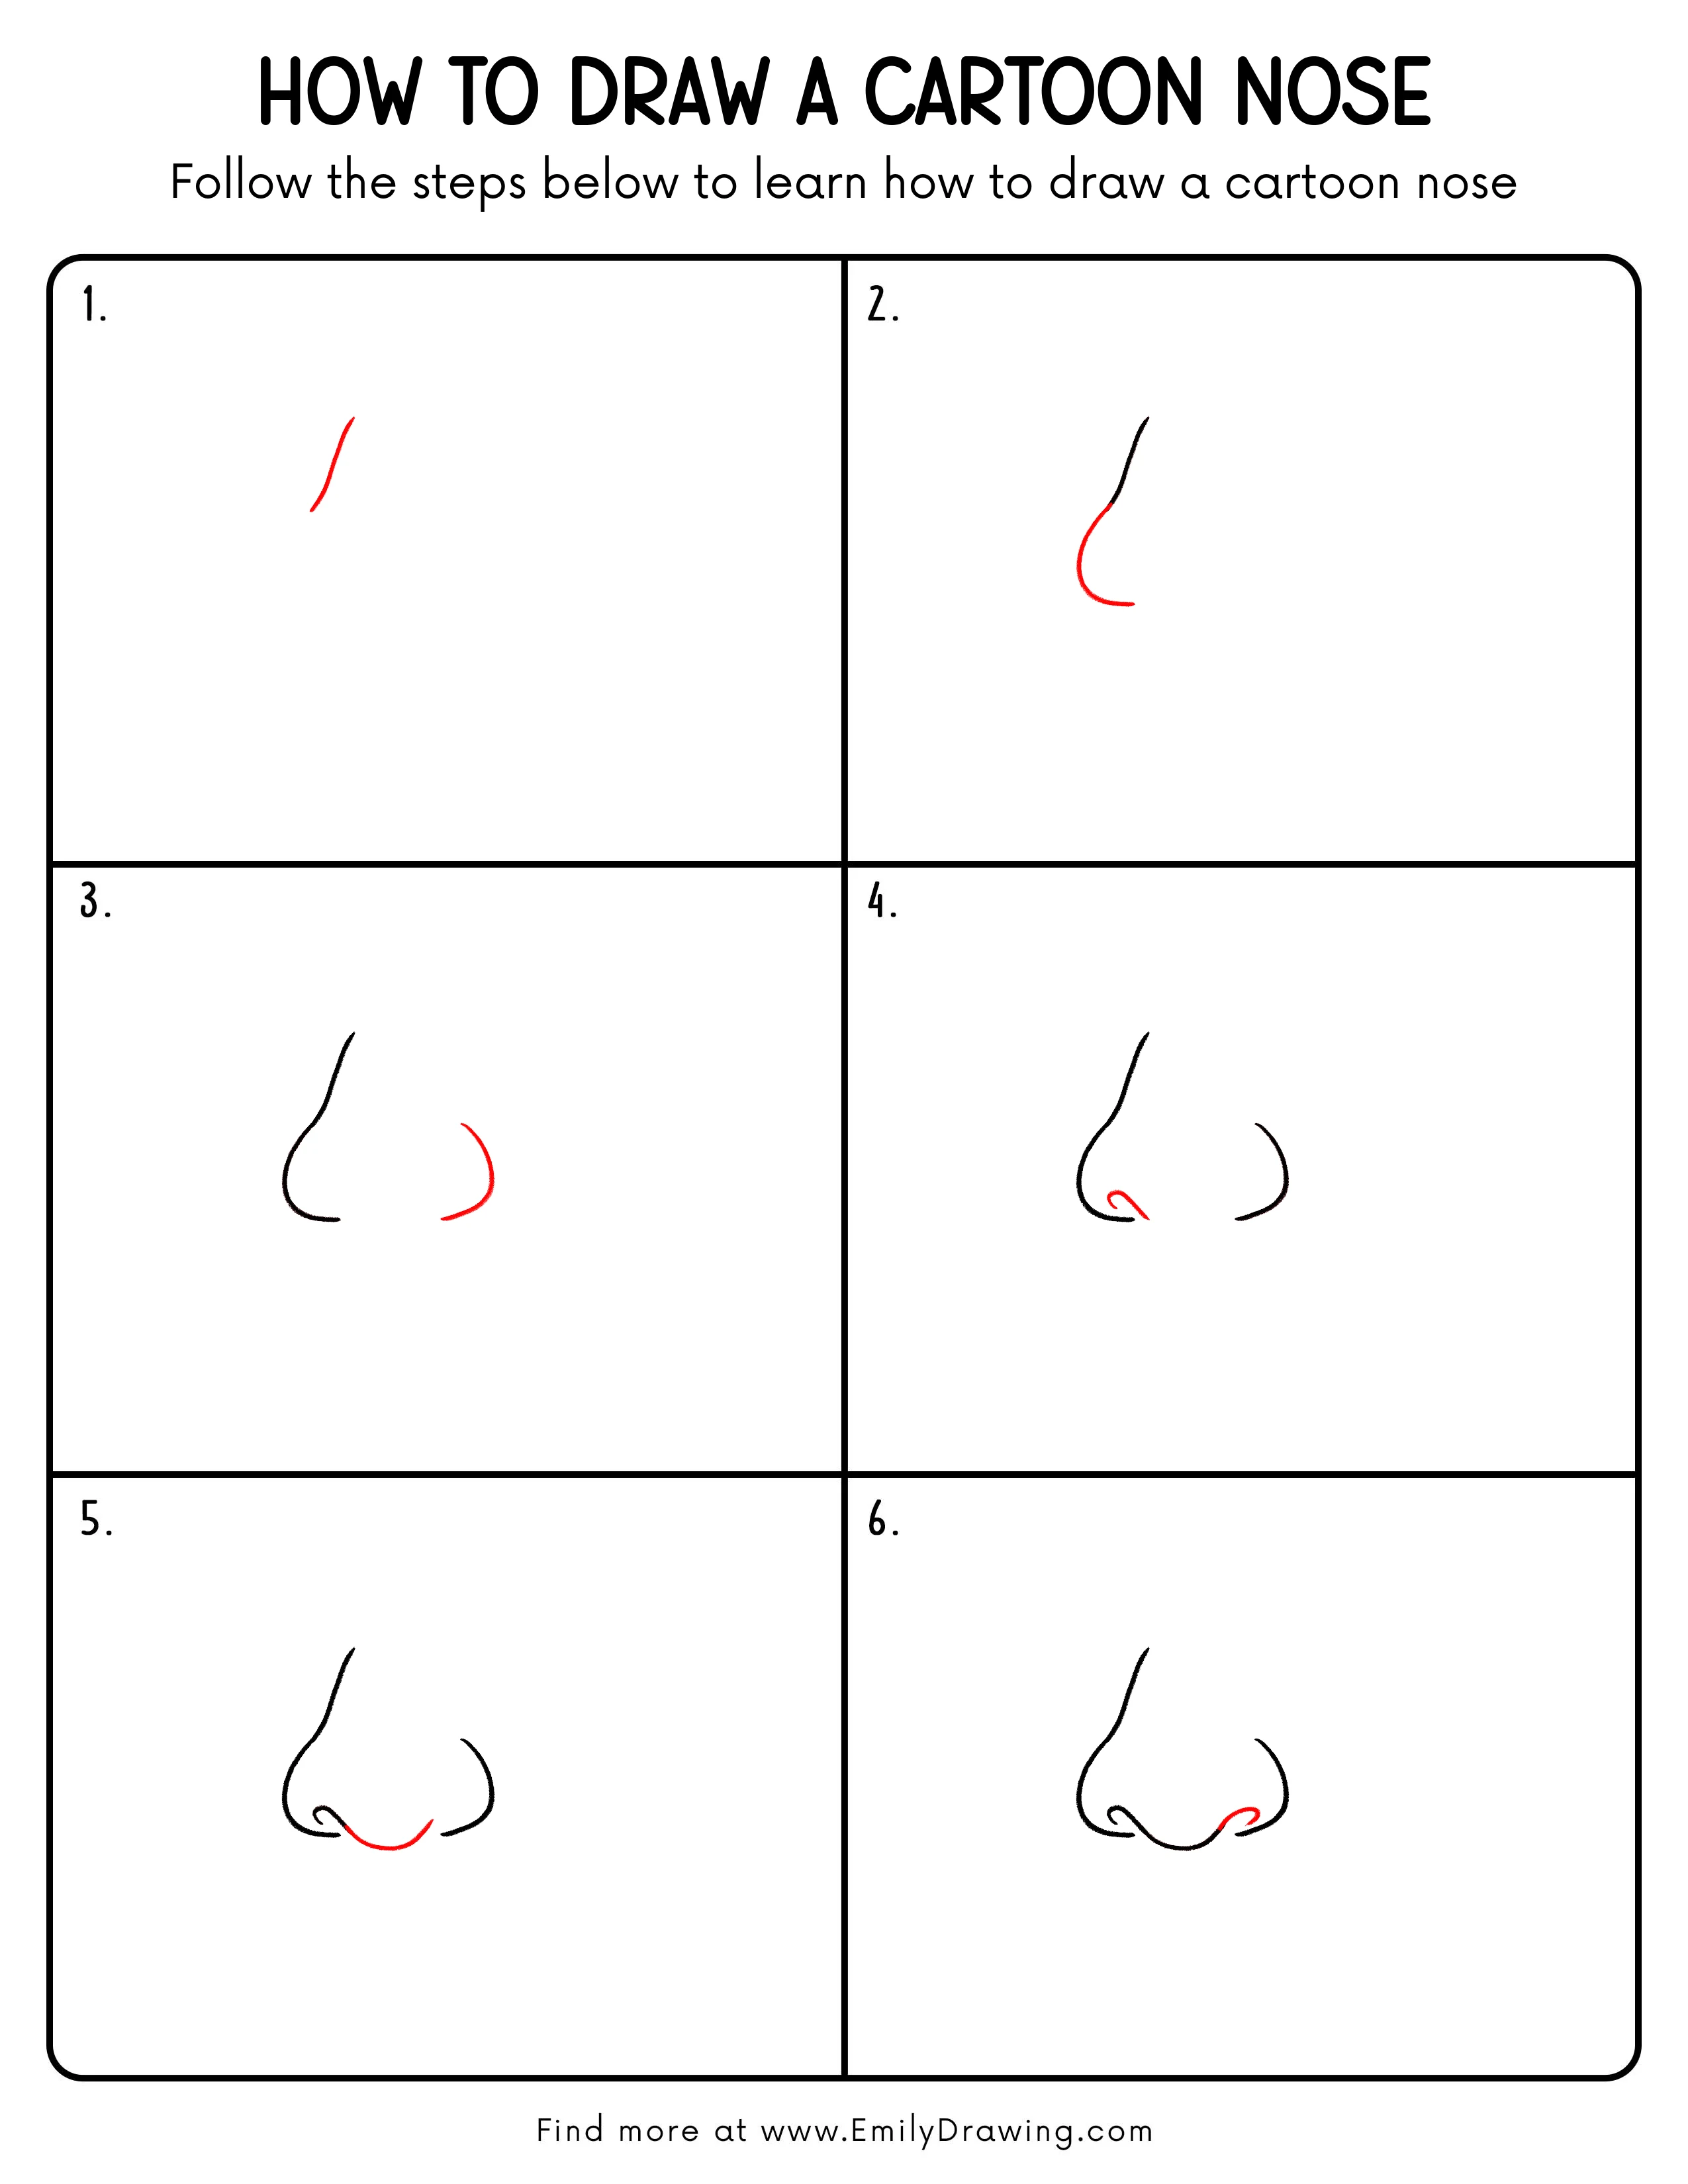
FREE Download Printable Cartoon Nose Drawing Tutorial
Frequently Asked Questions
Why does my cartoon nose look flat?
Make the outer wings rounder and let the bridge curve gently toward one side.
Do both nostrils need to match exactly?
No, small differences often make the nose feel more natural and expressive.
Should I shade this cartoon nose?
Shading is optional; a soft shadow beneath the tip can add extra depth.