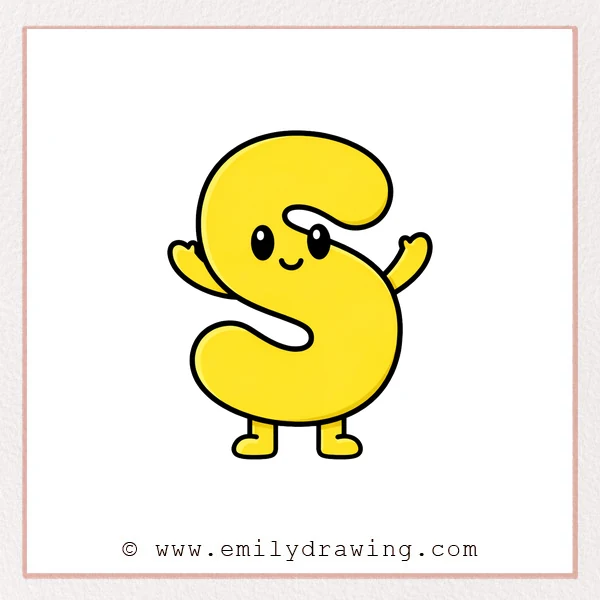
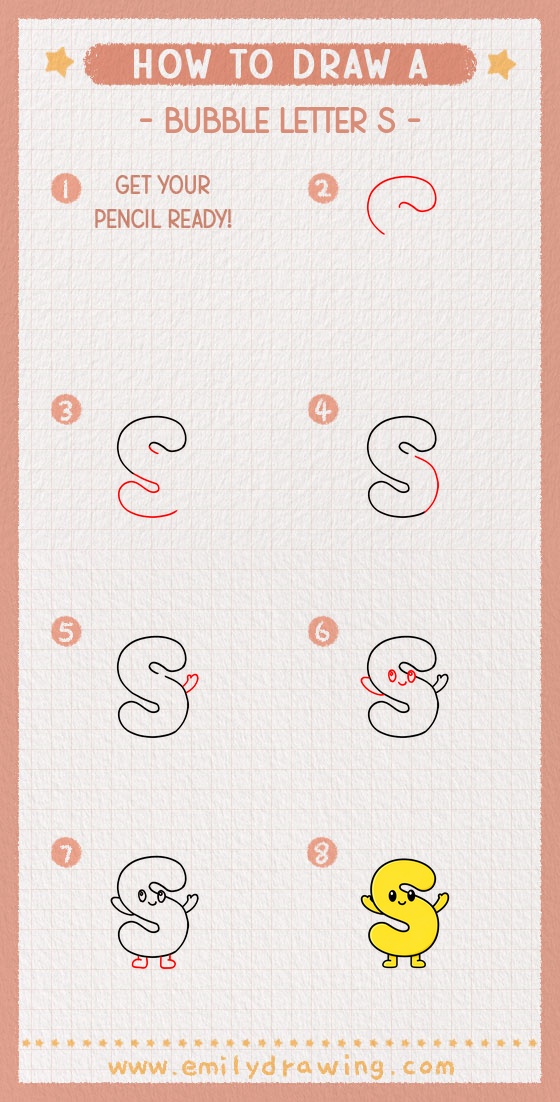
This easy drawing tutorial shows how to draw a bubble letter S as a cute character.
You will build a smooth S guide first, then thicken it into a puffy outline.
Take your time with curves, and keep everything rounded and friendly.
What You Will Need
- Pencil
- Eraser
- Black pen or marker
- Paper
Here are my RECOMMENDED Art Supplies!
- Crayola Coloring Set (140 Pieces – Mega Value!)
- 24 Colored Crayon Set
- A4 Printer Paper
- Crayola Coloring Pencils
- HP Home Printer with Instant Ink!
Time needed:
12 minutes.
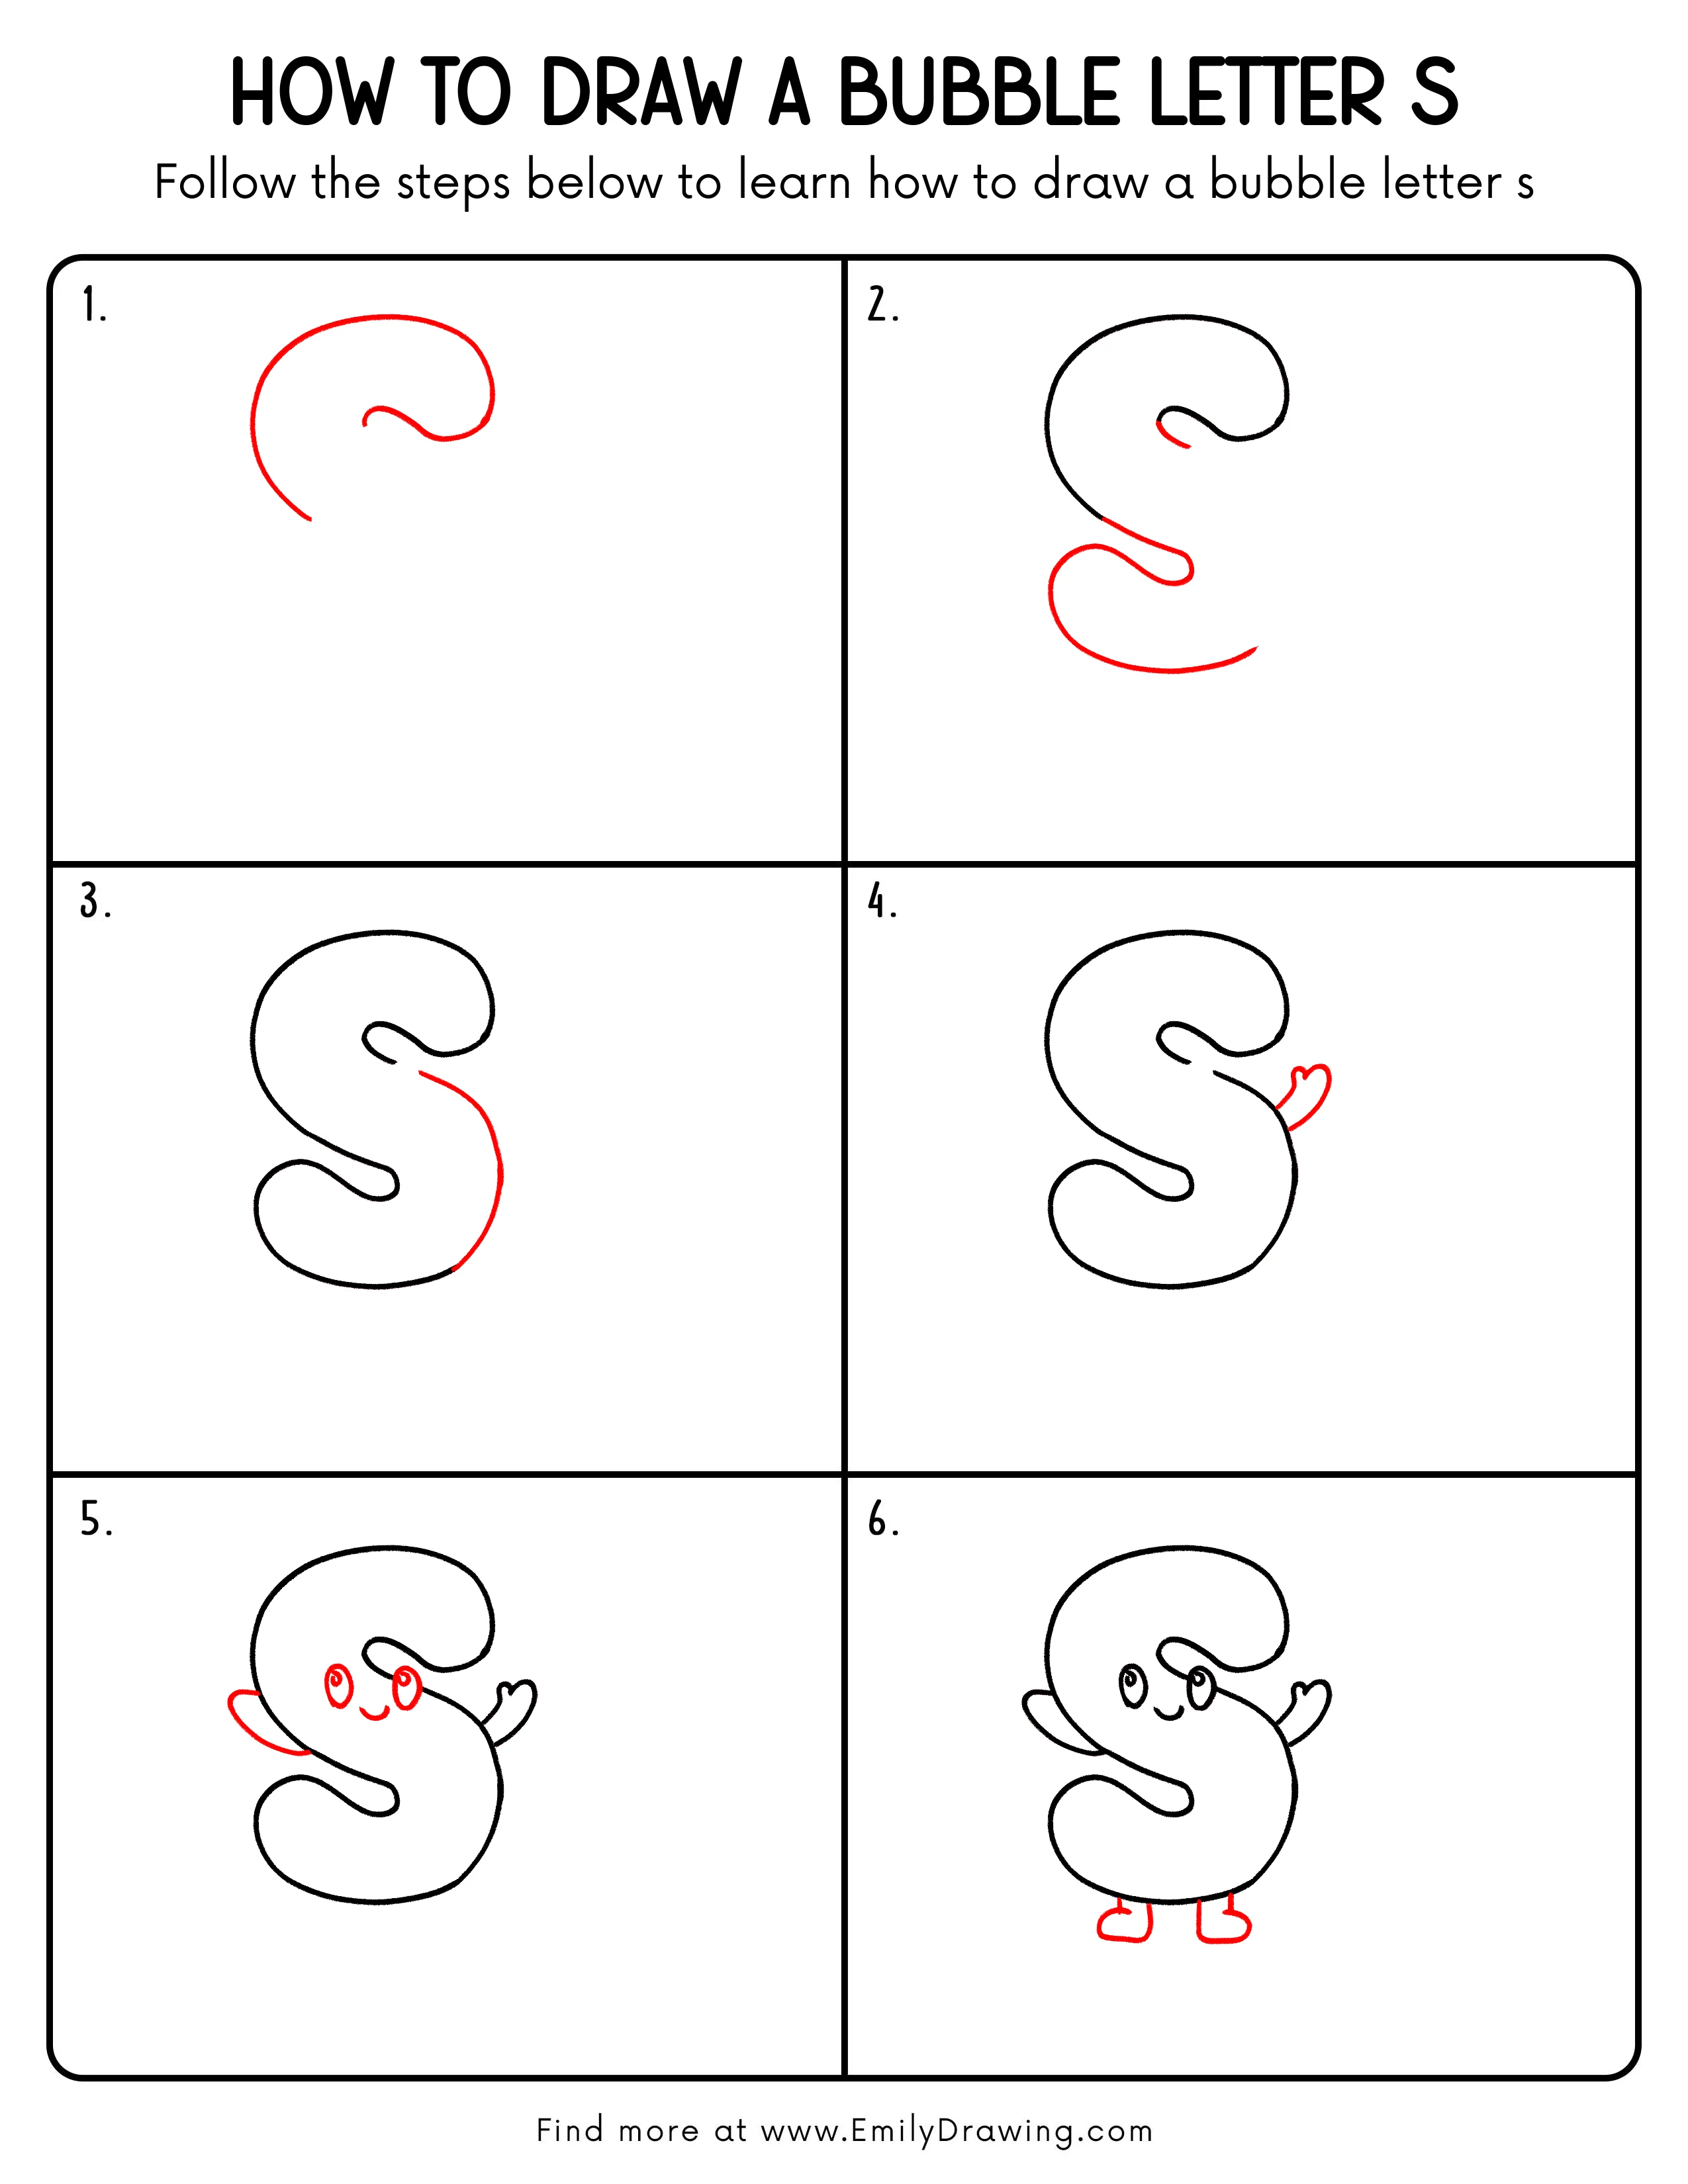
Step-by-Step Drawing Guide
Step 1: Draw the Main Curve
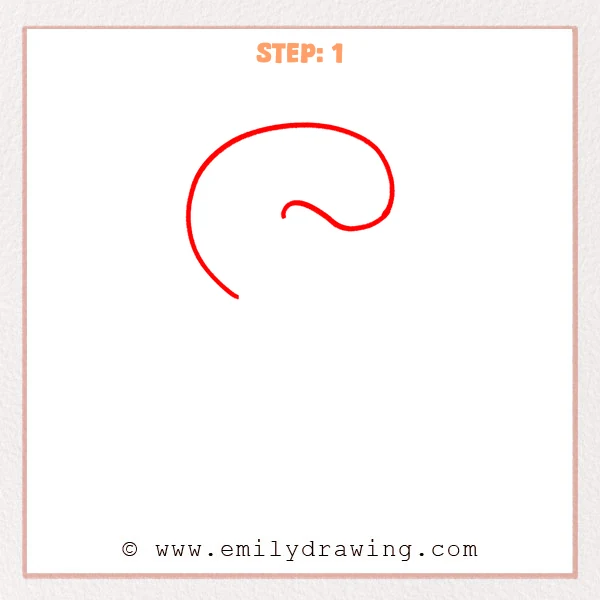
Start with one big, smooth curve that rises from the lower left and sweeps around toward the upper right.
Near the right end, curl the line slightly inward to begin the middle turn of the S.
Pro Tip: Keep the curve smooth and roomy so the bubble outline can stay thick and even later.
Step 2: Add the Lower S Sweep
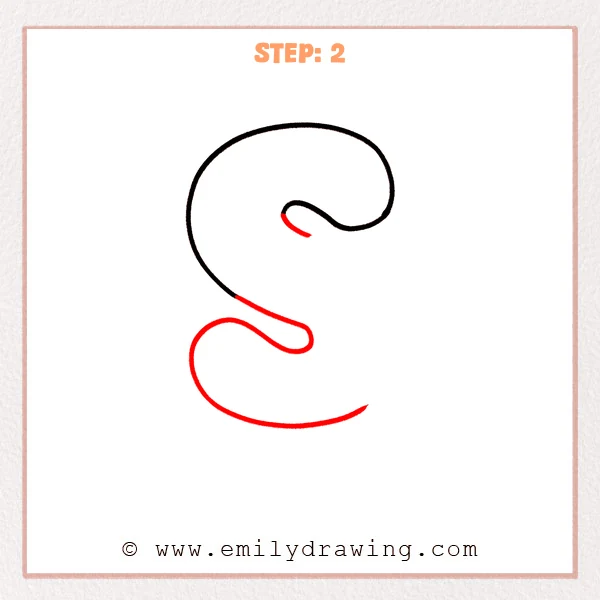
From the middle, pull a slim curve down toward the left, then bend it back to the right to form the waist turn.
Next, draw a bigger bottom curve that loops left and then sweeps back up to the right.
Pro Tip: Keep the waist a bit narrower and leave space between curves so the bubble outline won’t crowd later.
Step 3: Start Thickening the Outer Outline
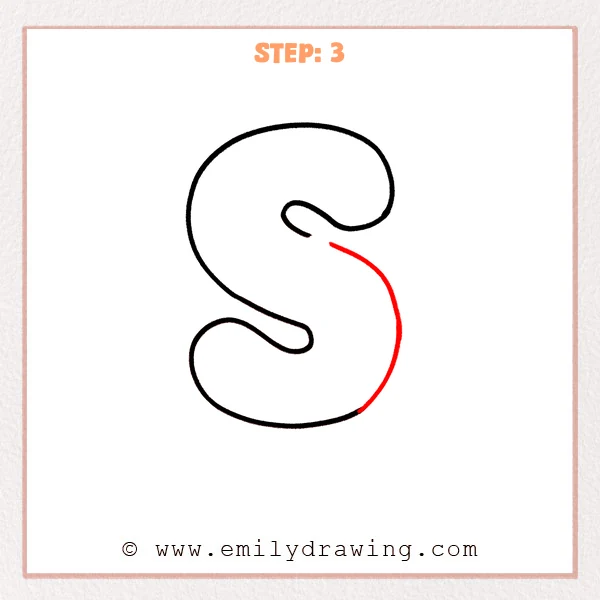
Follow the original S flow and draw a second, parallel line on the outside to thicken the top half.
Round out the small inner curl so the turn feels soft and inflated.
Pro Tip: Keep the spacing even, and use wider curves at turns for a smoother bubble look.
Step 4: Draw the Right Arm and Hand
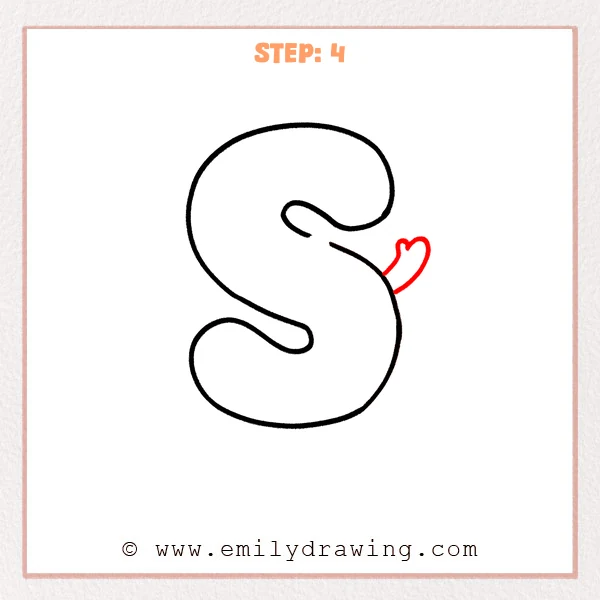
On the right middle edge of the S, add a short curved arm that sticks out from the outline.
At the end, draw a heart-like mitten shape as the cartoon hand, keeping the curves soft and rounded.
Pro Tip: Keep the arm short and make the hand slightly bigger for a cute cartoon gesture.
Step 5: Add the Face and the Other Arm
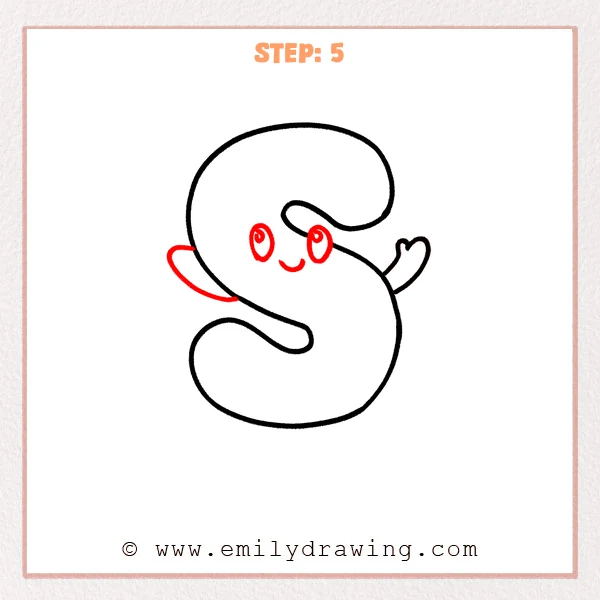
In the upper middle open space, draw two big oval eyes and add small highlights inside each eye.
Add a small curved smile under the eyes, then draw a curved left arm peeking out from behind the letter.
Pro Tip: Keep the eyes evenly spaced, and place the smile centered slightly below them for a chibi look.
Step 6: Add Feet and Ink the Final Lines
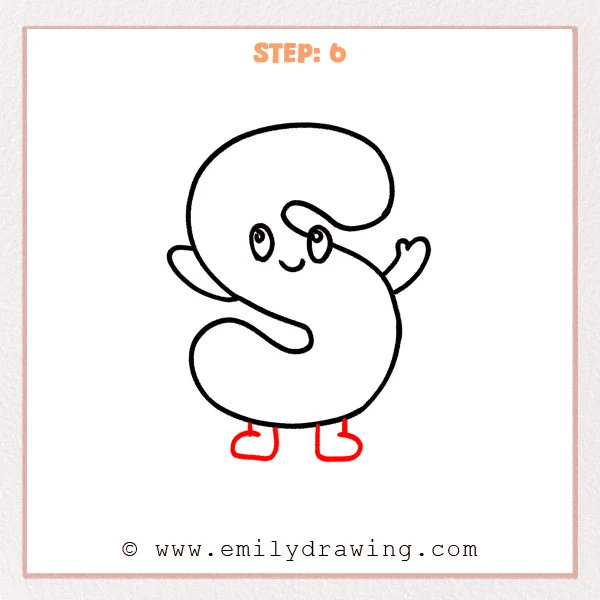
Draw two short legs under the bottom of the letter, then add two rounded shoes so the S looks like it’s standing.
Trace the remaining guide parts in clean black lines, smoothing any breaks so the outline looks finished.
Pro Tip: Keep both shoes the same size and make the legs short for a cute, stable character.
Step 7: Color in your drawing!
Fun Facts
- Bubble letters are made from simple shapes, like ovals and rounded rectangles.
- The letter S is a great practice shape because it uses both big and small curves.
- Cartoon faces look cuter when the features stay round and evenly spaced.
Pin it now, Draw later!
Erase any leftover sketch marks so the lines look crisp and clean.
You can color the bubble letter S with bright fills, then add small shadows for depth.
Now you know how to draw a bubble letter S step by step—try drawing other letters to build a full word!
Get the FREE Printable Drawing Guide
FREE Download Printable Bubble Letter S Drawing Tutorial
Frequently Asked Questions
How do I make my bubble letter S look smoother?
Draw slowly, use longer strokes, and round every corner instead of making sharp points.
What if my bubble outline gets too thin in places?
Keep the spacing consistent, and lightly mark a parallel guide before inking.
Can I change the style to look more “puffy”?
Yes—make the curves wider, thicken the outline, and keep the turns extra round.