Bubble letters are round, puffy, and fun to draw. This easy drawing tutorial will help you turn a simple O into a cute character. Take your time and keep your lines smooth as you go.
What You Will Need
- Pencil
- Eraser
- Black marker or pen
- Paper
- Optional: colored markers or crayons
Here are my RECOMMENDED Art Supplies!
- Crayola Coloring Set (140 Pieces – Mega Value!)
- 24 Colored Crayon Set
- A4 Printer Paper
- Crayola Coloring Pencils
- HP Home Printer with Instant Ink!
Time needed:
29 minutes.
Step-by-Step Drawing Guide
Step 1: Draw the Basic Outline
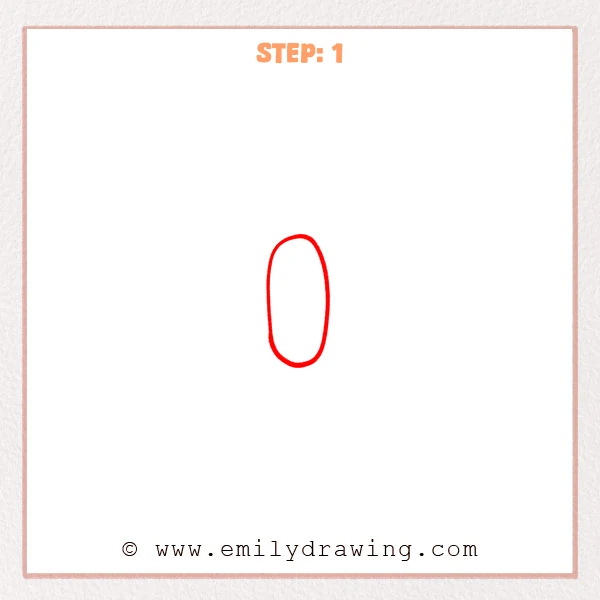
Draw a tall vertical oval in the center for the outer shape of the bubble letter O. Keep the top and bottom nicely rounded, and make both sides smooth and even.
Pro Tip: Avoid pointy ends—rounder curves make it feel more “bubble.”
Step 2: Add the Inner Hole and Start the Outer Thickness
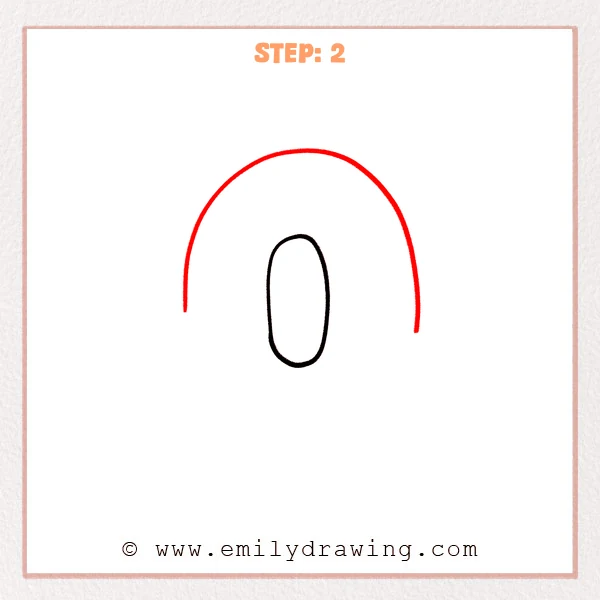
Draw a smaller vertical oval inside the first one to create the hole of the bubble letter O. Then draw a wide arch over the top outside edge, starting the upper half of the thick bubble outline and leaving the bottom open for now.
Pro Tip: Keep the inner oval evenly spaced from the outer edge for a balanced thickness.
Step 3: Complete the Outer Bubble Outline
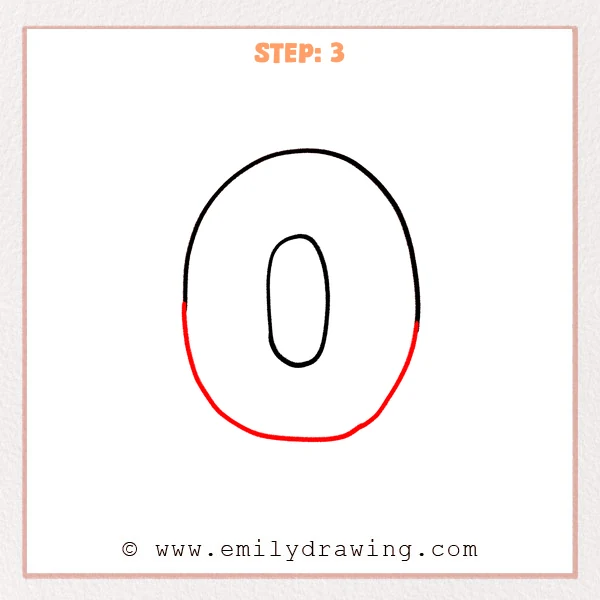
Extend the outer outline down both sides with smooth, even curves. Draw a wide bottom arc to connect the sides and finish the thick bubble shape.
Pro Tip: Keep the bottom curve round and smooth so the O looks puffy and even.
Step 4: Add the Left Eye
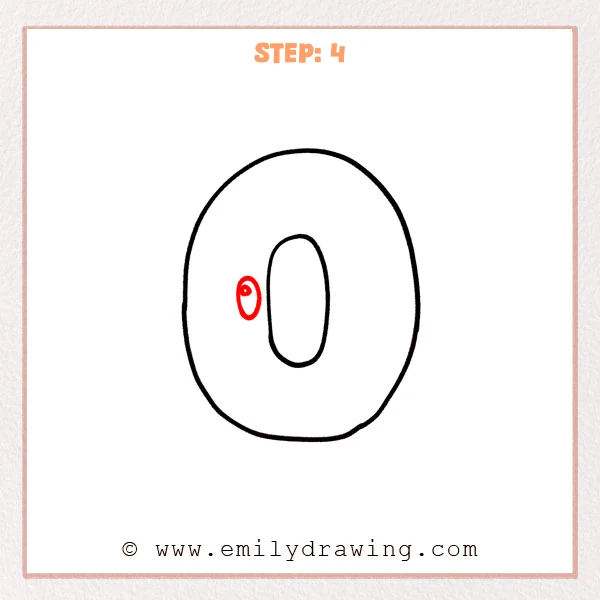
On the left side inside the big O, draw a small vertical oval for the left eye. Add a tiny dot near the top and a small curved detail inside to give it a shiny, lively look.
Pro Tip: Don’t place the eye too close to the outer edge—leave a small gap.
Step 5: Add the Right Eye
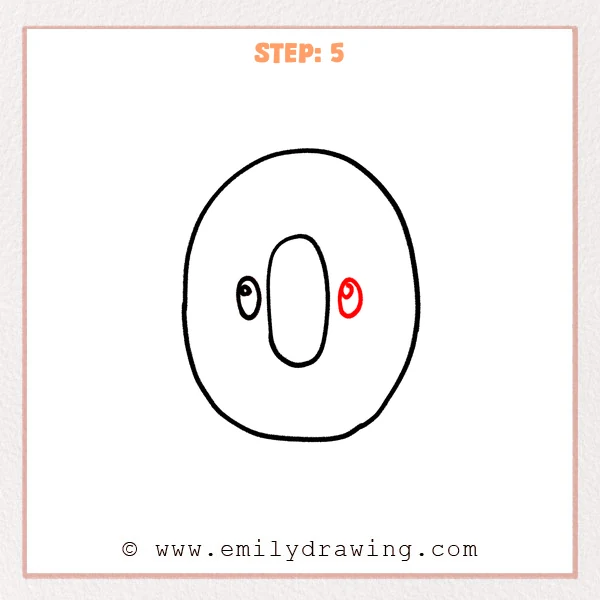
On the right side inside the big O, draw a small vertical oval to match the left eye. Add the same tiny top dot and a small curved detail so both eyes look consistent.
Pro Tip: Keep both eyes at the same height for a balanced, cute face.
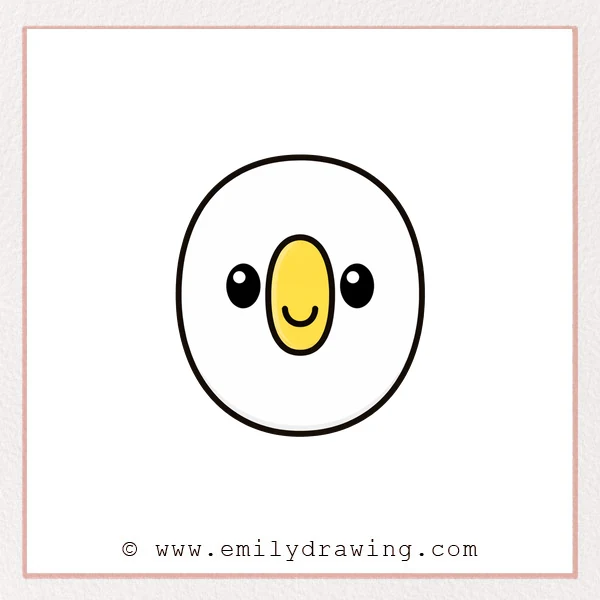
Step 6: Draw a Simple Smile
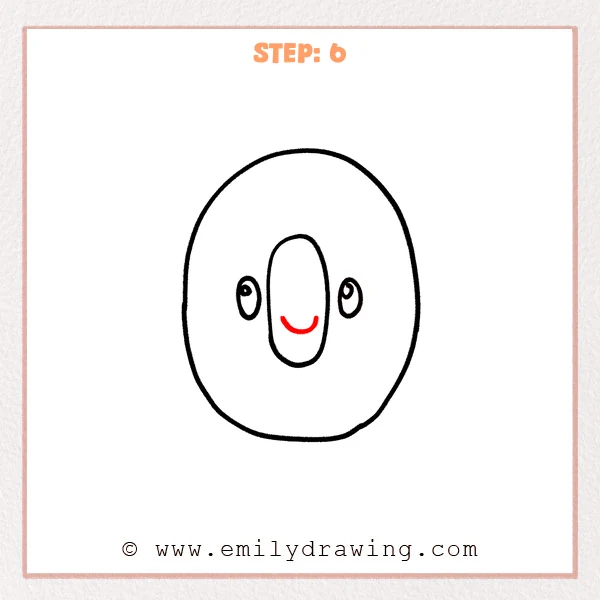
Inside the inner oval, draw a curved line near the lower area to make a small smiling mouth. Curl the ends up slightly so the face feels cute and friendly.
Pro Tip: Place the mouth in the lower half of the inner oval for a nicer face proportion.
Step 7: Color in your drawing!
Fun Facts
- Bubble letters are a popular style in graffiti and poster art because they are bold and easy to read.
- The letter O is a great starter because it is built from simple ovals and smooth curves.
- Adding a face can make any bubble letter feel like a character.
Pin it now, Draw later!

Trace your final lines with a marker, then erase any extra sketch marks. You can color the bubble letter O with bright shades, add more highlights, or draw a shadow behind it. Keep practicing step by step drawing, and try turning other letters into cute faces too.
Get the FREE Printable Drawing Guide

FREE Download Printable Bubble Letter O Drawing Tutorial
Frequently Asked Questions
How do I make my bubble letter O look more even?
Use light pencil lines first and check that the spacing around the inner oval looks similar on all sides.
Can I draw a thicker bubble letter O?
Yes—simply draw the outer outline farther away from the inner shape, keeping the curves smooth and consistent.
What’s an easy way to add personality?
Change the eyes and mouth, or add eyebrows, cheeks, or small sparkles for a playful look.