Hello and welcome to our art project for today: how to draw a tulip! This tulip flower drawing tutorial will guide you step-by-step to drawing this beautiful flower.
Known by many to symbolize warmer weather on its way, tulips only bloom for just a few days in the spring. They are said to mark the arrival of spring. They are especially common to give as bouquets for Spring holidays, like Mother’s Day.
Tulips are especially common to see in Europe. Although native to Asia, the tulip is now produced by the Netherlands more than anywhere else. When they first came to Europe, they were widely popular and extremely expensive. Now, it’s something that the Netherlands are known for—they have huge expanses of fields that are colorful stripes when seen from above. They have many festivals and events dedicated to the tulip!
They are unique for their almost perfectly symmetrical shape. Did you know that they are actually part of the lily flower family (which we also have a drawing tutorial for!).
Ready to start drawing a tulip step by step? Let’s get started!
Materials:
- a piece of paper
- a pencil for the guiding lines and sketching
- an eraser
- a black sharpie or a pen for the outlines
- markers or colored pencils for coloring
- our printable drawing guide (Join my Email List below to get this Tutorial)
Here are my RECOMMENDED Art Supplies!
- Crayola Coloring Set (140 Pieces – Mega Value!)
- 24 Colored Crayon Set
- A4 Printer Paper
- Crayola Coloring Pencils
- HP Home Printer with Instant Ink!
Time needed:
10 minutes.
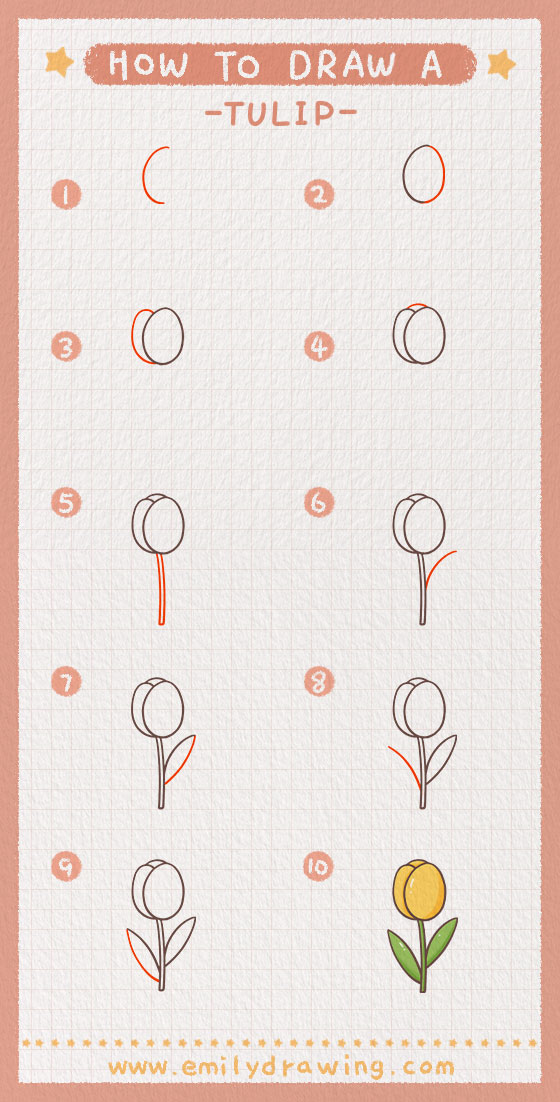
How to Draw a Tulip — Let’s get started!
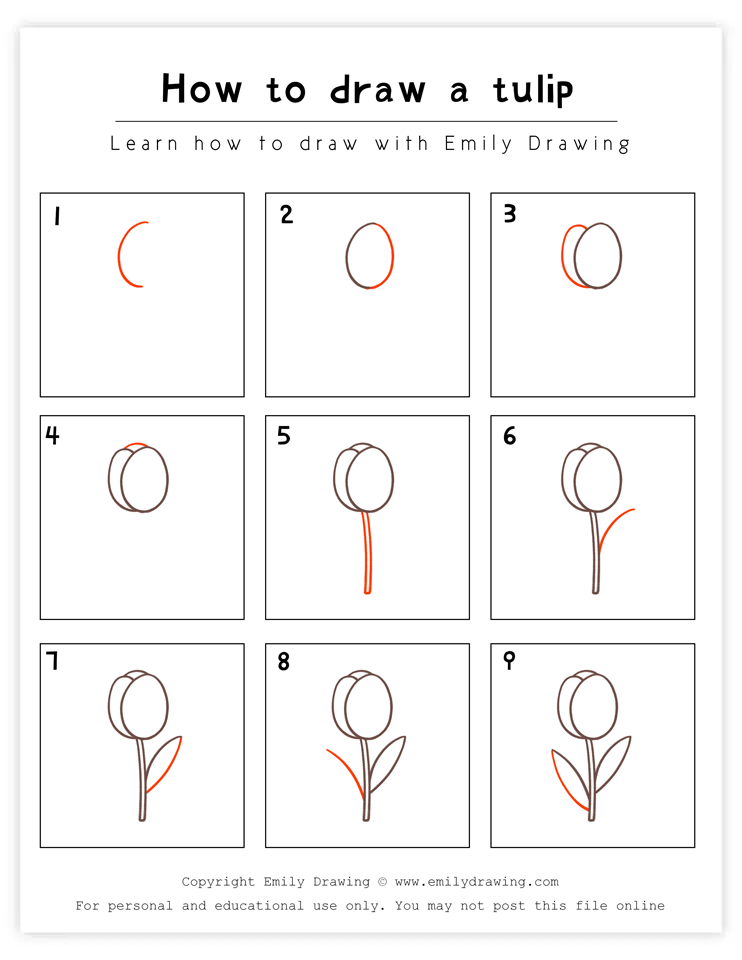
Step 1 – Draw the left half of the petal.
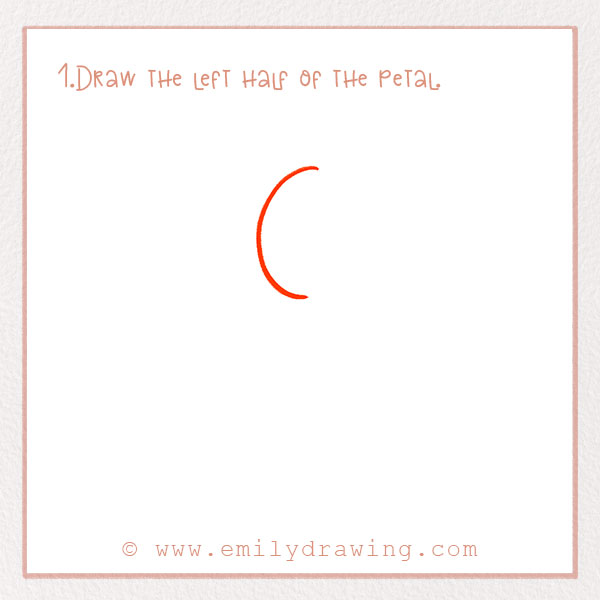
Near the middle of the page, draw the left half of the first petal. Draw a vertical curve—make it a few inches long. Check out the photo for reference. There should be plenty of room on the rest of the page below for the stem!
Step 2 – Draw the other half of the bloom.
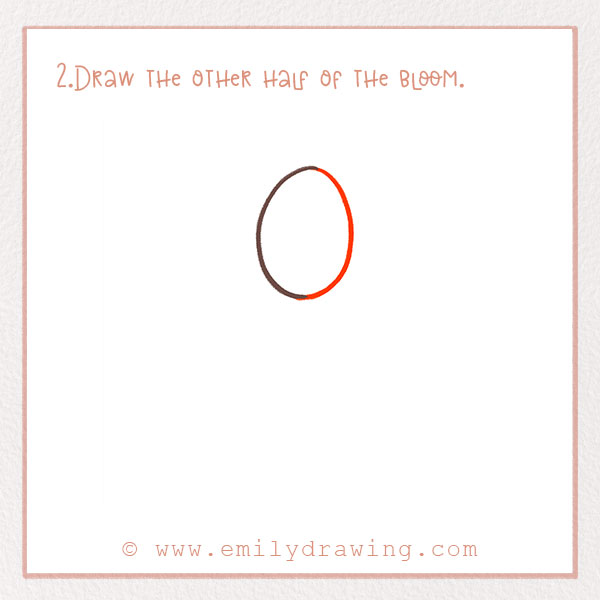
Complete the rest of the petal by drawing another curve, this time on the right side. You should have an oval now—and, it should be slightly narrower at the top, like an egg.
Now we have the first petal done! Good job. Let’s add more petals now!
Step 3 – Add another petal.
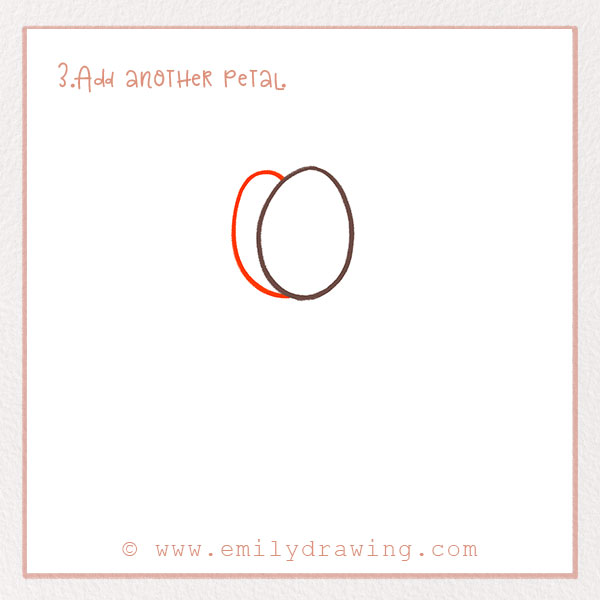
On the left, add a petal by drawing another curved line. It should look like it’s behind the first petal, so make the lines cut off when it meets the center petal. Check out the photo to see what we mean!
Step 4 – Add one last petal!
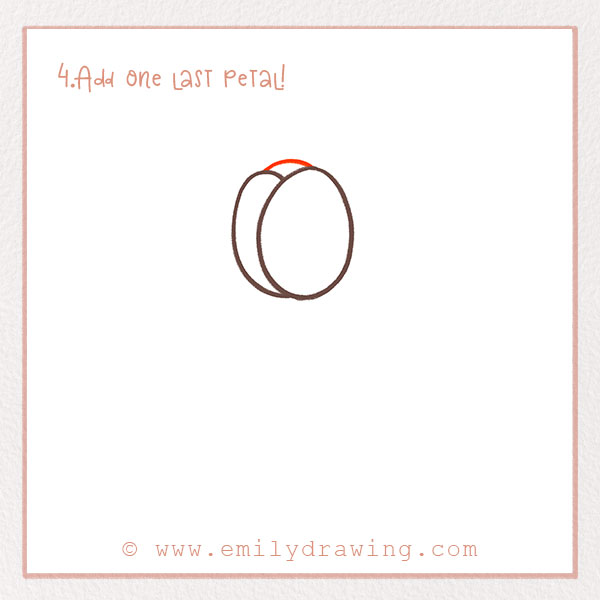
Let’s add one last petal! We want the flower to look symmetrical. So, add a very small curved line in between the first two petals. This will look like a petal behind the other two.
Good job! We’re done with the bloom. Let’s move onto the stem now.
For more plant drawing guides, check out How to Draw a Cactus and How to Draw a Tree.
Step 5 – Draw the tulip’s stem.
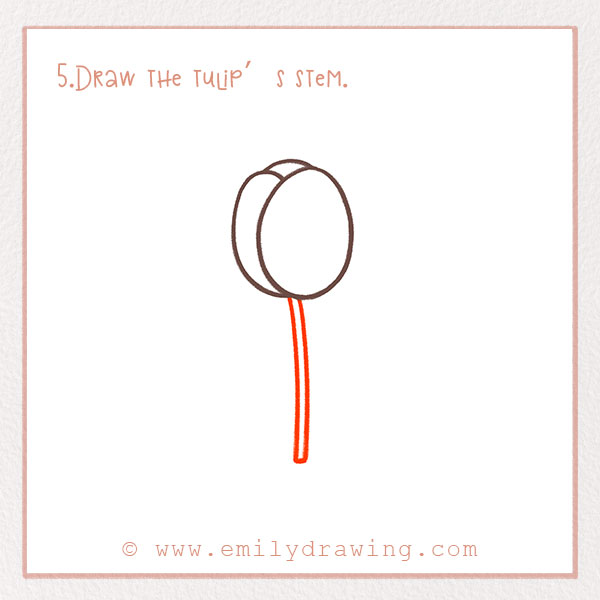
From the center bottom of the bloom, draw two long skinny lines extending downwards. Make them a little bit curved to make them resemble a flower stem. Connect the lines at the bottom. It should be three to four inches long.
Step 6 – Draw more of the stem.
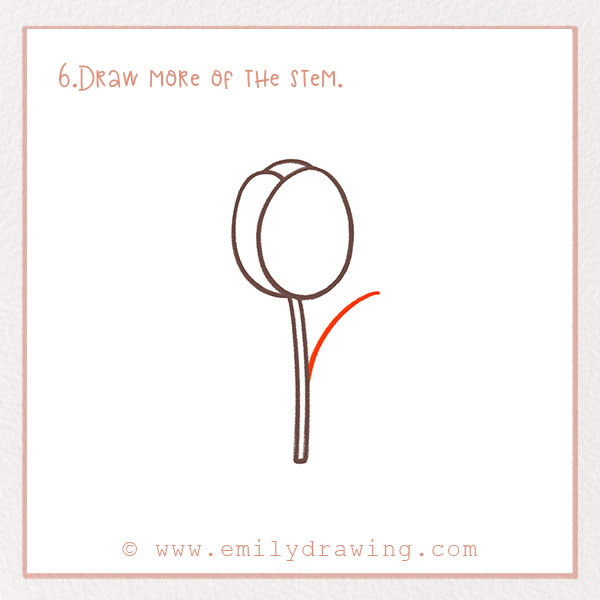
We’re going to draw a few leaves shooting off of the stem now—one on each side.
On the right side of the stem, add a curved line a few inches long. This will be the beginning of one of the leaves on the stem.
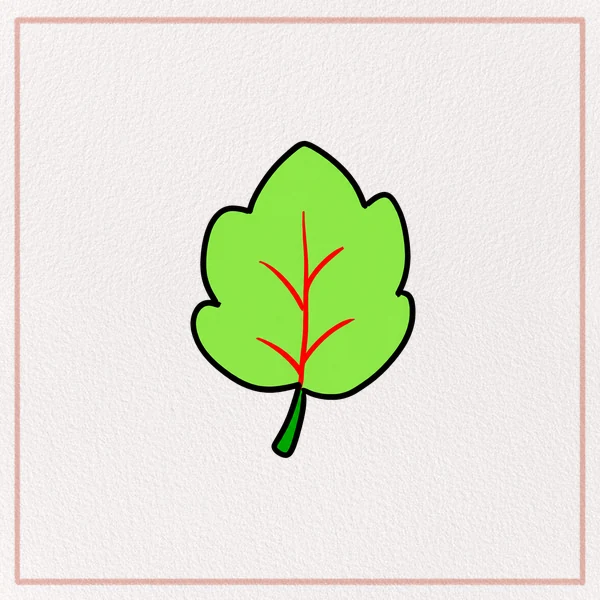
Step 7 – Finish forming the first leaf.
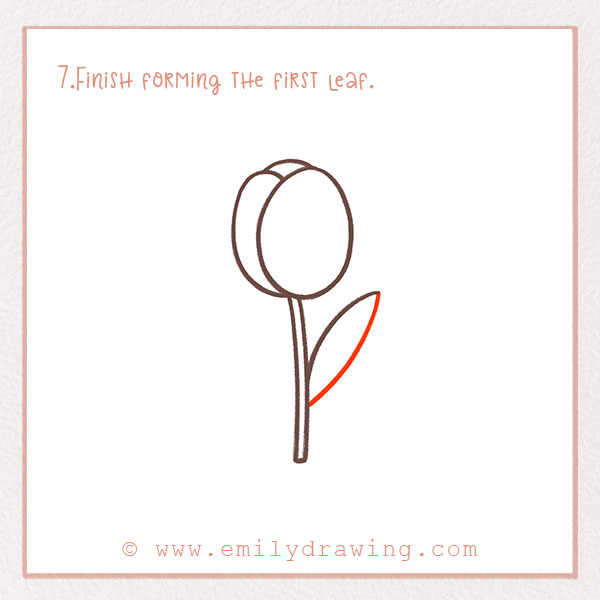
Below that curved line in Step 6, draw another curve below it. Make it form a pointed oval— it should look like a leaf now. Connect them to a point at the end.
Step 8 – Add more detail to stem.
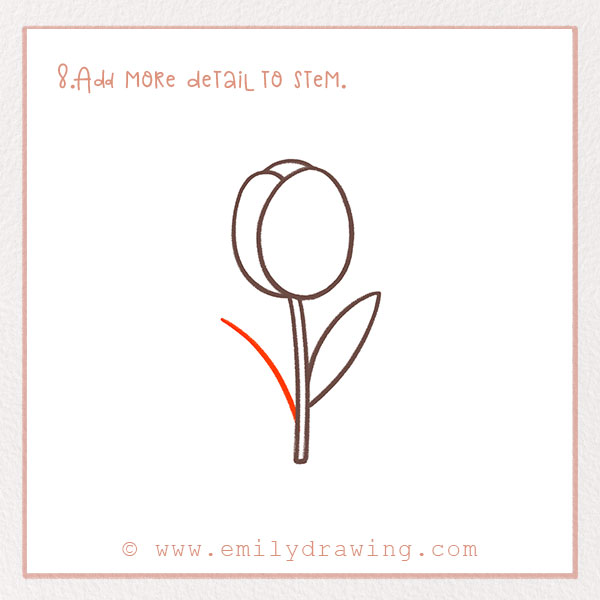
We’re going to do the same thing on the left side of the stem. To add some interesting visual variety, draw it slightly below the leaf on the other side.
So, opposite of the first leaf, draw another long curved line.
Step 9 – Finish the stem.
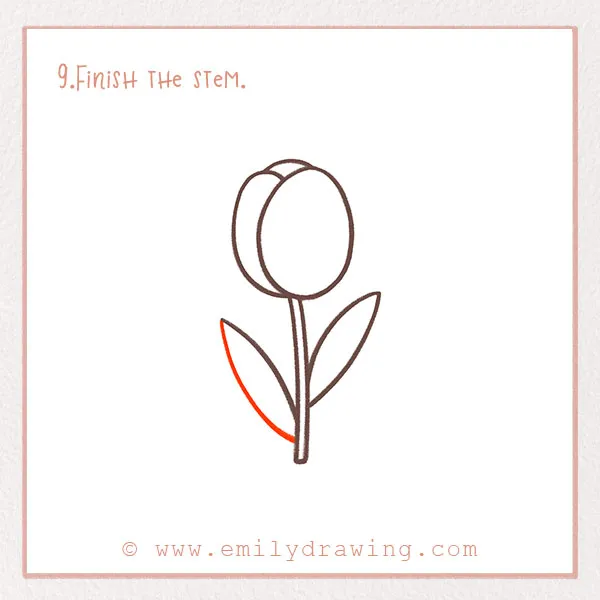
This is the last step to finish forming the flower!
Draw another curved line to form the rest of the leaf. It should be the same pointed oval shape as the first one.
Great job! You’ve finished the whole shape of the tulip.
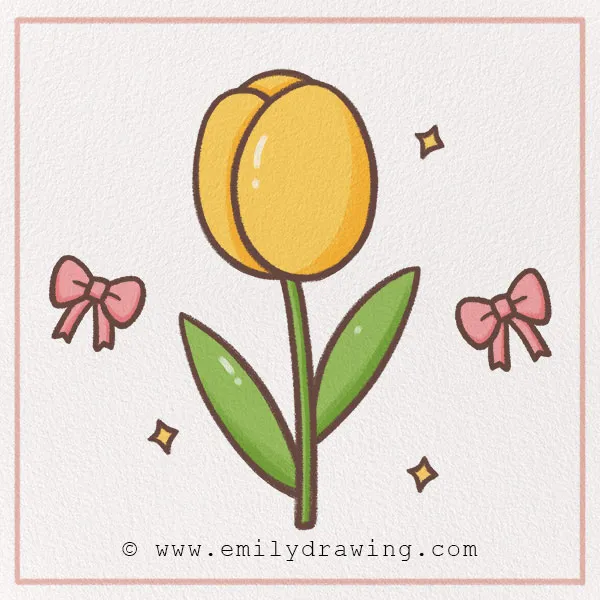
Step 10 – Color in your drawing!
If you’ve ever seen a tulip field in person, or even just a photo of one, you’ll know that tulips are beautiful and vibrant flowers that can be many different colors—actually, they can be pretty much any color! Fill in the background too!
Have fun coloring in your easy tulip sketch, and be creative!
There you go! You’ve finished our fun and easy tutorial. We hope you loved it, and learned some new drawing techniques about symmetry and perspective.
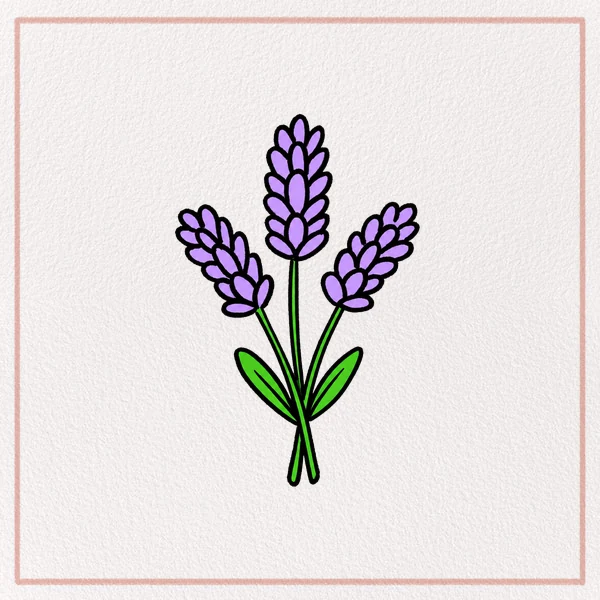
If you want to experience more of our plant-themed art projects, check out our page for the cactus, lily, and rose tutorials! There are also many animal-themed ones. So, feel free to browse our site for more fun tutorials!
If you’re interested in drawing more flowers, you might also enjoy our tutorials on How to Draw a Rose and How to Draw a Sunflower.
Pin it now, Draw later!
Get the FREE Printable Drawing Guide