
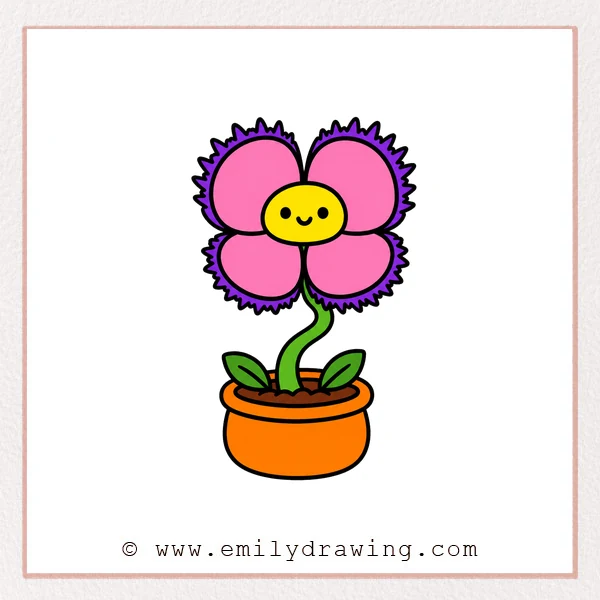
In this easy drawing tutorial, you will learn how to draw Venus fly trap step by step.
This cute plant drawing uses simple curves, small teeth, and a friendly face.
Take your time with each shape, and keep the lines soft and clear.
What You Will Need
- Pencil
- Eraser
- Black marker or pen
- Coloring tools
- Drawing paper
Here are my RECOMMENDED Art Supplies!
- Crayola Coloring Set (140 Pieces – Mega Value!)
- 24 Colored Crayon Set
- A4 Printer Paper
- Crayola Coloring Pencils
- HP Home Printer with Instant Ink!
Time needed:
11 minutes.
Step-by-Step Drawing Guide
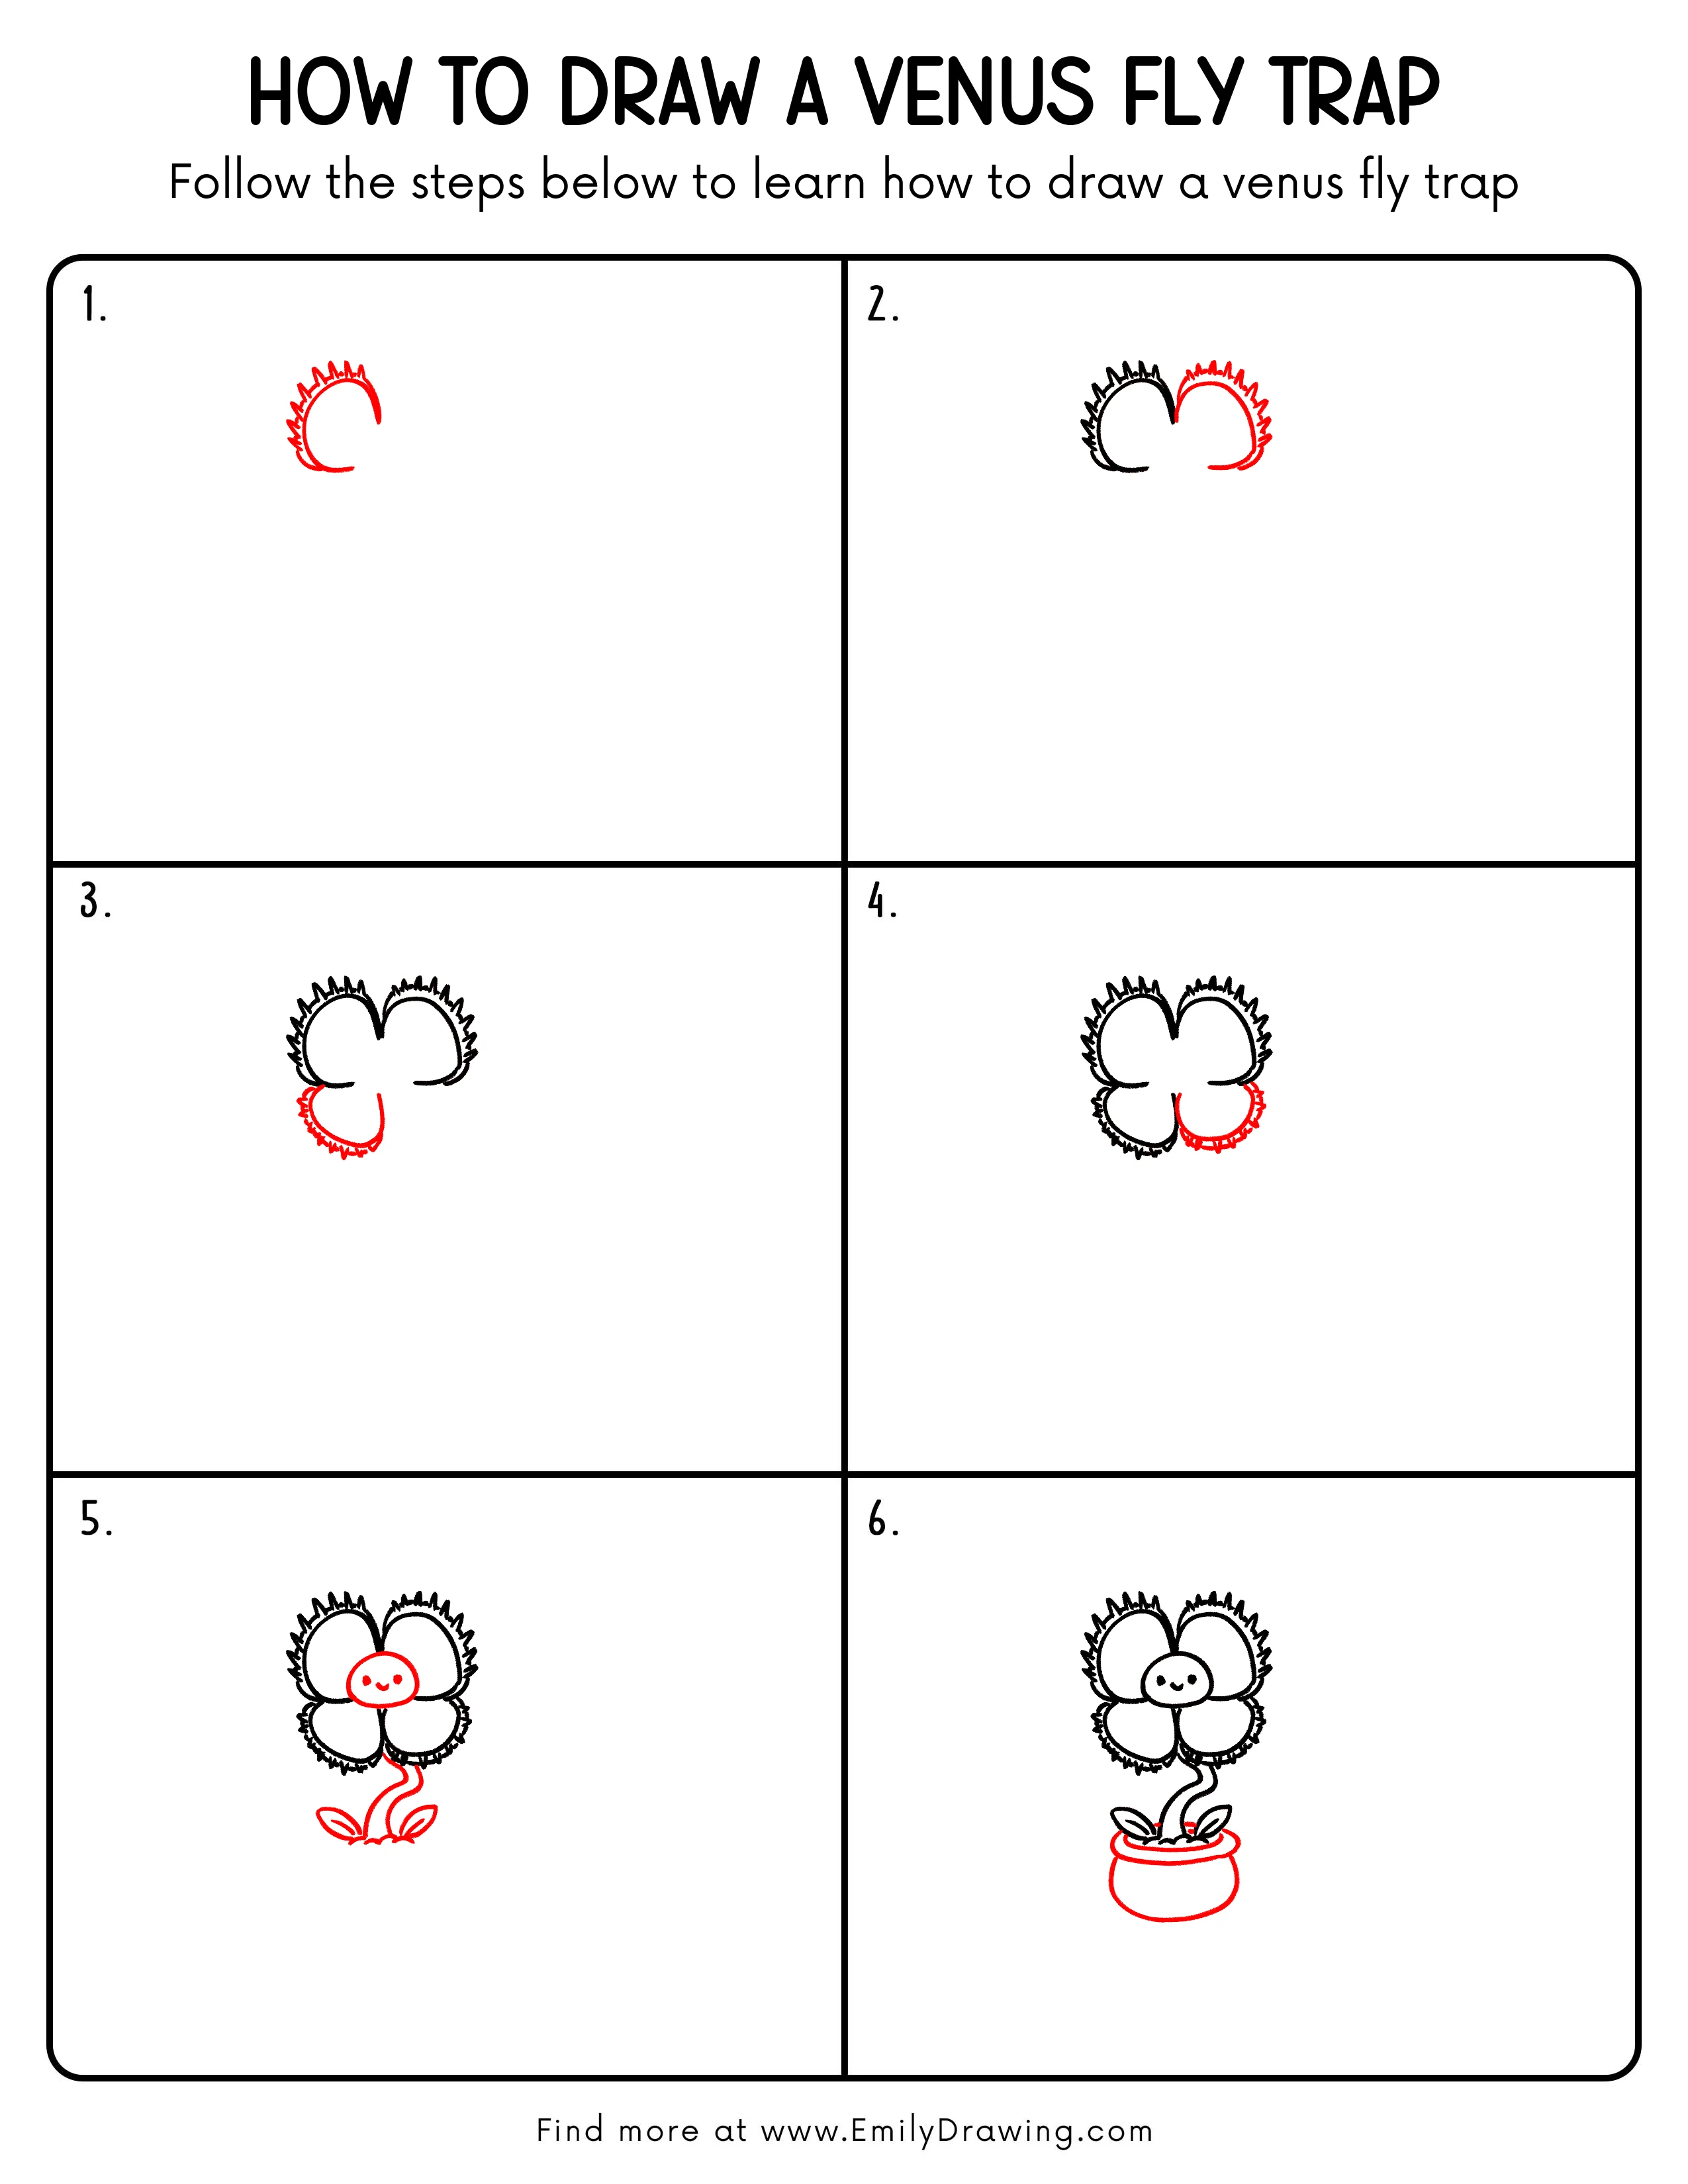
Step 1: Draw the Outer Trap Shape
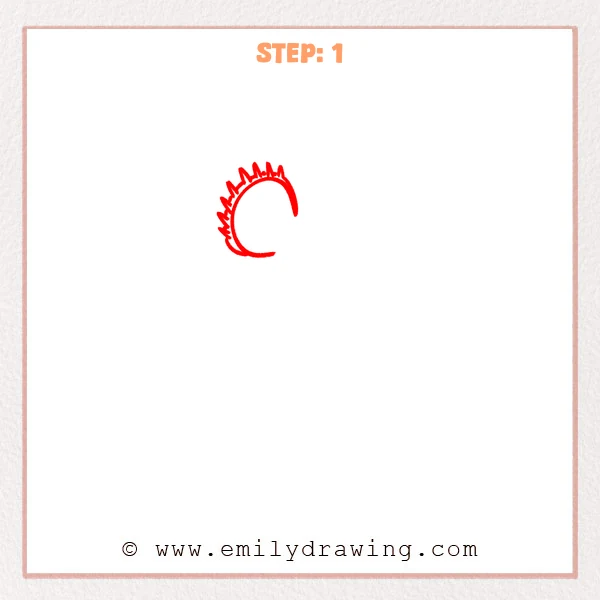
Start with a large curved shape opening to the right, like an unfinished circle.
Add short pointed teeth along the outer edge to make the Venus fly trap look sharp.
Pro Tip: Keep the curve smooth, and let the teeth vary slightly while following the outer edge.
Step 2: Add the Other Half of the Trap
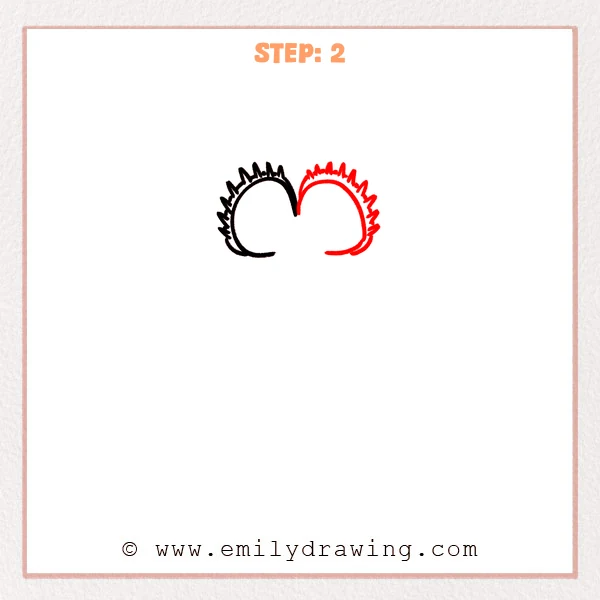
Draw a second large curved shape on the right, letting it meet near the middle.
Add short pointed teeth along the right outer edge to form the open Venus fly trap.
Pro Tip: Keep both halves similar in size, with a natural small dip where they meet.
Step 3: Draw the Smaller Lower Trap
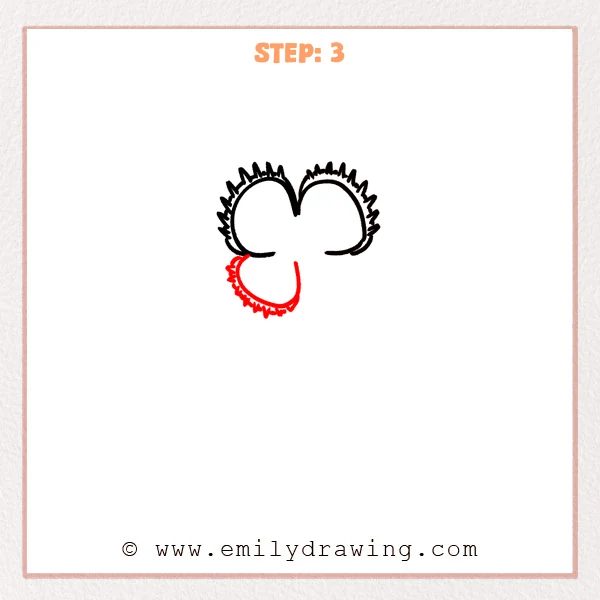
Add a smaller curved trap at the lower left, opening upward.
Place short pointed teeth along its outer edge so it matches the larger Venus fly trap shapes above.
Pro Tip: Make the smaller trap shorter than the upper traps so the layers stay clear.
Step 4: Add the Lower Right Trap
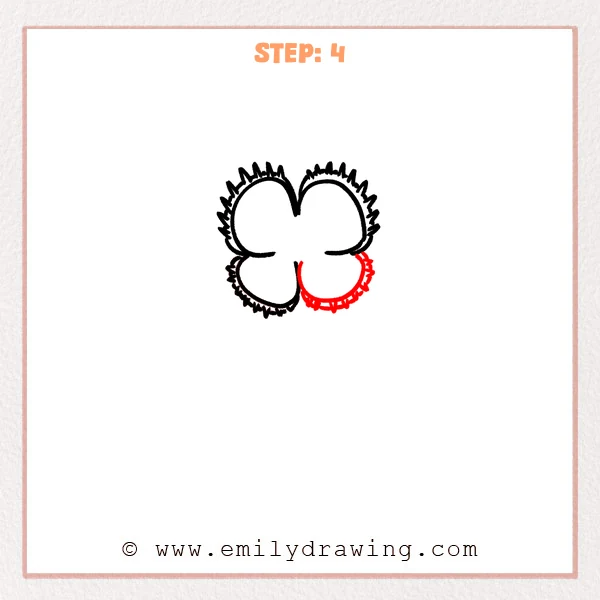
Draw another smaller curved trap at the lower right, sitting beside the lower left trap.
Add short pointed teeth along its outer edge to make the Venus fly trap look fuller.
Pro Tip: Keep the two lower traps close in height so the bottom shape feels balanced.
Step 5: Add the Cute Face, Stem, and Leaves
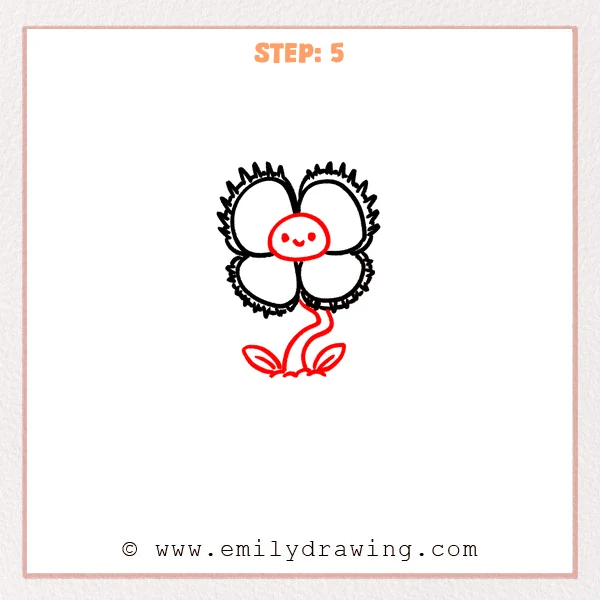
Draw a round little face in the center of the four traps, then add two eyes and a smile.
Extend a curving stem downward, and add two small leaves with a bit of grass at the base.
Pro Tip: Place the face in the center of the four traps, and let the stem drop naturally from underneath.
Step 6: Draw the Flowerpot
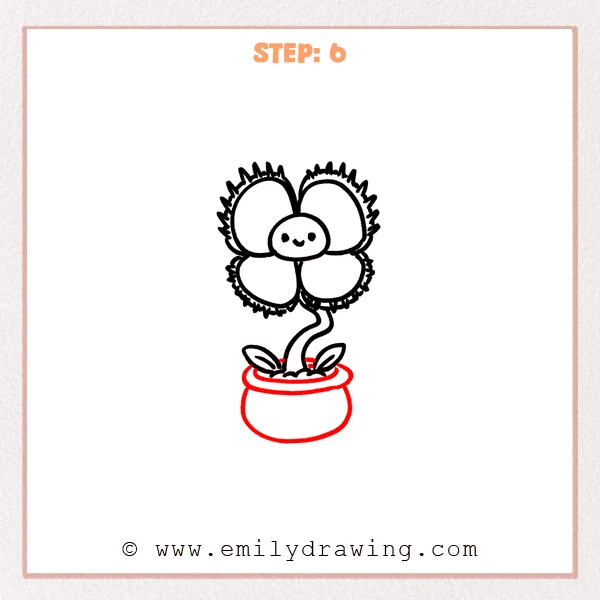
Add a wide oval at the base of the plant to make the pot’s top rim.
Draw curved sides downward from the oval, then connect them with a rounded bottom line.
Pro Tip: Make the pot a little wider than the leaves so the plant feels steady.
Step 7: Color in your drawing!
Fun Facts
Venus fly traps are real plants that can catch small insects.
Their trap leaves close when tiny trigger hairs are touched.
Even though they look fierce, they are still plants that need light and water.
Pin it now, Draw later!
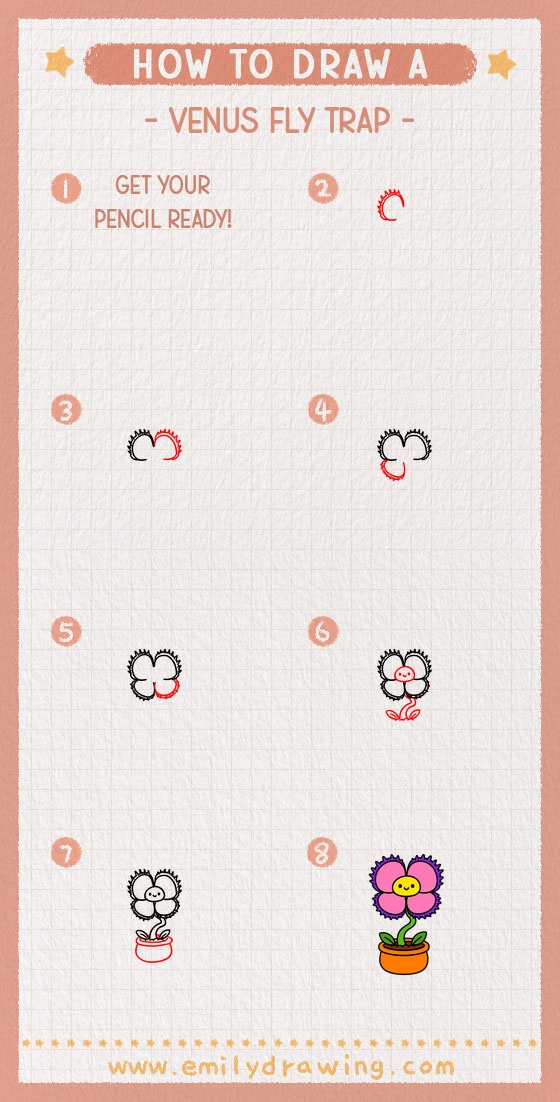
Now your Venus fly trap drawing is ready for color.
You can shade the traps green, add red inside the mouths, and color the pot any cheerful shade.
For a finished look, trace the main lines and erase any extra pencil marks.
Keep practicing this step by step drawing, and try making your own cute plant character next.
Get the FREE Printable Drawing Guide
FREE Download Printable Venus Fly Trap Drawing Tutorial
Frequently Asked Questions
Is this Venus fly trap drawing good for beginners?
Yes, this drawing for beginners uses simple curves, small teeth, and easy plant shapes.
How can I make my Venus fly trap look cuter?
Make the face round, keep the smile small, and use soft rounded lines for the pot.
What colors should I use for a Venus fly trap?
Use greens for the plant, red or pink inside the traps, and any warm color for the flowerpot.



