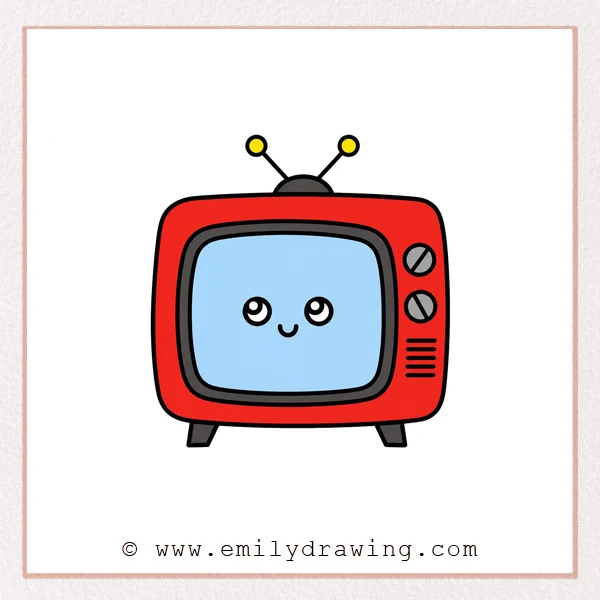
Learning how to draw TV is simple when you build it from rounded shapes. This easy drawing tutorial uses clear steps for drawing for beginners, with a cute retro television design.
What You Will Need
- Pencil
- Eraser
- Black marker
- Paper
- Colored pencils or crayons
Here are my RECOMMENDED Art Supplies!
- Crayola Coloring Set (140 Pieces – Mega Value!)
- 24 Colored Crayon Set
- A4 Printer Paper
- Crayola Coloring Pencils
- HP Home Printer with Instant Ink!
Time needed:
27 minutes.
Step-by-Step Drawing Guide
Step 1: Draw the TV Body Outline
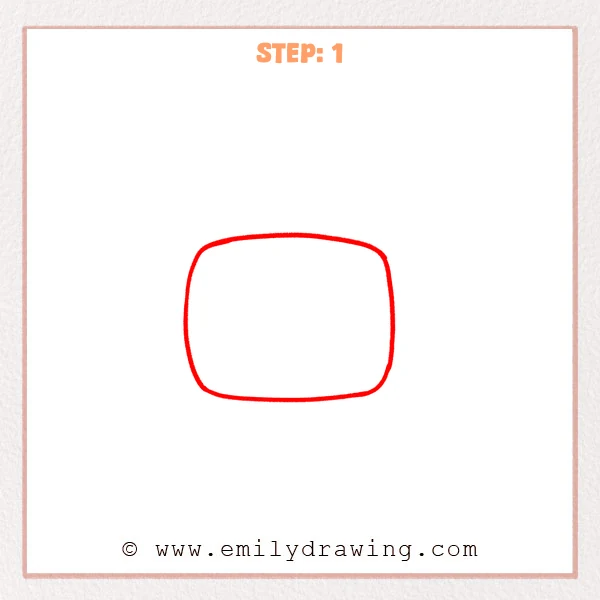
Start with a wide rounded rectangle for the main TV body. Keep the corners soft, and let the left and right sides curve inward slightly.
Pro Tip: Draw the rounded corners slowly, and keep the top and bottom edges mostly parallel.
Step 2: Add the TV Screen
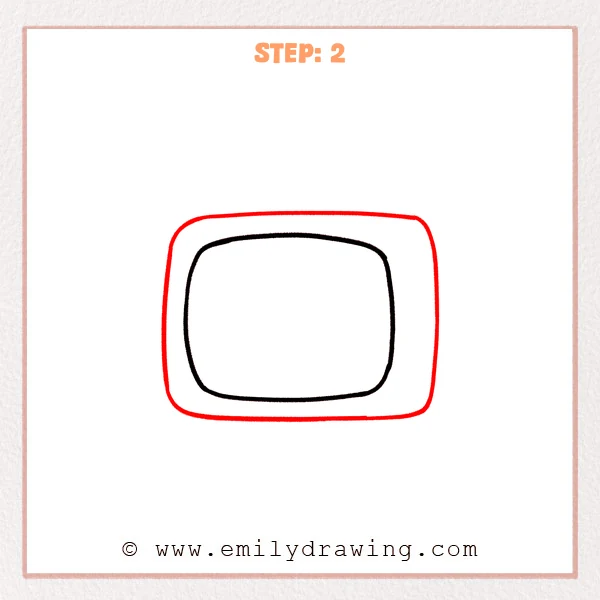
Draw a smaller rounded rectangle inside the body for the TV screen. Leave an even border around it, and keep the shape similar to the outer outline.
Pro Tip: Keep the screen away from the edges so the TV frame looks clear.
Step 3: Draw the TV Feet
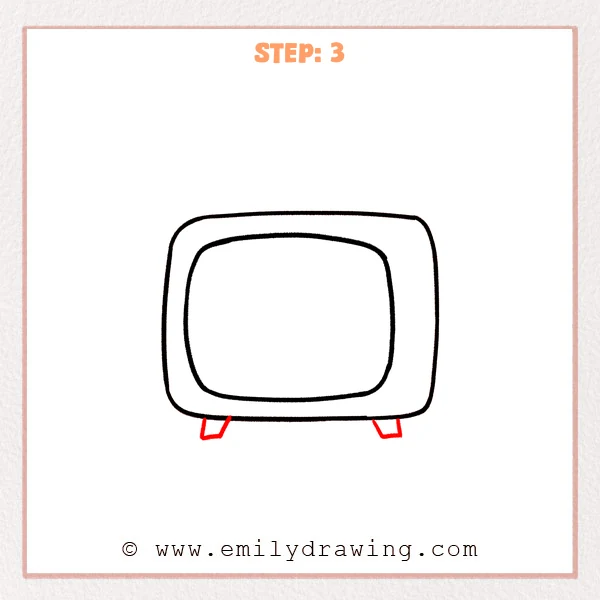
Add one short foot on each side under the TV body. Tilt each foot slightly outward, and draw a flat bottom so the TV looks stable.
Pro Tip: Place the two feet as evenly as possible so the TV does not look tilted.
Step 4: Add the TV Antenna
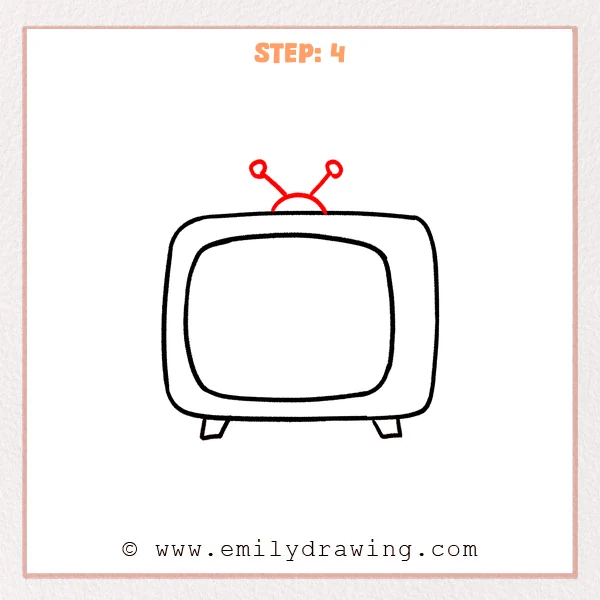
Draw a small half circle on the top center as the antenna base. Extend one slanted line from each side, and add a small circle at each tip.
Pro Tip: Keep both antenna lines similar in length, with matching small circles at the tips.
Step 5: Add Buttons and Speaker Lines
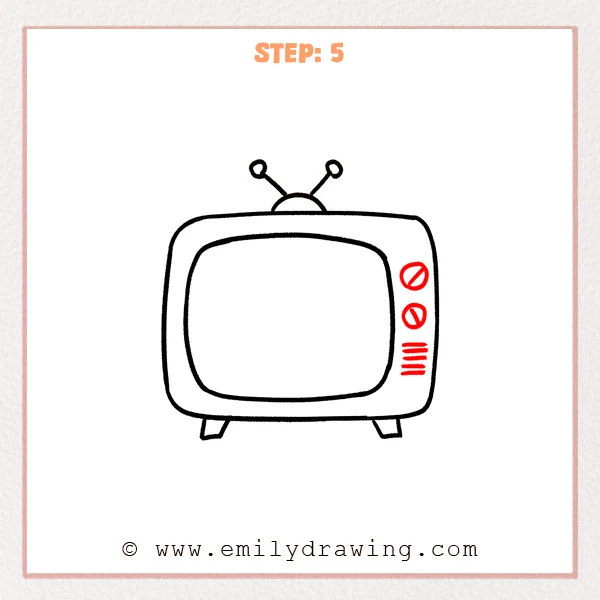
Draw two round buttons inside the right side of the TV frame, and add one slanted line inside each button. Below the buttons, add several short horizontal lines for the small speaker.
Pro Tip: Keep the buttons and speaker lines inside the right frame, without touching the screen.
Step 6: Draw the Cute Screen Face
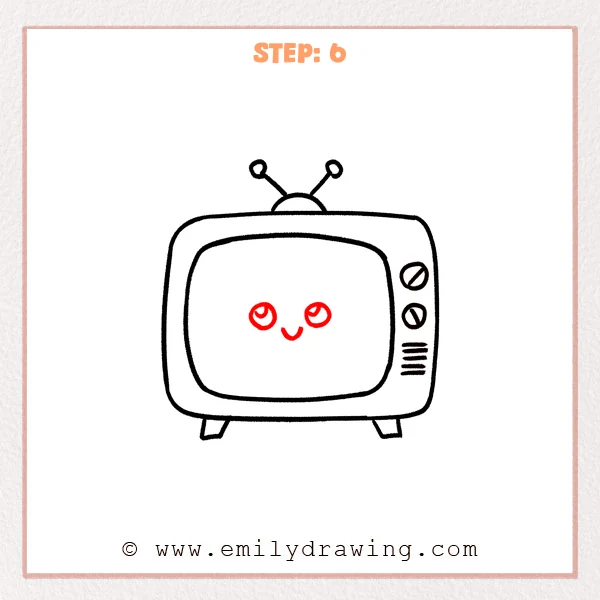
Add two round eyes in the center of the screen, with small curved highlights inside them. Draw a tiny curved mouth below the eyes to make the TV look friendly.
Pro Tip: Keep both eyes at the same height so the face looks neat and natural.
Step 7: Color in your drawing!
Fun Facts
- Older TVs often had antennas on top to help receive signals.
- Round buttons and speaker lines make a TV look more retro.
- Adding a face can turn a simple object drawing into a cute character.
Pin it now, Draw later!
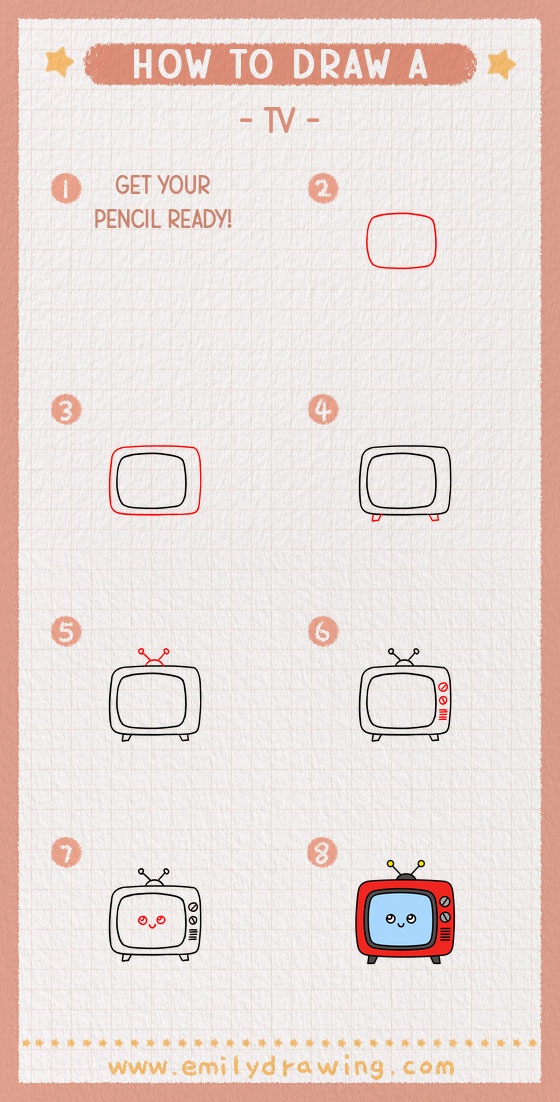
Trace the final lines with a black marker, then erase any light pencil marks. You can color the TV body bright red, blue, or yellow, and leave the screen pale for contrast. Take your time and enjoy this step by step drawing from simple shapes to a cheerful TV character.
Try drawing another TV with a different face or color pattern.
Get the FREE Printable Drawing Guide
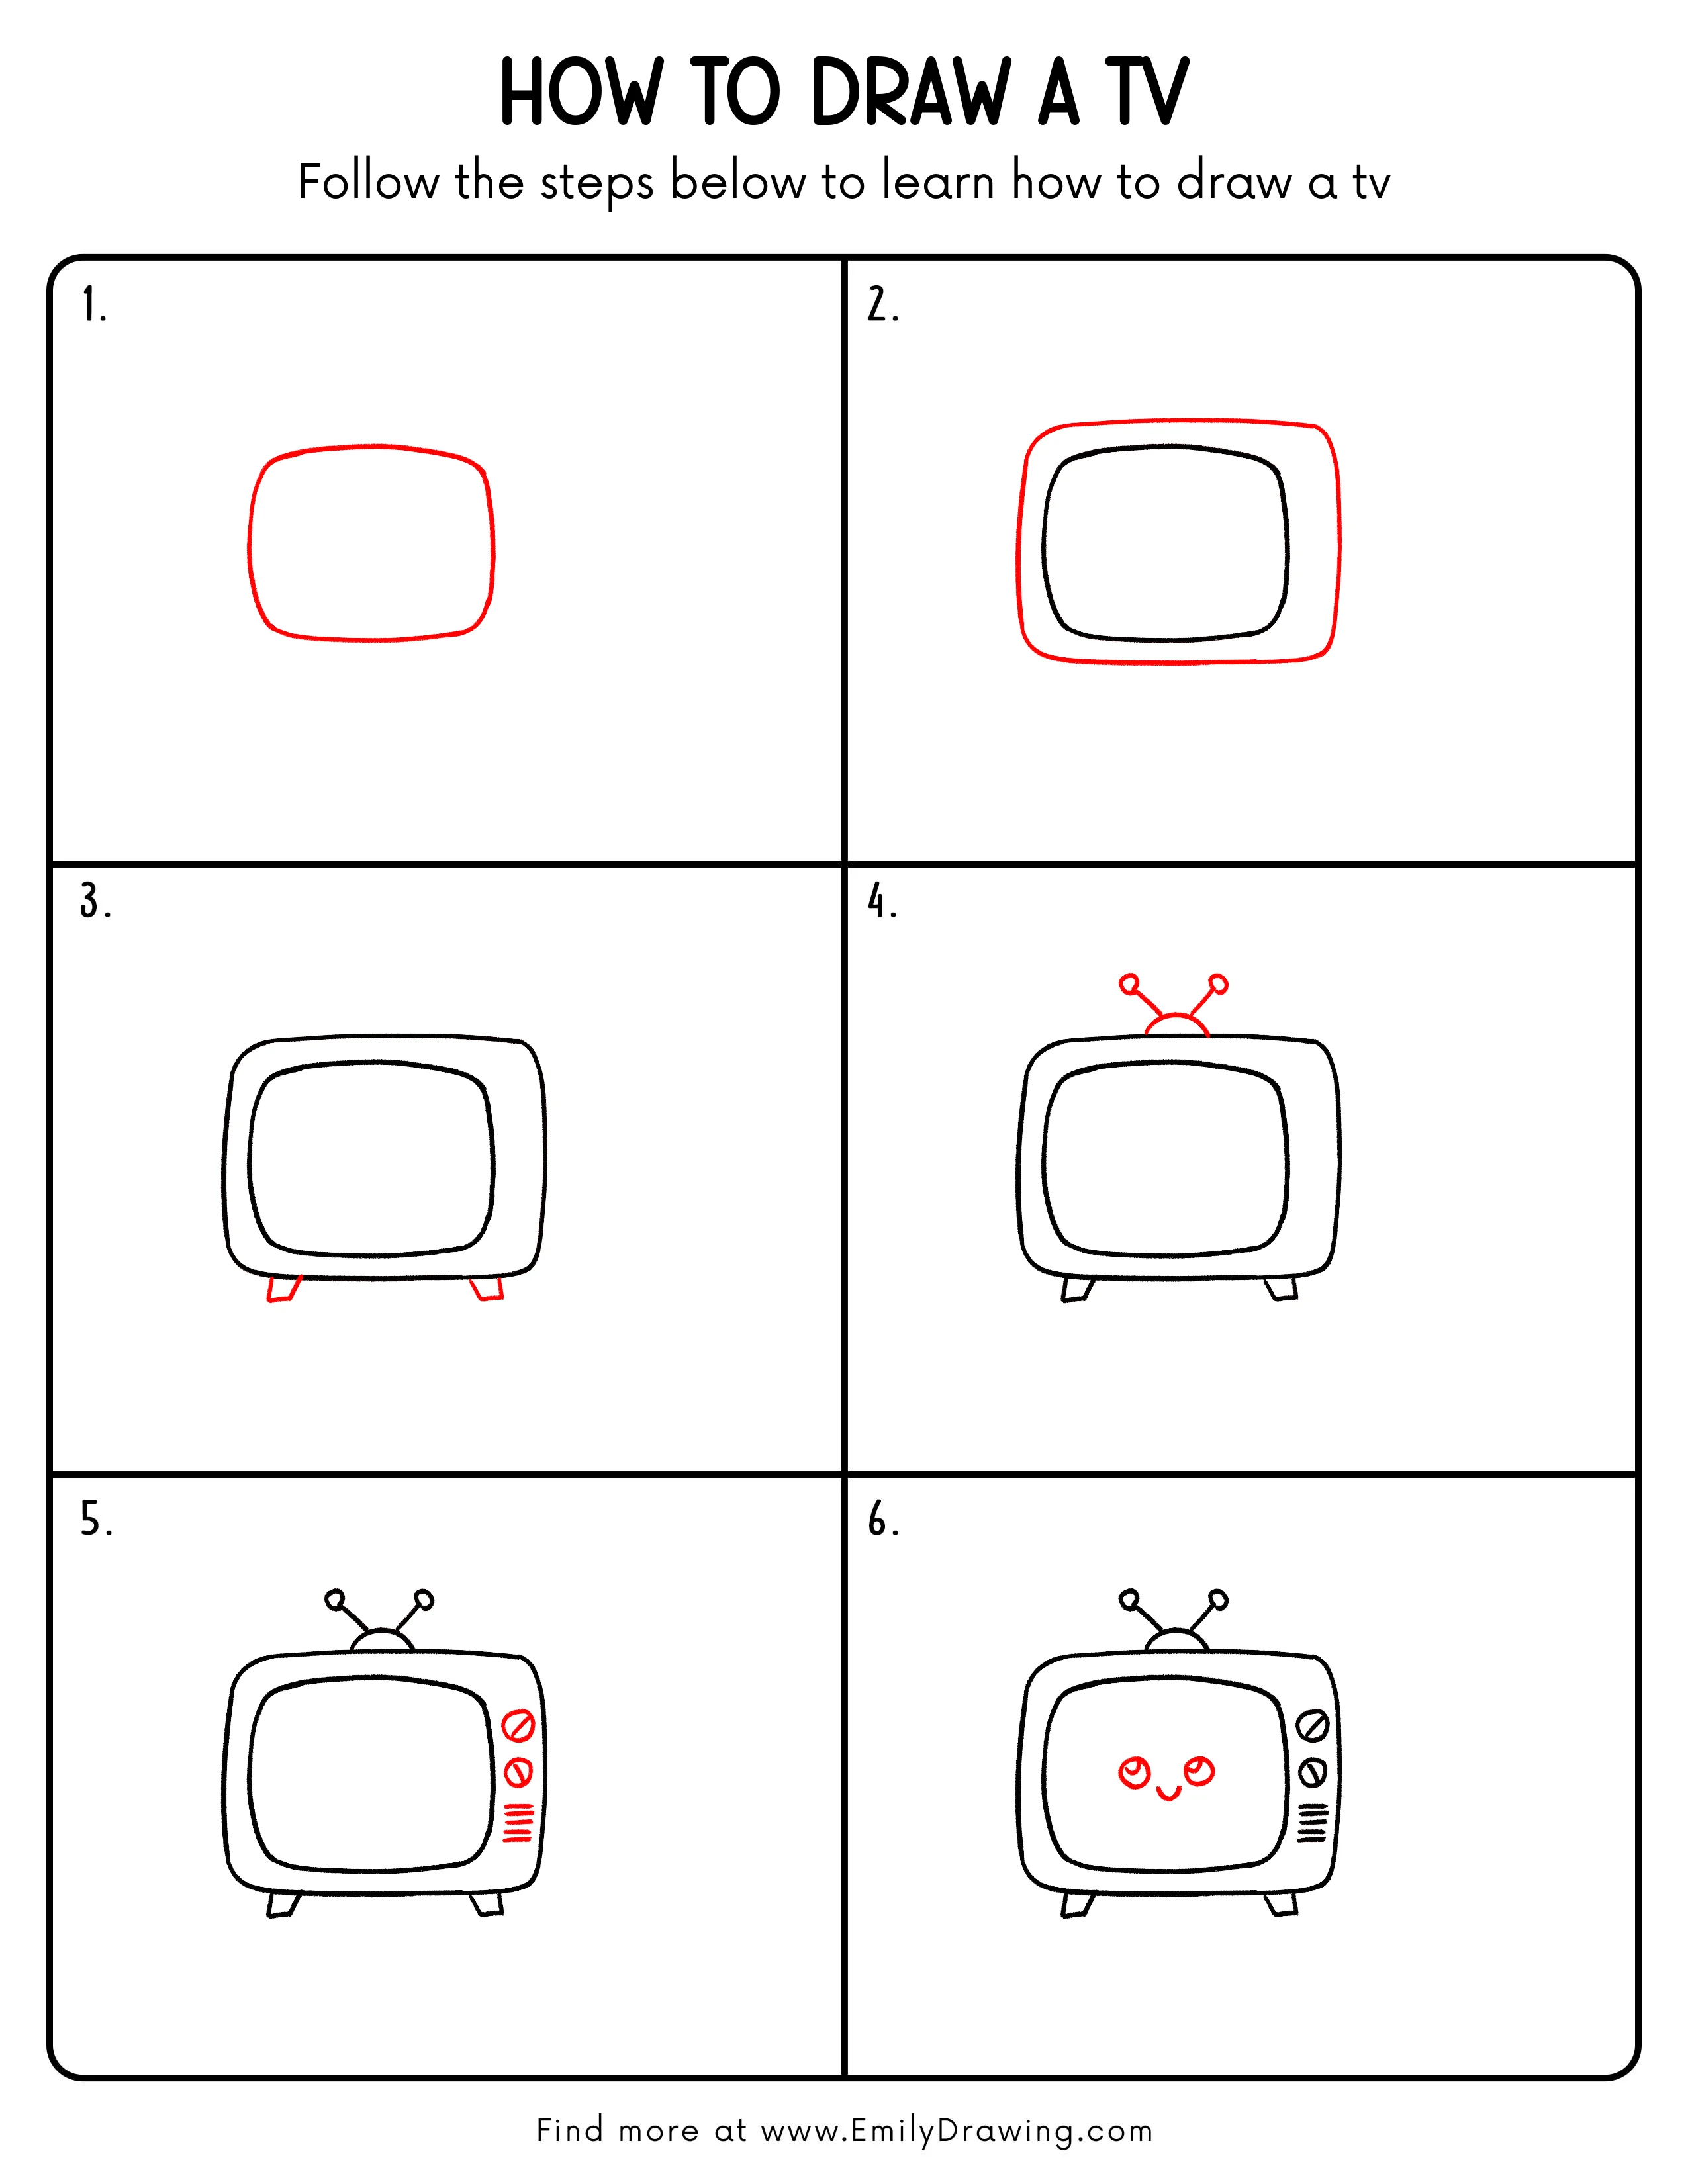
FREE Download Printable Tv Drawing Tutorial
Frequently Asked Questions
Is this TV drawing good for beginners?
Yes, this TV uses rounded rectangles, circles, and short lines, which makes it friendly for beginners.
How can I make the TV look cuter?
Make the eyes slightly larger, add soft highlights, and use a small smiling mouth.
What colors work best for this TV?
Bright colors work well for the body, while light blue or pale gray can make the screen stand out.