Get your pencils ready and your imagination warmed up! Today, we’re going to dive into a magical drawing adventure and learn how to draw a St. Patrick’s Day horseshoe. With just a few simple steps, you’ll go from a blank page to a bright, lucky symbol any leprechaun would be proud of!
Horseshoes are more than just something you find on a horse’s hoof. In Irish culture—especially around St. Patrick’s Day—they’re symbols of good luck and protection. People often hang them above their doors to bring fortune. And now, you can draw one of your very own!
Let’s get started with this lucky horseshoe drawing and create some luck on paper!
Materials:
- a piece of paper
- a pencil for the guiding lines and sketching
- an eraser
- a black sharpie or a pen for the outlines
- markers or colored pencils for coloring
- our printable drawing guide (Join my Email List below to get this Tutorial)
Here are my RECOMMENDED Art Supplies!
- Crayola Coloring Set (140 Pieces – Mega Value!)
- 24 Colored Crayon Set
- A4 Printer Paper
- Crayola Coloring Pencils
- HP Home Printer with Instant Ink!
Time needed:
15 minutes.
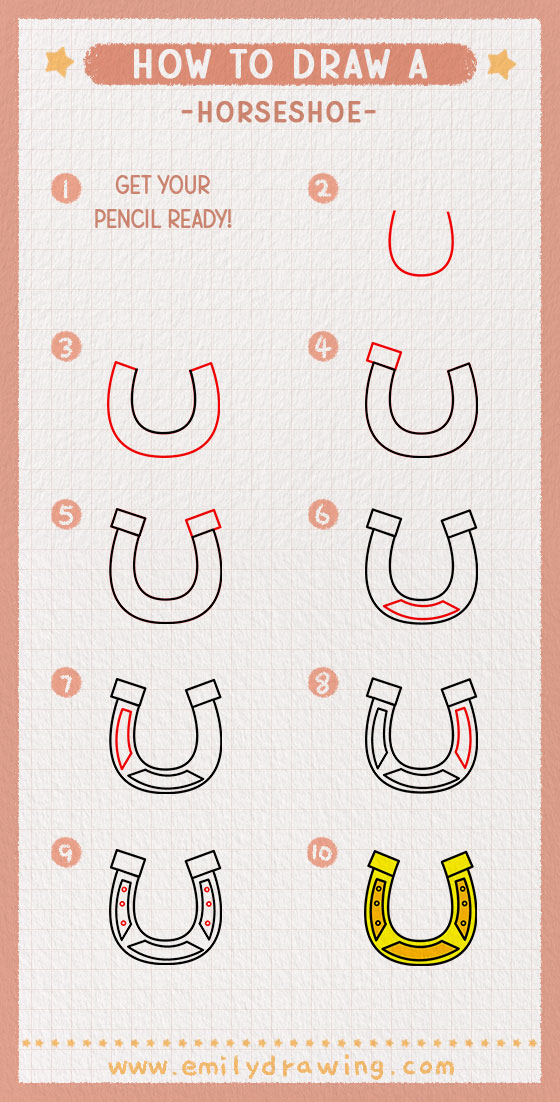
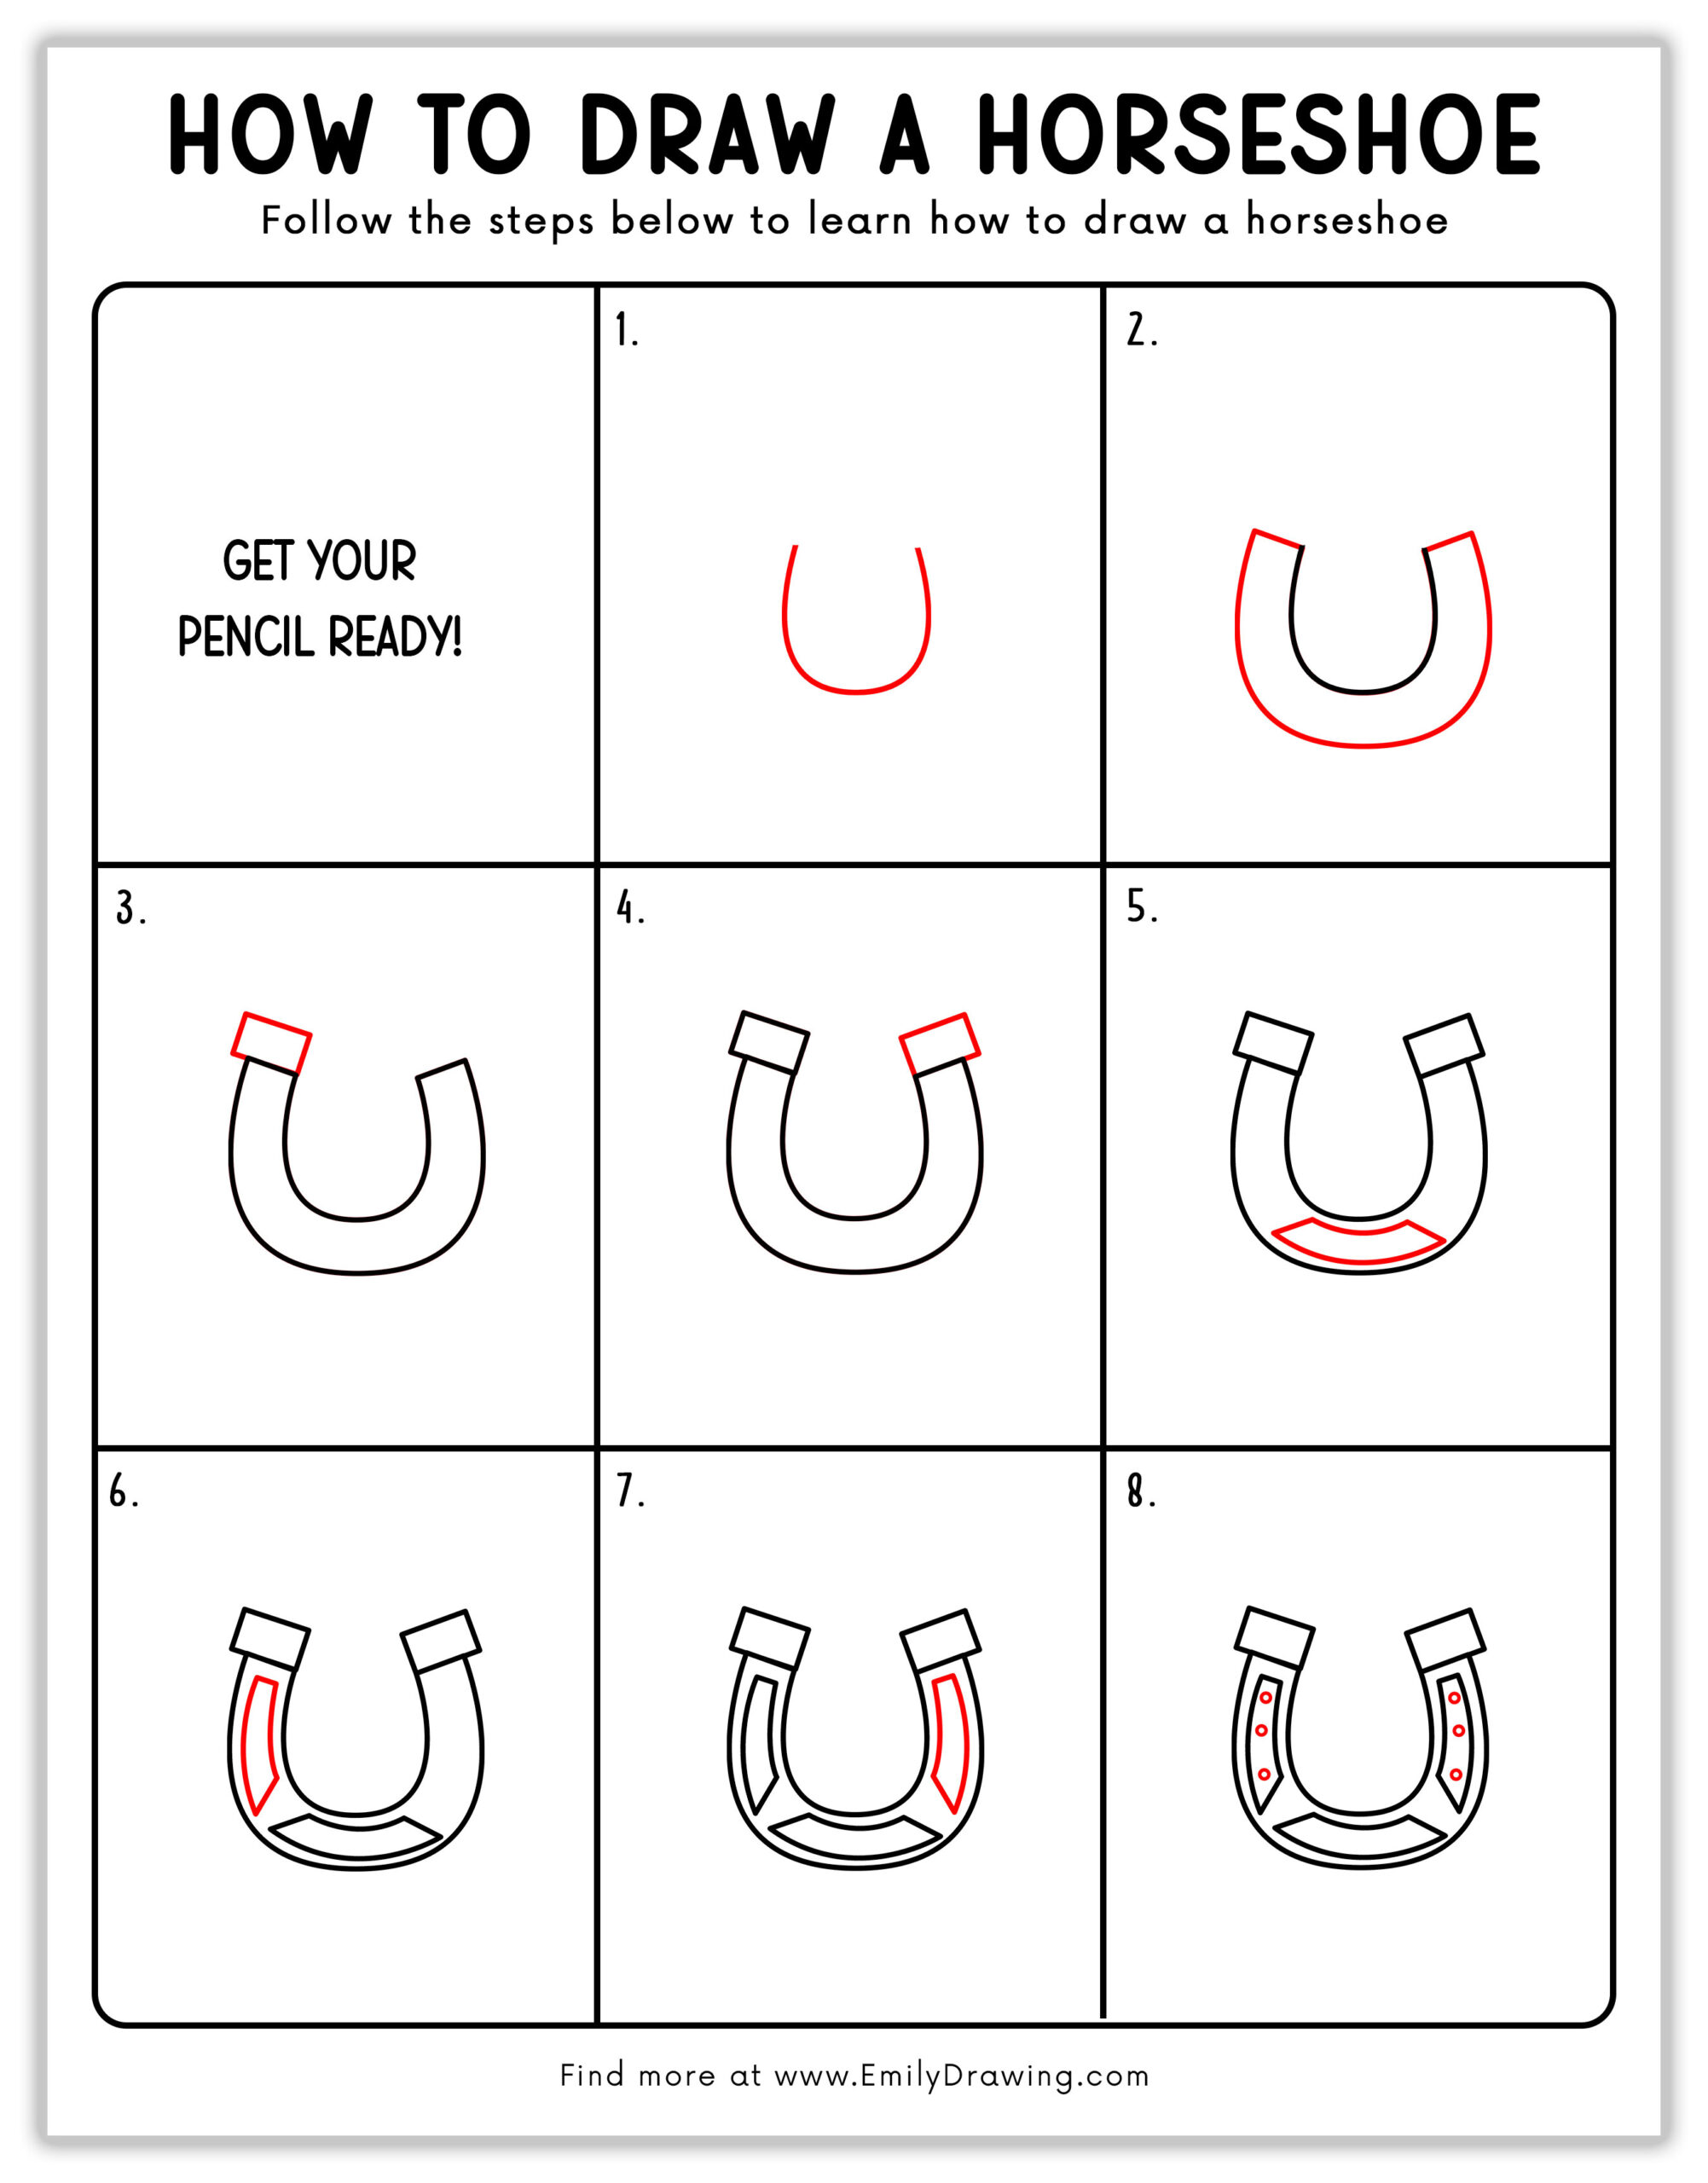
How to Draw a St. Patrick’s Day Horseshoe — Let’s get started!
Step 1 – Draw a Big “U” Shape.
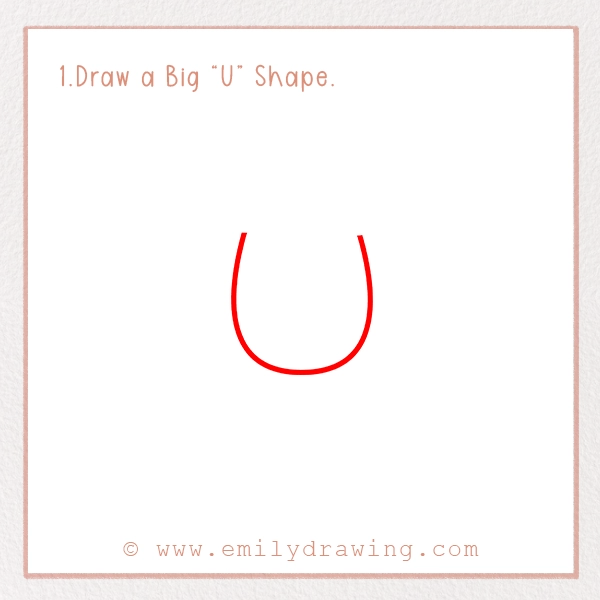
Start by drawing a large “U” shape in the center of your paper.
This is the main outline of your horseshoe.
Tip: Keep it wide and evenly curved. Leave space at the top—we’ll add more there soon!
Step 2 – Add the Outer Edge.
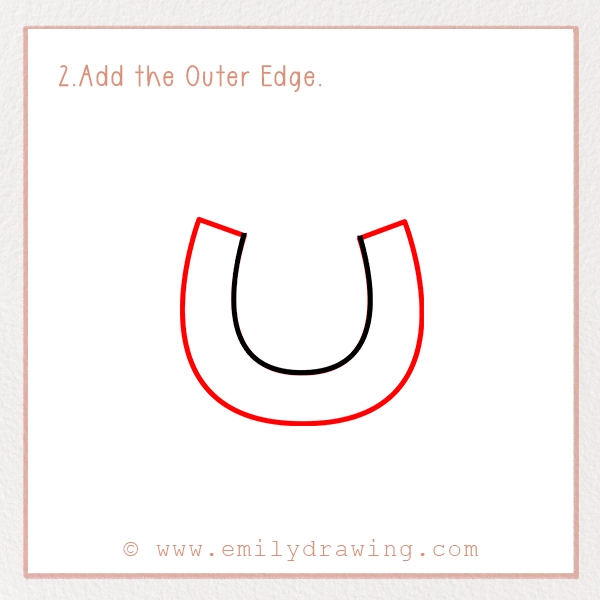
Now give your horseshoe some thickness!
Draw a second, slightly larger “U” shape around the first one, following the same curve.
This creates the outer edge and gives your horseshoe a strong, bold look.
Step 3 – Add the Ends of the Horseshoe.
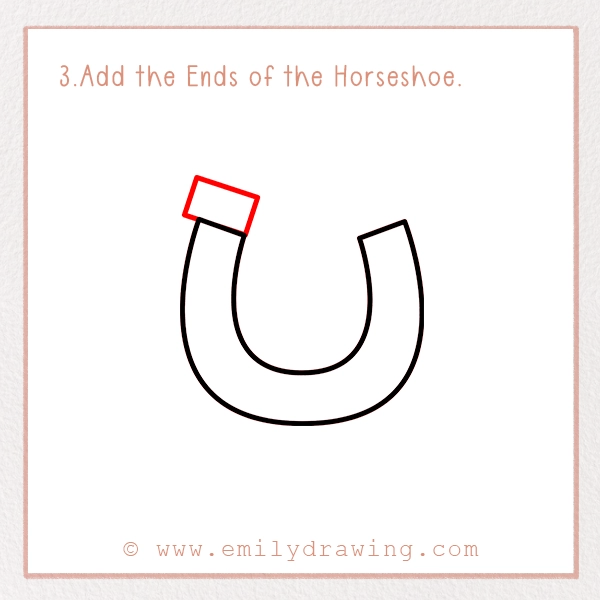
Draw a small, slightly tilted rectangle on each end of the horseshoe.
These rectangles represent the strong ends of the horseshoe that rest on a horse’s hoof.
Fun Fact: Just like shoes protect your feet, horseshoes protect hooves!
Step 4 – Create a 3D Effect.
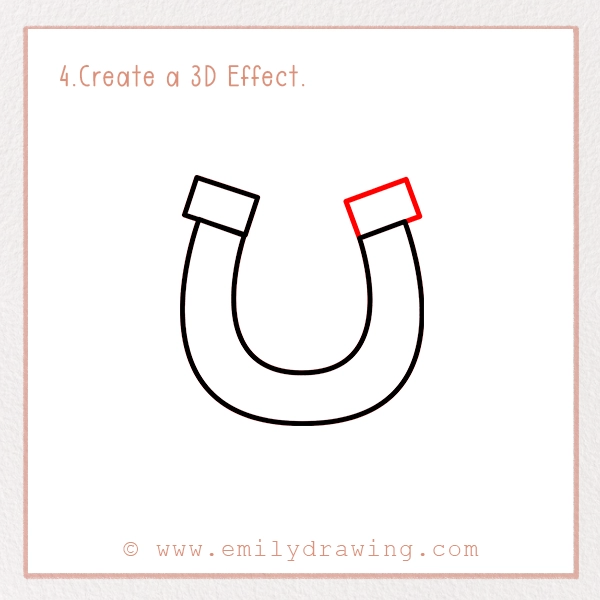
Inside each rectangle, draw a short diagonal line from the inner corner to the inside edge of the horseshoe.
This gives your drawing a 3D, sturdy appearance.
Challenge: Try to keep both sides looking even for a symmetrical shape.
Step 5 – Add the Bottom Panel.

Let’s add some decorative detail!
Inside the bottom part of the horseshoe, draw a wide rectangular panel that curves along the inner edge.
Design Tip: Round the corners for a softer look or keep them sharp for extra strength.
Step 6 – Add the Left Side Panel.
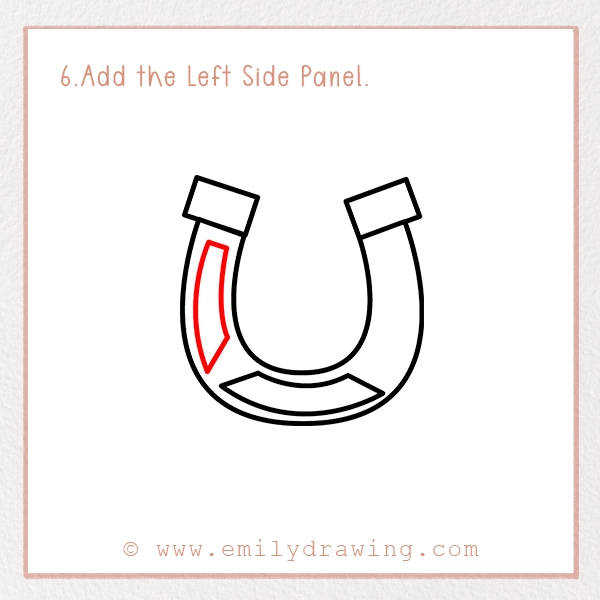
On the left side of the horseshoe, draw a long curved panel that follows the inner shape—almost like a banana or boomerang.
This adds style and makes the horseshoe look shiny and special!
Step 7 – Add the Right Side Panel.
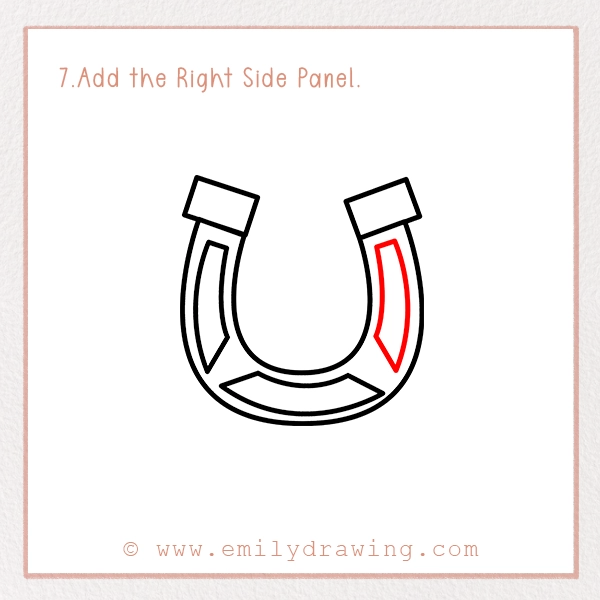
Now do the same on the right side—mirror the left panel.
Once this step is done, your horseshoe will look crafted and complete!
Fun Idea: Add little sparkles or shamrocks to these panels when you color!
Step 8 – Add Lucky Nail Holes.

Draw three or four small circles on each side panel—these are the nail holes that attach the horseshoe to the hoof.
Tip: Try to space them out evenly.
Fun Fact: Some people believe each nail hole brings extra luck!
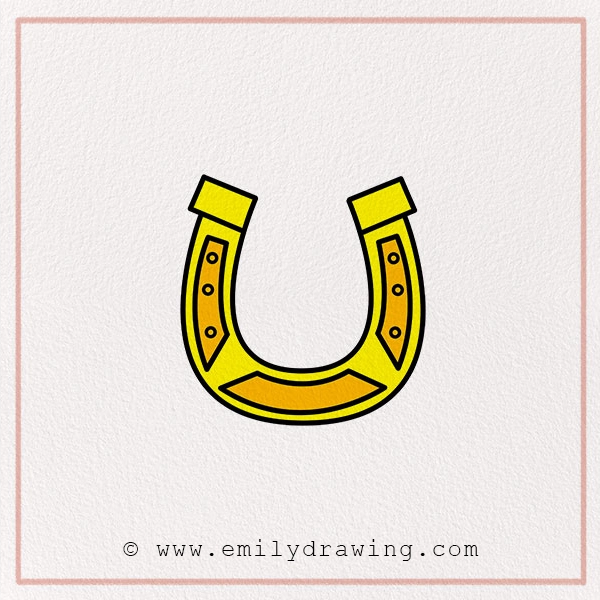
Step 9 – Color Your Drawing!
Now it’s time for the best part—coloring!
Coloring Ideas:
- Outer Horseshoe: Yellow or gold
- Inner Panels: Orange, bronze, or a darker gold
- Outline: Use black for boldness
- Extras: Add green shamrocks—like the ones you’ll find in our four-leaf clover drawing tutorial—rainbow sparkles, or even a tiny leprechaun!
Creative Tip: Use glitter pens or metallic markers to make it shimmer like real gold!
Pin it now, Draw later!
Fun Facts About Horseshoes
- Real horseshoes are made from strong metal and shaped to fit each horse’s hoof.
- Horseshoes facing up are believed to “catch luck,” while upside-down ones let the luck fall out.
- Long ago, people believed horseshoes could ward off evil spirits because they were made of iron.
Tips and Tricks for Better Drawing
- Start with light pencil lines—easy to erase and adjust.
- Sketch the main “U” first, then add the details.
- Don’t rush—take your time and enjoy each step!
- Try different sizes: a giant lucky horseshoe or a tiny one for a fairy horse!
You did it! You’ve completed a festive St. Patrick’s Day sketch of a magical, shiny, lucky horseshoe! Whether you hang it on your wall, add it to a greeting card, or just admire it in your notebook, your drawing is something to be proud of.
Drawing isn’t just about making pictures—it’s a way to express yourself, spread joy, and share your creativity with the world.
If you had fun, try drawing more festive creations—like this step-by-step four-leaf clover guide, or explore leprechauns, rainbows, and pots of gold!
Show off your artwork! Share your masterpiece with friends and family or post it online using #EmilyDrawing so others can be inspired by your lucky creation.
Keep drawing, keep imagining, and may your St. Patrick’s Day be filled with fun, creativity, and lots of good fortune! 🍀🎨
Get the FREE Printable Drawing Guide
FREE Download Printable Patrick’s Day Horseshoe Drawings Tutorials


I love Horses 🐎