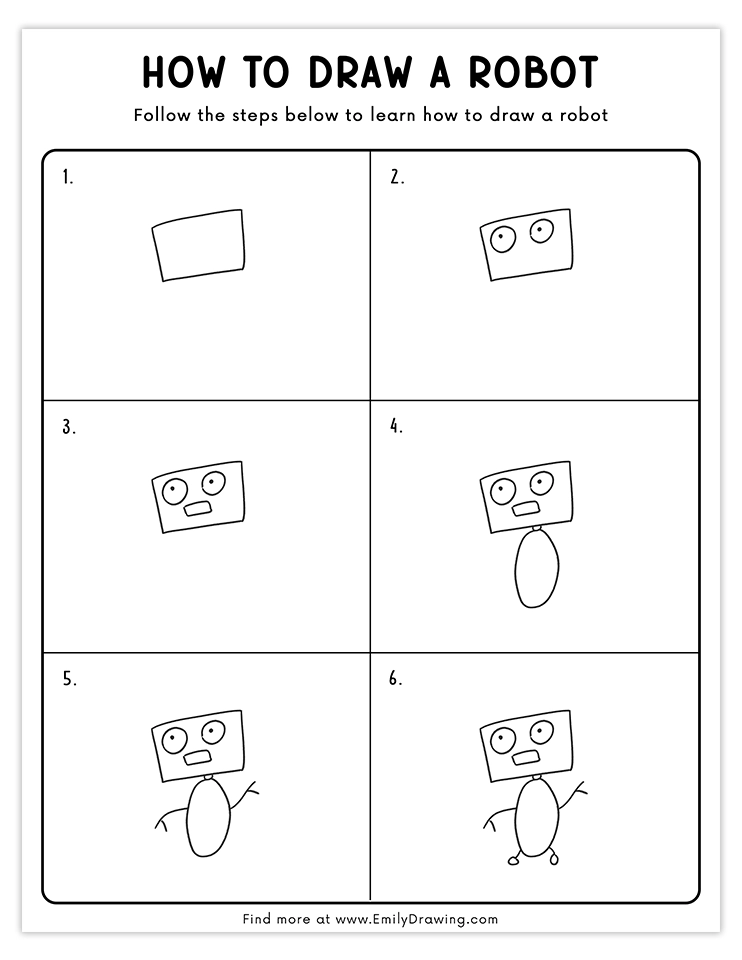
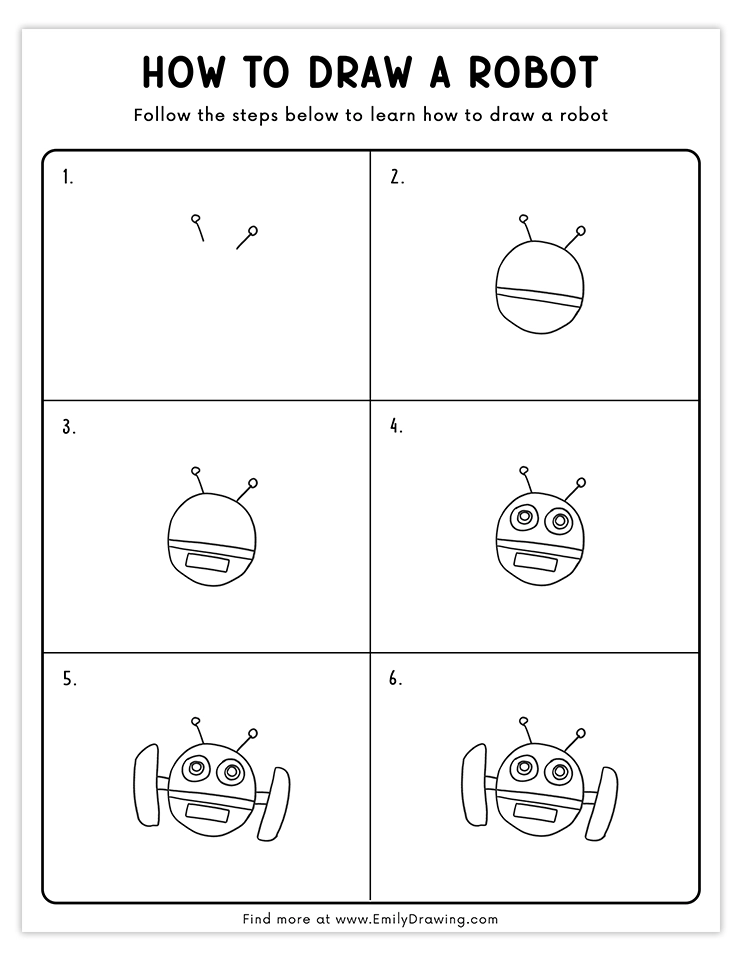
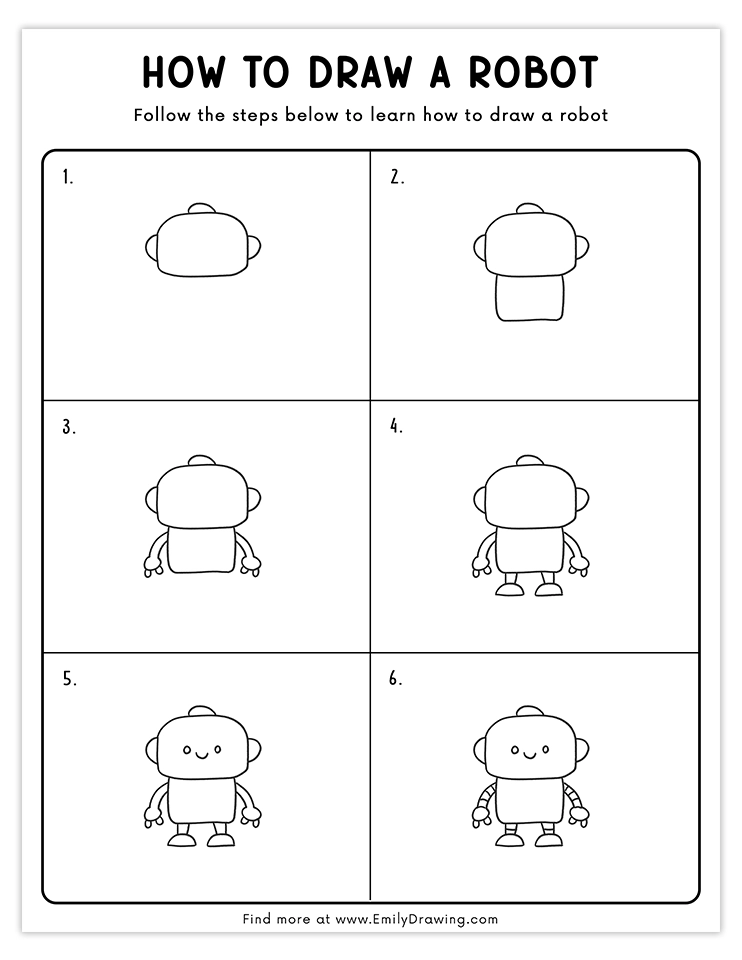
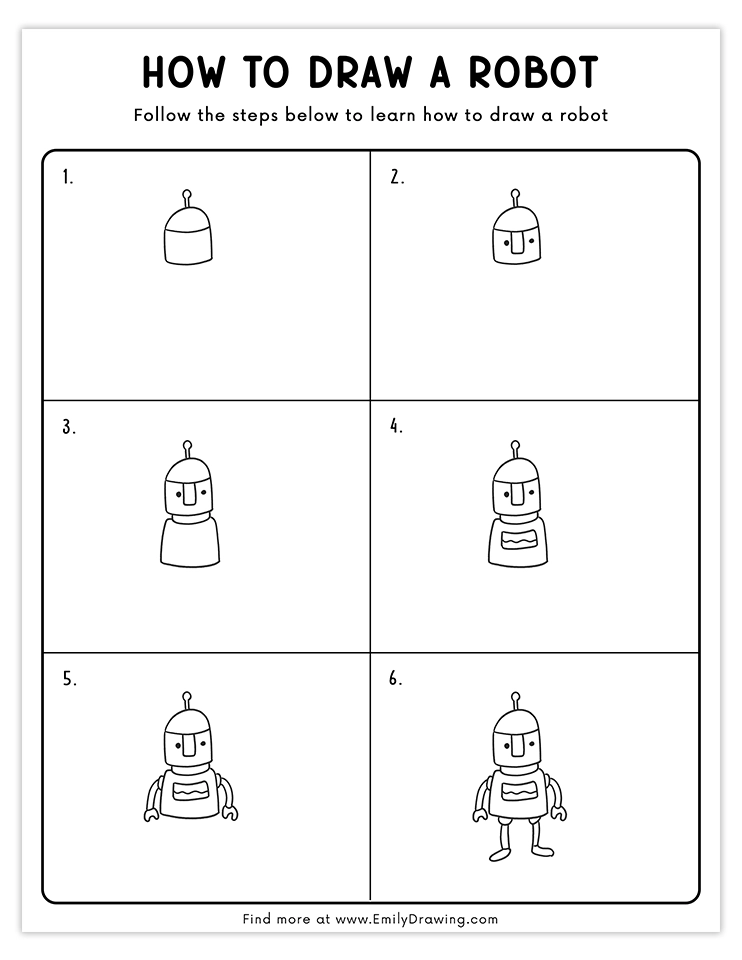
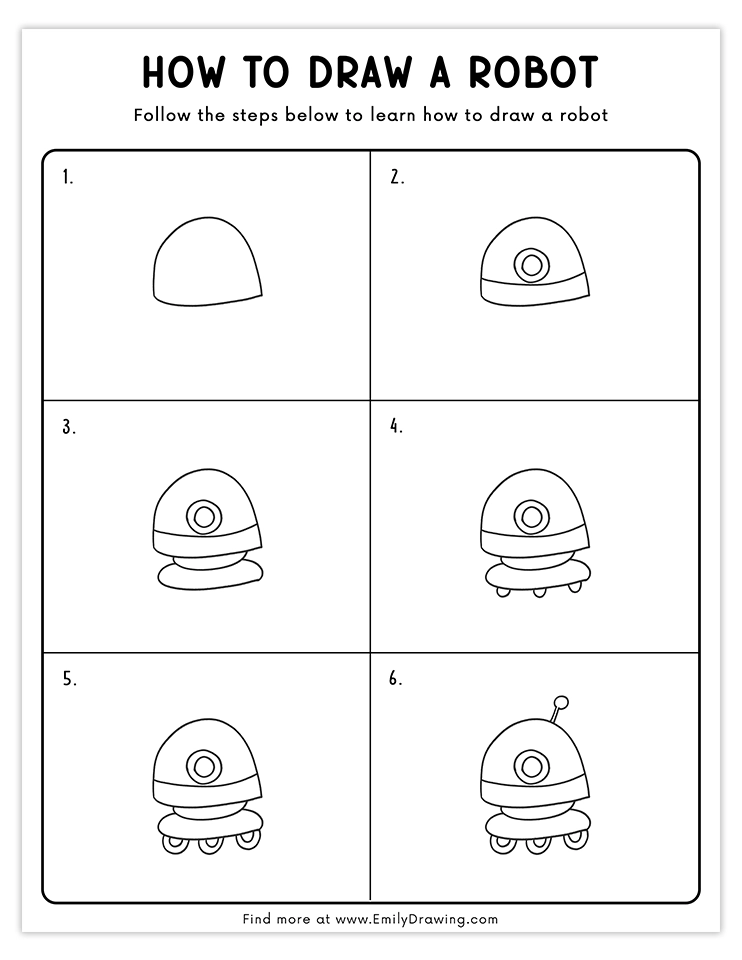
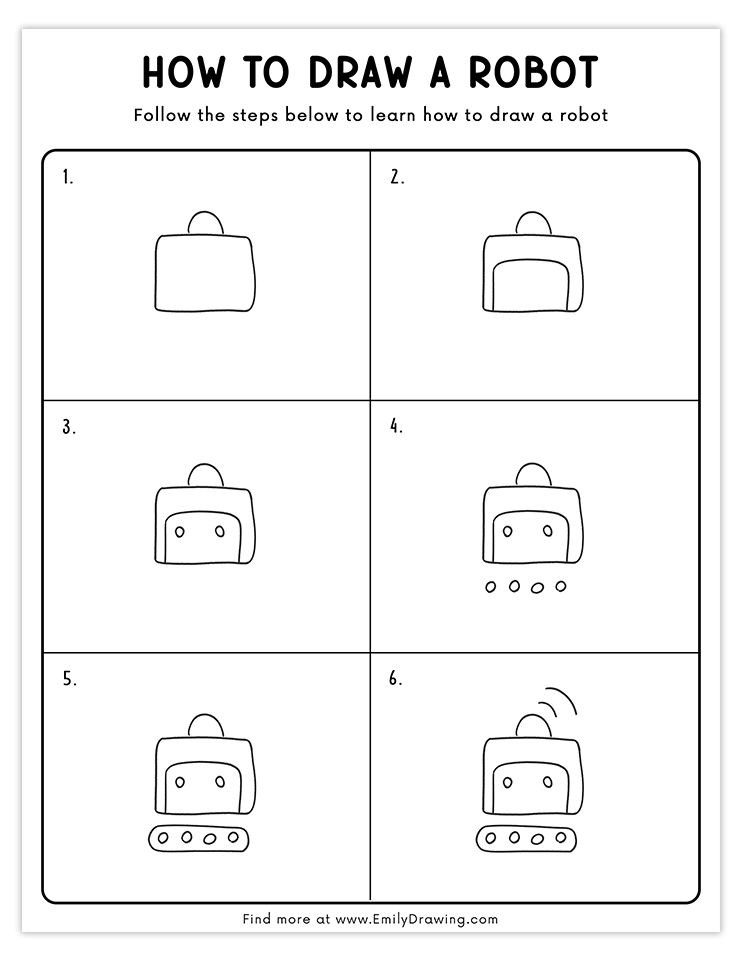
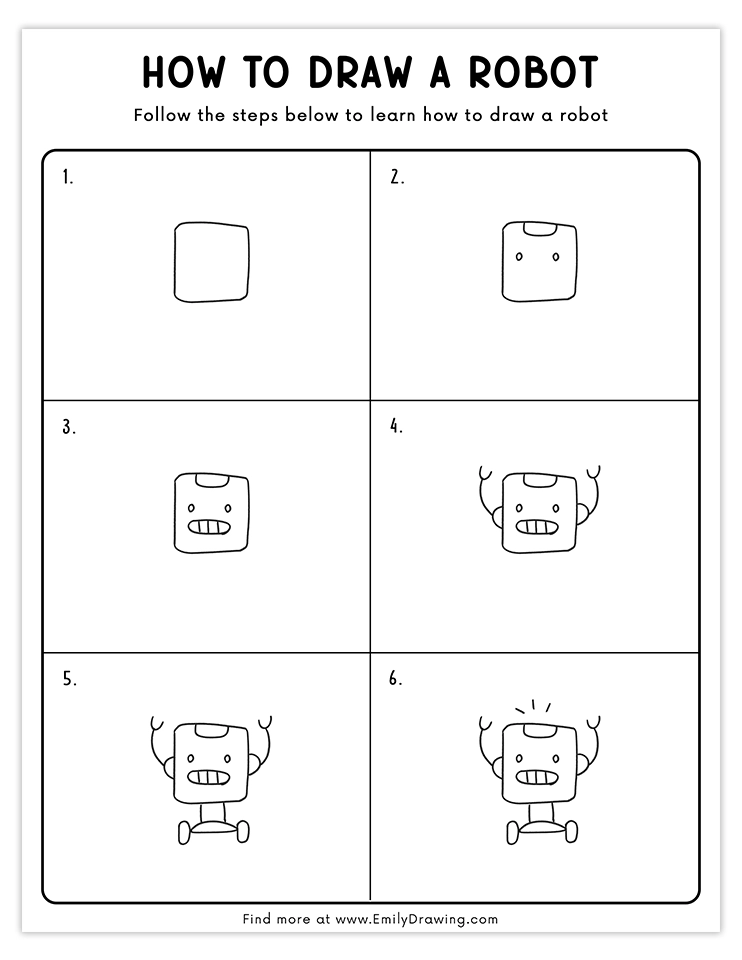
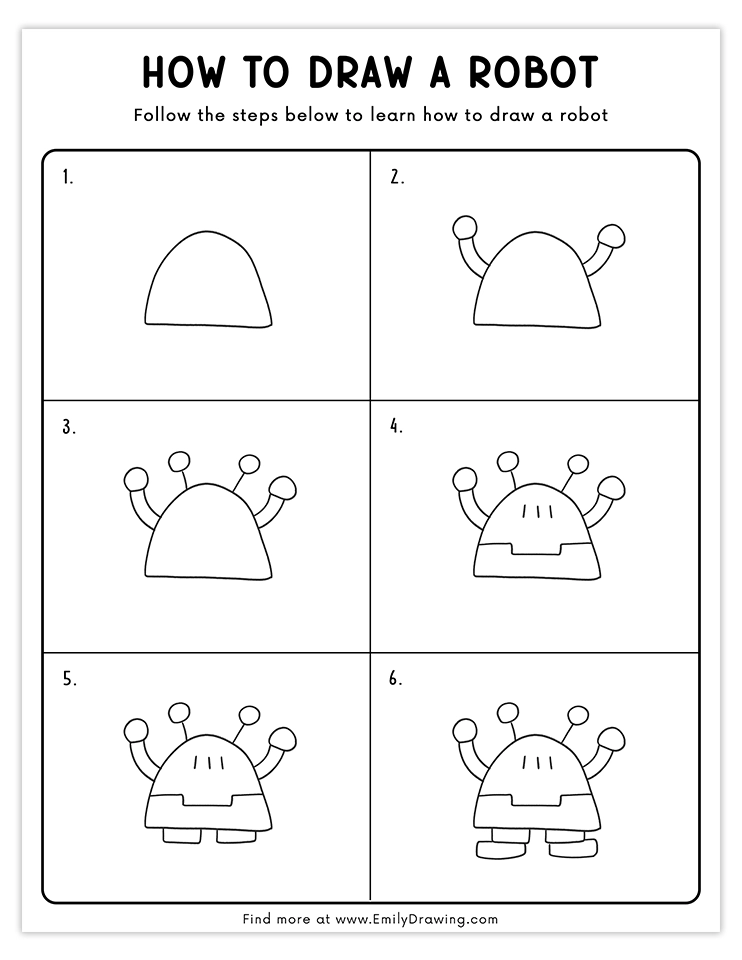
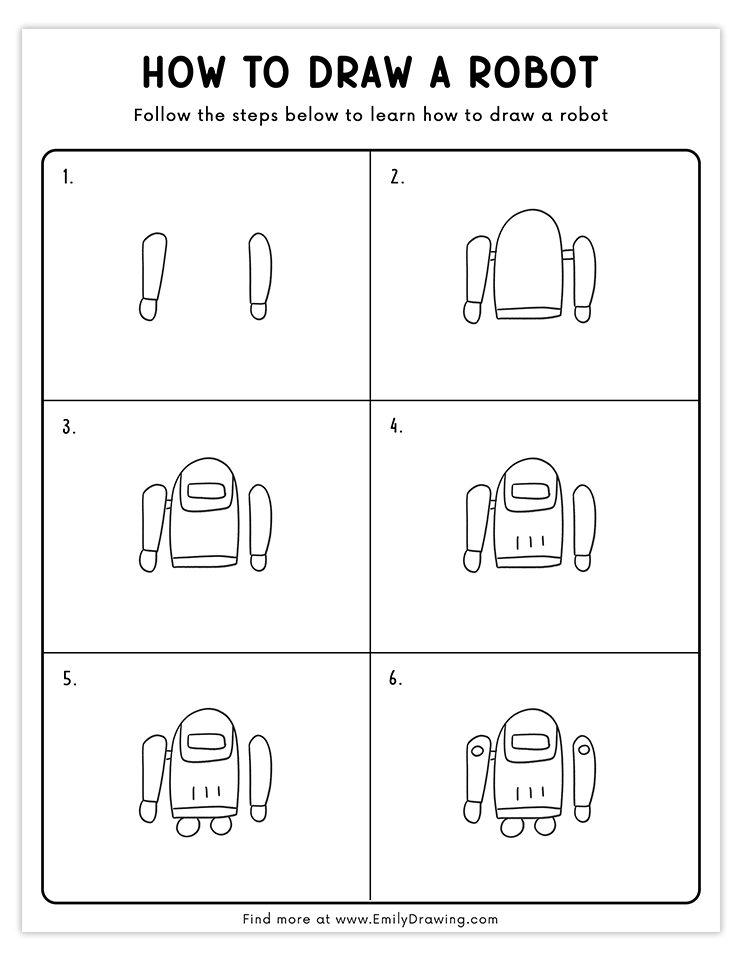
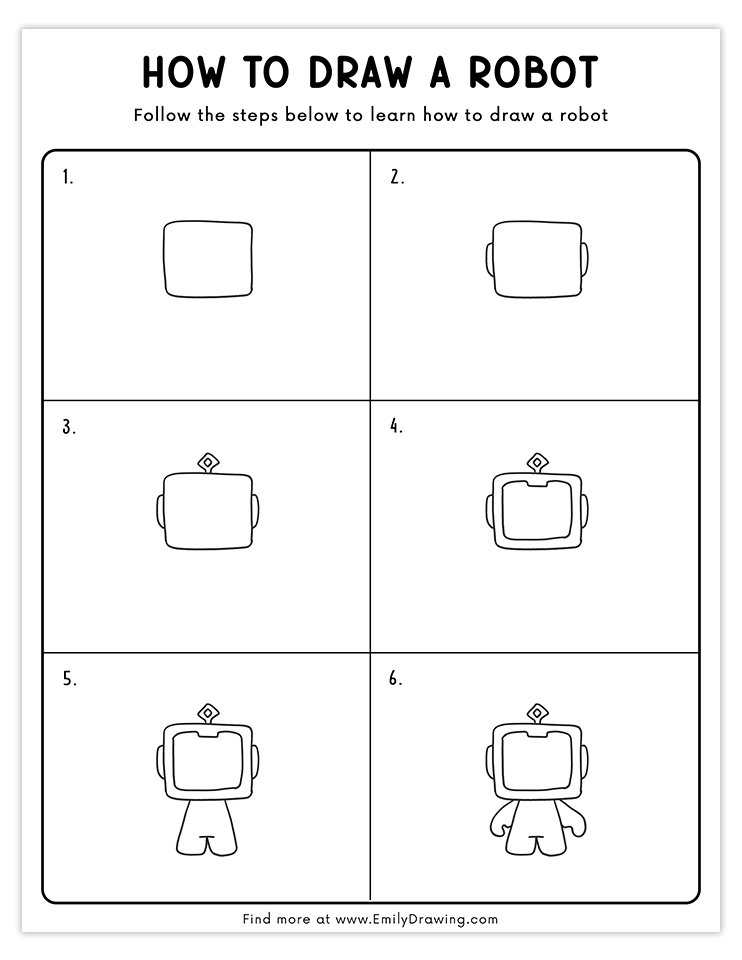
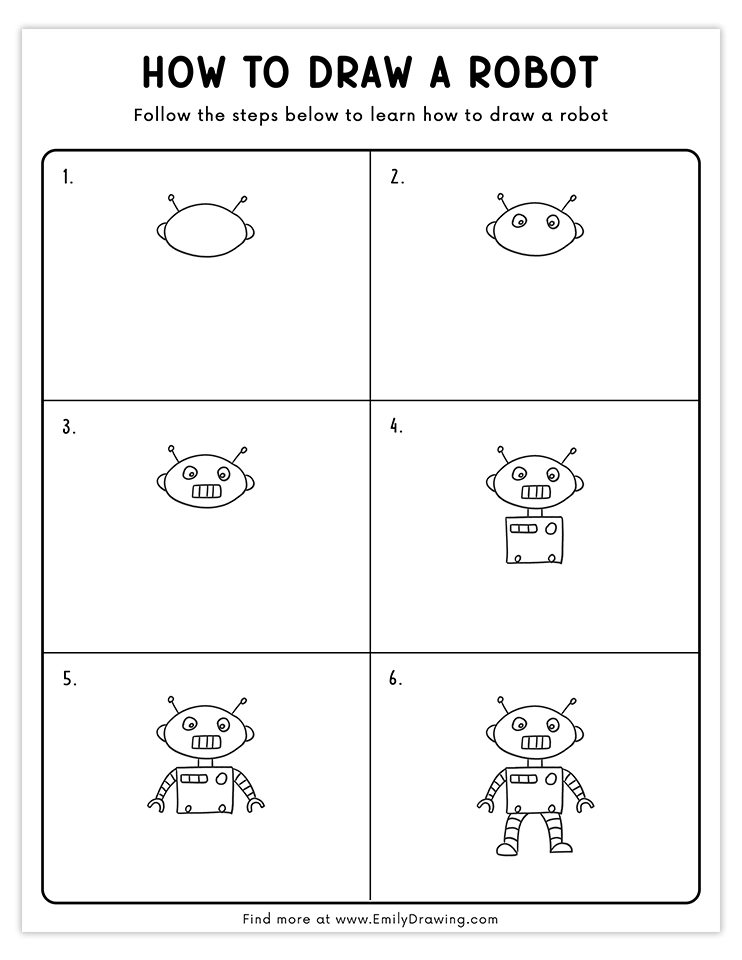
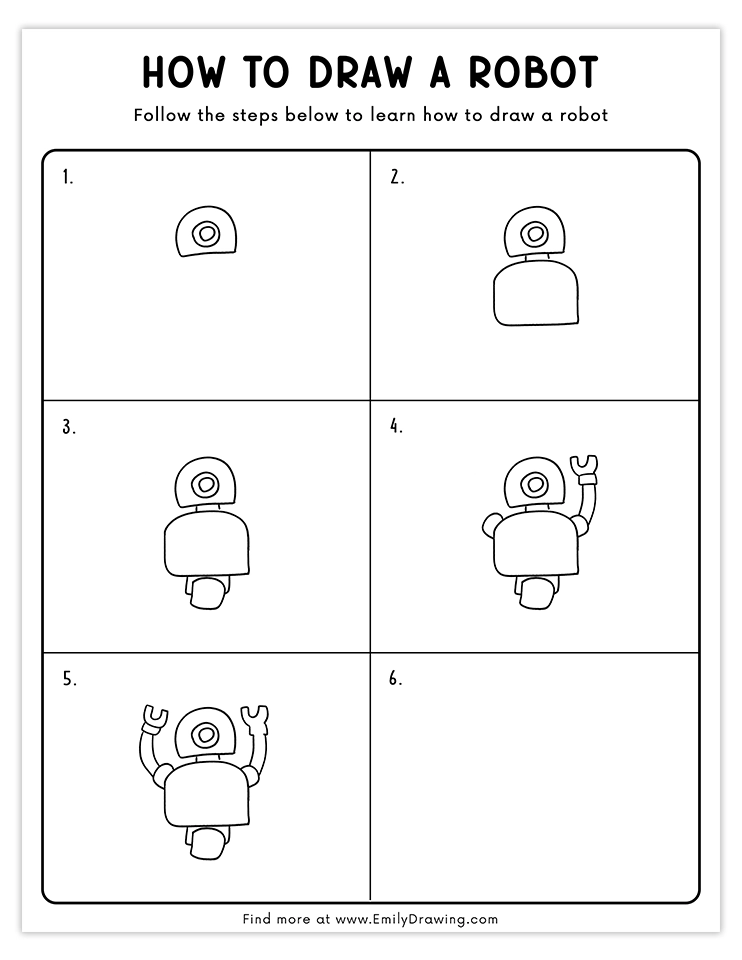
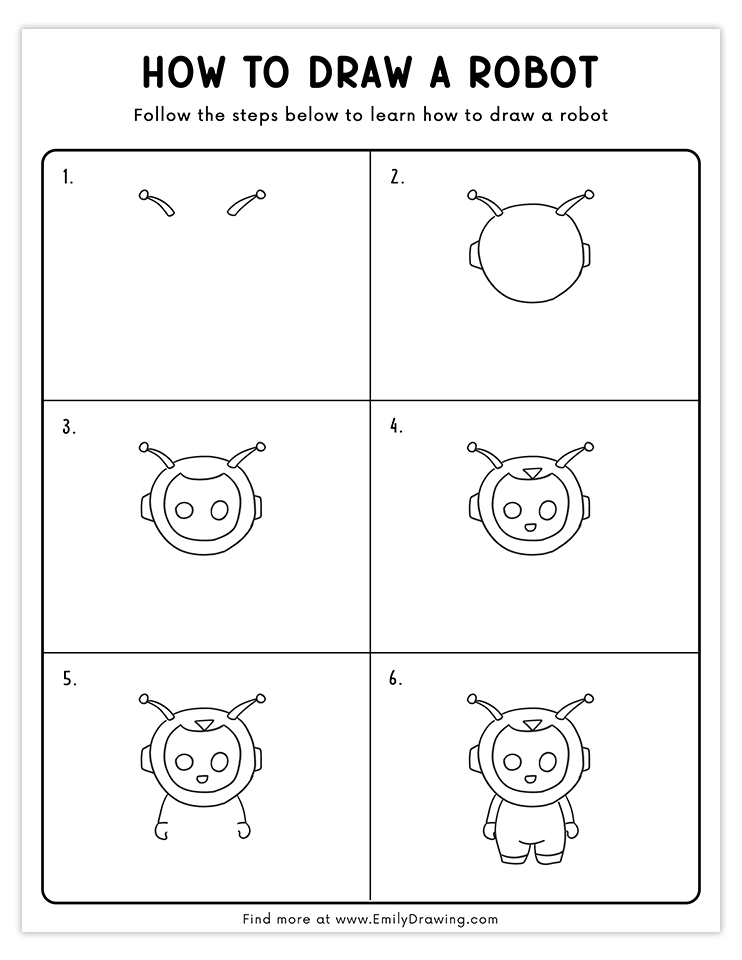
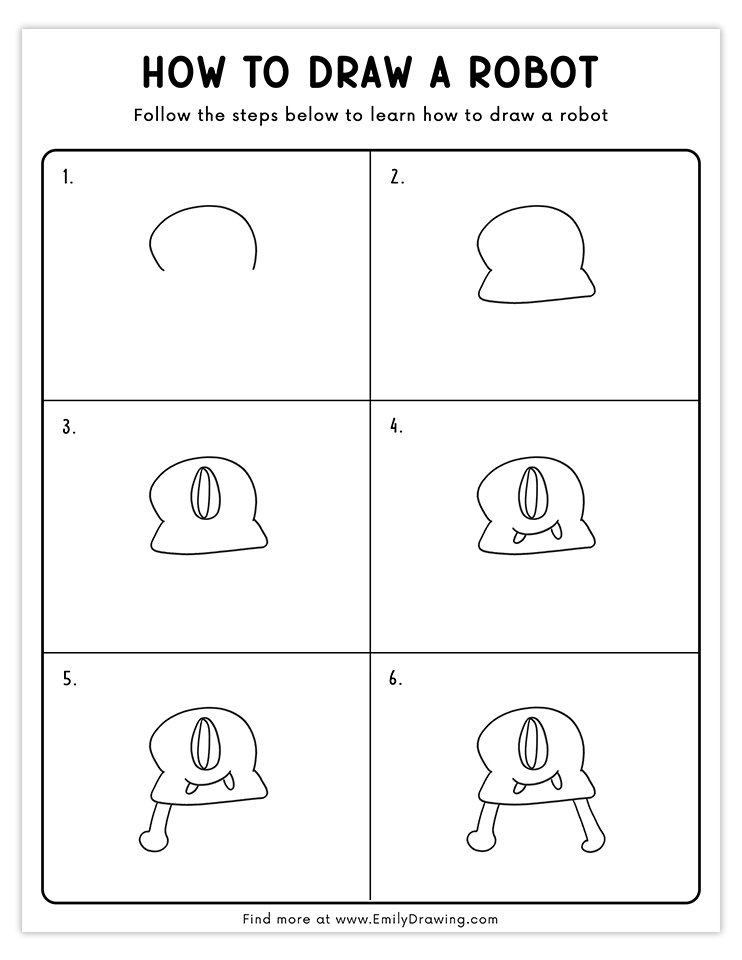
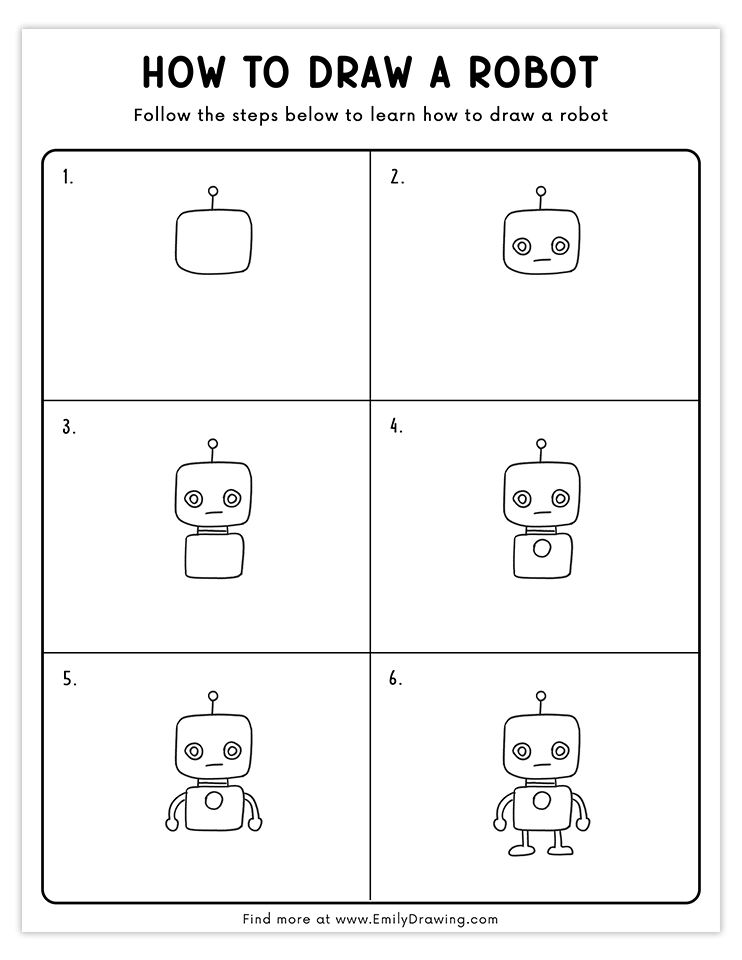
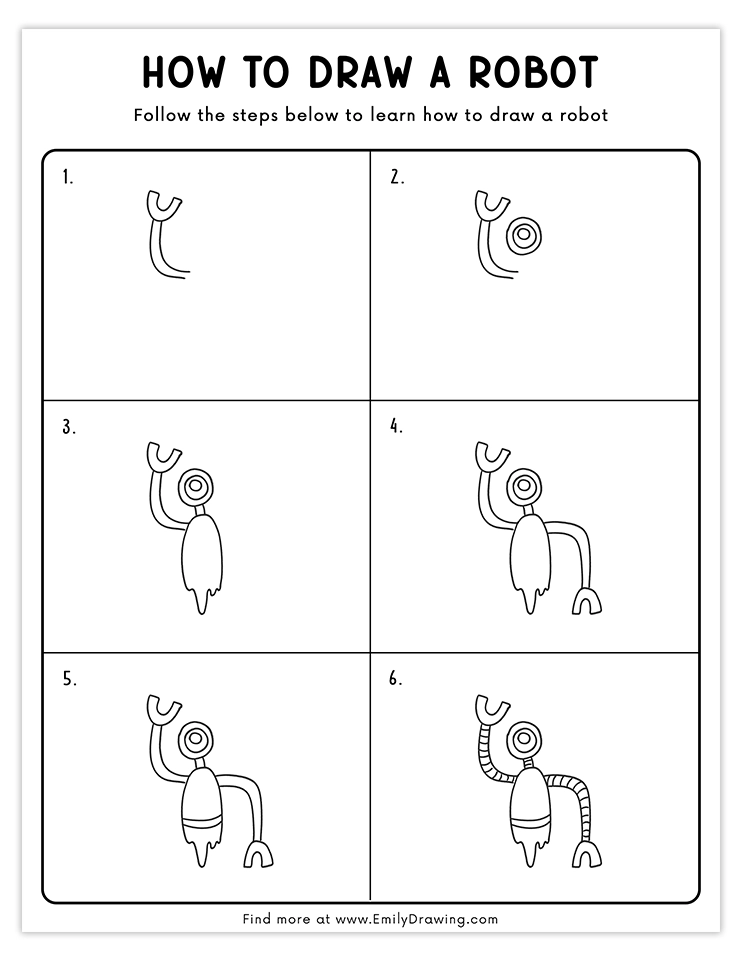
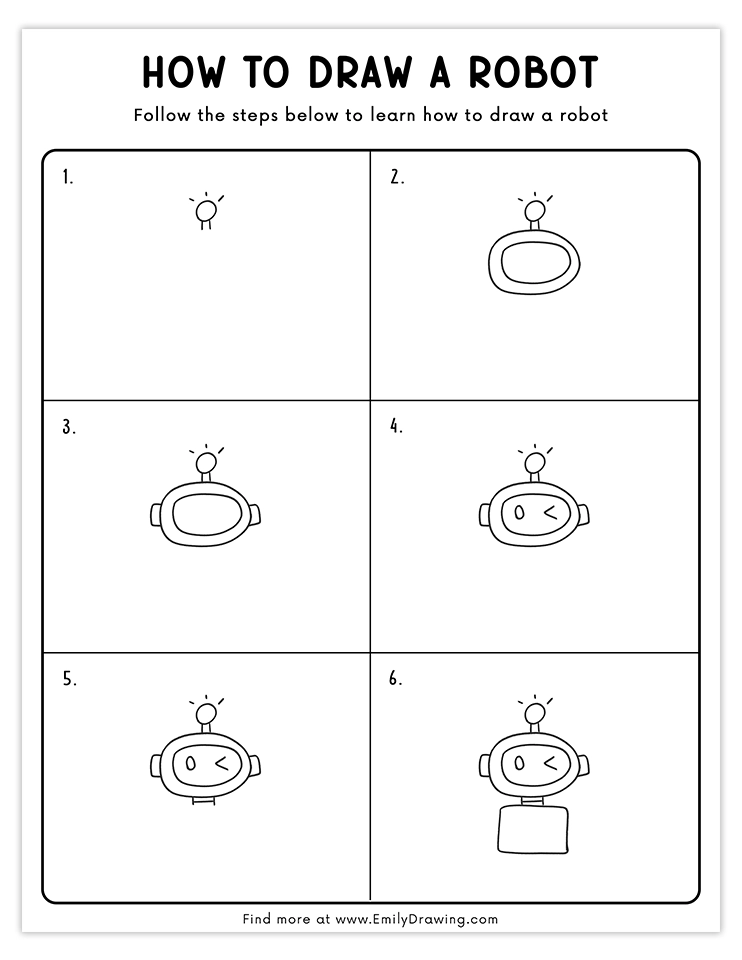
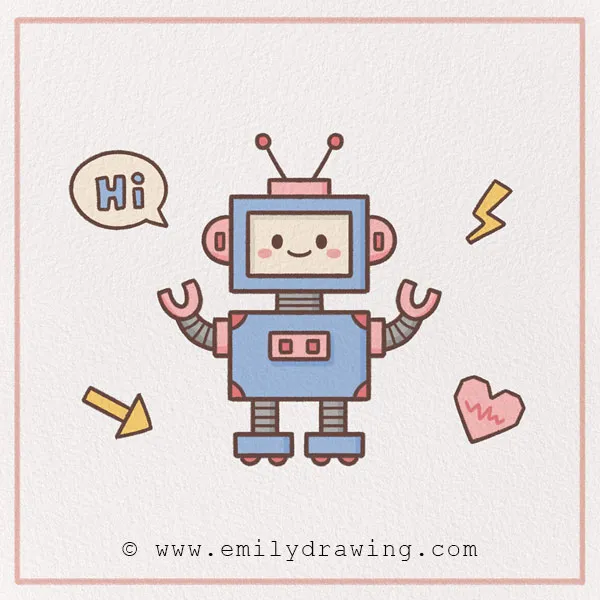
Hello, and welcome to another ten-step tutorial. Today, we are going to draw a robot together!
In the past, robots seemed futuristic, but they actually exist now! Robots are normally thought of as machines that resemble human beings. Additionally, they can perform some functions that a human can do. Surely you’ve seen some movies with robots! One famous robot movie is Wall-E from Pixar—if you’re into space-themed characters, try our step-by-step guide on how to draw an astronaut.
There are lots of different kinds of robots. Have you ever gotten to see one in person? They are a fascinating invention, just like aliens—which you can learn to draw in our alien tutorial! One day, robots may be able to do a lot of different functions! It is a huge area of study in science, much like space exploration—check out our guide on how to draw a spaceship for a fun sci-fi-themed activity.
Let’s get started. Keep reading to learn to draw a robot in just ten simple steps!
Materials:
- a piece of paper
- a pencil for the guiding lines and sketching
- an eraser
- a black sharpie or a pen for the outlines
- markers or colored pencils for coloring
- our printable drawing guide (Join my Email List below to get this Tutorial)
Here are my RECOMMENDED Art Supplies!
- Crayola Coloring Set (140 Pieces – Mega Value!)
- 24 Colored Crayon Set
- A4 Printer Paper
- Crayola Coloring Pencils
- HP Home Printer with Instant Ink!
Time needed:
13 minutes.
How to Draw a Robot — Let’s get started!
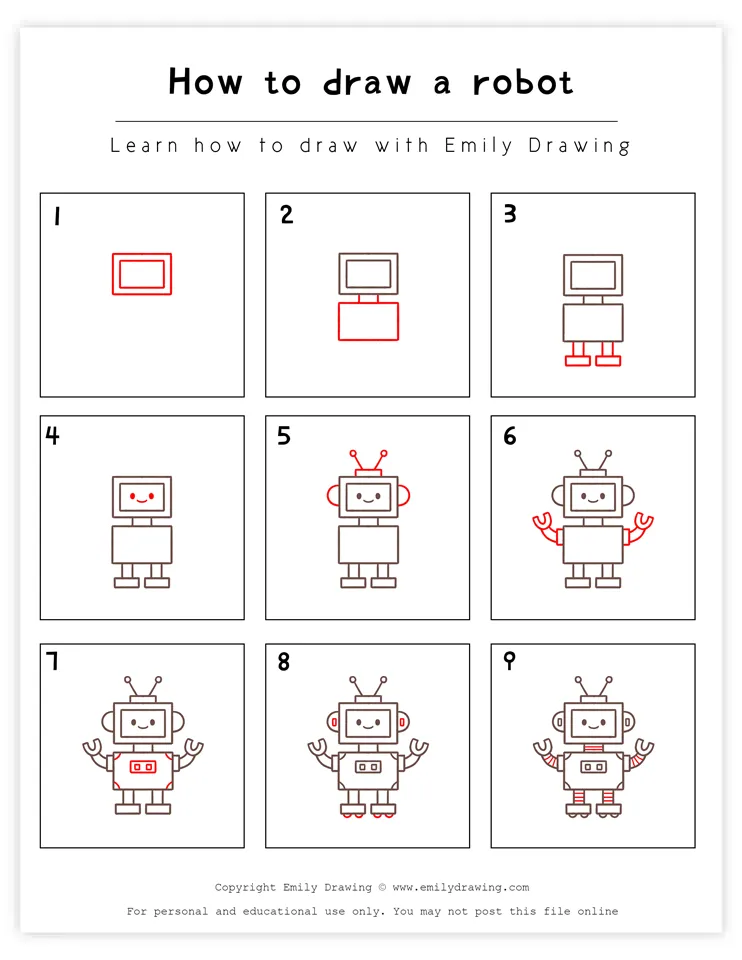
Step 1 – Draw the head of the robot.
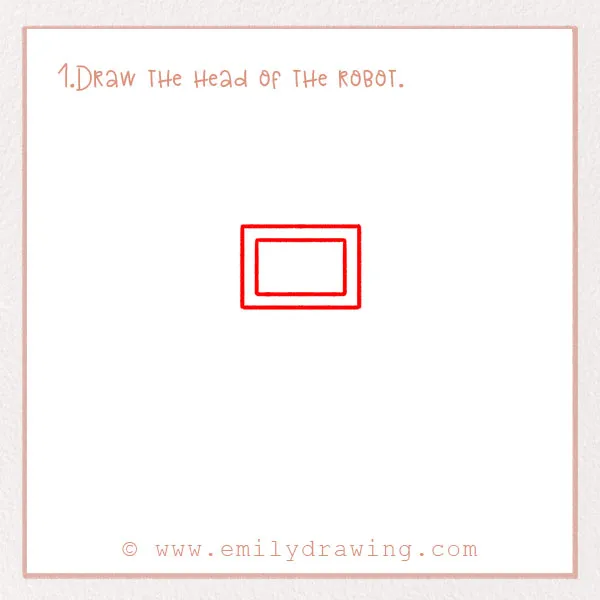
Our robot will kind of have a more mechanical appearance of a human being. Let’s start with the head. Draw a rectangle near the middle of the page. Draw a smaller rectangle inside it to create the base of your easy robot sketch.
We’re off to a good start!
Step 2 – Draw the torso of the robot.
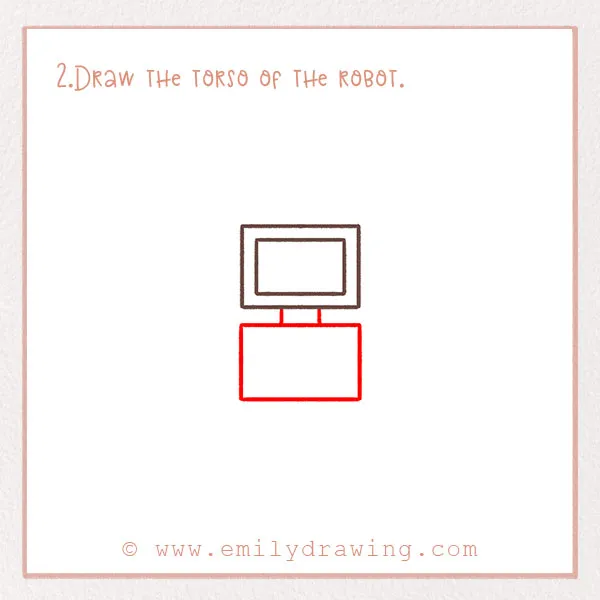
Let’s move on to the robot’s torso. Draw two short lines for the neck, and then below that, draw a rectangle identical to the first one in Step 1—just like the body shape you might use in our astronaut drawing tutorial. This is the torso of the robot.
Step 3 – Draw the legs and feet.
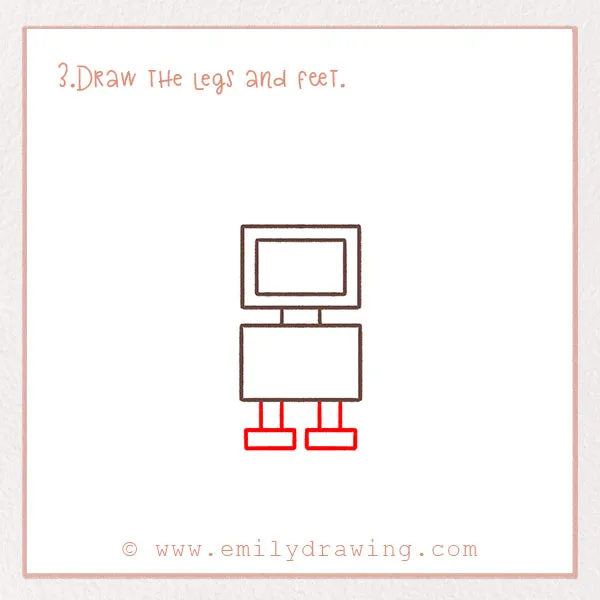
Let’s keep going. Draw two short rectangles for legs, followed by two more rectangles for feet—similar to the legs in our robot unicorn tutorial, which adds a magical twist! Now our robot can walk!
Step 4 – Add a face!
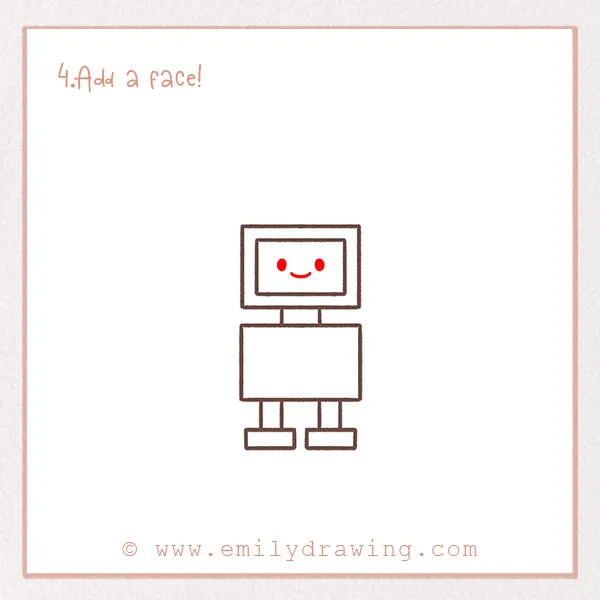
Like we said, many robots we see in movies and TV resemble humans, but are really machines. To make our robot look more human-like, we need to draw a face!
Draw two dots for eyes and a small curve for a smile. The robot looks friendly now!
Step 5 – Add more detail to the head.
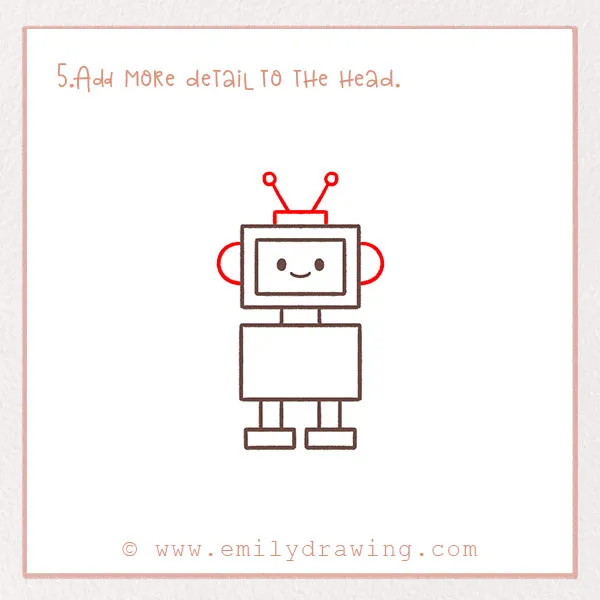
Instead of hair, our robot will have antennae! Draw a small skinny rectangle on top of the head. Next, draw two slanted lines for the antenna. Next, draw circles at the top of them.
We also need to add ears! Draw two large curves on the side of the rectangular head. These are the ears.
Step 6 – Add its arms.
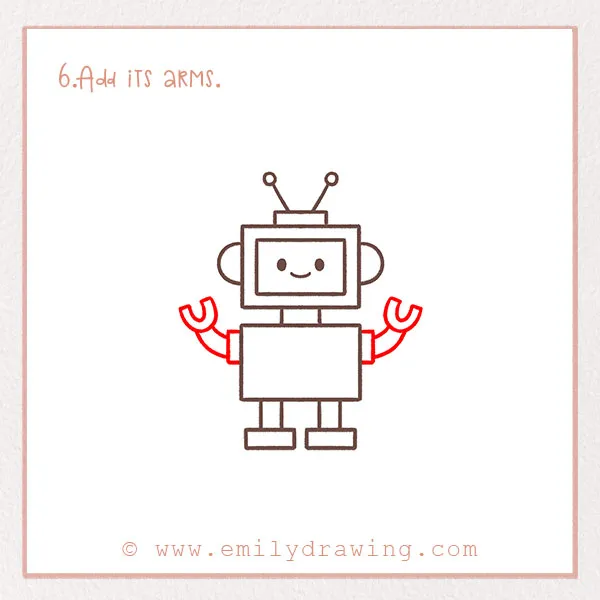
Next, let’s complete the overall shape of the robot. It still needs arms! Draw tiny little rectangles for sleeves. Next, draw small curved shapes for the arms. They should be extending upwards.
Lastly, draw little claws for hands!
Step 7 – Draw more detail on the body.
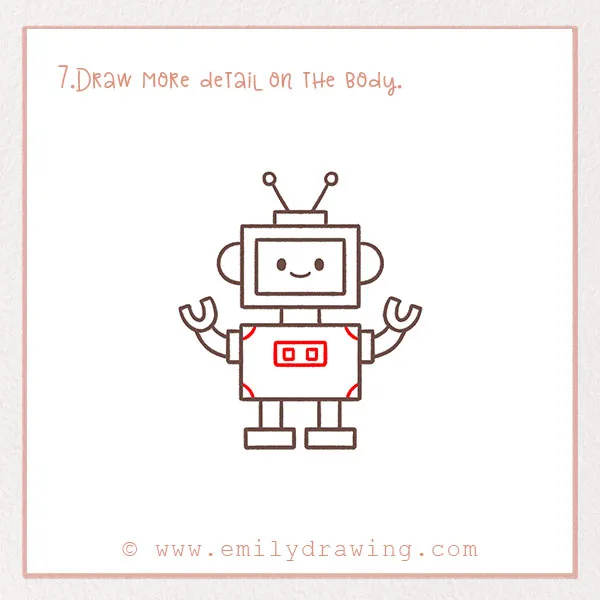
We want to add to the mechanical look of the robot. We need to add a little control panel! Robots need to be turned off and on to work.
Draw a smaller rectangle inside the torso. Draw two squares inside that. Additionally, draw little triangles in the corner of the torso. Refer to the photo.
Great job!
Step 8 – Add more detail to the robot.
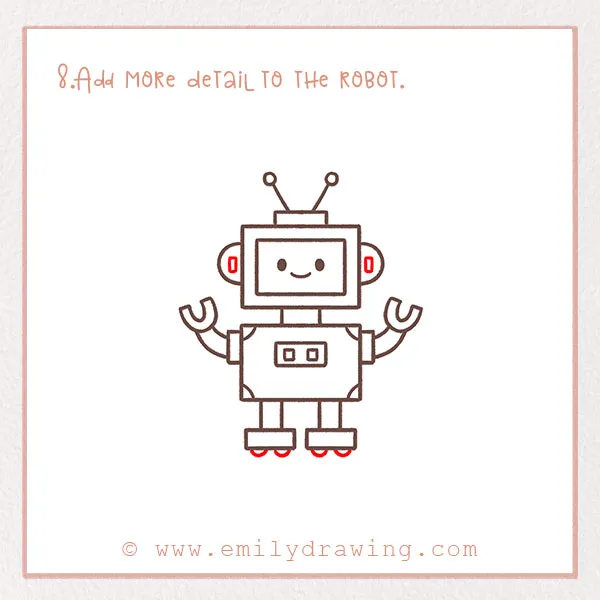
Once again, we’re just going to add little details to make our robot look more complete. Draw little rectangles inside each ear. Additionally, add little curves below the feet.
We’re almost done!
Step 9 – Add the finishing touches.
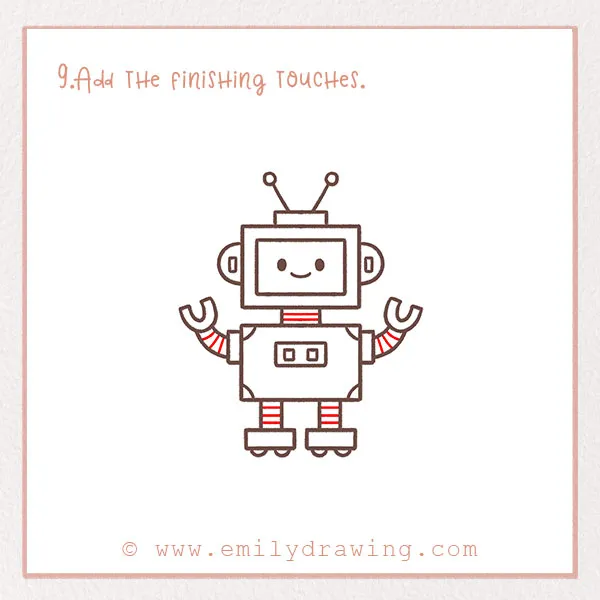
We just need to add several markings around the robot to give it the finishing touches.
Draw small lines through the arms, legs, and neck of the robot. This makes it look even more mechanical. Check out the photo!
Step 10 – Color!

Robots can be any color. We may think of them as grey because they are machines, but the possibilities are limitless—just like when you’re designing your own spaceship drawing!
Have fun in this step—make your robot totally yours! For an even more whimsical twist, try our tutorial on how to draw a robot unicorn. Color in the rest of the page, too! If you want to explore another imaginative design, try coloring your own alien from our drawing guide.
Pin it now, Draw later!
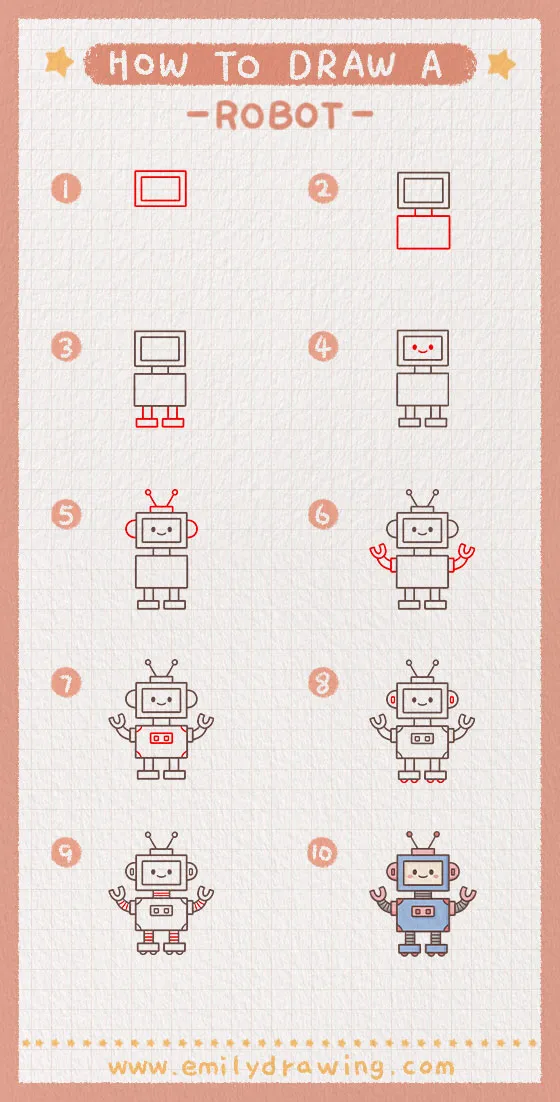
You are all done—fantastic job! We hope you loved the tutorial and are proud of your drawing. If you enjoyed this, you might also like our monster drawing tutorial for another fun and creative character. If you enjoyed this format, you can find many more exactly like it on the website. Be sure to browse around the site to find different plant, animal, and food tutorials!
Get the FREE Printable Drawing Guide
FREE Download Printable Robot Drawings Tutorials
