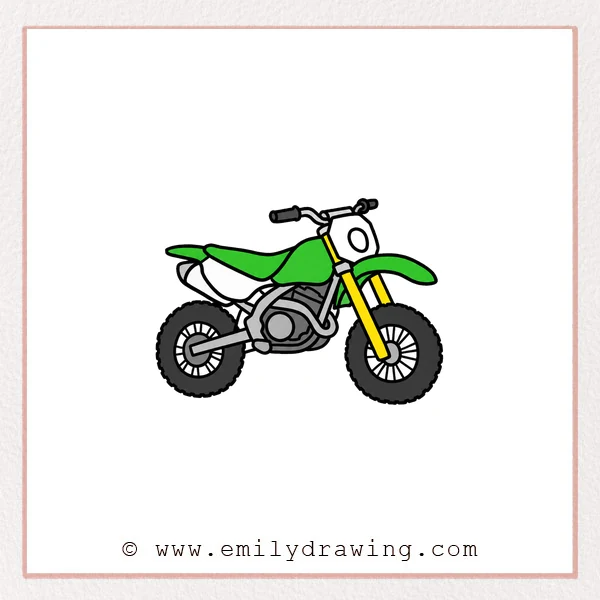
Learn how to draw a dirt bike from its handlebars to its rugged wheels. This step-by-step drawing organizes the mechanical parts into six clear beginner-friendly stages.
What You Will Need
- Drawing paper
- Pencil and eraser
- Black pen or marker
Here are my RECOMMENDED Art Supplies!
- Crayola Coloring Set (140 Pieces – Mega Value!)
- 24 Colored Crayon Set
- A4 Printer Paper
- Crayola Coloring Pencils
- HP Home Printer with Instant Ink!
Time needed:
22 minutes.
Step-by-Step Drawing Guide
Step 1: Draw the Handlebars and headlight
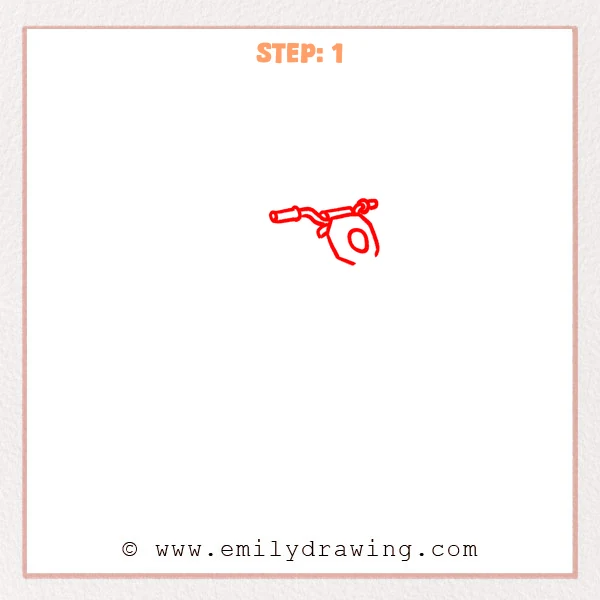
Draw a curved handlebar with grips and small controls at both ends. Add an angled headlight.
Pro Tip: Keep the handlebar narrow compared with the future wheel width.
Step 2: Add the Fork and Fender
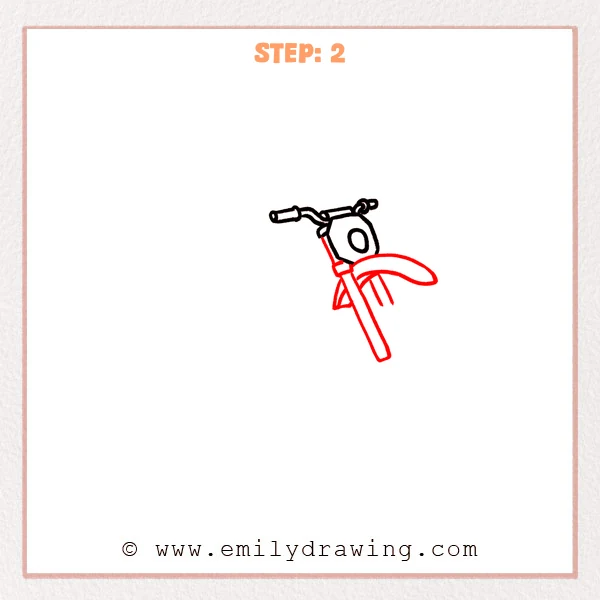
Extend two long parallel fork lines downward from the steering area. Add a sweeping front fender and several small support shapes behind it.
Pro Tip: Maintain an even gap between both fork edges.
Step 3: Draw the Front Wheel
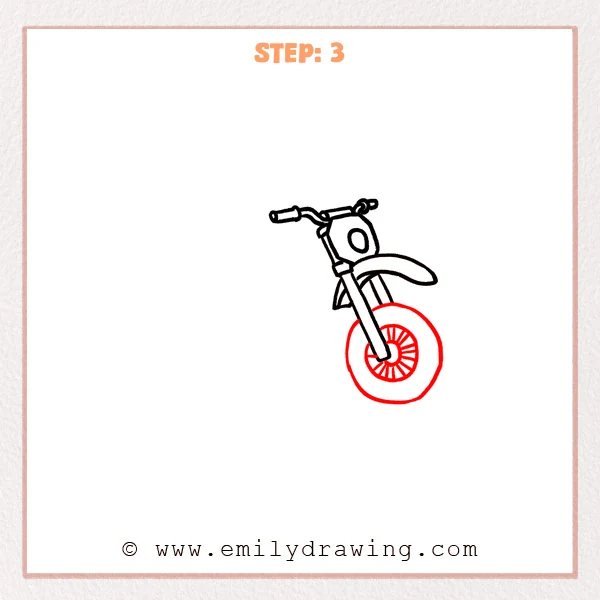
Center a large circular tire beneath the fender. Add a smaller hub ring and many straight spokes radiating outward.
Pro Tip: Mark the hub first so every spoke meets one center.
Step 4: Shape the Seat and Rear Body
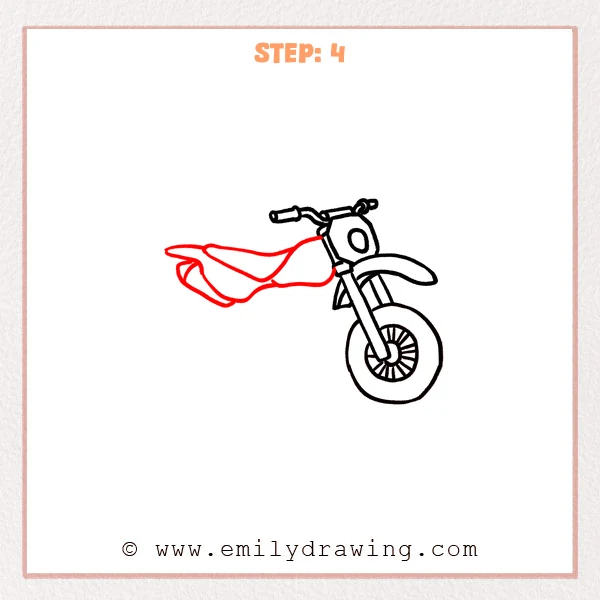
Extend a long pointed seat toward the left. Draw layered side panels and a small rear fender beneath its back end.
Pro Tip: Slope the seat gently upward toward the rear tip.
Step 5: Add the Engine
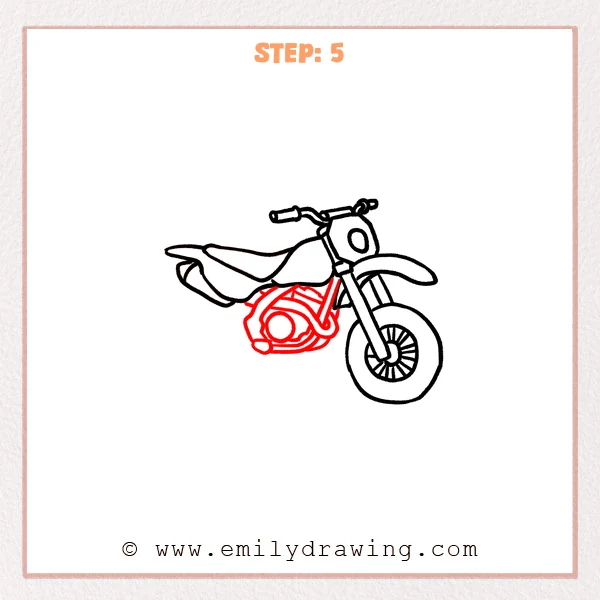
Build the engine from a large circle, surrounding angular covers, and curved pipes. Connect it beneath the seat with sturdy frame lines.
Pro Tip: Draw the largest engine circle before adding smaller overlapping parts.
Step 6: Finish the Rear Wheel
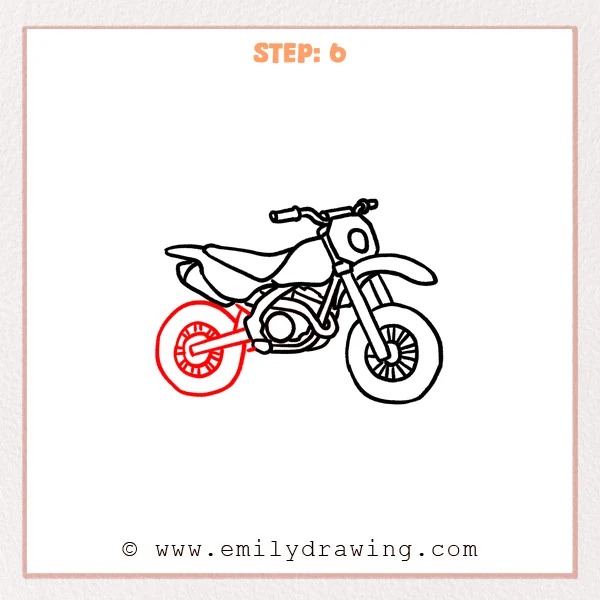
Draw a second large tire beneath the back of the seat. Add its hub, short spokes, and a long swingarm connecting forward.
Pro Tip: Match the outer diameters of the front and rear tires.
Step 7: Color in your drawing!
Fun Facts
- Dirt bikes use knobby tires to improve grip on loose ground.
- Their long suspension helps absorb bumps and jumps on rough terrain.
- A high front fender leaves extra clearance above the tire for mud.
Pin it now, Draw later!
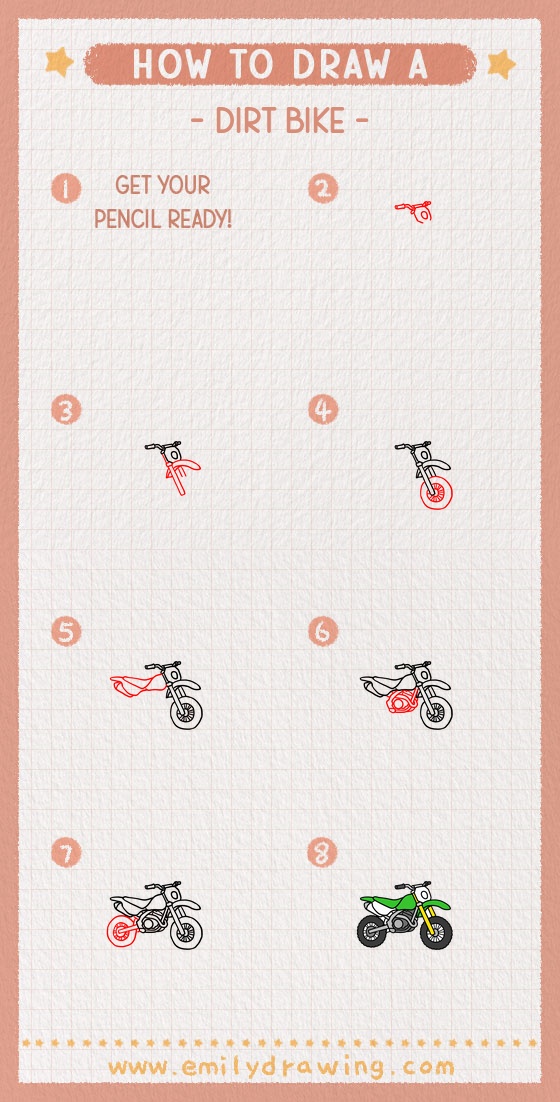
Erase overlapping guides and reinforce the main frame and tire outlines. Your easy dirt bike drawing is complete, so add tread marks, racing colors, and a dusty trail.
Get the FREE Printable Drawing Guide
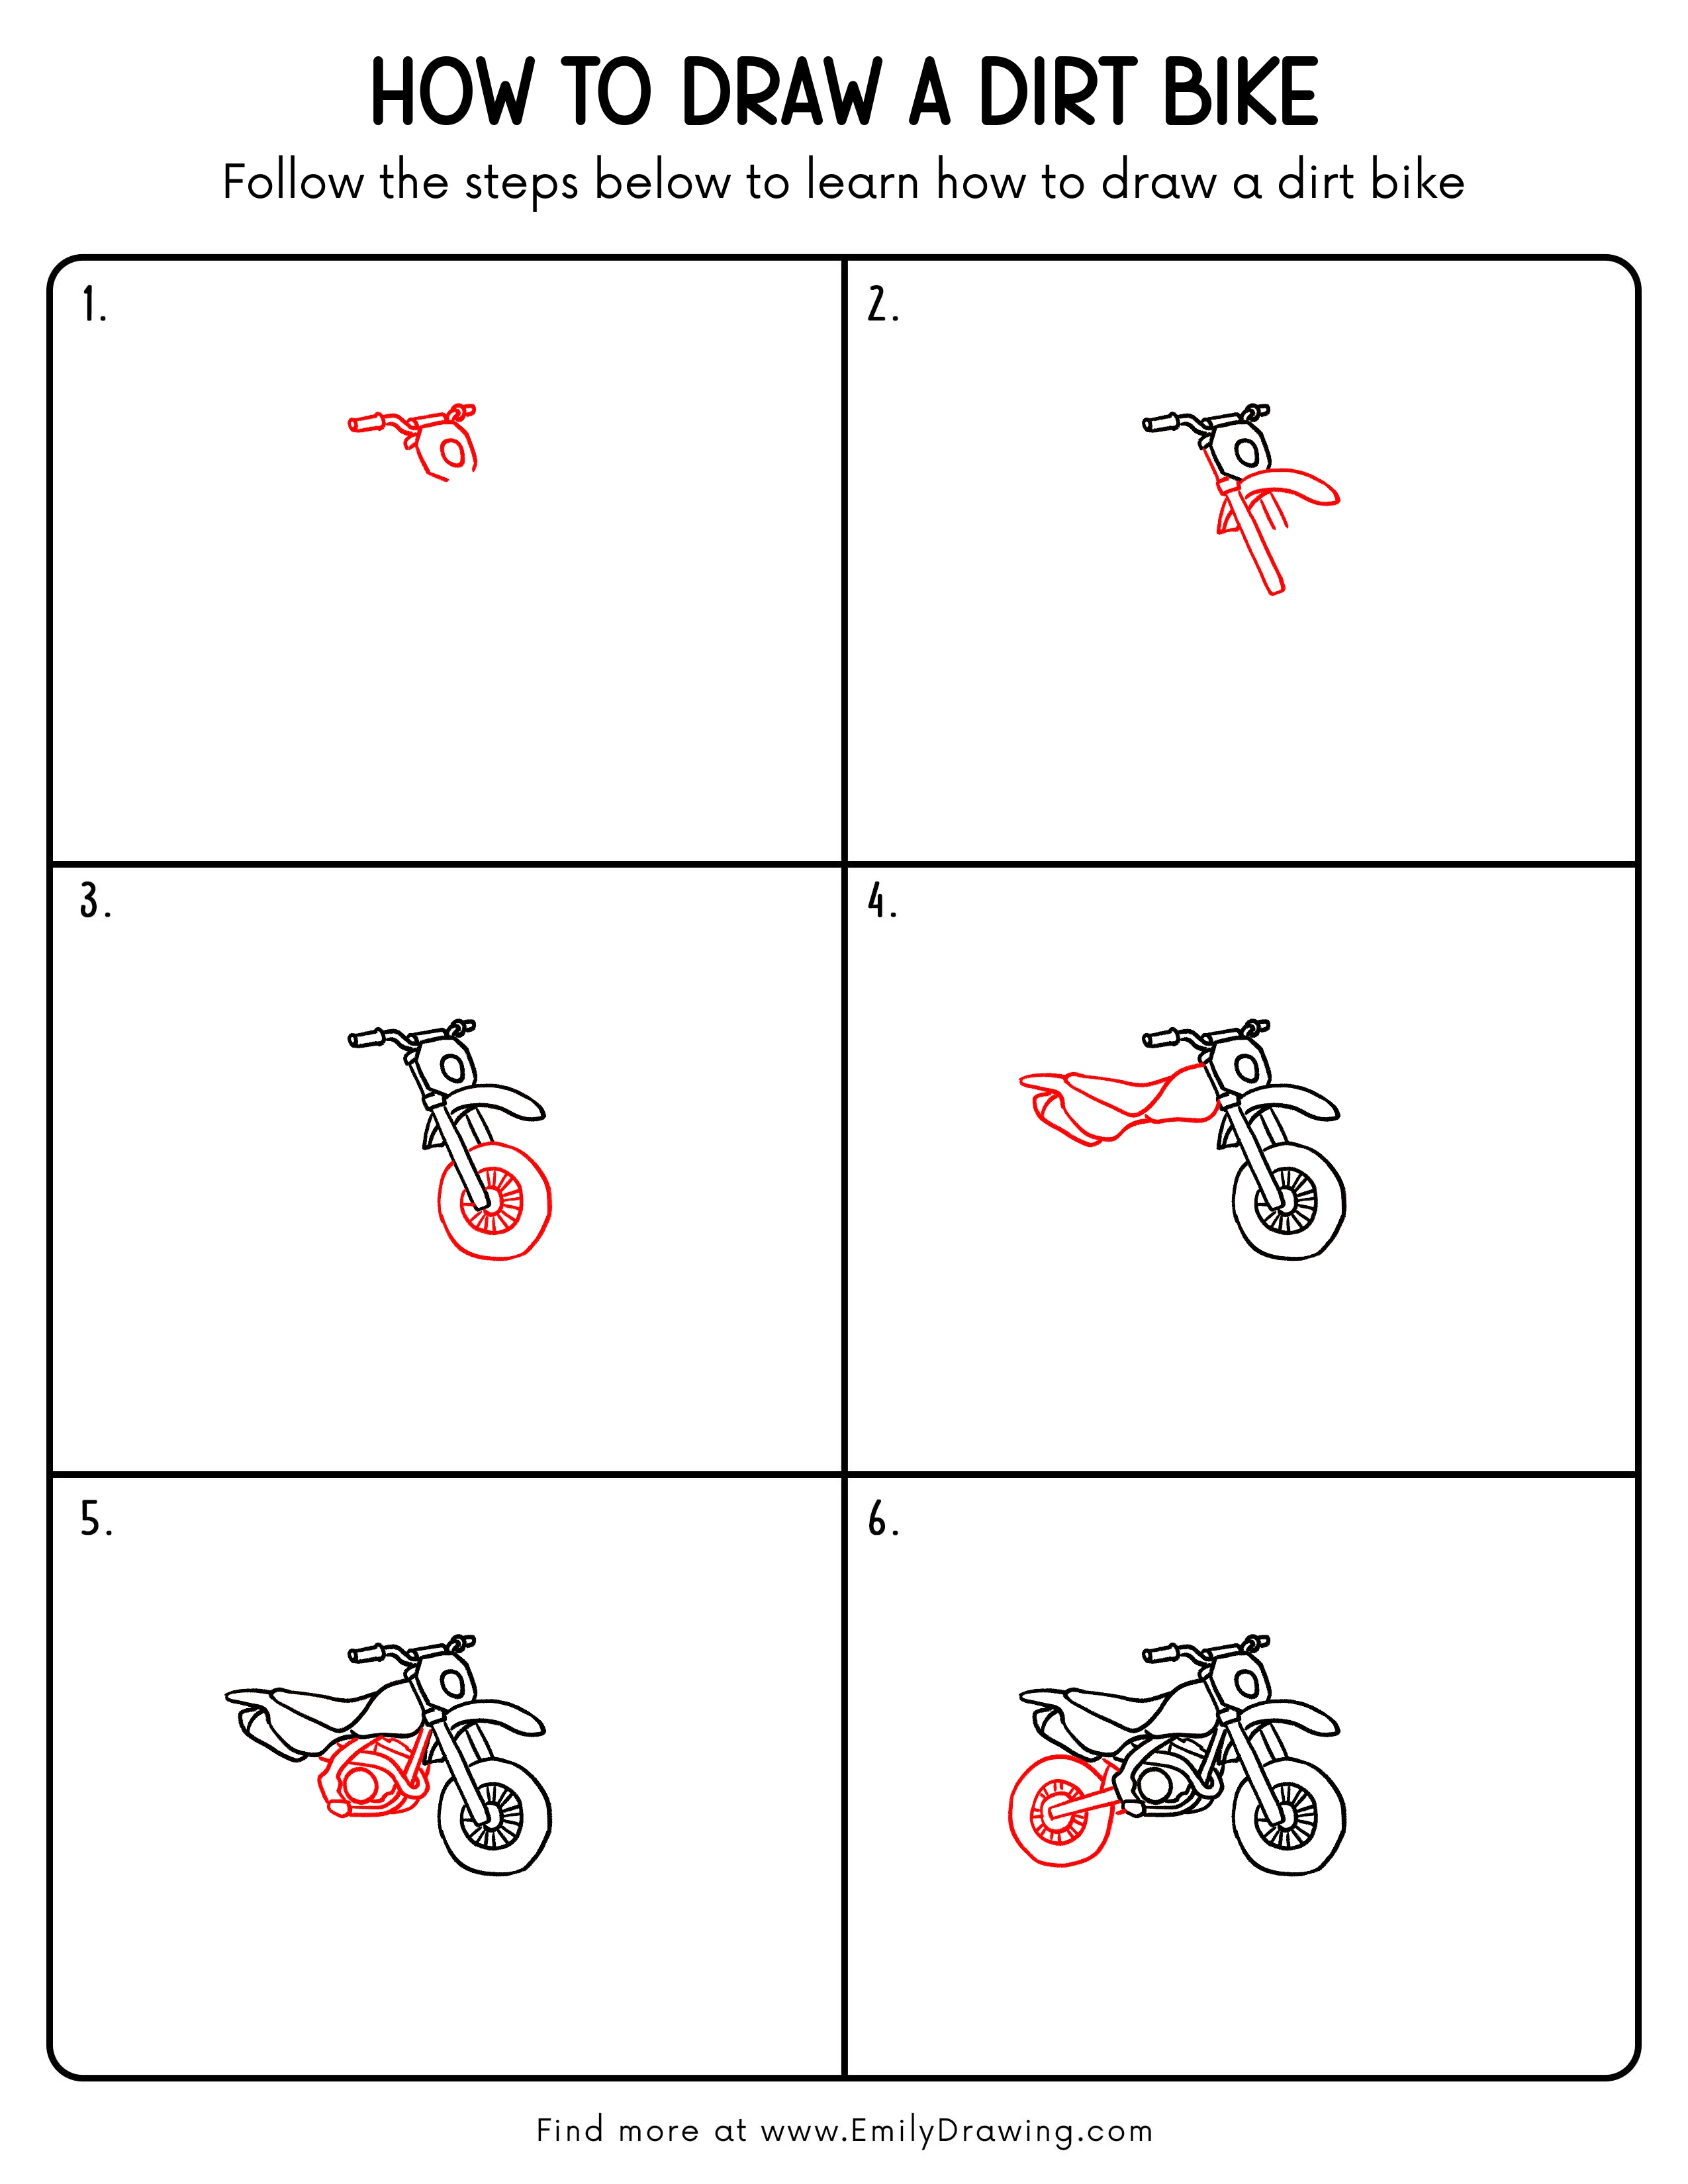
FREE Download Printable Dirt Bike Drawing Tutorial
Frequently Asked Questions
How can I draw round wheels?
Trace circular objects lightly or rotate the paper while drawing smooth arcs.
Do I need to draw every spoke?
No, an evenly spaced selection can still suggest a complete wheel.
How do I keep the bike parts connected?
Lightly map a line from the steering head through the engine to the rear hub.