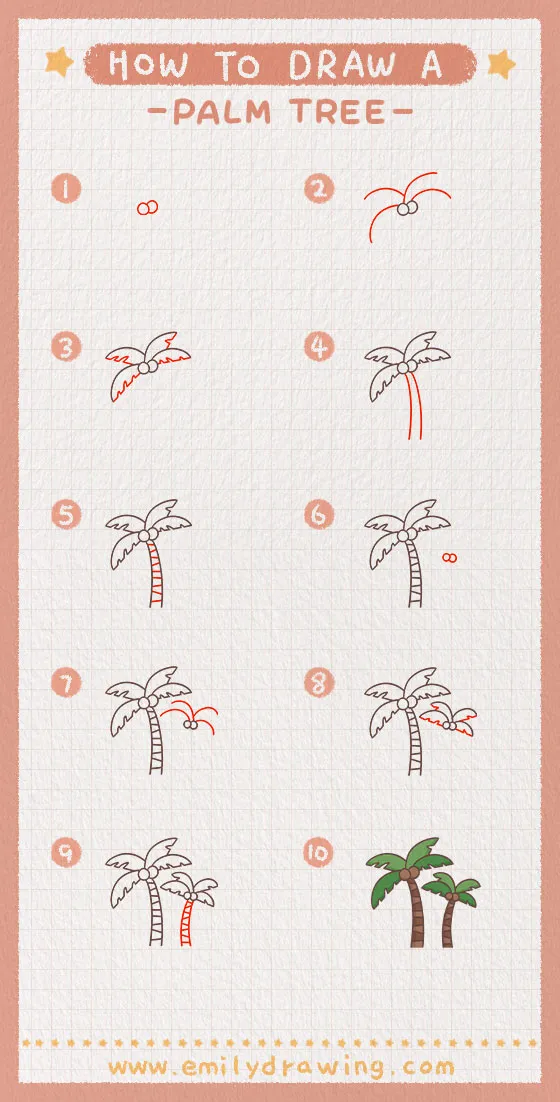
Hello, and welcome to our simple 10-step art tutorial on how to draw a palm tree!
Palm trees are elegant plants that symbolize relaxation on a beach, often lining popular California roads. They can be found in various climates, such as subtropical and warm temperate ones, and can survive in both the desert and the rainforest! They are important in many ecosystems and work to provide habitat and food for tons of plants and animals.
There are roughly 2,500 kinds of palm trees, ranging from small ones to super-tall giants. Some palm trees can even live for over a century! They also have a beautiful history in many old and ancient texts, adding to their symbolism. The coconut tree is also the national tree of the Maldives, a beautiful South Asian nation.
Let’s get started on the palm tree sketch! Gather your drawing materials and jump into Step 1. As always, we will have visual aids accompanying the written instructions. Let’s go!
Materials:
- a piece of paper
- a pencil for the guiding lines and sketching
- an eraser
- a black sharpie or a pen for the outlines
- markers or colored pencils for coloring
- our printable drawing guide (Join my Email List below to get this Tutorial)
Here are my RECOMMENDED Art Supplies!
- Crayola Coloring Set (140 Pieces – Mega Value!)
- 24 Colored Crayon Set
- A4 Printer Paper
- Crayola Coloring Pencils
- HP Home Printer with Instant Ink!
Time needed:
15 minutes.
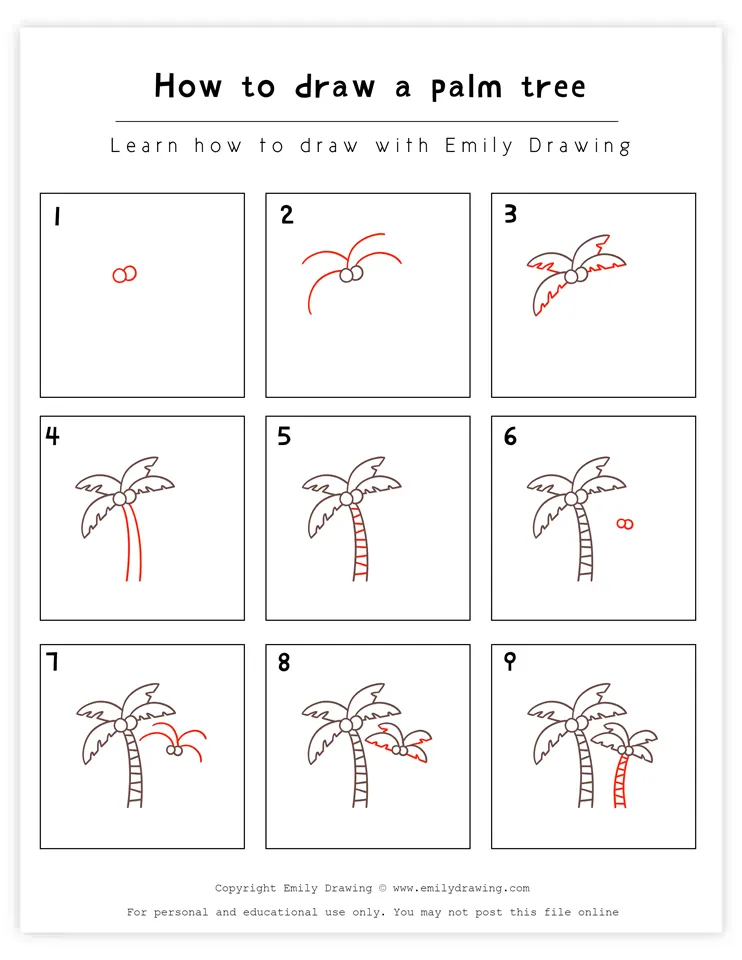
How to Draw a Palm Tree — Let’s get started!
Step 1 – Draw two coconuts.
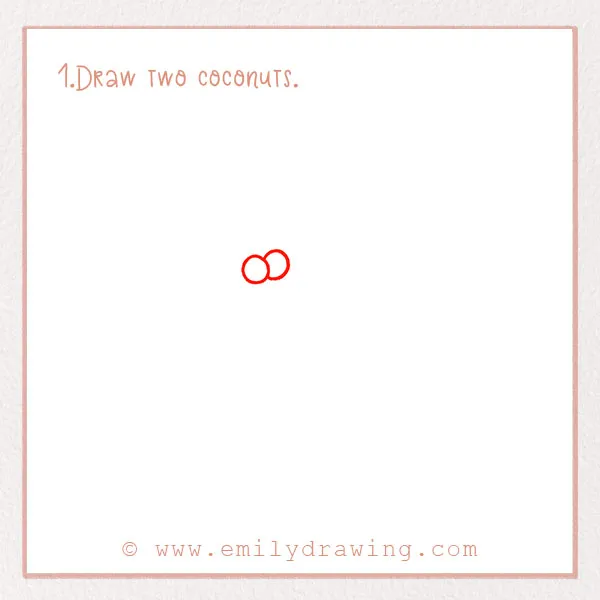
Palm trees are known for producing coconuts. Did you know a coconut tree can produce around 180 coconuts during a single harvest? One tree can also bear fruit for around 60 years! There are different kinds of palm trees that produce types of fruit other than coconuts.
For the coconuts, draw two small circles next to each other about two-thirds of the way up the page. It should look like one is in front of the other.
Step 2 – Start drawing the leaves.
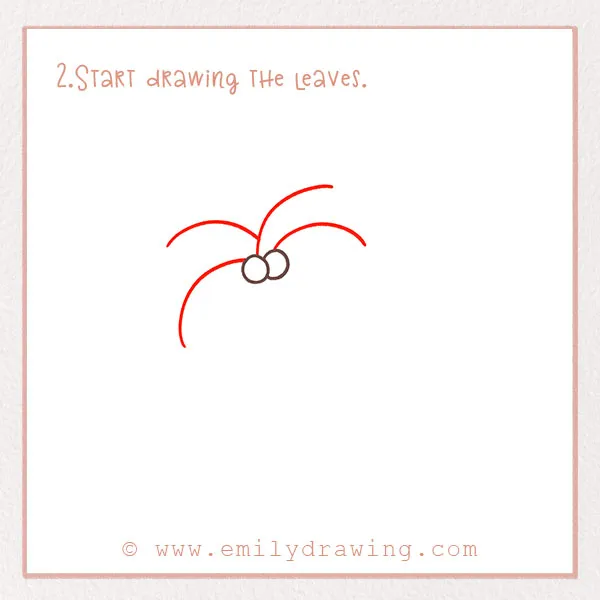
Next, let’s draw the leaves. These are evergreen leaves called fronds. Draw four large slender curves coming out from the top of the coconuts. There should be two on each side. Check out the photo!
Step 3 – Add more detail to the leaves.
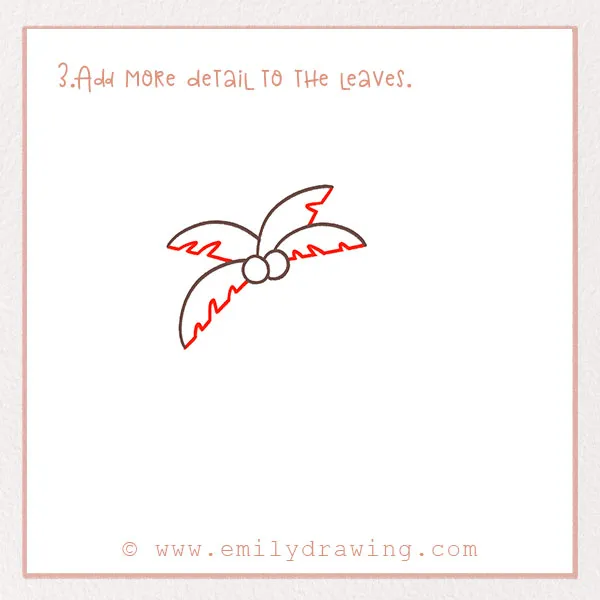
Let’s complete the contour of the leaves. Draw jagged lines to show the textured edge of each leaf. Now, we have a full crown of leaves on our first palm tree!
Step 4 – Draw the trunk.

One of the most recognizable parts of a palm tree is its trunk. It is long, slender, and often slightly curved. The tallest forms of palm trees can reach close to 200 feet tall! The wood of palm trees has also been used to produce homes, tools, and more since ancient times.
Draw two curved lines next to each other. It should be quite long, extending towards the bottom of the page. Make it curve slightly to the right. Refer to the photo!
Step 5 – Add more detail to the trunk.
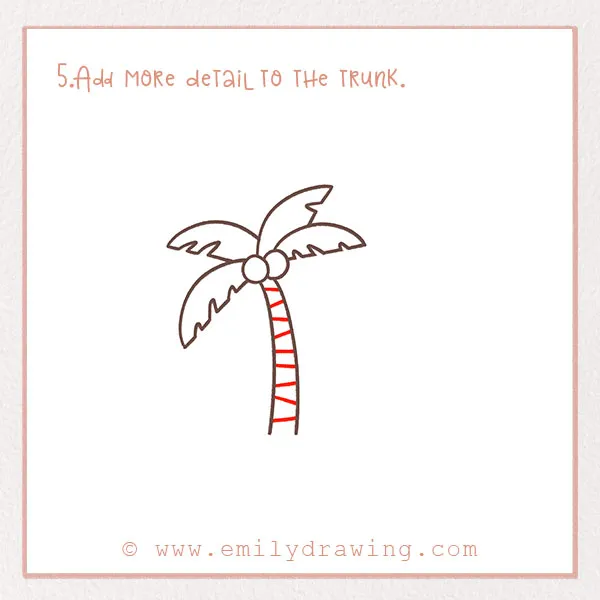
The trunks have a unique texture. Let’s add that texture now — similar to how you might approach adding bark details in our how to draw a tree tutorial. Draw a bunch of lines going down the trunk. They can each be a little bit uneven to make it look realistic! Great job!
Step 6 – Start drawing the second tree.
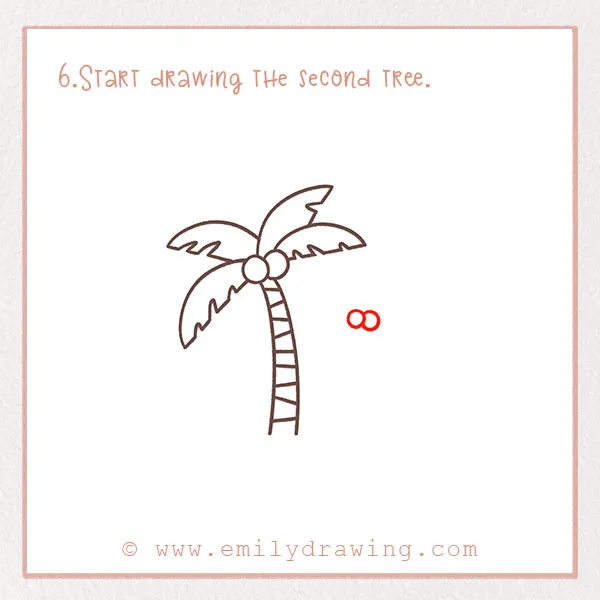
Our drawing will actually include two trees. Let’s start over, again beginning the tree with the coconuts.
To the right of the first tree, draw two more coconuts. Again, one should look like it is in front of the other. They should be placed at about half the height of the first tree.
Step 7 – Draw the leaves on the second tree.
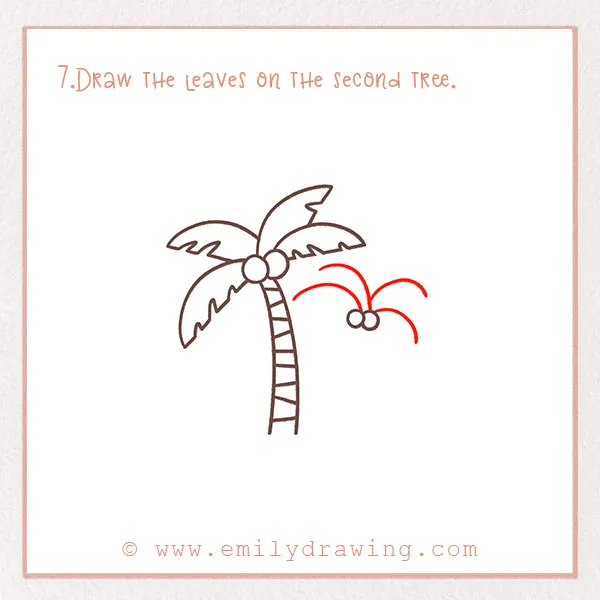
Again, mimic the curves you drew in Step 2 for the first tree, this time making them smaller. Again, there should be two curves on the right and two curves on the left to balance out the tree.
Step 8 – Keep adding to the leaves.
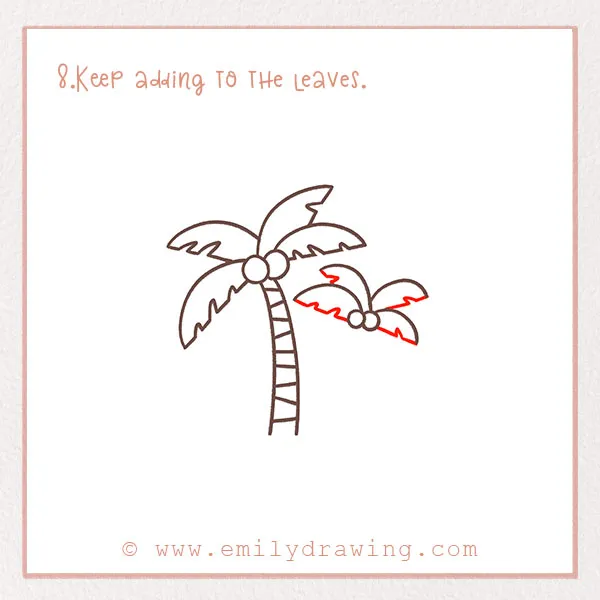
Draw the bottom of the leaves on the second tree. Again, use a jagged line to create texture. Fantastic job!
Step 9 – Add the second trunk.

Draw another trunk. Inside the trunk, add some texture. Fantastic job! You’re nearly done with your palm tree art project.
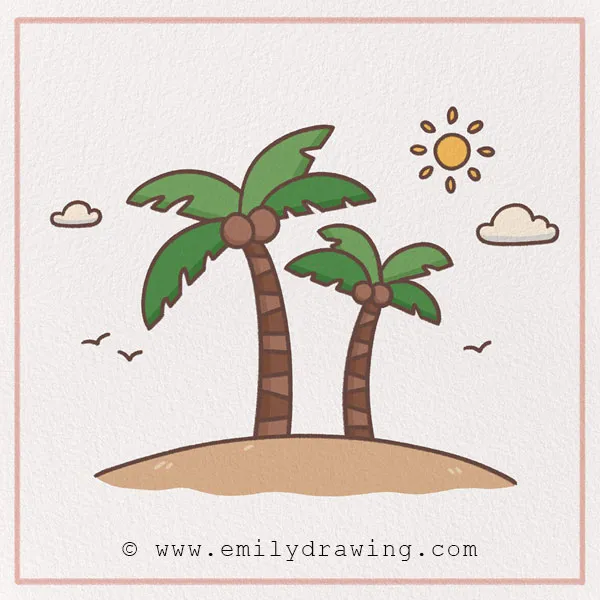
Step 10 – Color in your palm trees!
Last but not least, let’s color the trees! In real life, they have a tan trunk and green leaves. However, your drawing has no limits, so have fun with it!
Pin it now, Draw later!
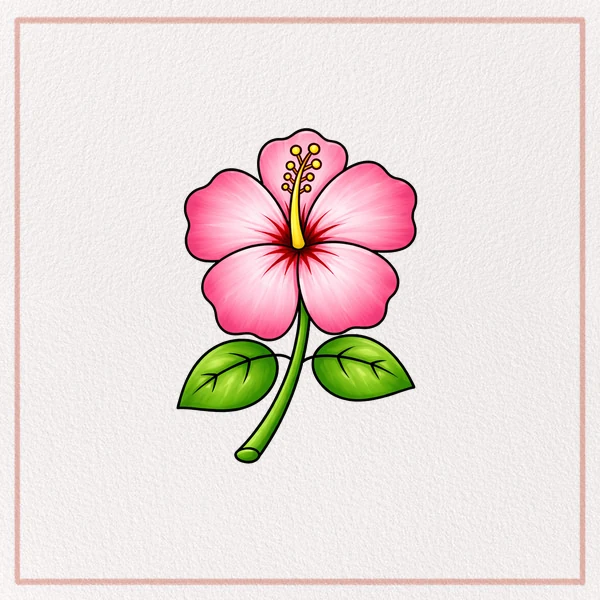
Fantastic! Thanks for following along with us. Did you enjoy this tutorial on drawing a palm tree? If so, you might also like our fun step-by-step guide on how to draw a cactus! If so, you might also like our fun step-by-step guide on how to draw a cactus! If you would like more plant-themed tutorials, be sure to browse that section on our site! We have a cactus, flower, and more to draw! We always like to sprinkle in facts during each tropical tree drawing so that you learn a few things along the way.
Get the FREE Printable Drawing Guide