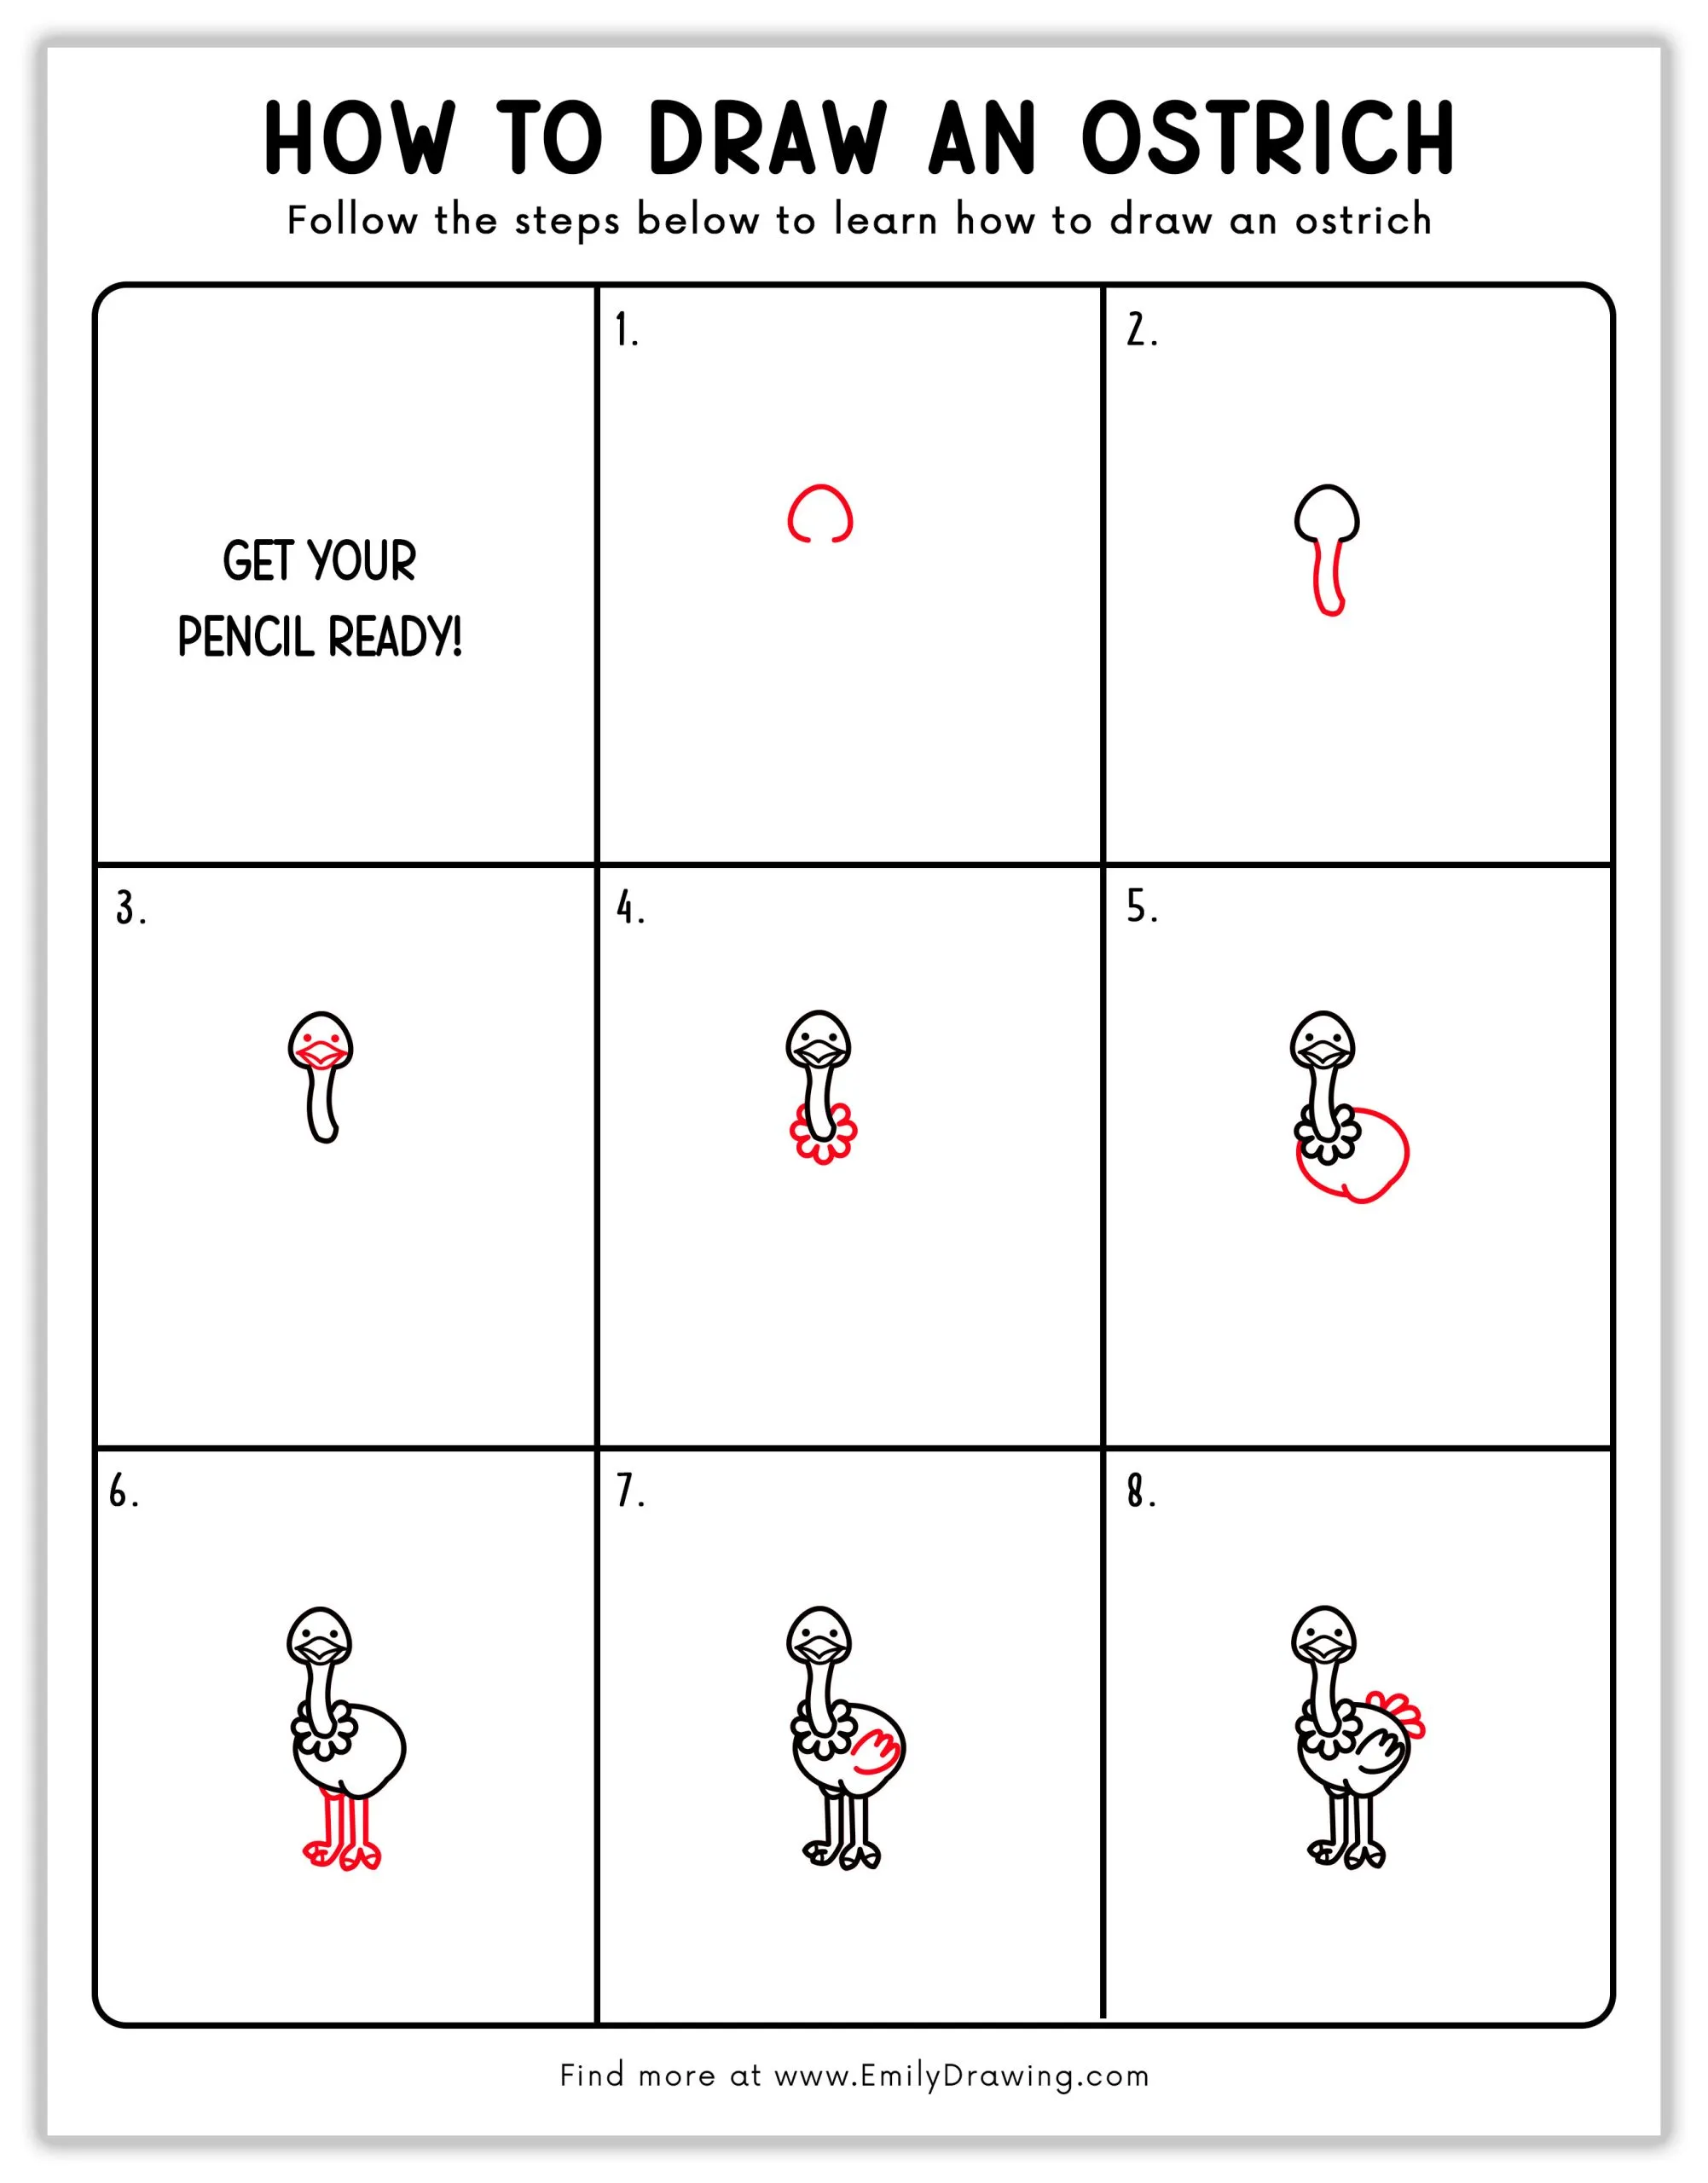
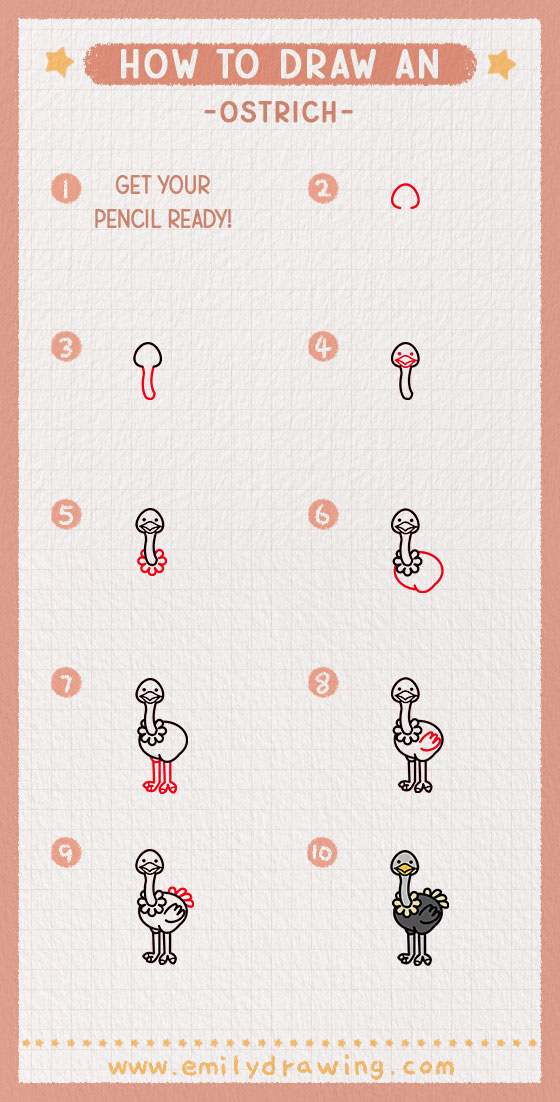
Ostriches are fascinating birds! Did you know that they are the biggest birds in the world and can run faster than a car on a city street? In this fun drawing ostrich tutorial, We’ll go through a step by step ostrich drawing to help you master it easily. Get your pencils ready, and let’s get started!
Materials:
- a piece of paper
- a pencil for the guiding lines and sketching
- an eraser
- a black sharpie or a pen for the outlines
- markers or colored pencils for coloring
- our printable drawing guide (Join my Email List below to get this Tutorial)
Here are my RECOMMENDED Art Supplies!
- Crayola Coloring Set (140 Pieces – Mega Value!)
- 24 Colored Crayon Set
- A4 Printer Paper
- Crayola Coloring Pencils
- HP Home Printer with Instant Ink!
Time needed:
15 minutes.
How to Draw an Ostrich — Let’s get started!
Step 1 – Start with the Head
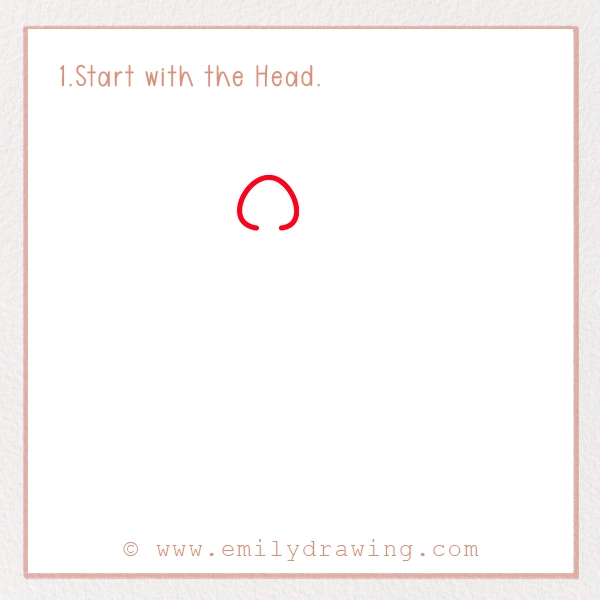
Begin by drawing a small, curved shape like an upside-down letter ‘U’. This will be the top of the ostrich’s head. Take your time to make the curve smooth and even.
Tip: Make sure your lines are light, so you can erase and adjust if needed! A good artist always sketches lightly before making final outlines.
Fun Fact: Ostriches have tiny heads compared to their huge bodies, which makes them look quite funny!
Step 2 – Add the Neck and Face
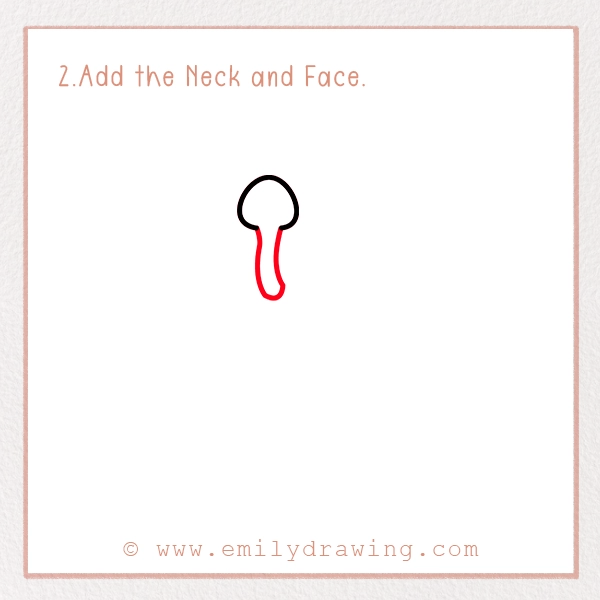
Extend two curved lines downward from the head to form the long neck. Then, connect them at the bottom. Add two small dots for the eyes and a tiny triangle for the beak.
You can experiment with different eye expressions! Try making your ostrich look surprised, happy, or even sleepy by adjusting the shape of the eyes.
Fun Fact: Did you know that ostriches have the biggest eyes of any land animal? Their eyes are even bigger than their brains!
Step 3 – Draw the Beak Details
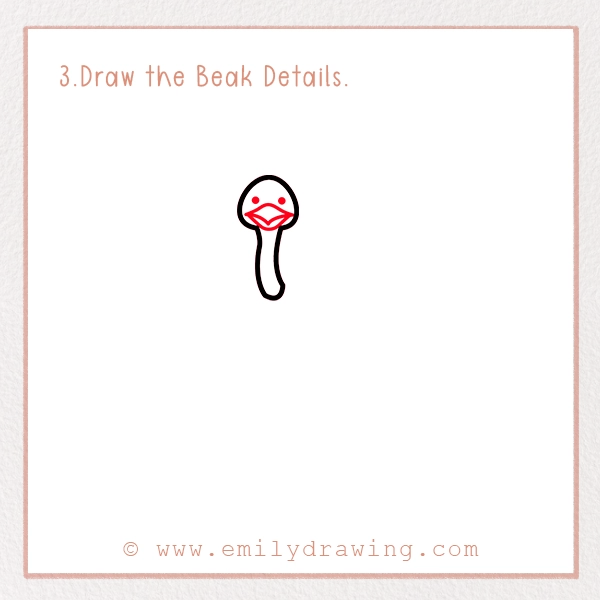
Now, add a small curved line inside the beak to separate the top and bottom parts. Draw a tiny line at the edges of the beak to give it a smiling look.
If you want to give your ostrich more personality, you can slightly curve the beak upward for a cheerful look or downward for a grumpy one!
Tip: Keep the beak small and rounded to make your ostrich look cute!
Step 4 – Add Fluffy Feathers on the Neck
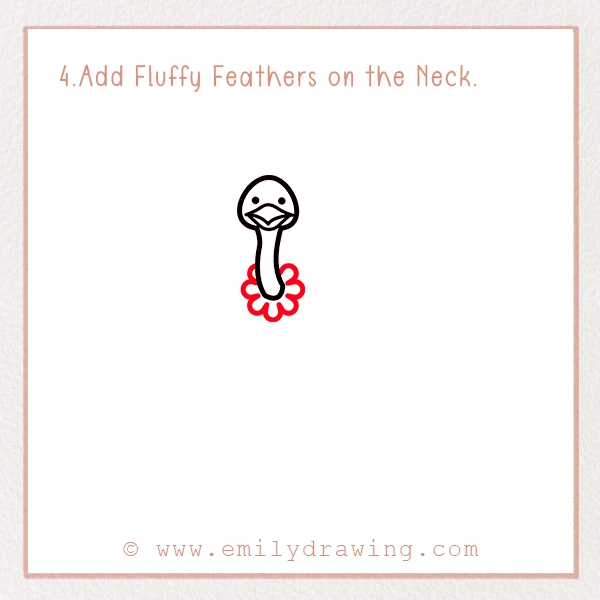
Ostriches have fluffy feathers around their necks. Draw a series of small, curved lines around the bottom of the neck to create a fluffy effect. This gives the ostrich its characteristic look.
Step 5 – Draw the Body
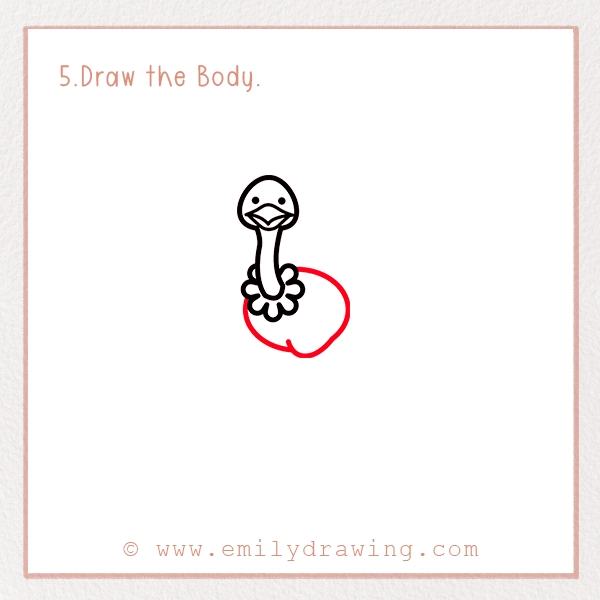
Now, it’s time to sketch the ostrich’s big, round body! Sketch an ostrich body by drawing an oval shape attached to the neck.
To make sure your ostrich looks balanced, keep the body size proportionate to the neck and head. If the body is too big or too small, the ostrich might look a little odd—but that’s okay! Every drawing is unique.
Fun Fact: Even though they can’t fly, ostriches have super strong legs that help them run up to 60 km/h (37 mph)!
Step 6 – Add the Legs
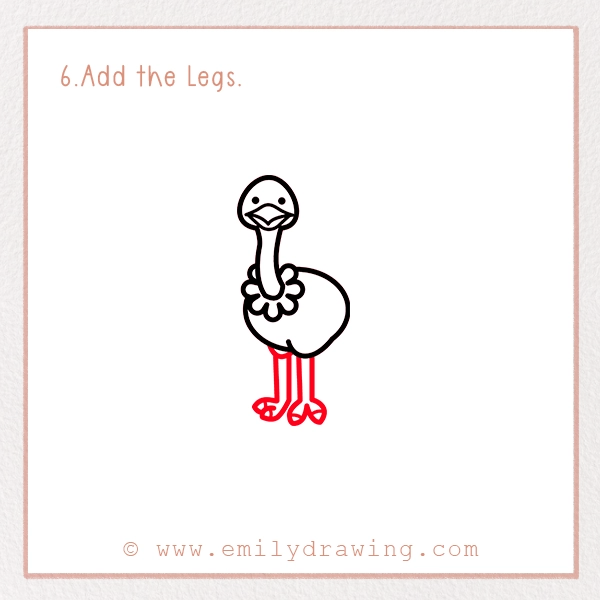
Draw two straight lines extending downward from the bottom of the body for the legs. Ostrich legs are long and thin. Add a few curves to show where the joints are.
One of the most exciting things about ostrich legs is that they have only two toes on each foot! Draw two little toes pointing forward.
Tip: Ostriches have only two toes on each foot—unlike most birds, which have three or four! You can explore those differences in our tutorial on how to draw a bird. Their strong legs help them kick hard when needed.
Step 7 – Sketch the Wings and Tail Feathers
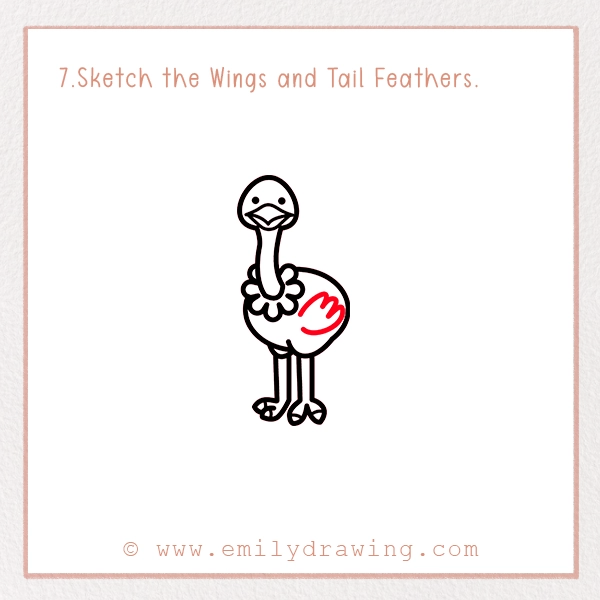
Even though ostriches can’t fly, they have small wings! Draw a small wing shape on the side of the body. Then, add some fluffy tail feathers sticking out from the back.
The tail feathers can be drawn as a few curved lines sticking out. You can make them long and wavy or short and fluffy, whatever style you like best!
Step 8 – Add Final Details
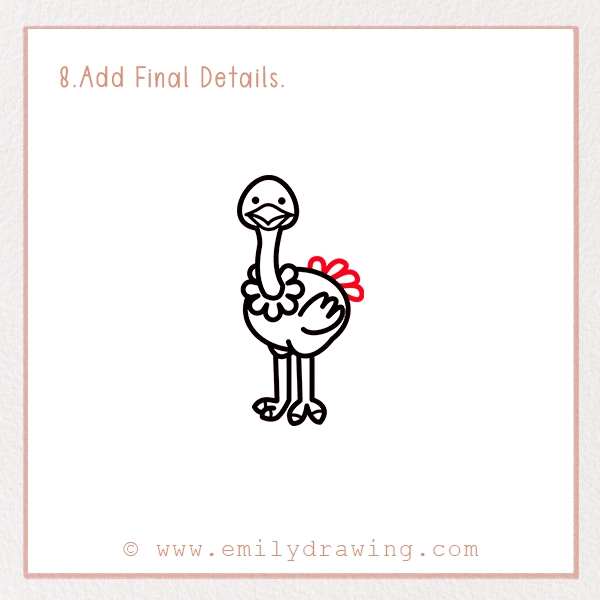
Now, refine your drawing by making sure everything looks good. Darken the outline and erase any extra lines. Add a few feather details on the body and legs.
Adding a few short lines inside the wings and tail can create a feathered texture, making your drawing more interesting.
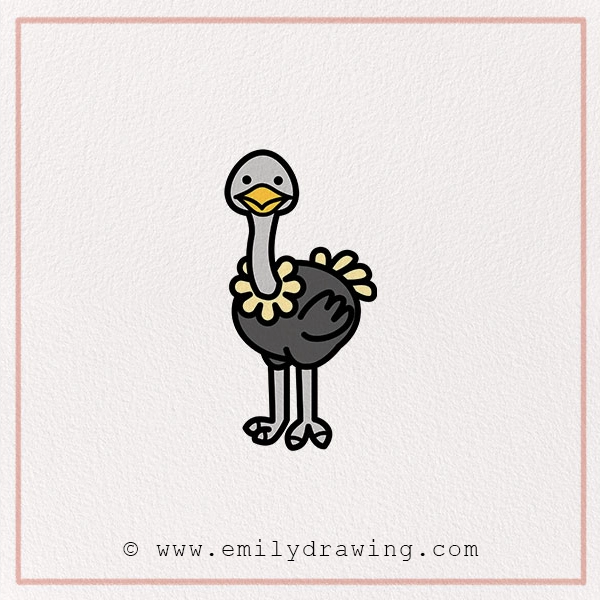
Step 9 – Color Your Drawing!
Ostriches are mostly black and white, with greyish necks and legs. Use black for the body, white for the wings and tail feathers, and grey for the neck and legs. Color the beak and feet a light yellow or orange shade.
You can also get creative! What would an ostrich look like if it had rainbow feathers or polka dots? Have fun experimenting with different colors!
Tip: Use soft shading to make your ostrich look more realistic!
Pin it now, Draw later!
Fun Facts About Ostriches
- Ostriches lay the biggest eggs of any bird—they can weigh as much as 24 chicken eggs!
- They don’t need to drink water every day! They get most of their water from the plants they eat.
- An ostrich’s powerful legs can deliver a kick strong enough to scare away a lion!
- Despite their size, ostriches can sprint up to 70 km/h (43 mph), making them the fastest birds on land.
- Ostriches sometimes bury their heads in the sand—not to hide, but to check on their eggs!
- These birds live in groups to help protect each other from predators like lions and cheetahs.
- Baby ostriches are called “chicks” and are born covered in fluffy brown feathers.
Tips and Tricks for Better Drawing
- Start with simple shapes and light pencil strokes. You can always add details later.
- If your ostrich doesn’t look perfect, don’t worry! Keep practicing, and it will get better each time.
- Try drawing different ostrich poses, like a running ostrich or a baby ostrich!
- Use different shading techniques to add depth and make your drawing more realistic.
- Experiment with cartoon-style ostriches by giving them expressive eyes and fun accessories!
- If you want to challenge yourself, try drawing an entire ostrich family with chicks running around!
Great job! You’ve just learned how to draw an ostrich step by step. We hope you had fun creating your own cute ostrich! Don’t forget to show off your artwork to family and friends.
Want to draw more animals? Check out our other fun tutorials, including this guide on how to draw a flamingo—a stylish and elegant bird that pairs well with your ostrich artwork. And if you share your drawing online, use #EmilyDrawing so we can see your amazing work!
Get the FREE Printable Drawing Guide