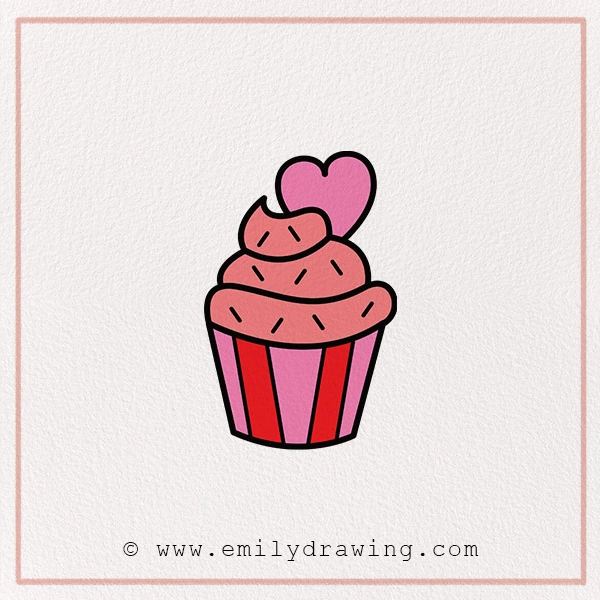
Hey there, young artists and creative parents! Are you ready to dive into the world of drawing and create something amazing? In this Valentine cupcake drawing tutorial, we’ll learn how to sketch a sweet dessert in just a few simple steps! Valentine’s day is all about love, sweetness, and creativity! What better way to celebrate than by learning how to draw a delicious Valentine cupcake? Whether you’re an aspiring young artist or a parent looking for a fun Valentine’s Day art project to do with your kids, this step-by-step guide will help you create a delightful drawing. Grab your pencils, and let’s get started!
Materials:
- a piece of paper
- a pencil for the guiding lines and sketching
- an eraser
- a black sharpie or a pen for the outlines
- markers or colored pencils for coloring
- our printable drawing guide (Join my Email List below to get this Tutorial)
Here are my RECOMMENDED Art Supplies!
- Crayola Coloring Set (140 Pieces – Mega Value!)
- 24 Colored Crayon Set
- A4 Printer Paper
- Crayola Coloring Pencils
- HP Home Printer with Instant Ink!
Time needed:
15 minutes.
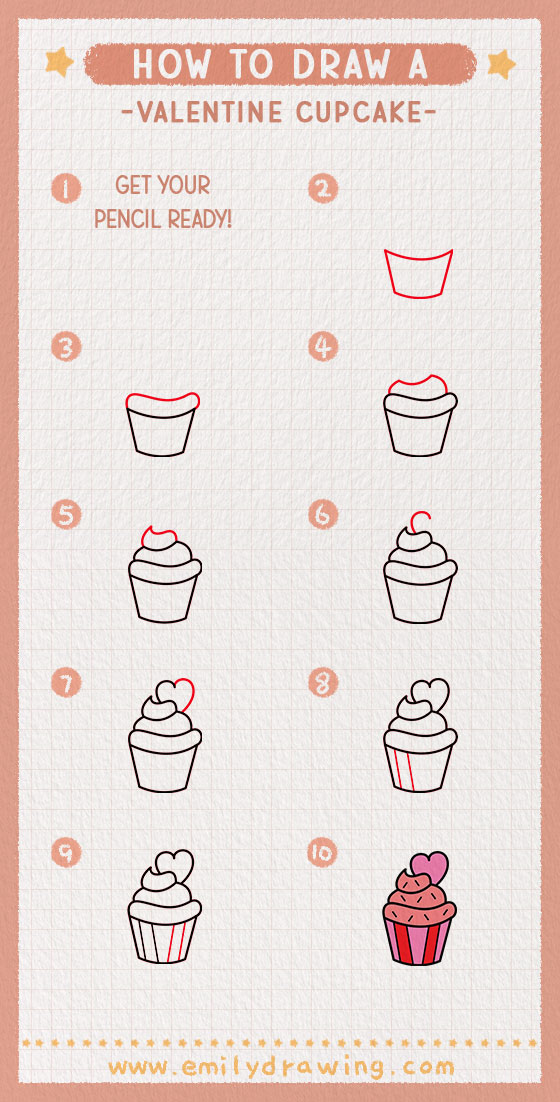
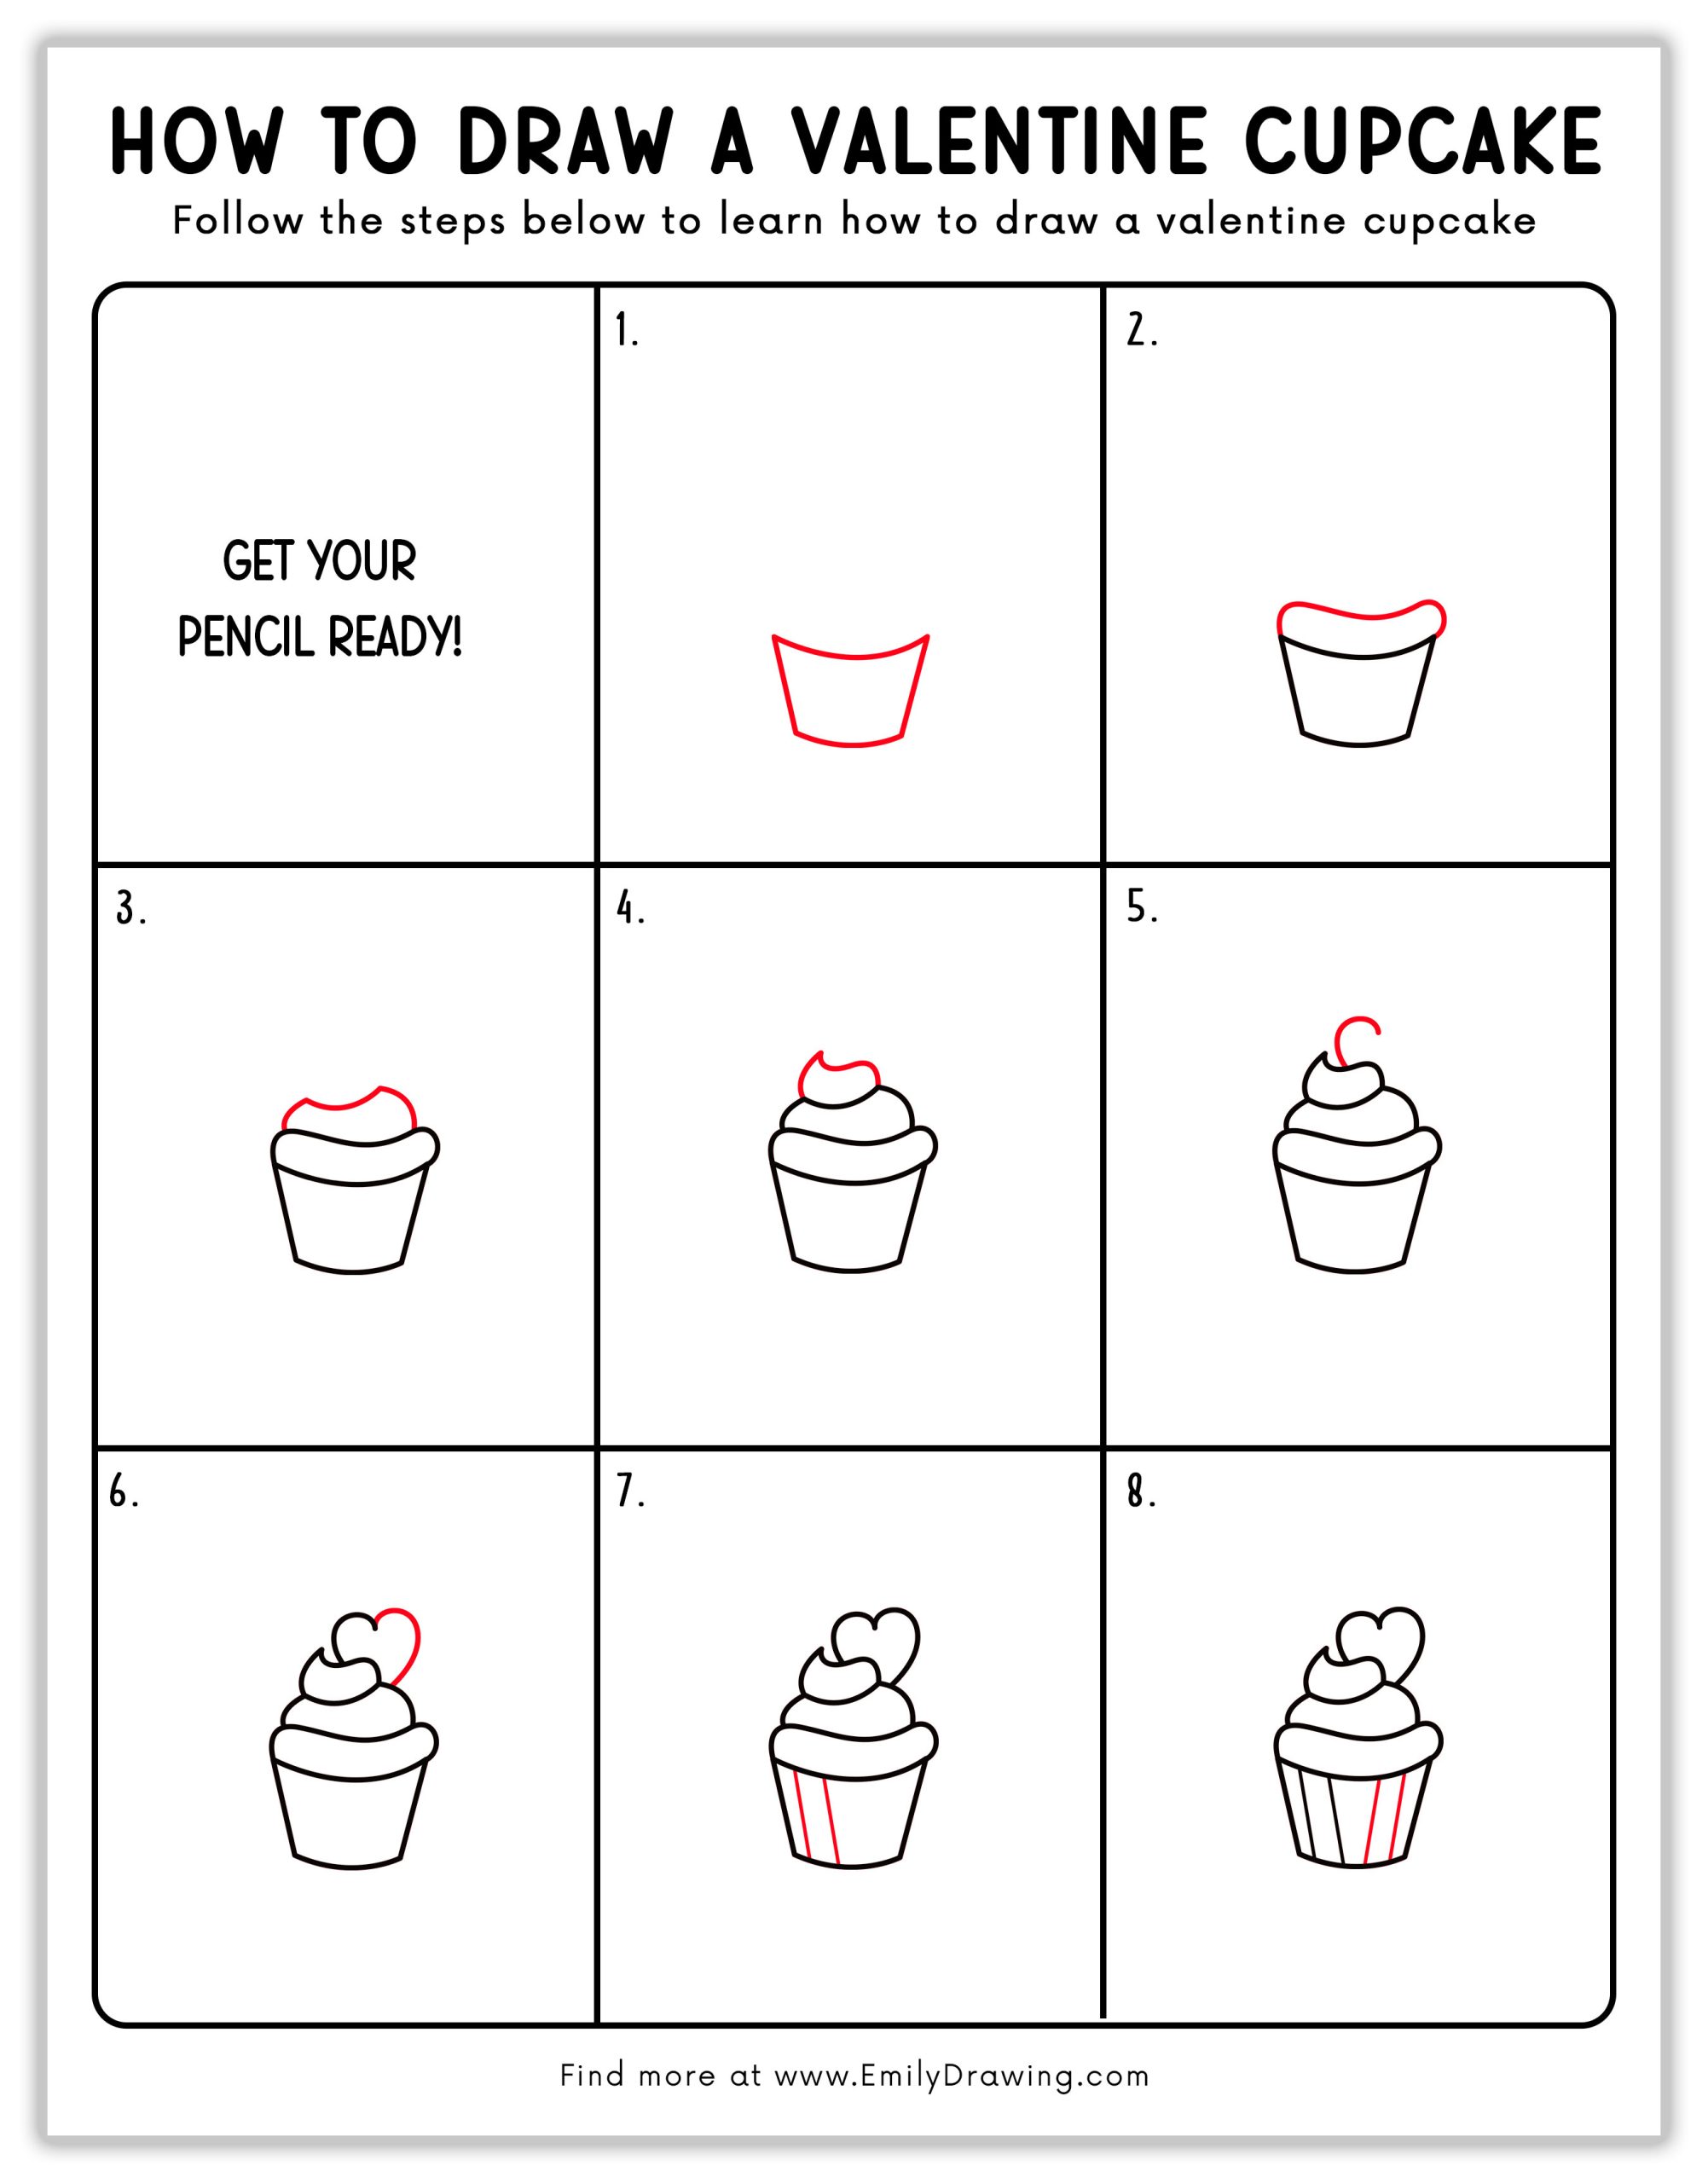
How to Draw a Valentine Cupcake — Let’s get started!
Step 1 – Draw the Cupcake Base
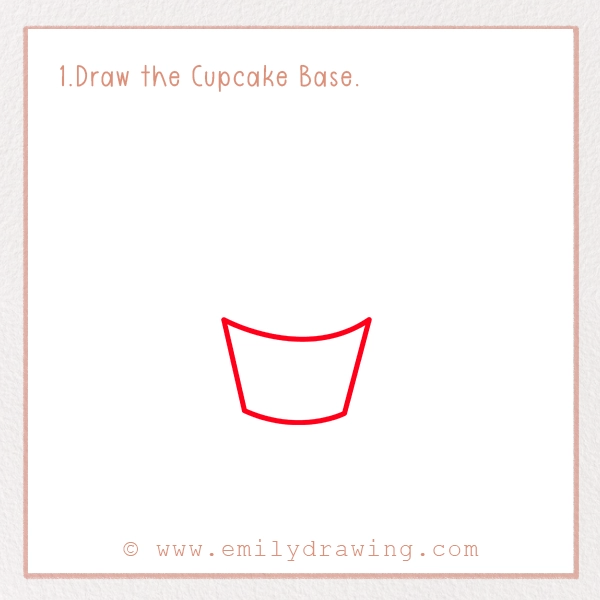
First, let’s start with the base of your cupcake.
Draw a slightly curved horizontal line.
Now, add two slightly curved vertical lines extending downward from the ends of the top line.
Connect these lines with a slightly curved bottom line. This will form the base of your cupcake, which looks like a trapezoid.
Tip: Keep the lines slightly curved to make the base look more realistic and rounded!
Step 2 – Draw the Frosting Base
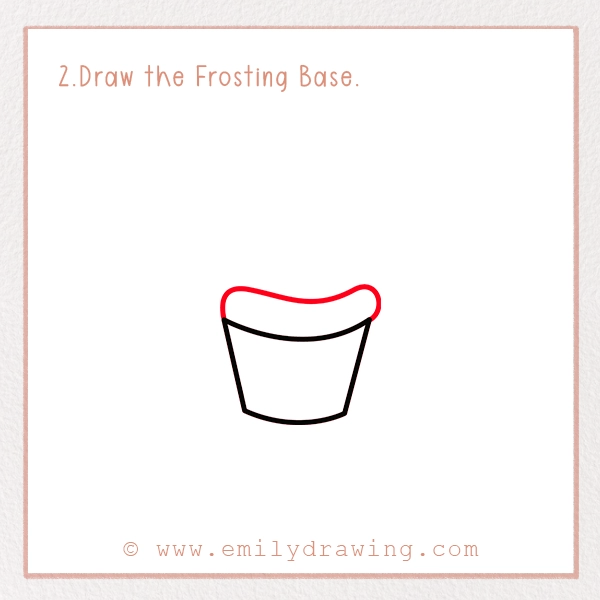
Draw a curved, wavy line on top of the base. This will be the bottom layer of the frosting.
Tip: Think of soft, fluffy clouds as you draw the wavy top for a realistic frosting effect.
Step 3 – Add More Frosting Layers
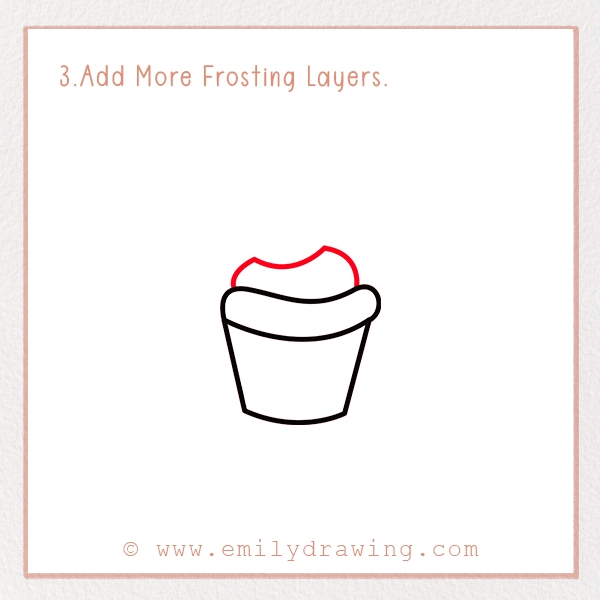
Above the first layer of frosting, draw another wavy layer, slightly smaller than the first.
Keep your lines light and flowing to give the frosting a soft, whipped look.
Tip: Make the waves curvy and random for a more natural look.
Step 4 – Top It Off with a Final Frosting Swirl
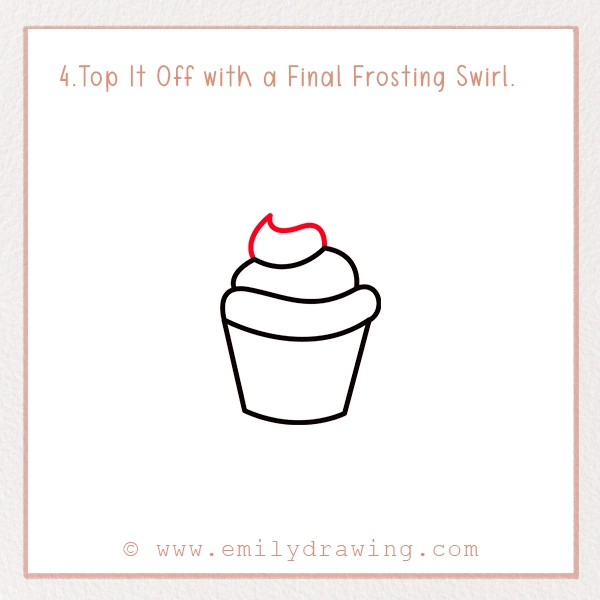
Draw a third, even smaller layer of frosting on top.
Curve the lines inwards so the frosting looks like it’s forming a peak.
Tip: To make the swirl look extra fluffy, add a small curl at the very top!
Step 5 – Draw the First Half of the Heart Decoration
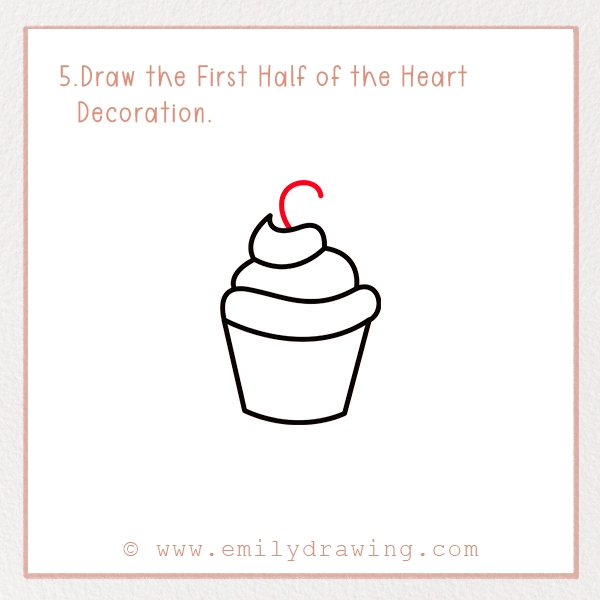
Draw a half-heart shape on top of the frosting.
Make sure one side of the heart is clearly visible while the other half will be completed in the next step.
Tip: Keeping the heart slightly tilted gives it a more playful and dynamic look.
Step 6 – Complete the Other Half of the Heart Decoration
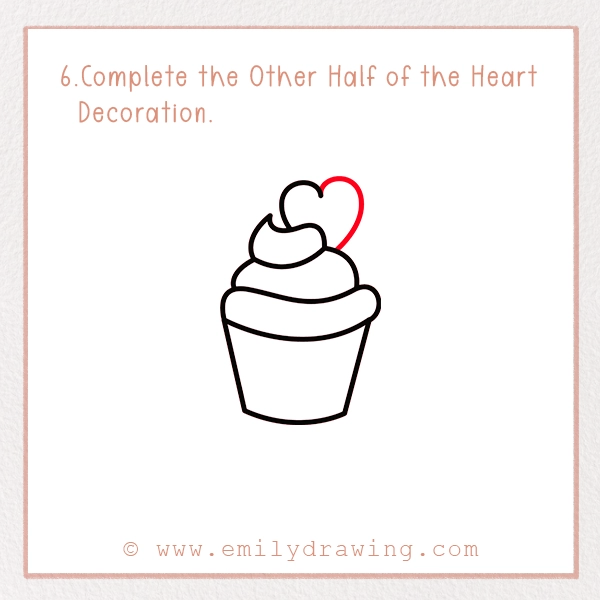
Complete the heart shape by drawing the second half, making it symmetrical with the first.
Ensure the heart looks even and well-balanced on the cupcake.
Fun Fact: Did you know that the heart shape we use today was popularized during the Middle Ages as a symbol of love?
Step 7 – Add Line Details to the Cup
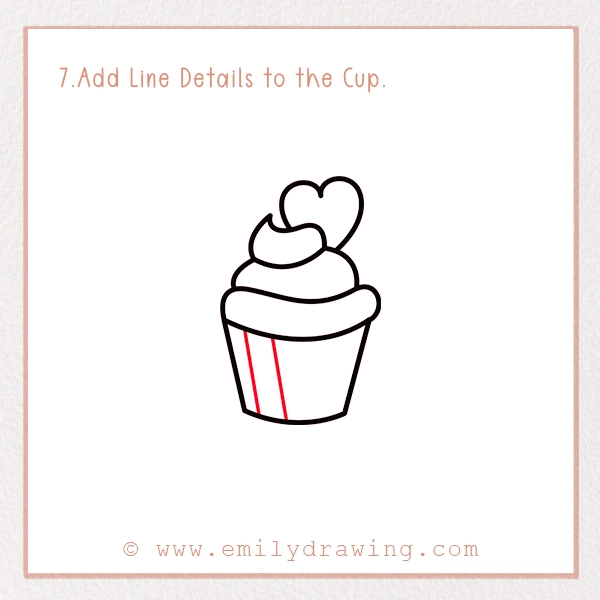
Draw vertical lines from the top curved edge of the base down to its bottom.
Make sure the lines follow the slight curve of the cup to create depth.
Tip: You can vary the thickness of the lines to make the cup look more realistic.
Step 8 – Complete the Remaining Details on the Cup
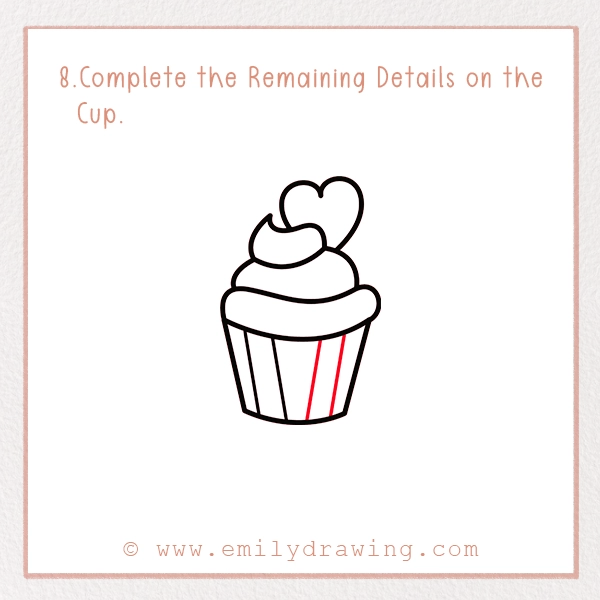
Add small horizontal lines at the bottom of the cup to indicate ridges.
You can also add subtle diagonal lines between the vertical lines to enhance the texture.
Tip: A few extra details can make your cupcake look more realistic and visually appealing.
Step 9 – Color Your Drawing!
Now it’s time to make your cupcake look as delicious as possible!
Use pink, red, and white—classic cupcake coloring ideas—for the perfect Valentine’s Day color scheme.
Try adding shading to make the cupcake look even more realistic.
Pin it now, Draw later!
Fun Fact: Did you know that the world’s largest cupcake weighed over 1,200 pounds and took over 12 hours to bake?
Tips and Tricks for Better Drawing
- Use Light Pencil Strokes: Always start your drawing with light sketch lines so that you can easily erase mistakes.
- Experiment with Colors: While pink is the classic Valentine cupcake color, don’t be afraid to get creative with purple, red, or even blue frosting!
- Outline in Black: Tracing your final sketch with a black pen or marker makes your drawing stand out more.
- Add Shadows: Lightly shade one side of the cupcake to make it look more realistic and three-dimensional.
- Try Different Decorations: Sprinkle different toppings on your cupcake, such as chocolate chips, stars, or small hearts for variety.
- Use Reference Images: Looking at real cupcakes can help inspire new designs and color combinations!
- Have Fun with Backgrounds: Draw a plate, hearts, or Valentine’s Day decorations in the background to enhance the overall composition.
- Experiment with Patterns: You can add stripes, polka dots, or even lace-like designs on the cup for a more decorative touch.
The History of Cupcakes and Valentine’s Day Treats
Cupcakes have a long history, dating back to 1796, when the first cupcake recipe was documented in a cookbook called American Cookery by Amelia Simmons. Originally, these tiny cakes were called “number cakes” because their ingredients were measured in cups rather than being weighed like traditional cakes. Over time, they became known as cupcakes because they were often baked in small cups or muffin tins.
Valentine’s Day is the perfect occasion to enjoy cupcakes, as they symbolize love and thoughtfulness. The tradition of giving sweets on Valentine’s Day dates back to the 15th century, and in the 19th century, beautifully decorated chocolates and cupcakes became a popular way to express love and affection.
Today, people around the world celebrate Valentine’s Day with various desserts, including heart-shaped cakes, cookies, and of course, cupcakes—often presented in pretty packages like chocolate boxes to make the occasion extra special.
Pro Tip For Coloring Your Valentine Cupcake
- Now that your drawing is complete, it’s time to add some color and bring it to life!
- Use soft pinks and reds for the frosting to create a classic Valentine’s Day theme.
- Color the cupcake liner in a complementary color, such as light pink, red, or even purple.
- Use a darker shade to add shadows, making your cupcake look more three-dimensional.
- You can also add highlights using a white gel pen to make the frosting look glossy and delicious.
- Add shading with a darker version of your main colors to give depth and texture to the cupcake.
- Experiment with blending different colors for a unique and creative touch.
Congratulations! You’ve successfully created a beautiful and sweet Valentine cupcake drawing! Keep practicing and experimenting with different designs, colors, and decorations. The more you draw, the better you’ll get.
Share your finished artwork with friends and family, and don’t forget to tag your creations with #EmilyDrawing. We can’t wait to see your fantastic cupcakes!
Get the FREE Printable Drawing Guide
FREE Download Printable Valentine Cupcake Drawings Tutorials