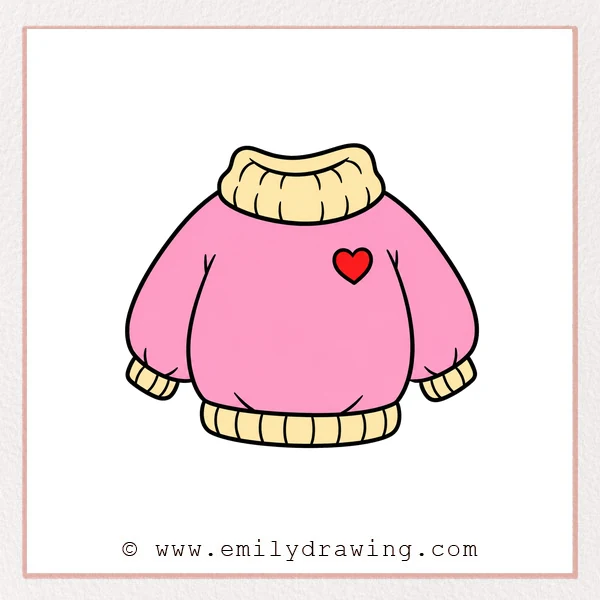
Learning how to draw sweater can be simple and relaxing. In this easy drawing tutorial, you will build the sweater step by step with curved lines, soft cuffs, a loose collar, and a small heart design. Take your time, and keep each shape gentle and rounded.
What You Will Need
- Pencil
- Eraser
- Black marker or pen
- Paper
- Colored pencils or crayons
Here are my RECOMMENDED Art Supplies!
- Crayola Coloring Set (140 Pieces – Mega Value!)
- 24 Colored Crayon Set
- A4 Printer Paper
- Crayola Coloring Pencils
- HP Home Printer with Instant Ink!
Time needed:
30 minutes.
Step-by-Step Drawing Guide
Step 1: Draw the Neck Opening and Shoulder Line
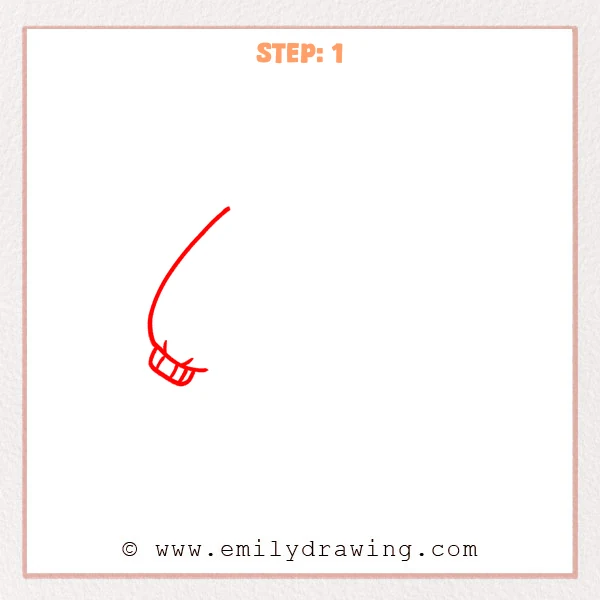
Start with a small curved neck opening to set the base of the sweater. Then draw one long sweeping curve upward for the outer edge of the shoulder and sleeve.
Pro Tip: Keep the long curve smooth, and do not close the sweater shape yet.
Step 2: Add the Other Sleeve
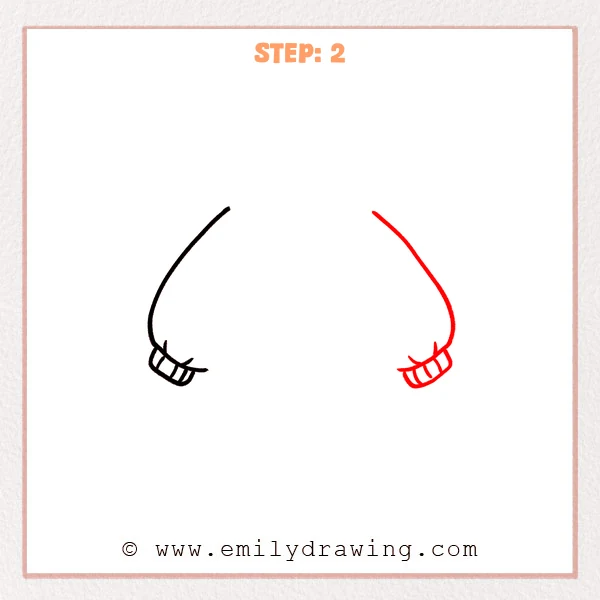
Draw a second long curved line on the right side, matching the height and curve of the left sleeve. Add the same cuff curve and small dividing lines at the bottom to create a pair of sweater cuffs.
Pro Tip: Compare the cuff positions on both sides so the sleeves look naturally spread apart.
Step 3: Draw the Loose Collar
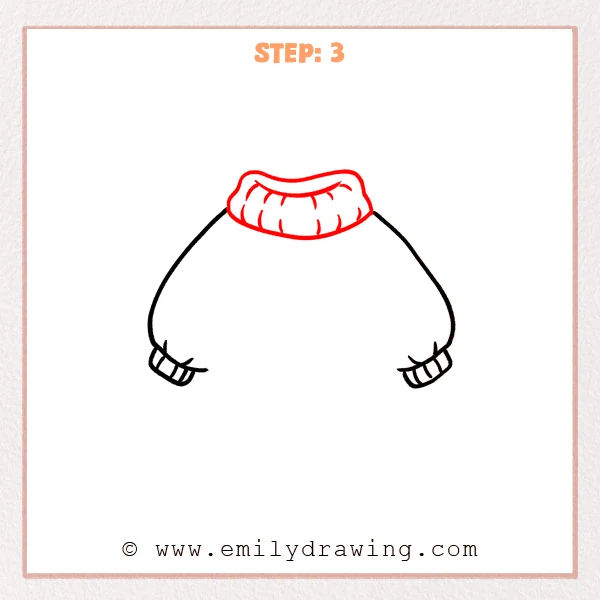
Connect the tops of the sleeves with a wide rounded collar to shape the sweater top. Add several short curved lines inside the collar to show soft folds and a stretchy edge.
Pro Tip: Make the collar wider than the sleeve openings so the sweater feels soft and roomy.
Step 4: Add the Body Sides
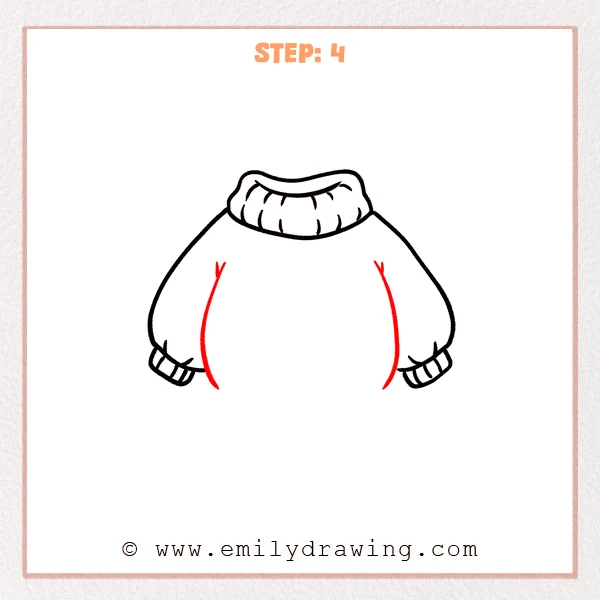
Draw two downward curved lines from below the collar to form the left and right sides of the sweater body. Let the lines stop near the bottom for now, leaving room for the hem in the next steps.
Pro Tip: Let both side lines bulge slightly outward so the sweater looks relaxed and roomy.
Step 5: Draw the Stretchy Hem
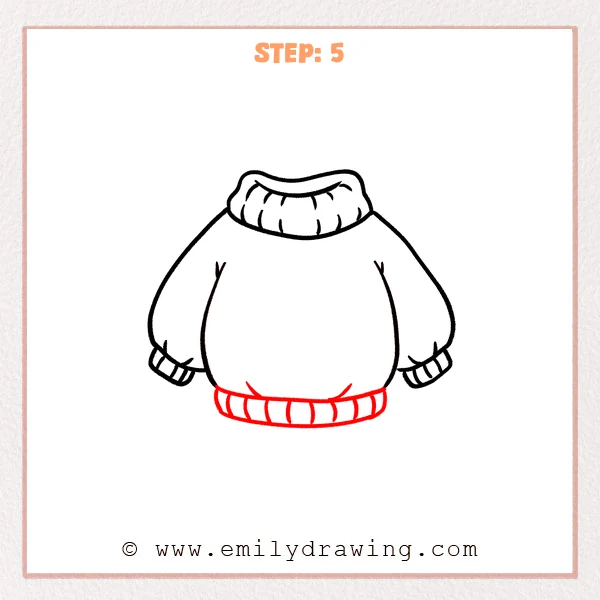
Connect the bottom of the body with a wide curved hem to complete the sweater outline. Add several short vertical curved lines inside the hem to show ribbed knit texture.
Pro Tip: Make the hem slightly wider than the body bottom so the sweater feels thicker.
Step 6: Add the Heart Design
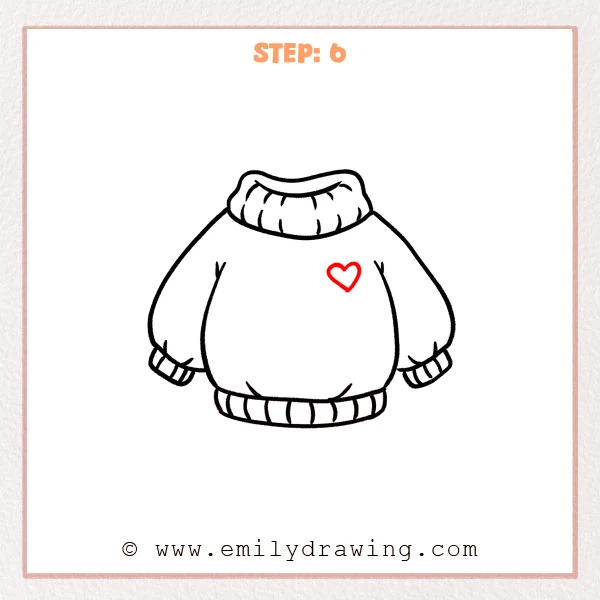
Draw a small heart near the upper front of the sweater as a simple cute decoration. Keep the heart slightly right of center, without touching the collar or side lines.
Pro Tip: Draw the heart a little small so the sweater front stays clean and balanced.
Step 7: Color in your drawing!
Fun Facts
Sweaters are often made with knitted loops, which help the fabric stretch and feel soft. Ribbed cuffs, collars, and hems help a sweater keep its shape. A simple heart design can turn a basic sweater drawing into a cheerful clothing illustration.
Pin it now, Draw later!
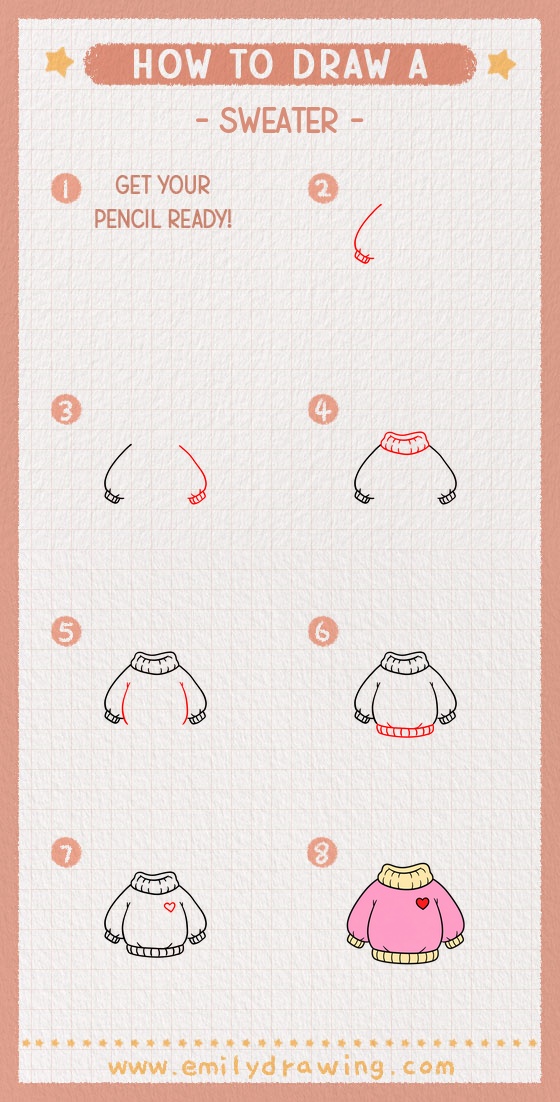
Now you have finished a cozy sweater drawing for beginners. Trace the main lines with a marker, then erase any extra pencil marks. You can color the sweater with warm shades, soft pastels, or your favorite pattern.
Keep practicing this step by step drawing, and try adding stripes, buttons, or stars next time.
Get the FREE Printable Drawing Guide
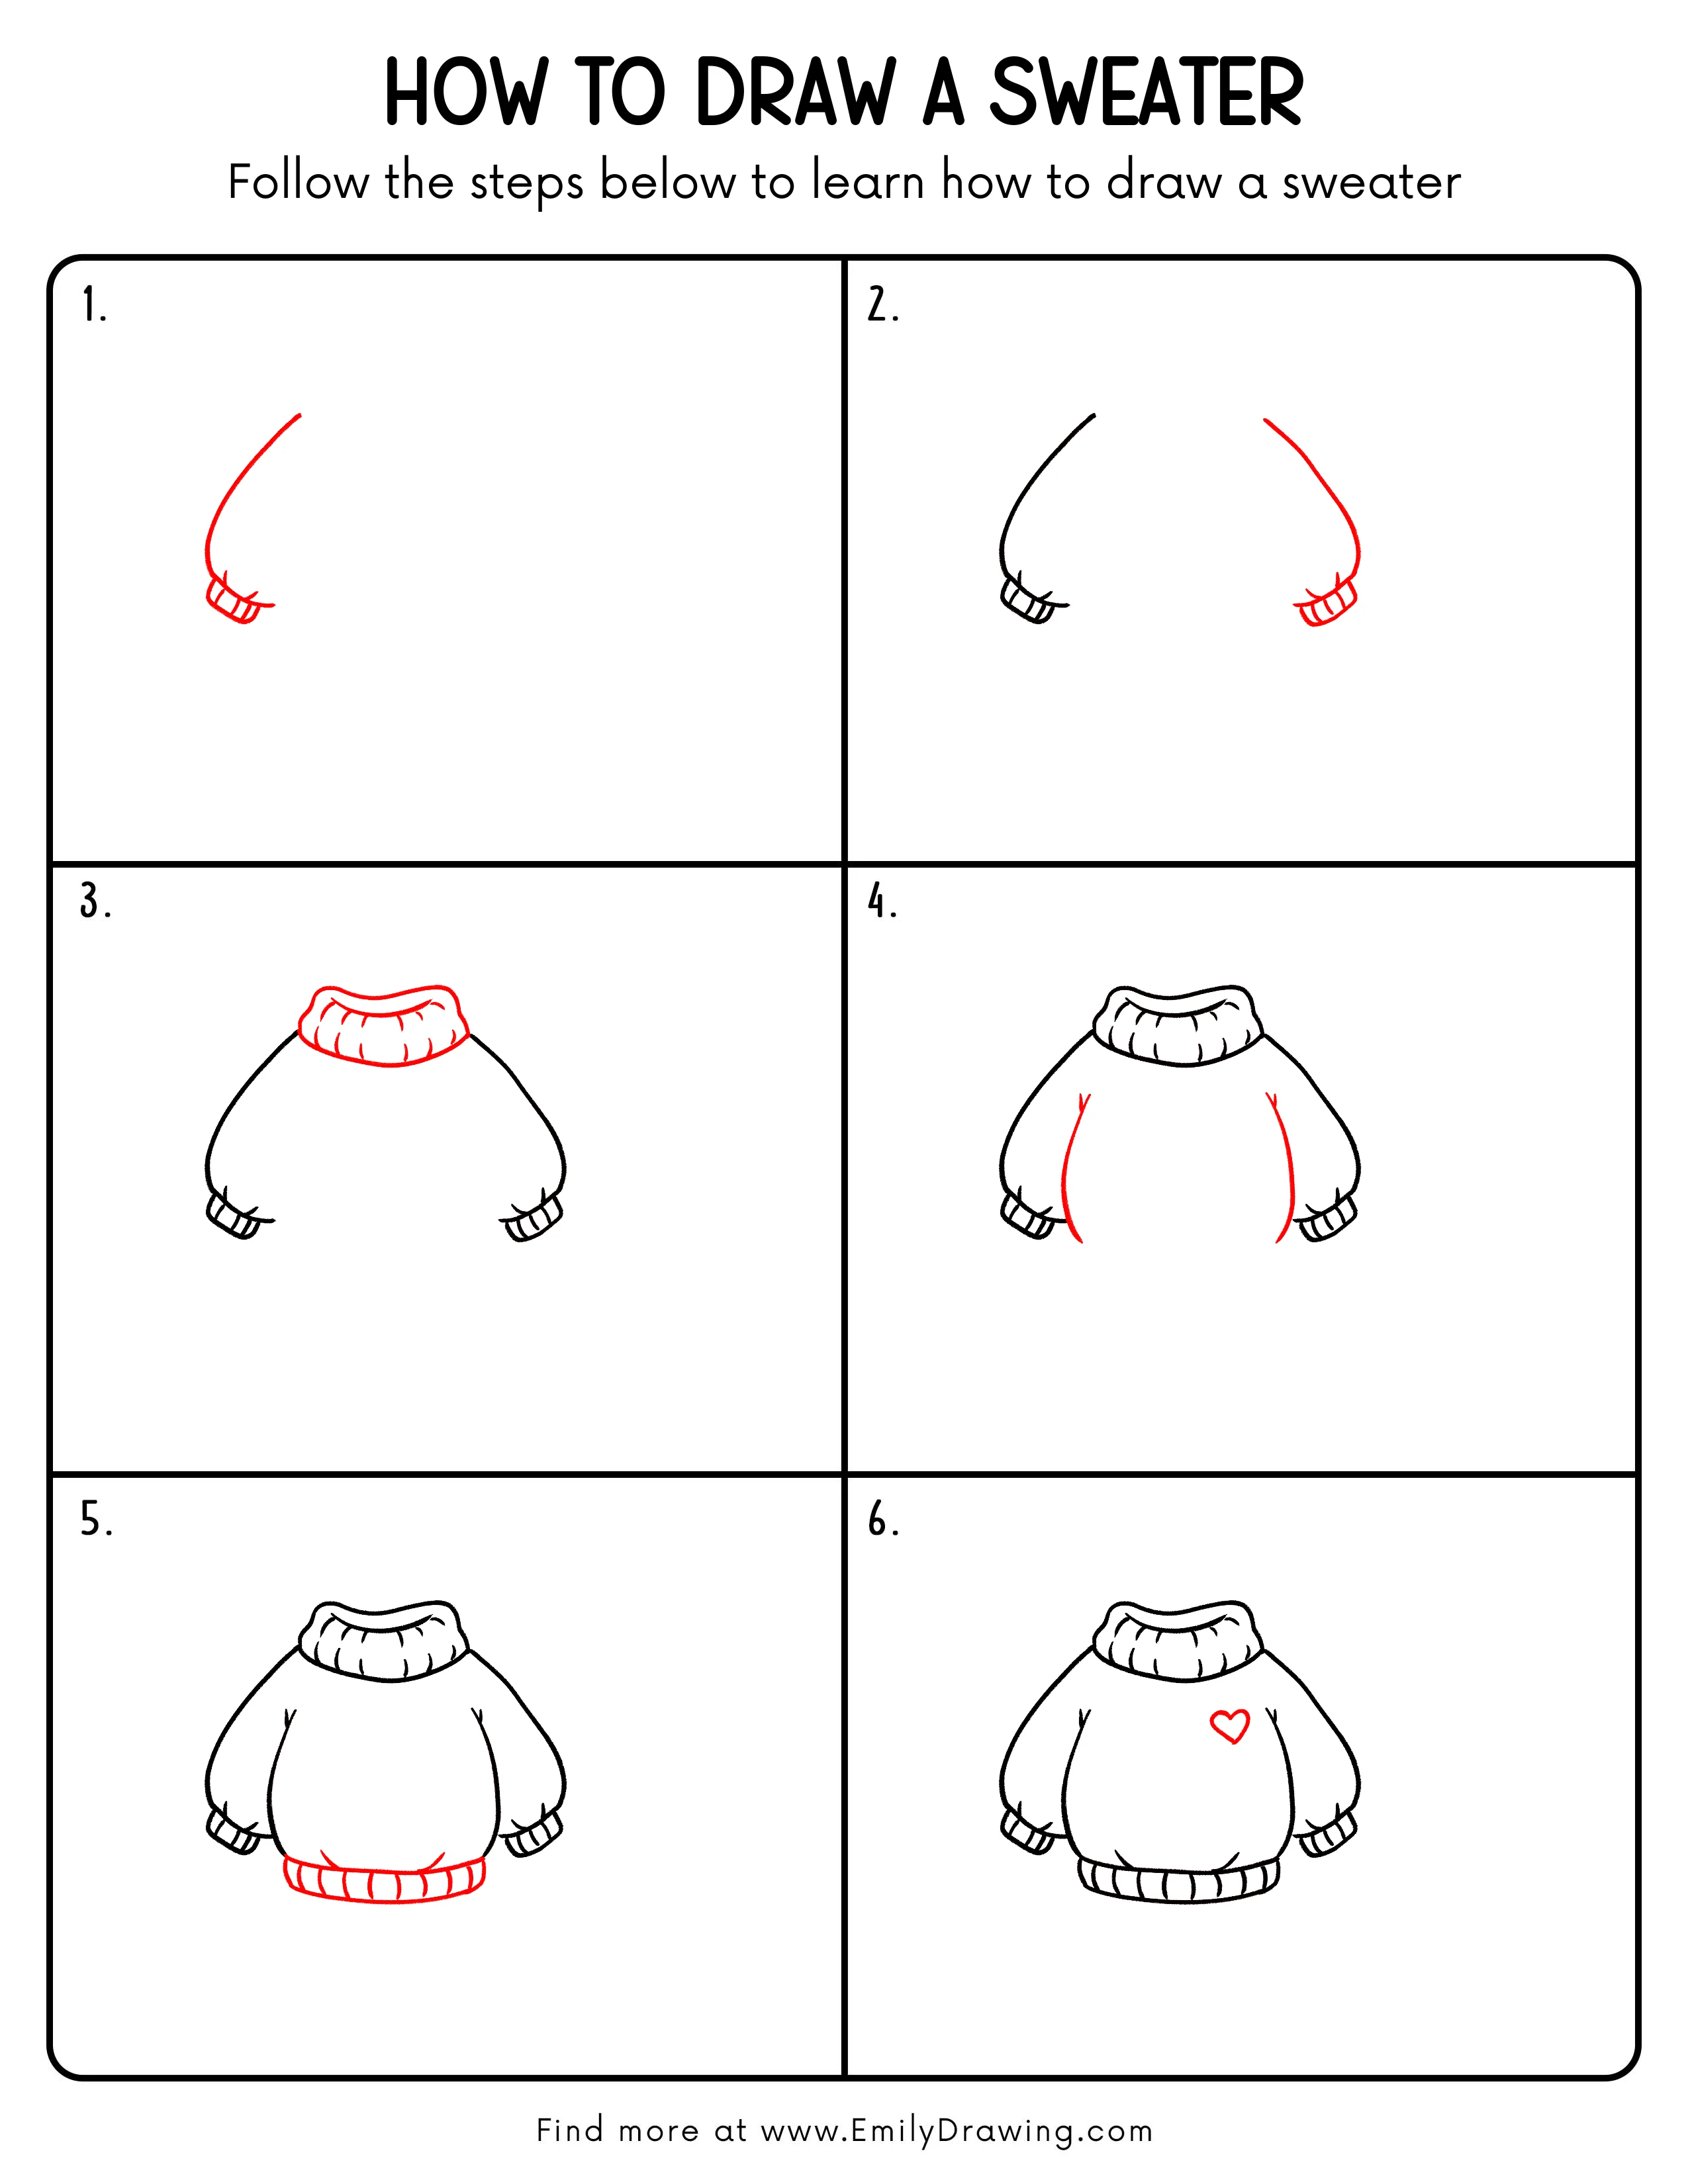
FREE Download Printable Sweater Drawing Tutorial
Frequently Asked Questions
Is this sweater drawing good for beginners?
Yes, this easy drawing tutorial uses simple curves and repeated ribbed lines, making it friendly for beginners.
How can I make the sweater look softer?
Use rounded edges, loose curves, and gentle fold lines around the collar and cuffs.
Can I change the heart design?
Yes, you can replace the heart with a star, flower, letter, or any small pattern you like.