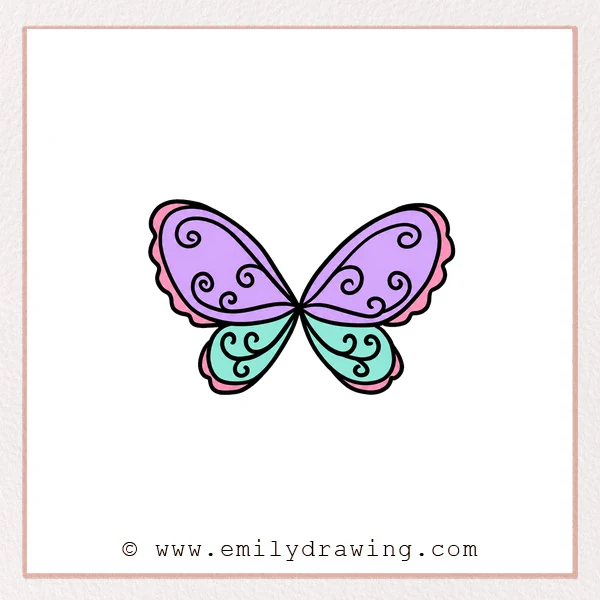
Learn how to draw fairy wings with four graceful sections and curling decorations. This easy drawing tutorial practices mirrored shapes, scalloped edges, and flowing spiral lines.
What You Will Need
- Drawing paper
- Pencil and eraser
- Black pen or marker
Here are my RECOMMENDED Art Supplies!
- Crayola Coloring Set (140 Pieces – Mega Value!)
- 24 Colored Crayon Set
- A4 Printer Paper
- Crayola Coloring Pencils
- HP Home Printer with Instant Ink!
Time needed:
30 minutes.
Step-by-Step Drawing Guide
Step 1: Draw the Upper Right Wing
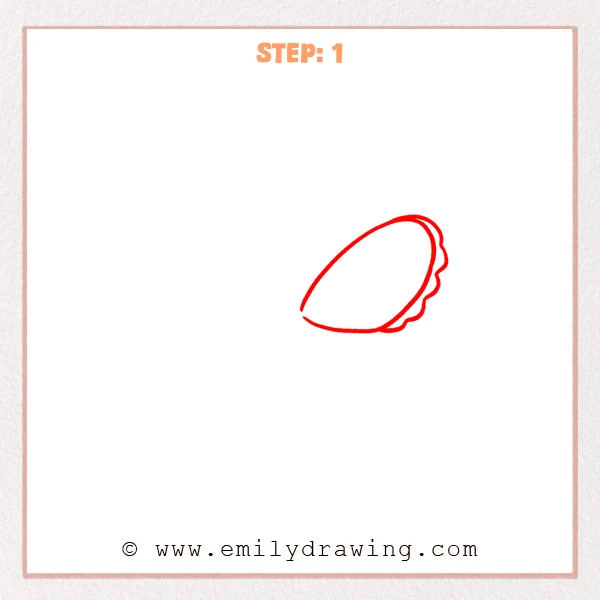
Draw a long leaf-shaped wing angled upward from the center. Add a narrow outer layer with several soft scallops along its back edge.
Pro Tip: Taper both ends while keeping the middle broad.
Step 2: Add the Lower Right Wing
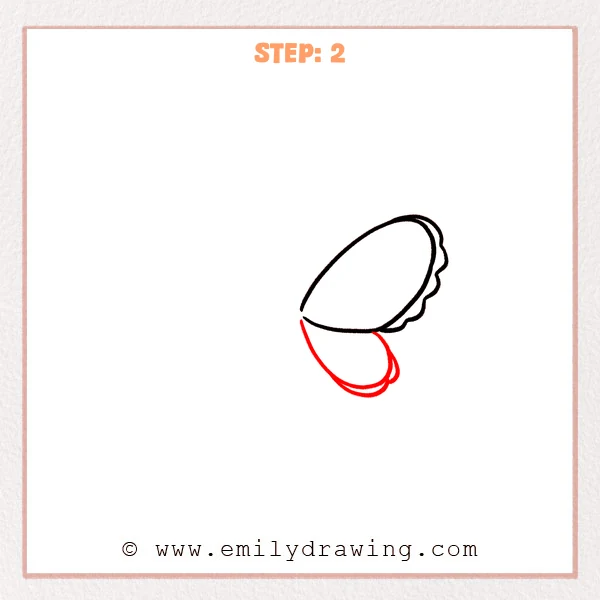
Attach a smaller rounded wing beneath the first. Repeat a slim outer border and tiny scalloped bumps near its lower edge.
Pro Tip: Keep the lower wing about half the upper wing’s length.
Step 3: Draw the Upper Left Wing
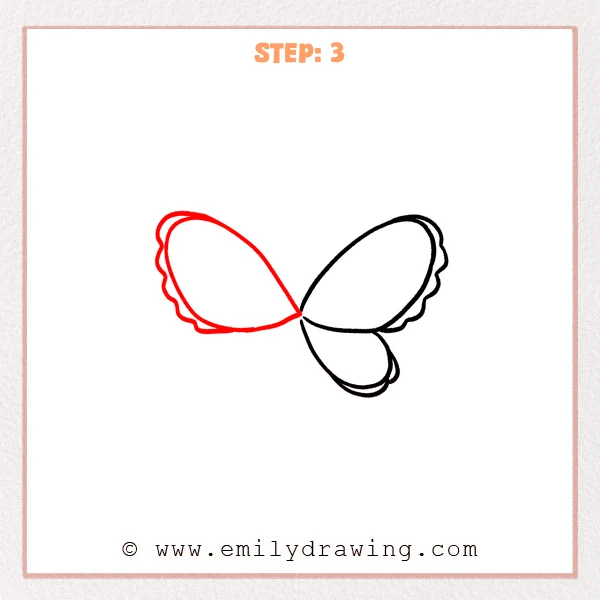
Mirror the large upper shape from the shared center toward the left. Add the same narrow scalloped layer along its outer edge.
Pro Tip: Compare both upper tips to balance their height and spread.
Step 4: Complete the Lower Pair
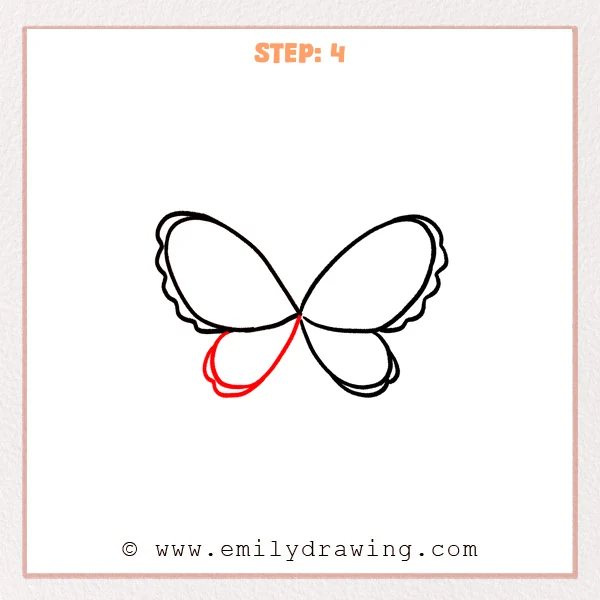
Draw the final small rounded wing beneath the left upper section. Include its slim outer border and gently scalloped lower edge.
Pro Tip: Align both lower wing tips across the center.
Step 5: Decorate the Upper Wings
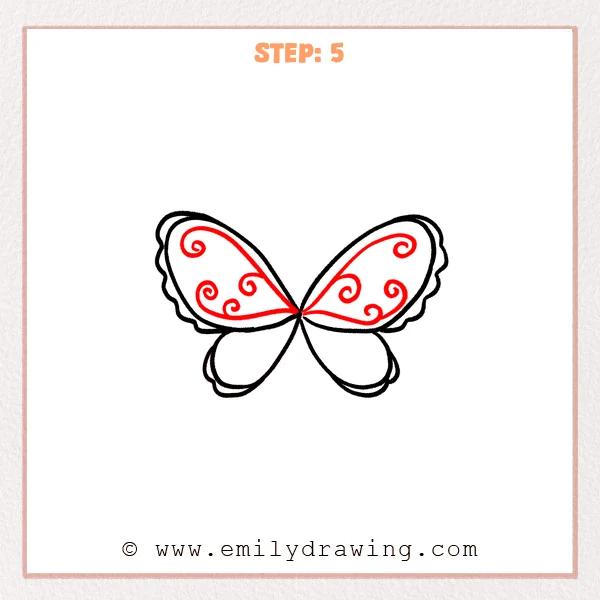
Fill each large wing with a long border curve and several inward spirals. Mirror the general flow without copying every curl exactly.
Pro Tip: Leave open space between spirals so the pattern stays clear.
Step 6: Decorate the Lower Wings
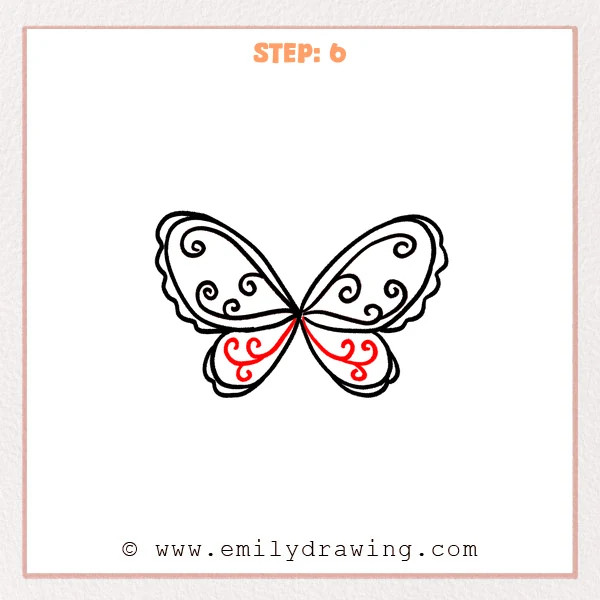
Add branching curls inside each smaller lower wing. Sweep the main lines outward and finish their short branches with spirals.
Pro Tip: Use fewer curls below to preserve the size contrast.
Step 7: Color in your drawing!
Fun Facts
- Fairy wings in art often borrow shapes from butterflies and dragonflies.
- Symmetry makes a wing pair feel balanced even when small details vary.
- Spiral patterns add movement without changing the outer silhouette.
Pin it now, Draw later!
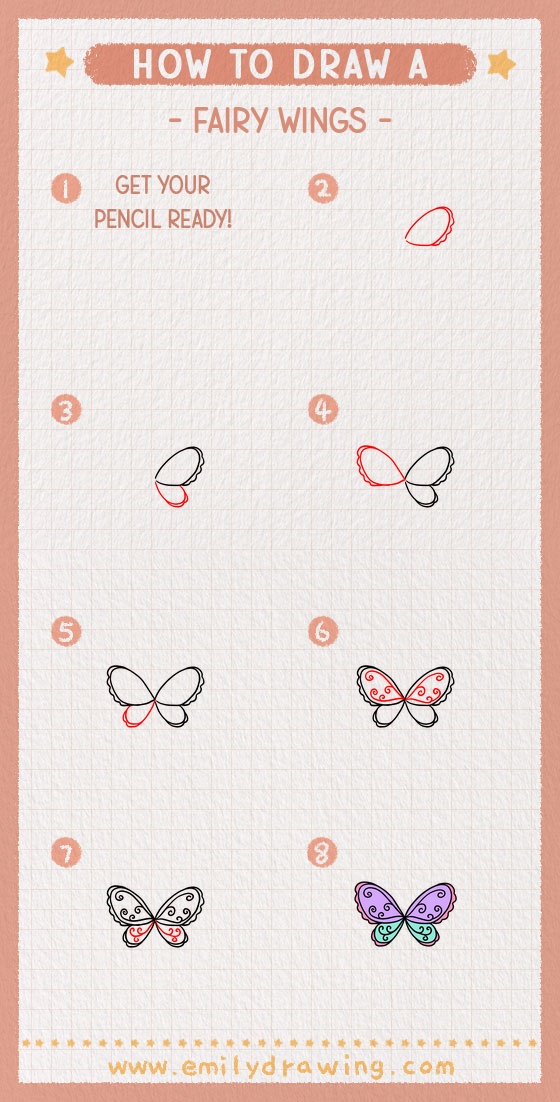
Erase guides and strengthen the scalloped borders and graceful inner curls. Your step by step fairy wings drawing is complete, so add translucent colors, dots, or subtle shimmer.
Get the FREE Printable Drawing Guide
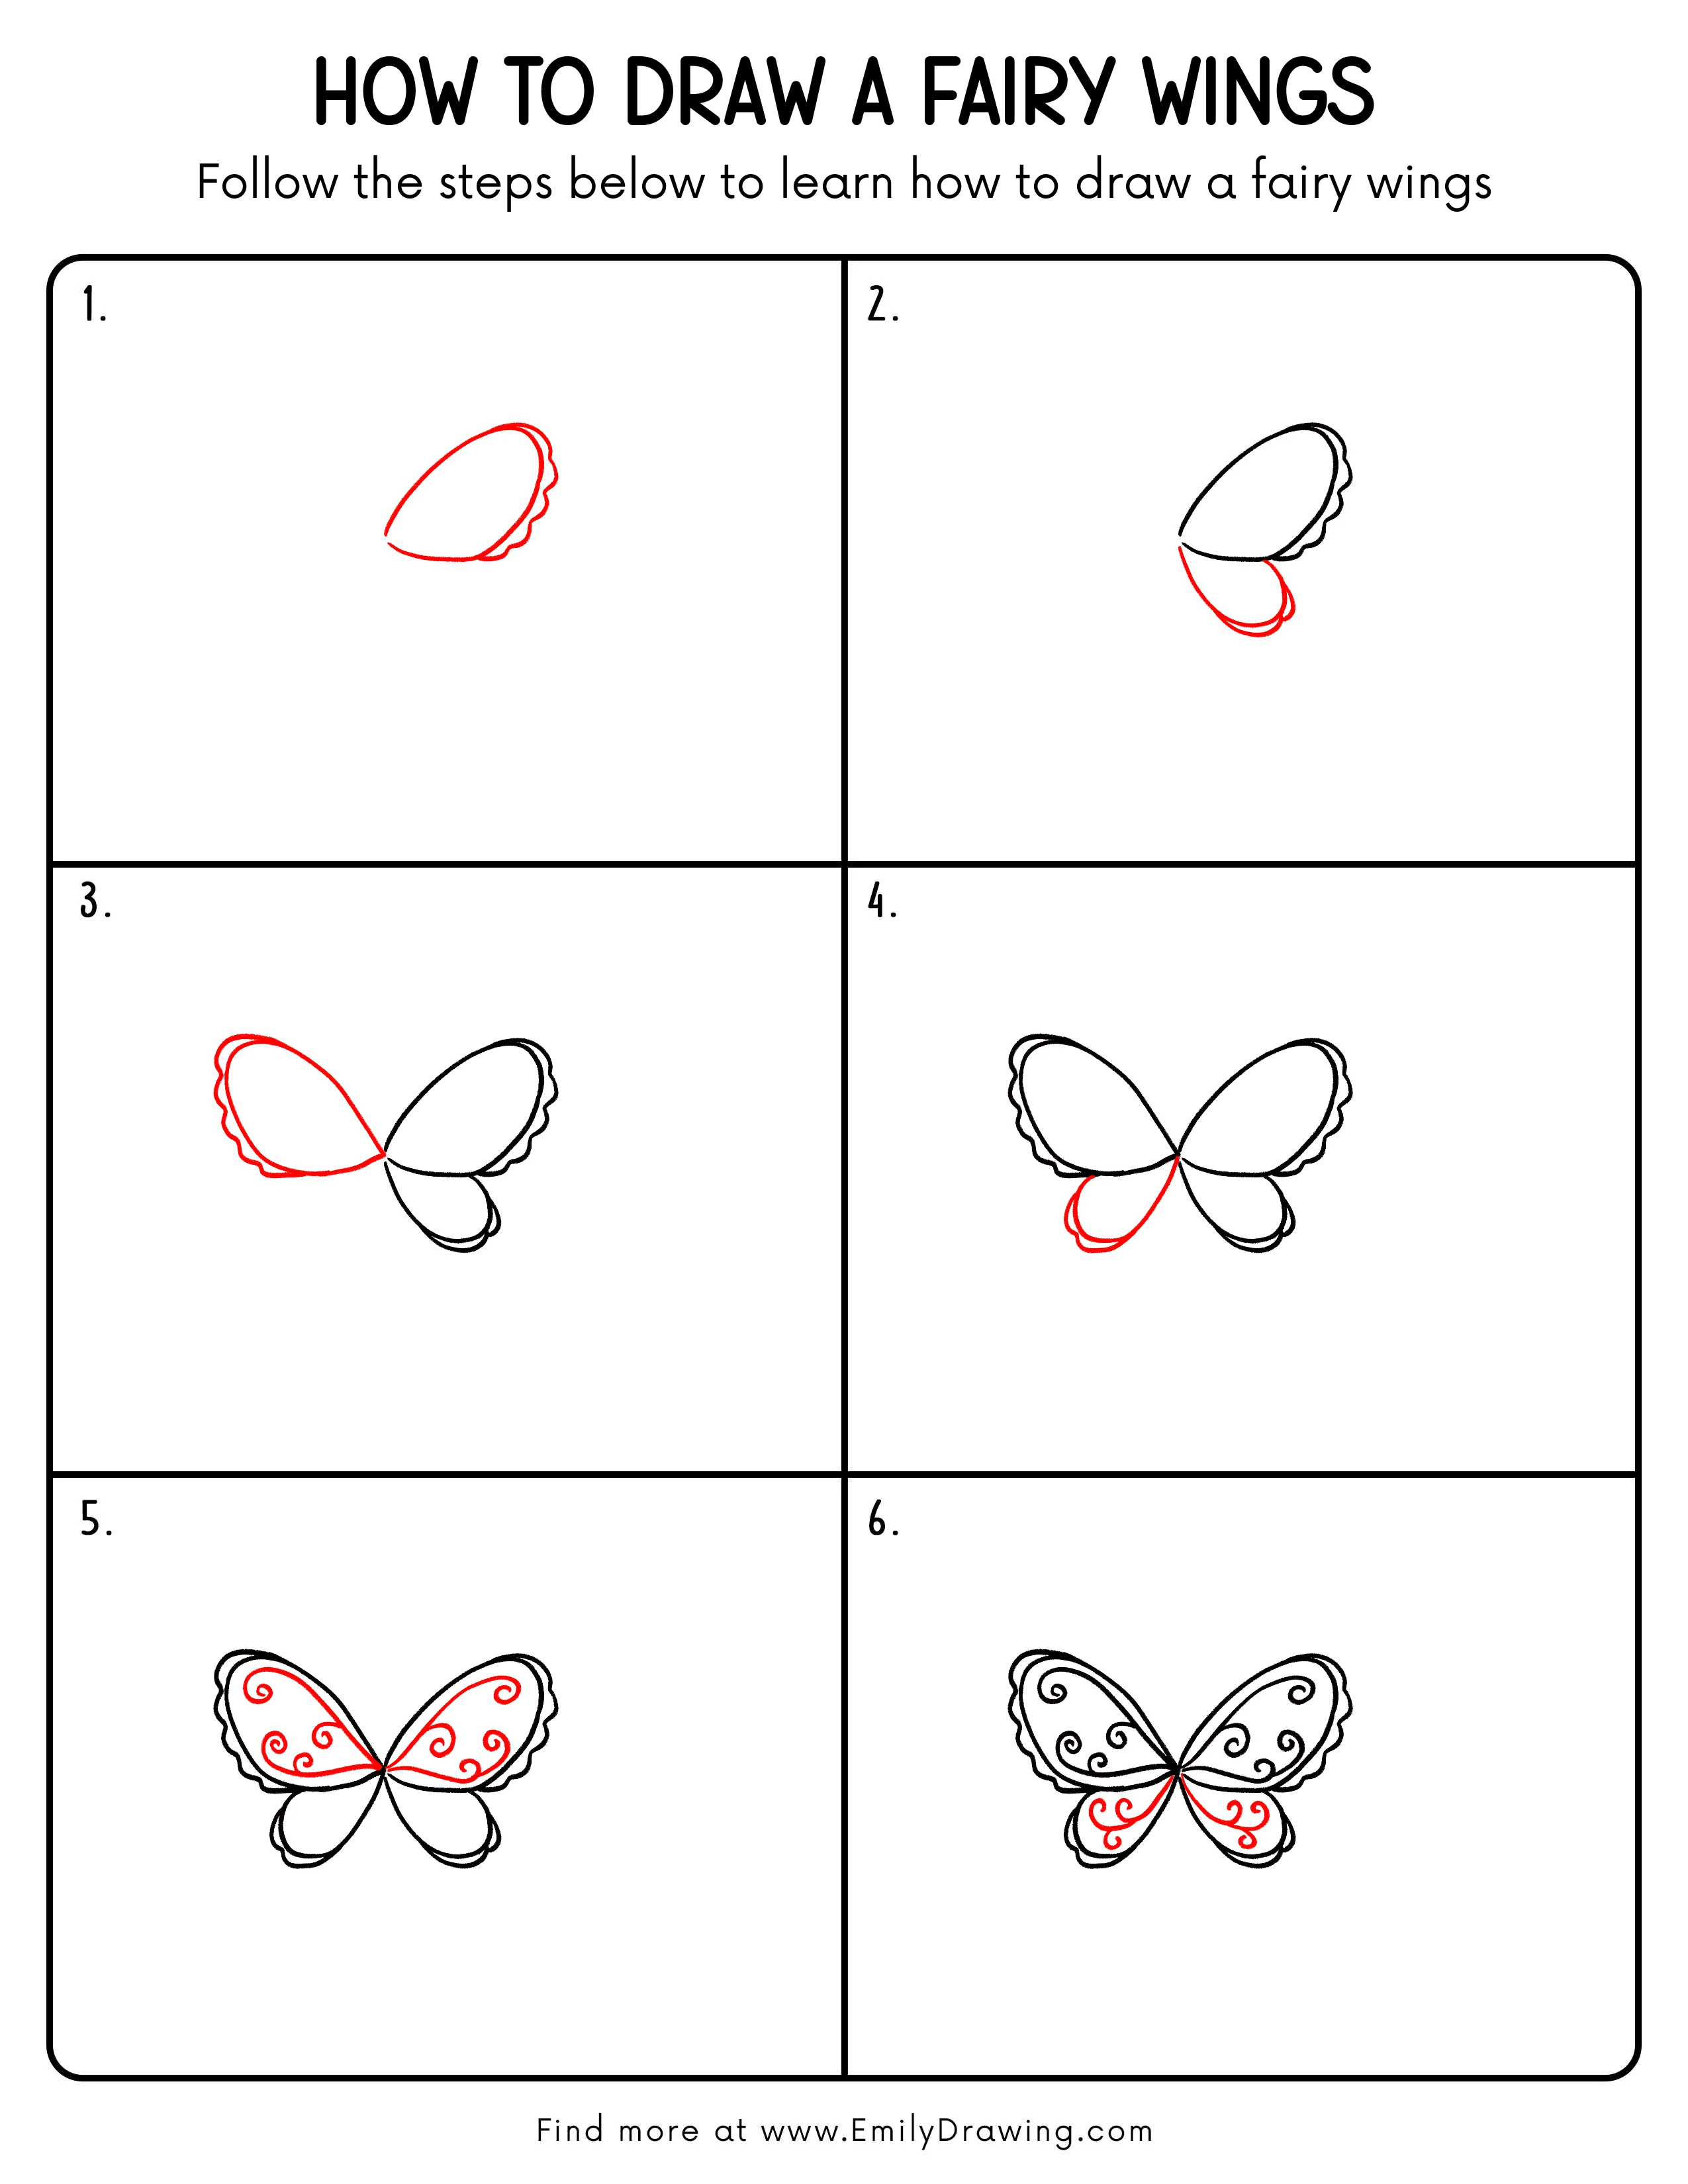
FREE Download Printable Fairy Wings Drawing Tutorial
Frequently Asked Questions
Must both sides match perfectly?
No, similar proportions matter more than identical decorative curls.
How can I prevent crowded patterns?
Draw the longest curves first and add only a few smaller spirals.
Can I make the wings more pointed?
Yes, sharpen the outer tips while preserving the four-part arrangement.