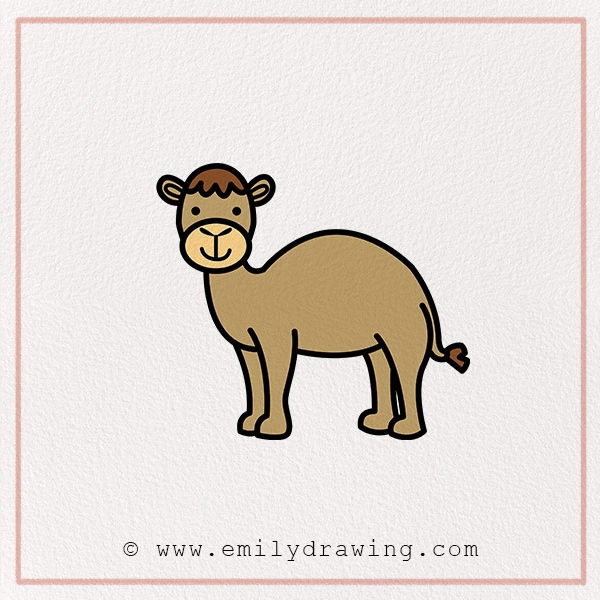
Drawing is a fun and creative way to express yourself, and this tutorial is perfect for drawing a camel for kids! In this camel drawing guide, we’ll learn how to draw a camel in just a few easy steps. Camels are amazing animals, and this desert animal sketch will show you how to draw one step by step. Did you know that camels have been human companions for over 7,000 years? Let’s grab our pencils and start drawing!
Materials:
- a piece of paper
- a pencil for the guiding lines and sketching
- an eraser
- a black sharpie or a pen for the outlines
- markers or colored pencils for coloring
- our printable drawing guide (Join my Email List below to get this Tutorial)
Here are my RECOMMENDED Art Supplies!
- Crayola Coloring Set (140 Pieces – Mega Value!)
- 24 Colored Crayon Set
- A4 Printer Paper
- Crayola Coloring Pencils
- HP Home Printer with Instant Ink!
Time needed:
15 minutes.
How to Draw a Camel — Let’s get started!
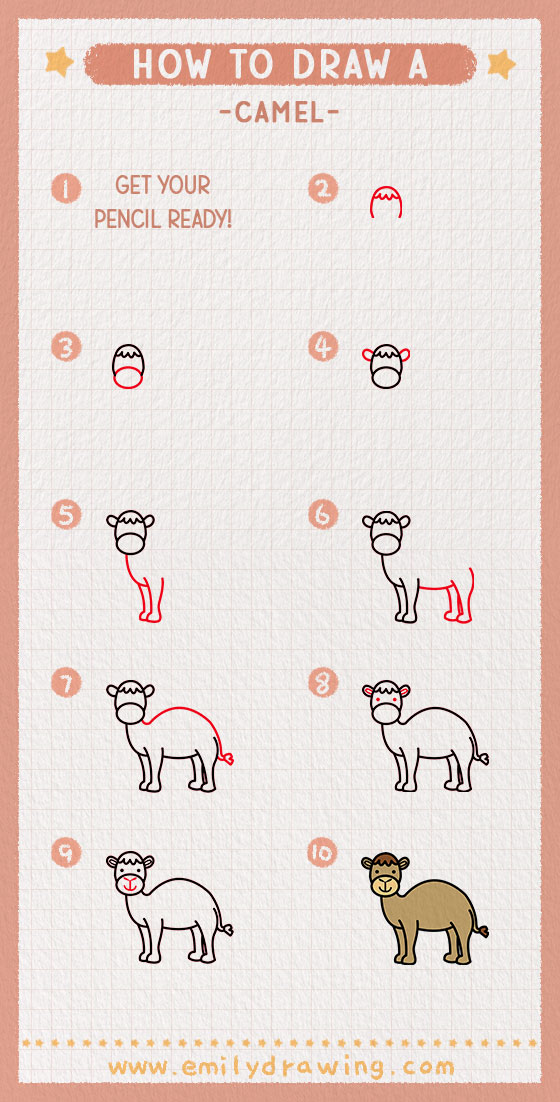
Step 1 – Draw the Top of the Head
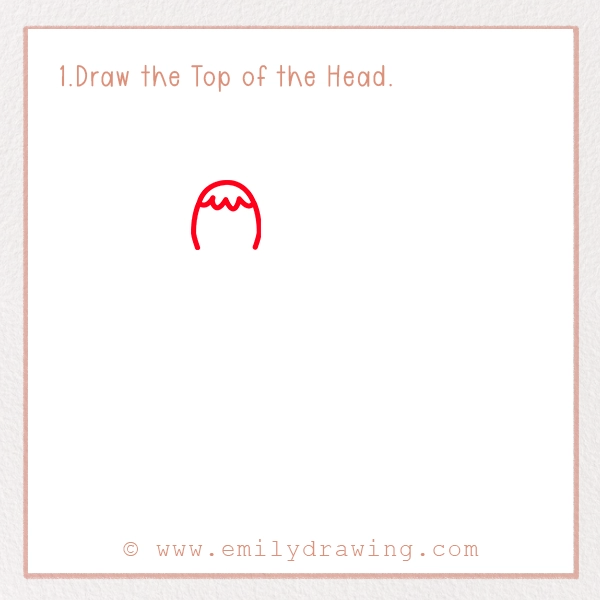
Start by drawing a small, curved shape with tiny humps at the top. This will form the top of the camel’s head, including its fluffy hair. Keep your lines light so that you can make adjustments if needed.
Step 2 – Add the Face Outline
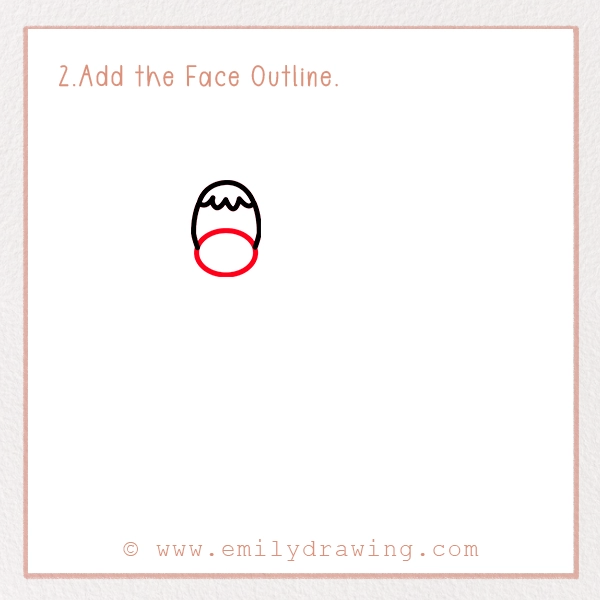
Below the head shape, draw a large oval for the face. This will create the basic structure of the camel’s head. Make sure the oval is slightly elongated to give your camel a natural look.
Step 3 – Draw the Ears
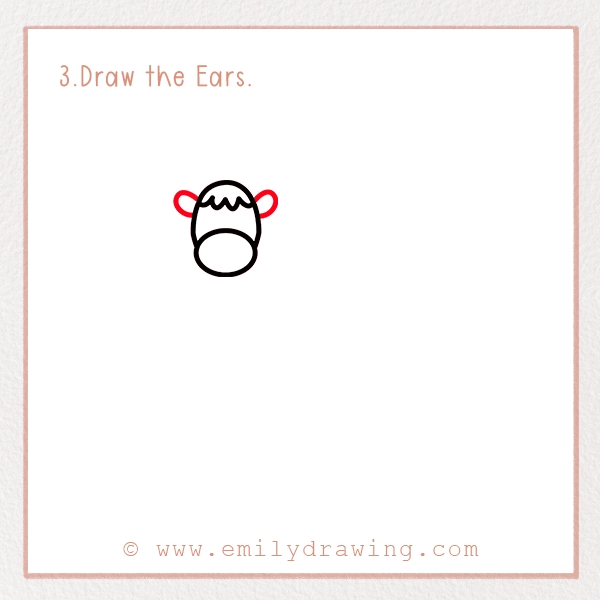
On both sides of the head, add two small, rounded ears. Make sure they are symmetrical so your camel looks balanced! If you want to make your camel look cute, you can make the ears slightly larger.
Step 4 – Sketch the Neck and Front Legs
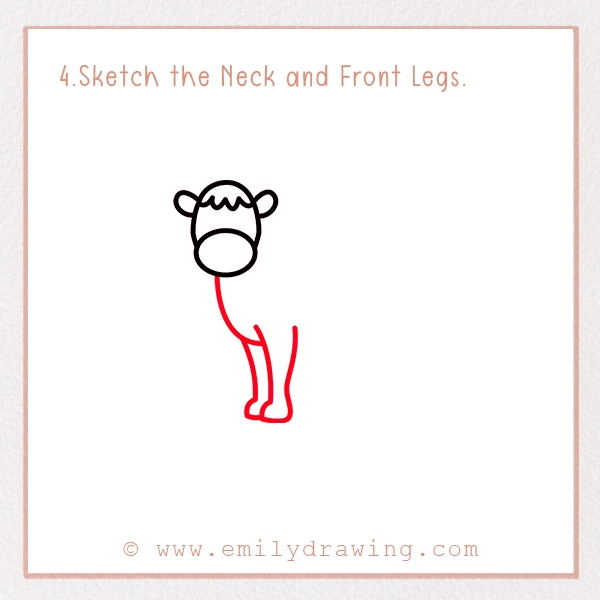
Extend two curved lines downward from the head to form the neck. Camels have long, slightly curved necks, so make sure your lines flow smoothly. Then, draw two straight lines for the front legs, adding small rounded feet at the bottom. Camels have thick legs to help them walk on sand, so don’t make them too thin.
Step 5 – Draw the Back Legs
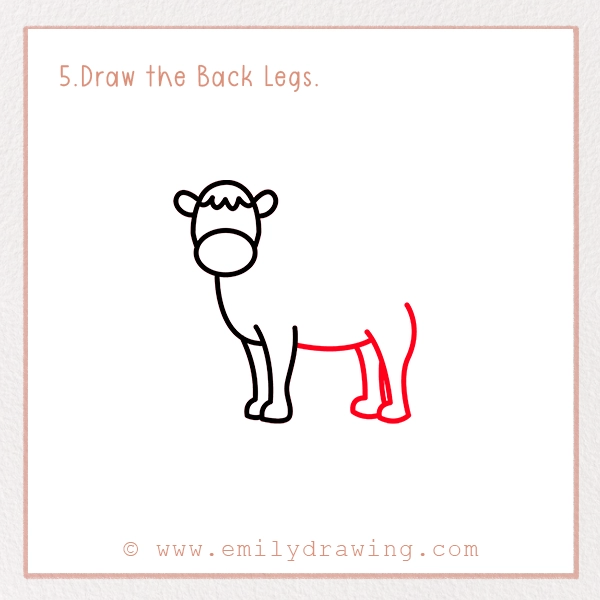
Behind the front legs, draw another set of legs. These should be slightly bent to make the camel look natural. Don’t forget the small hooves at the bottom! Camels have wide, padded feet that prevent them from sinking into the sand.
Step 6 – Add the Body and Hump
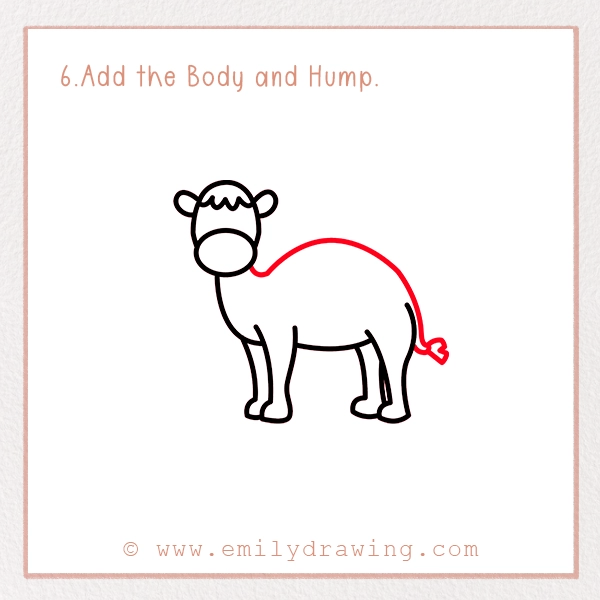
Now, connect the front and back legs with a long, curved line to form the body. Camels have big, rounded bodies, so don’t be afraid to exaggerate the curve! Add a large hump on the back to give your camel its signature look. Camels store fat in their humps, which helps them survive in the desert for long periods without food.
Step 7 – Complete the Ears’ Details
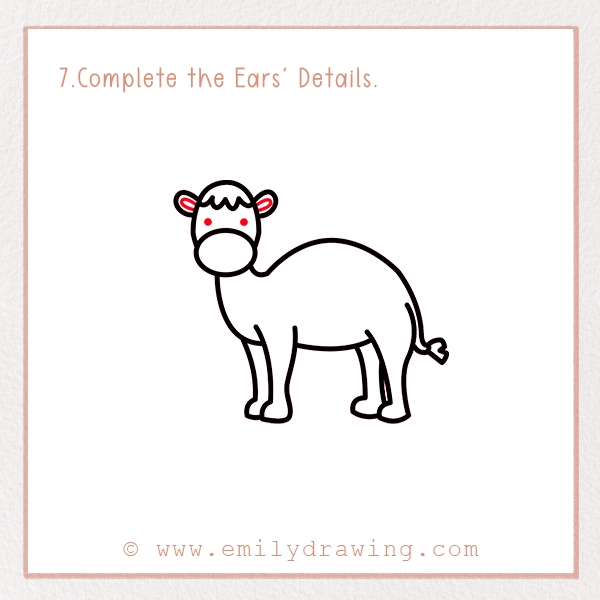
Go back to the ears and add small inner details to give them more definition. This step makes your camel look even more realistic and expressive. You can add a small curved line inside each ear to make them look more three-dimensional.
Step 8 – Draw the Face Final Details
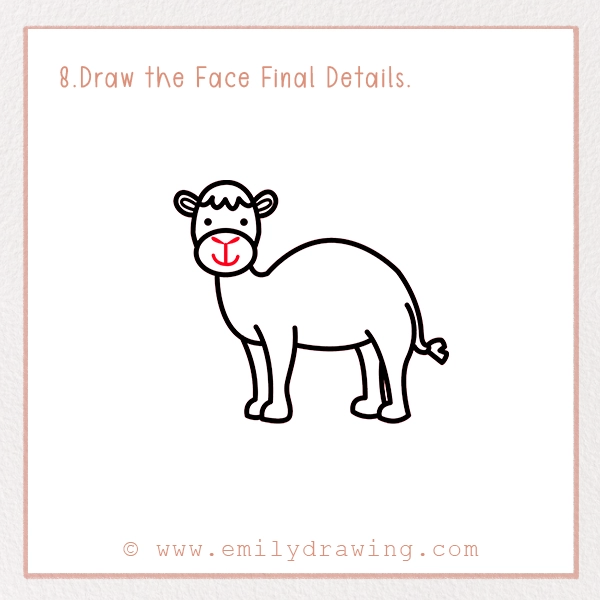
Now it’s time to bring your camel’s face to life! Add two small dots for the eyes and tiny curved lines for the nostrils. To give your camel a friendly expression, draw a simple, curved line for a smile. If you want to make your camel look extra cute, you can add little eyelashes above the eyes.
To make the camel’s face even more realistic, you can shade around the eyes and nostrils to add depth. Camels have distinct facial features, so feel free to look at real images for inspiration. You can also add a few curved lines on the cheeks to show the texture of the fur.
Another detail to consider is the camel’s eyebrows. Camels have thick, bushy eyebrows that help protect their eyes from the sun and sand. You can draw a few curved strokes above the eyes to make the face look more expressive. This will give your drawing a more natural and lifelike appearance.
If you want to add even more personality to your camel, try drawing a playful expression! For example, you could make one eye slightly winking or draw a cheeky smirk. These little details can make your drawing unique and fun!
Step 9 – Color Your Drawing!
Now that your camel is fully drawn, it’s time to bring it to life with color! Camels are usually sandy brown, but you can get creative and add any colors you like. You can also shade different areas to make your drawing look more realistic. Adding darker shades along the hump and legs will create depth.
For an extra realistic effect, try using different shades of brown and beige. Use a lighter shade for the camel’s underbelly and a darker shade for shadows. You can also add some texture to the fur by lightly sketching short strokes across the body. If you’re using colored pencils, try blending different shades to make the colors more vibrant.
If you want to add a background, consider drawing a desert scene with sand dunes and a bright sun—maybe even include another desert animal like a meerkat using our step-by-step meerkat drawing tutorial. You can also add cacti, palm trees, or even other desert animals like lizards or birds. This will make your drawing even more engaging and visually appealing.
Pin it now, Draw later!
Fun Facts About Camels
- Camels can drink up to 40 gallons of water at once!
- They store fat (not water) in their humps to survive long desert journeys.
- Camels have three eyelids to protect their eyes from sandstorms.
- Their thick lips help them eat thorny desert plants without getting hurt.
- Unlike most animals, camels move both legs on one side of their body at the same time when they walk.
- Camels can close their nostrils to keep sand out during a storm.
- They can run up to 40 miles per hour for short distances!
- Baby camels are born without humps, and they develop them as they grow.
- Camels have long, thick eyelashes that help shield their eyes from the harsh desert environment.
Tips and Tricks for Better Drawing - Start with light pencil strokes so you can erase any mistakes easily.
- Use reference images to understand the camel’s unique shape.
- Try shading different parts to give your drawing more depth and realism.
- If your camel’s legs look too short or too long, compare them to the body size and adjust accordingly.
- Add small curved lines around the feet to show the soft sand where the camel is standing.
- Experiment with different expressions by changing the shape of the mouth and eyes.
- Use a fine-tip pen or marker to outline your drawing for a polished look.
- If you want to create a cartoon-style camel, try exaggerating certain features like the hump or ears.
- Try drawing different types of camels, such as a Bactrian camel (which has two humps) or a Dromedary camel (which has one hump).
- Don’t be afraid to get creative! You can add accessories like a saddle or a headscarf to give your camel a unique look.
We hope you had fun learning how to draw a camel! Keep practicing and try drawing other animals too. Drawing is a great way to improve your creativity and observation skills. Don’t forget to share your drawing on social media using #EmilyDrawing. Happy drawing!
Would you like to learn how to draw more animals? Stay tuned for more exciting tutorials!
Get the FREE Printable Drawing Guide