Hello! You’ve found our easy-to-follow and fun ten-step diamond drawing tutorial on how to draw a diamond!
Diamonds are precious gems that are highly sought after in jewelry pieces. In many countries, diamonds are commonly used as jewels for engagement rings, a tradition that dates back to 1477! Diamonds are amongst the toughest materials on the entire planet. To burn a diamond, you would have to heat it to 1,292 degrees Fahrenheit!
If you’ve ever seen a diamond in person, you know how sparkly and pretty they are, and how interestingly they reflect light when they move around.
Alright, enough talking—find some of your favorite drawing materials and let’s get moving with this tutorial. Keep reading below for Step 1!
Materials:
- a piece of paper
- a pencil for the guiding lines and sketching
- an eraser
- a black sharpie or a pen for the outlines
- markers or colored pencils for coloring
- our printable drawing guide (Join my Email List below to get this Tutorial)
Here are my RECOMMENDED Art Supplies!
- Crayola Coloring Set (140 Pieces – Mega Value!)
- 24 Colored Crayon Set
- A4 Printer Paper
- Crayola Coloring Pencils
- HP Home Printer with Instant Ink!
Time needed:
10 minutes.
How to Draw a Diamond — Let’s get started!
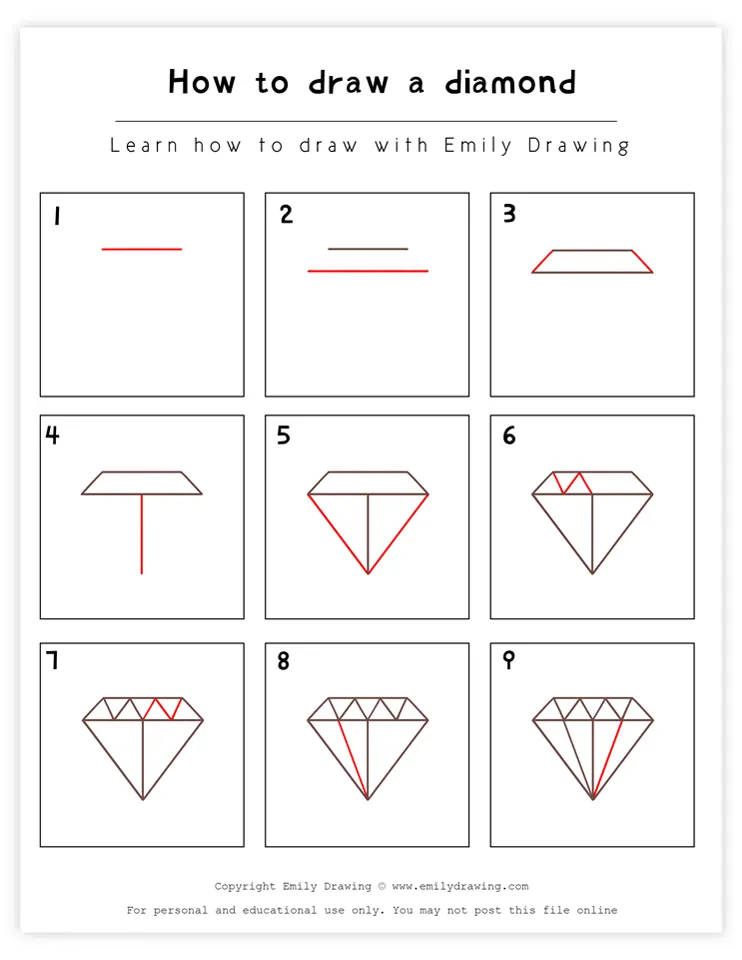
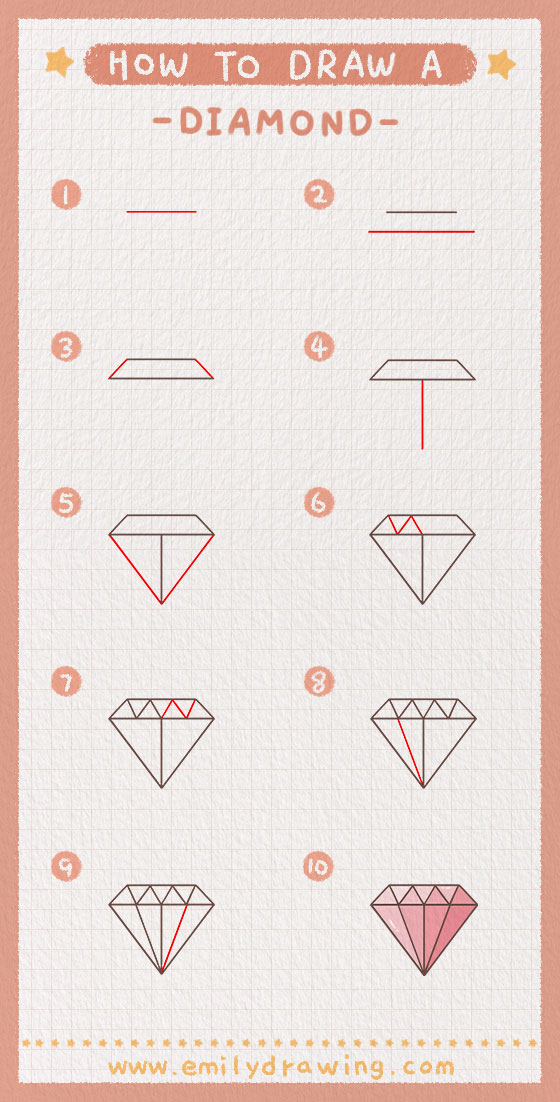
Step 1 – Draw the top of the diamond.
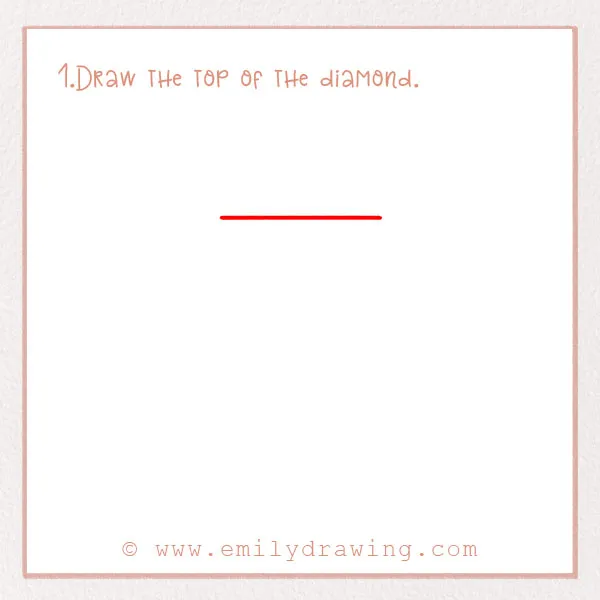
About three or four inches from the top of the page, draw a straight line. It should be roughly five inches long and completely parallel to the top of the page. This forms the top profile of the diamond.
Step 2 – Continue the shape of the diamond.
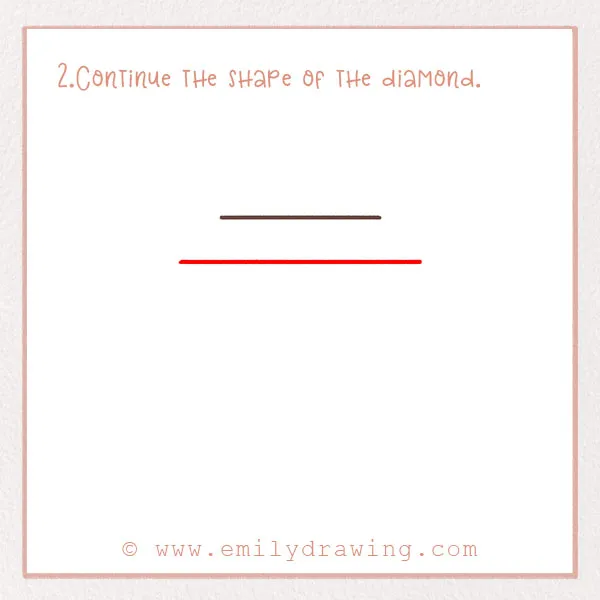
Underneath the first line, draw a second line a few inches below. It should also be very straight so that it is completely parallel to the first one. Make it a bit longer, though!
Good job!
For other tutorials emphasizing symmetry, consider How to Draw a Snowflake or How to Draw a Butterfly.
Step 3 – Connect the two lines.
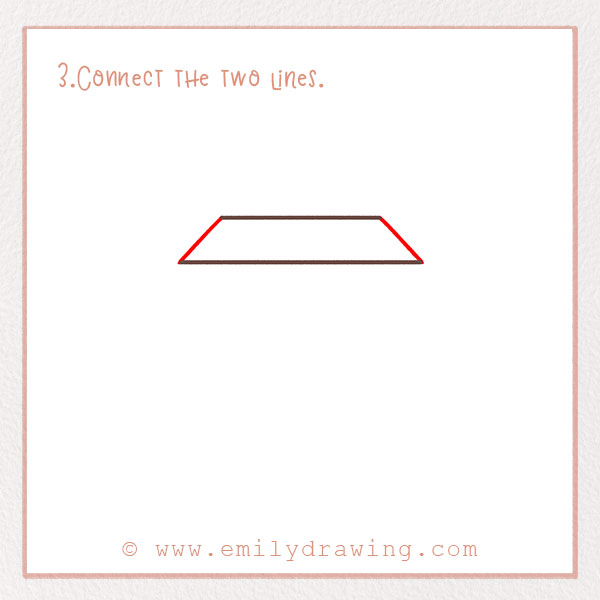
Sketch two slanting lines that connect the lines on each end to shape your diamond. This forms the angular top profile of the diamond. So, you should basically have a skinny trapezoid about three-quarters of the way up the page. This represents the top of the diamond, also called the crown.
Step 4 – Start drawing the rest of the gem.
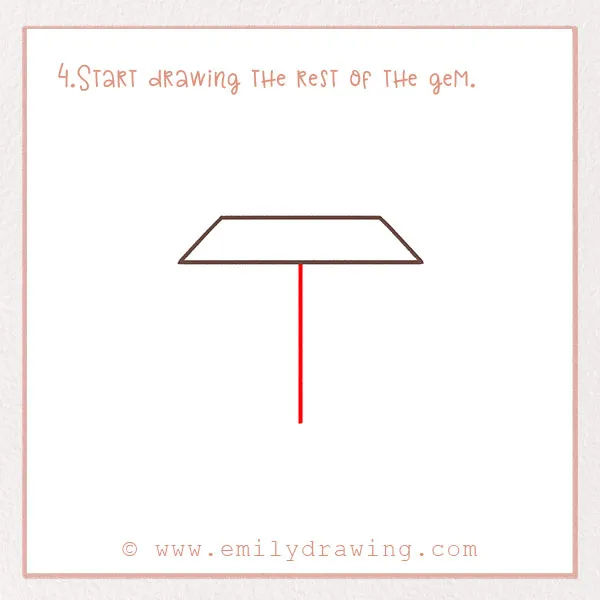
Let’s continue by forming the bottom part of the diamond. Right from the center bottom of the trapezoid, draw a long straight line. It should be close to the same length as the line from Step 2, but perpendicular. Check out the photo!
Good job!
Step 5 – Complete the diamond’s profile.
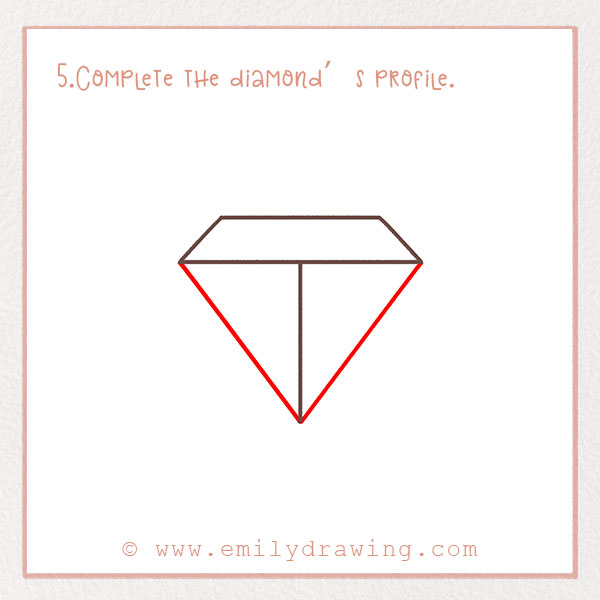
Diamonds are beautiful when they are delicately cut. We’re drawing the gem into a common shape. Theoretically, this is how they are cut to place them on rings.
So, let’s finish this pretty profile. Connect the bottom corners of the trapezoid to the end of the bottom to the line from Step 4. You should have two slanted lines that form a triangle.
Now, we’re going to move on to filling the inside detail of the gem!
Step 6 – Start drawing the facets.
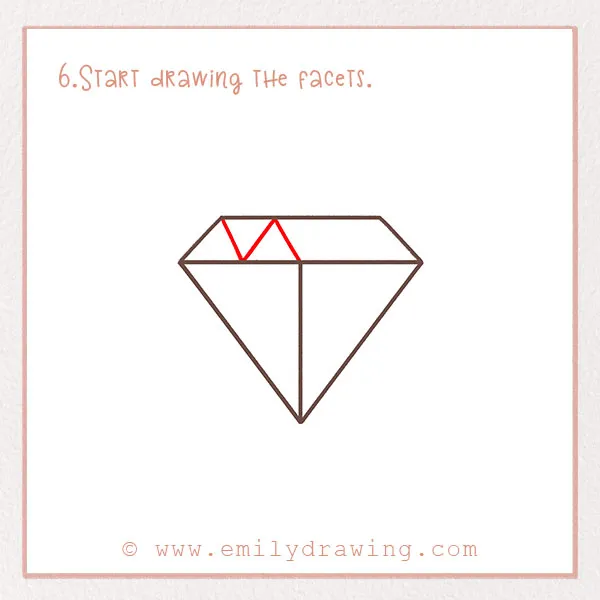
The beautiful indentations, known as the facets of a diamond, add sparkle and dimension to your sketch. We’re going to add these trademark features to our diamond now.
Start in the trapezoid, or the crown. Draw three slanting lines that form a zig-zag. It should take up about half of the crown so far.
Check out the photo. Good job!
Step 7 – Continue drawing the facets.
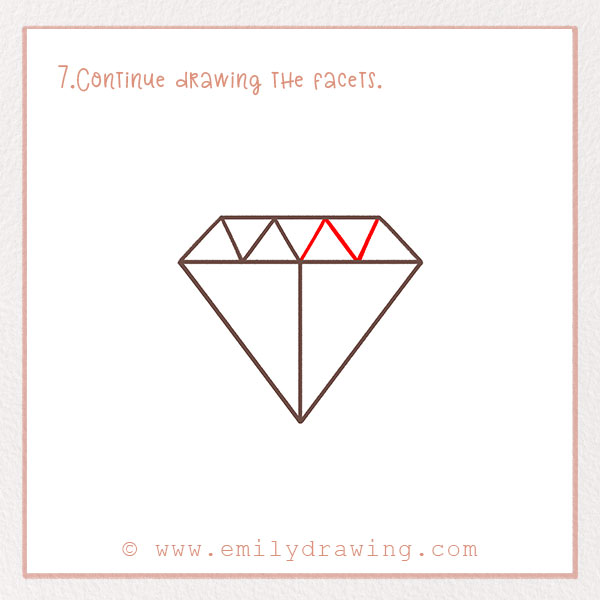
In the remaining space on the crown, draw three more slanting lines to create even more facets. Now, you should have a nice complete zig-zag line going the whole way across the crown which forms seven small triangles.
Step 8 – Add detail to the bottom.
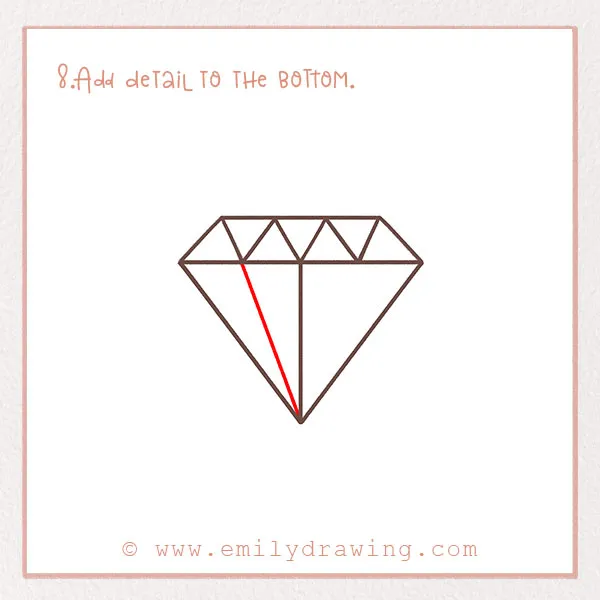
Let’s move to the triangular part of the diamond. On the left side of the center line, draw another slanting line. It should go from the bottom point up to the left half of the crown. Look at the photo! Good job.
Step 9 – Add more detail to the bottom!
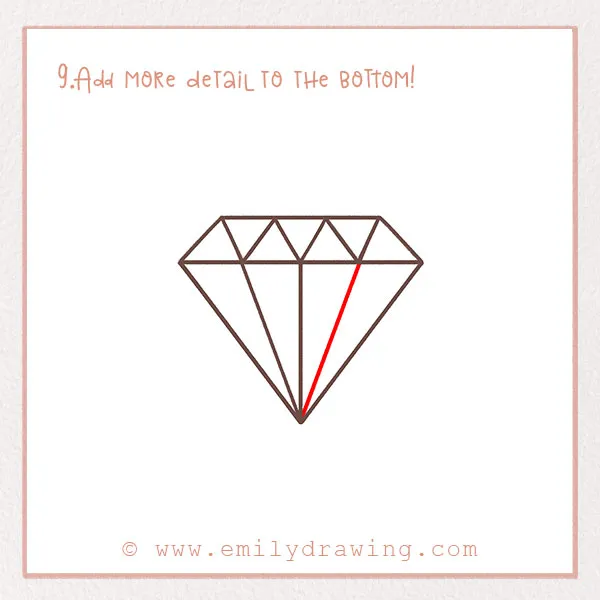
We’re almost done! This is basically the same exact step from Step 8, but on the other side. Draw a slanting line on the right side of the center line. It should mirror the line from Step 8.
That completes the pretty faces and dramatic angles of the diamond.
You’re almost done!
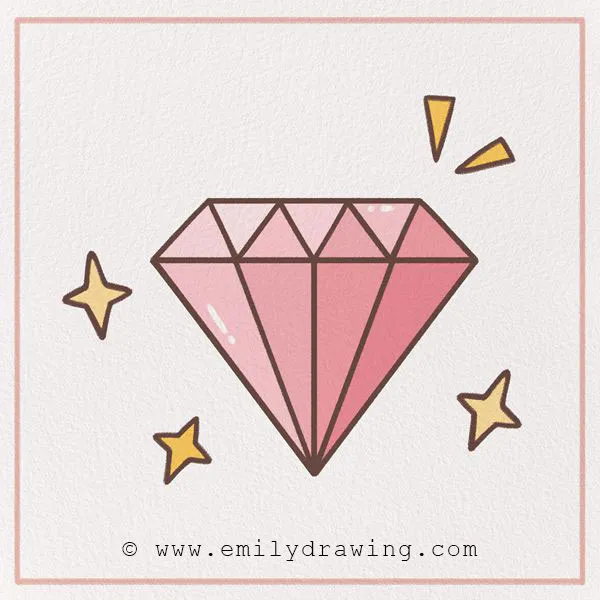
Step 10 – Color in your brand-new gem!
Can you believe that diamonds come in all colors? We often think about them as clear or iridescent, but they can even be red and blue in rare instances.
So, of course we need to add color to the diamond. Find some colors and go for it, and have fun! Fill in the background, too.
Pin it now, Draw later!
Good job! You’ve finished drawing the precious gem.
We hope you had fun following this tutorial and learned some things about diamonds. You might like the star tutorial if you enjoyed learning how to draw gemstones like diamonds! If you had fun on this art project, comment on some more ideas of similar ones you’d like to see on our site!
Show your pretty gem to family and friends, and share this drawing tutorial with them if you think they would enjoy it too!
If you love drawing geometric shapes, you might also enjoy How to Draw a Star or How to Draw a Crown.
Get the FREE Printable Drawing Guide