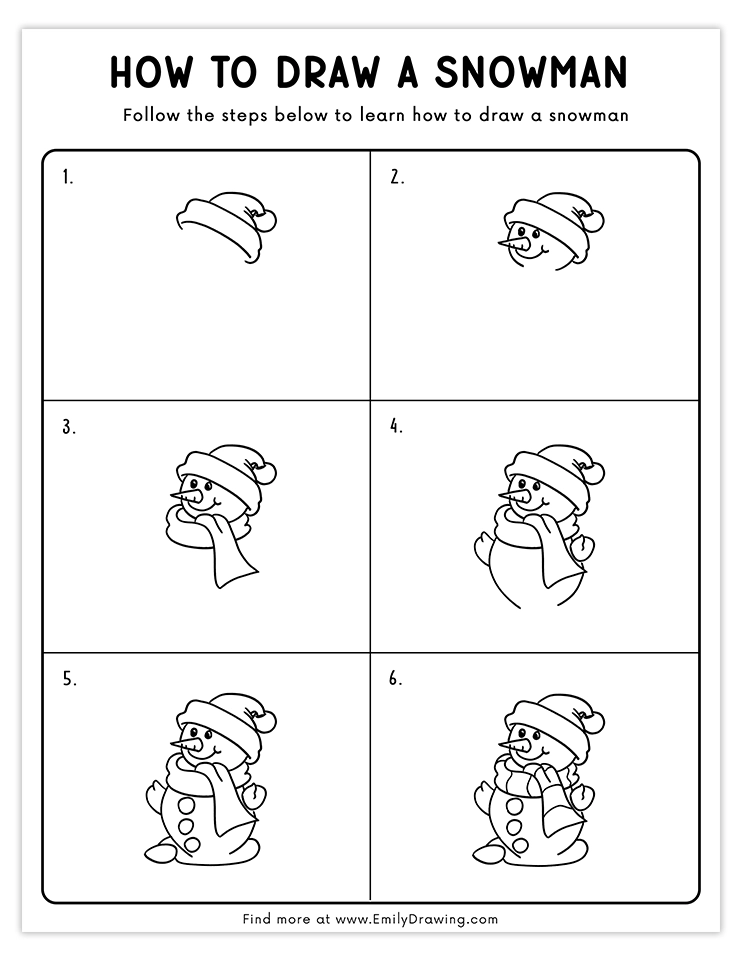
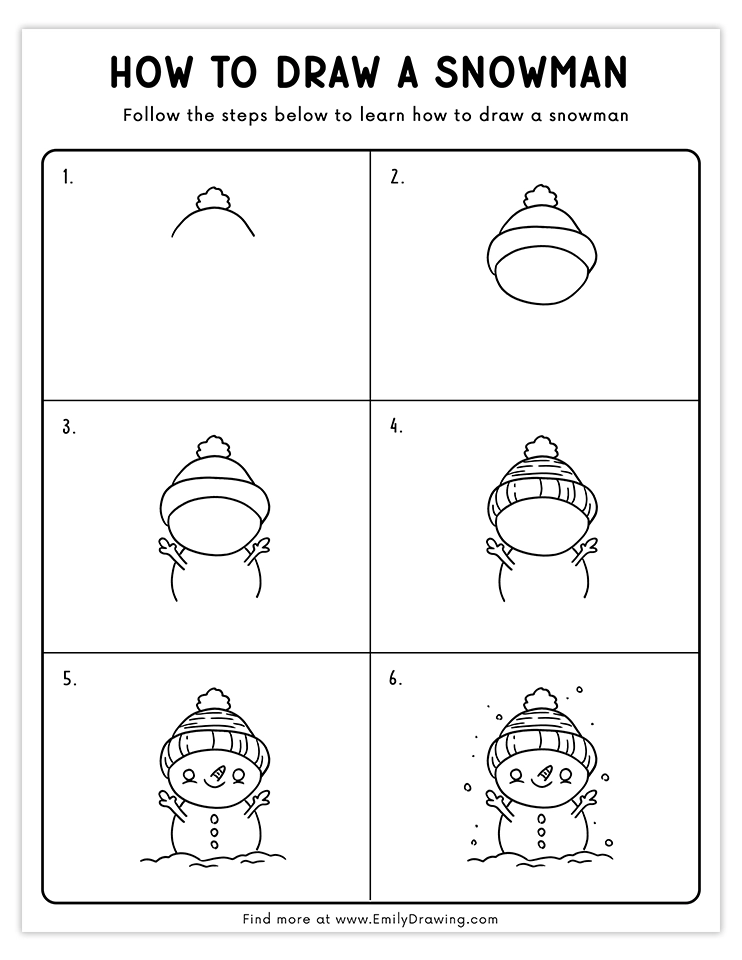
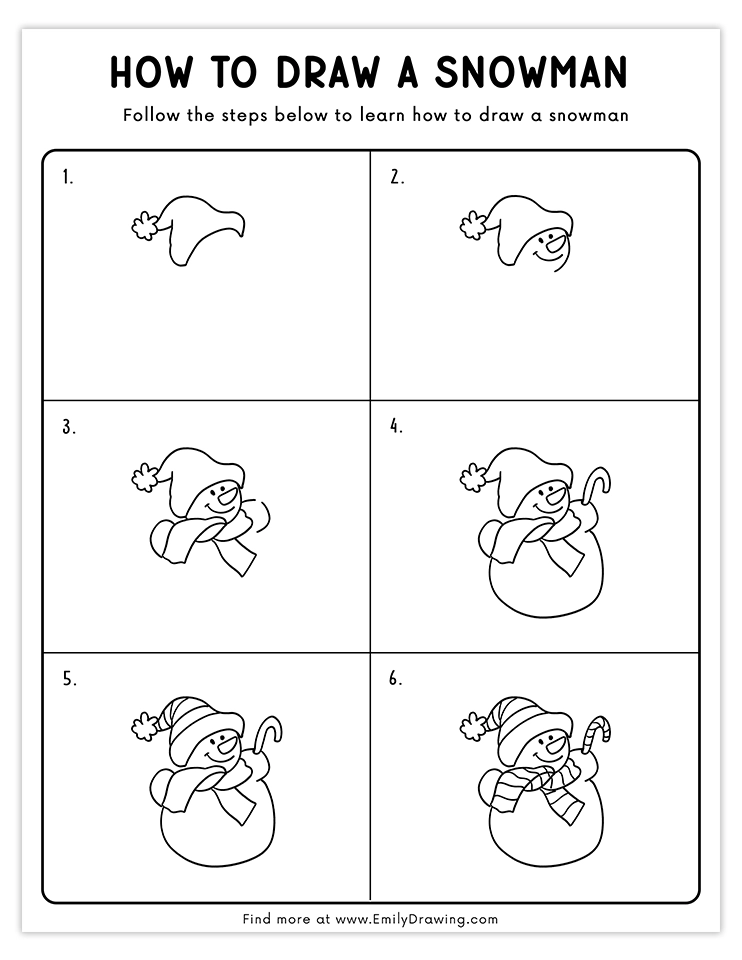
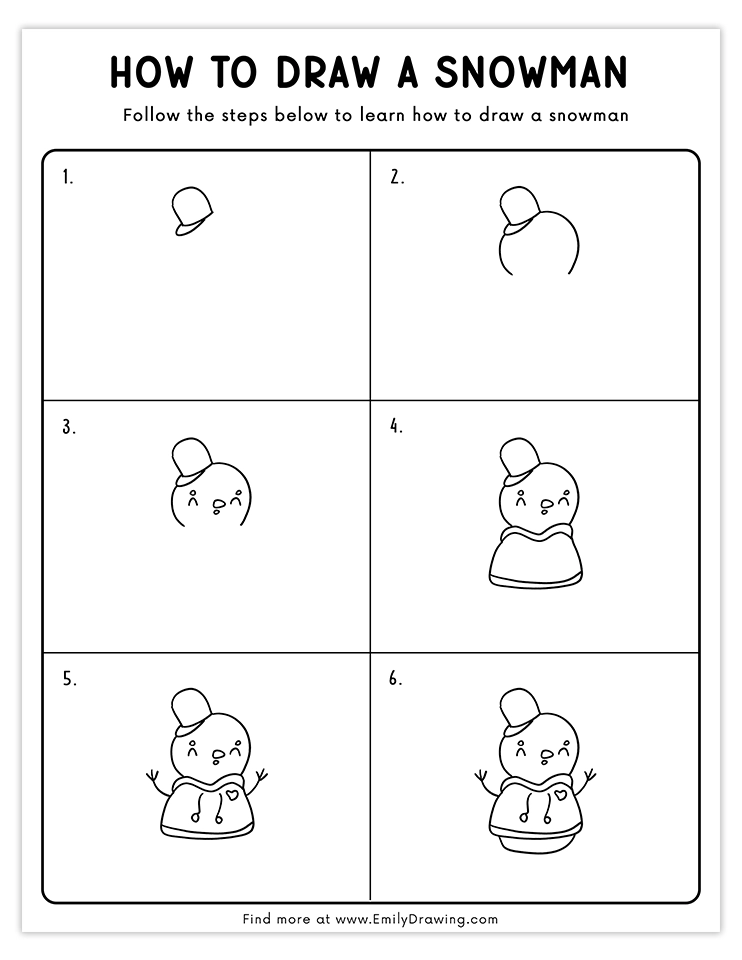
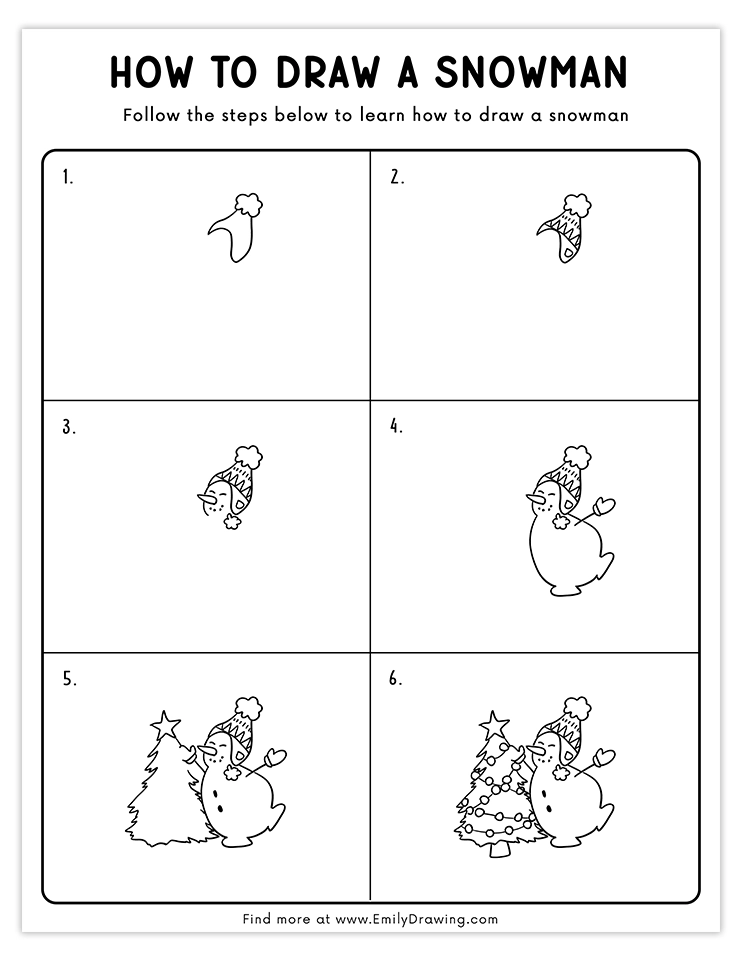
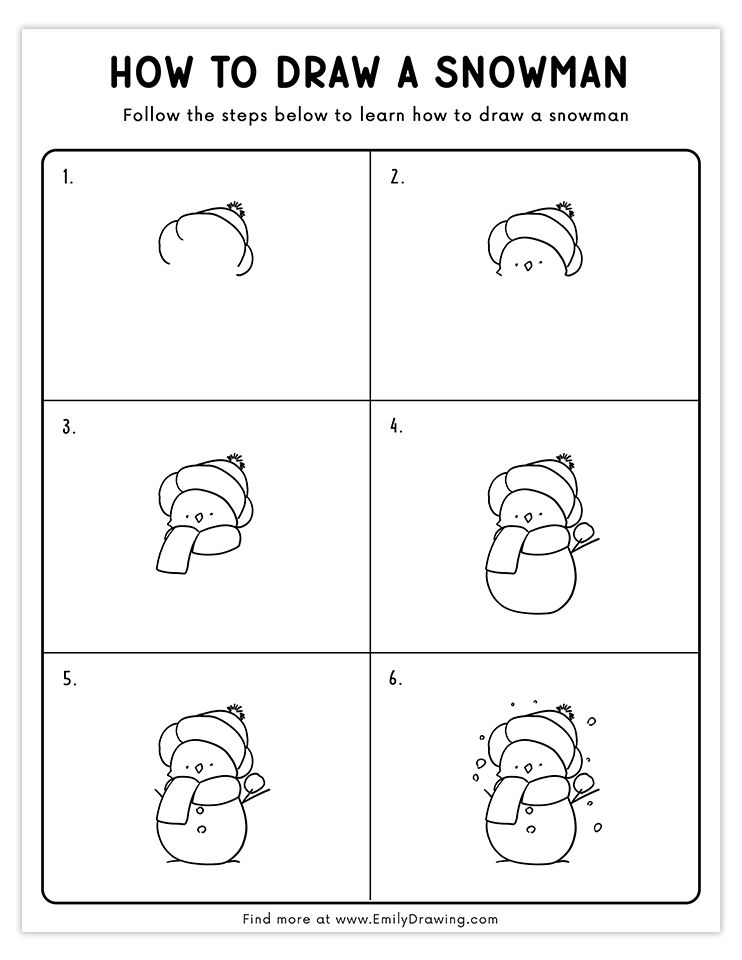
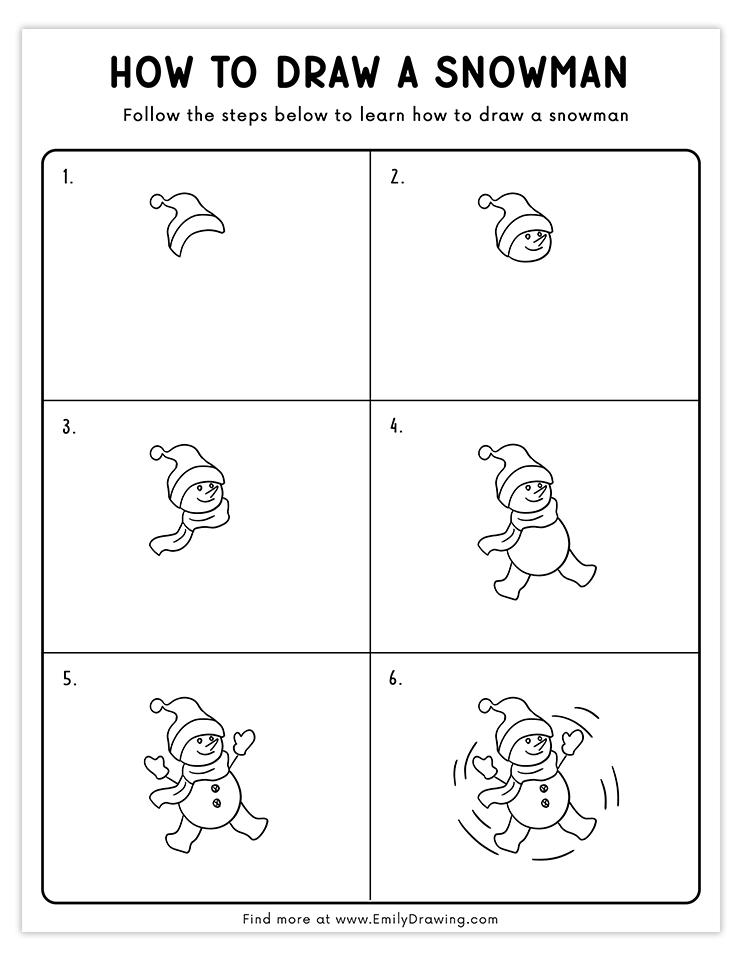
Hello and welcome to our easy-to-follow and ten-step guide for an easy snowman drawing tutorial. Today, we are going to learn how to draw a snowman, something you might’ve made or seen before!
Snowmen are very popular to make in the winter season when there’s lots of snow on the ground. Did you know the tallest snowman ever built was in 2008 in Maine, USA? The snowman was named Olympia and was 122 feet tall. The arms were made out of entire trees!
The oldest known snowman is believed to have been built as early as 1380—or possibly even earlier!
Even if there’s no snow on the ground where you live, you can still draw a snowman. Ready? Grab some art materials, and let’s go! Happy drawing!

Materials:
- a piece of paper
- a pencil for the guiding lines and sketching
- an eraser
- a black sharpie or a pen for the outlines
- markers or colored pencils for coloring
- our printable drawing guide (Join my Email List below to get this Tutorial)
Here are my RECOMMENDED Art Supplies!
- Crayola Coloring Set (140 Pieces – Mega Value!)
- 24 Colored Crayon Set
- A4 Printer Paper
- Crayola Coloring Pencils
- HP Home Printer with Instant Ink!
Time needed:
12 minutes.
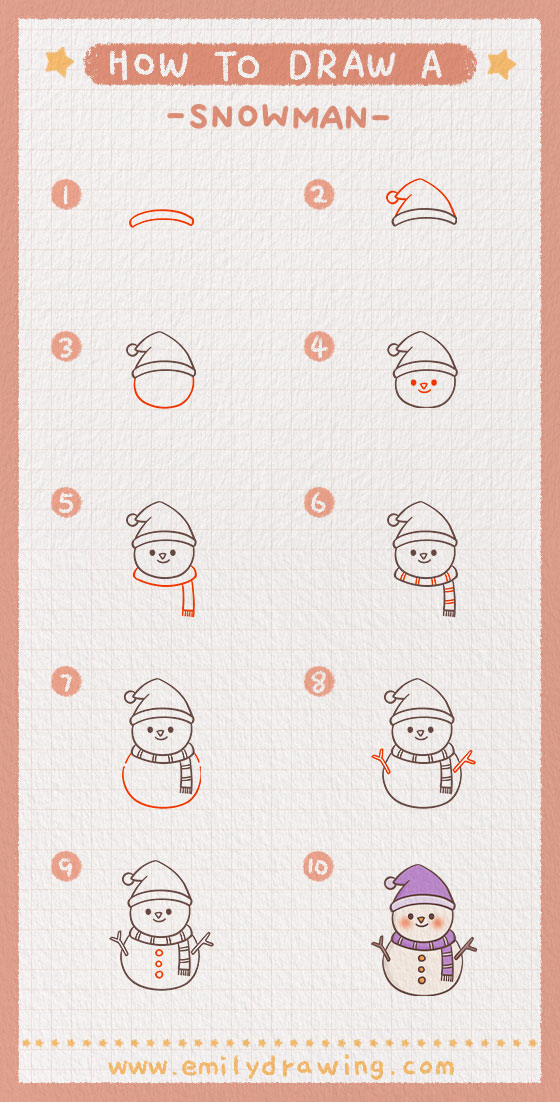
How to Draw a snowman — Let’s get started!
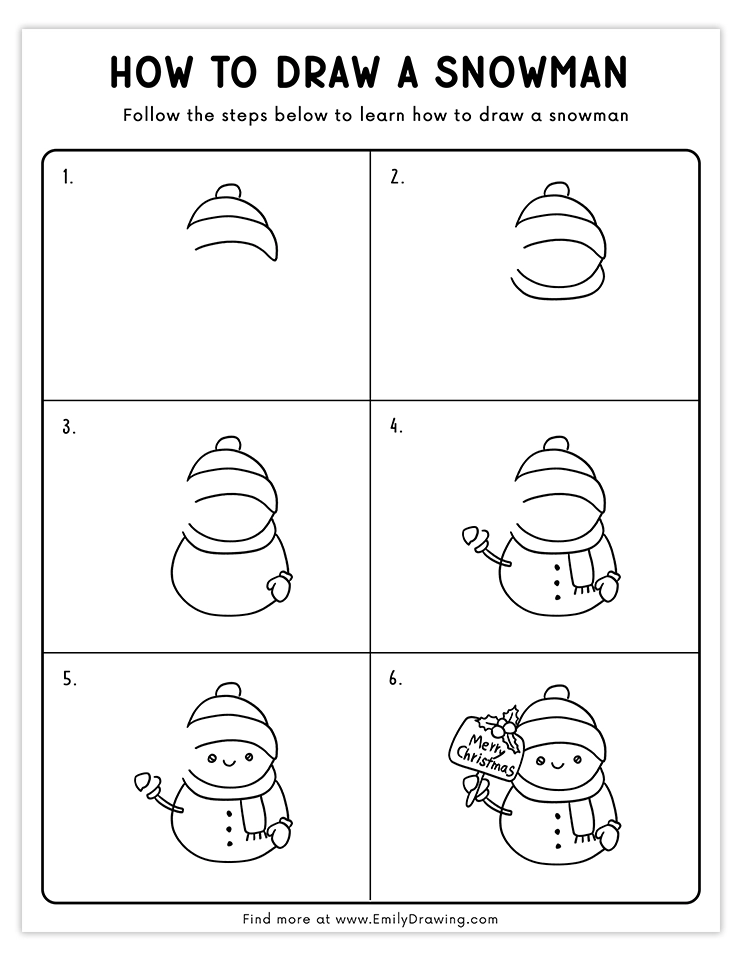
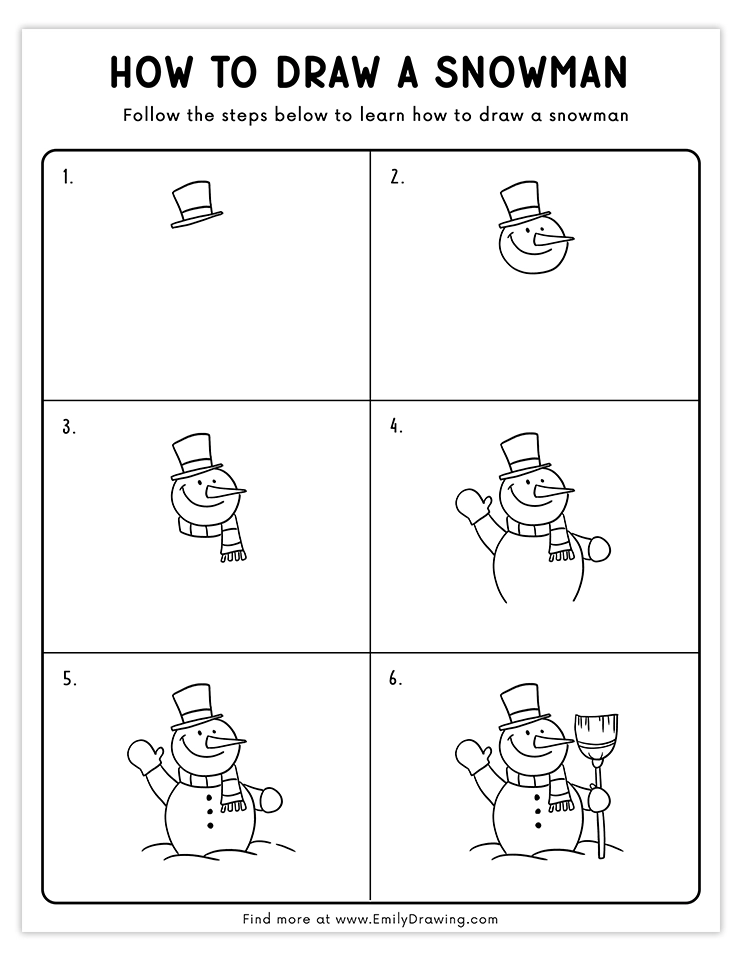
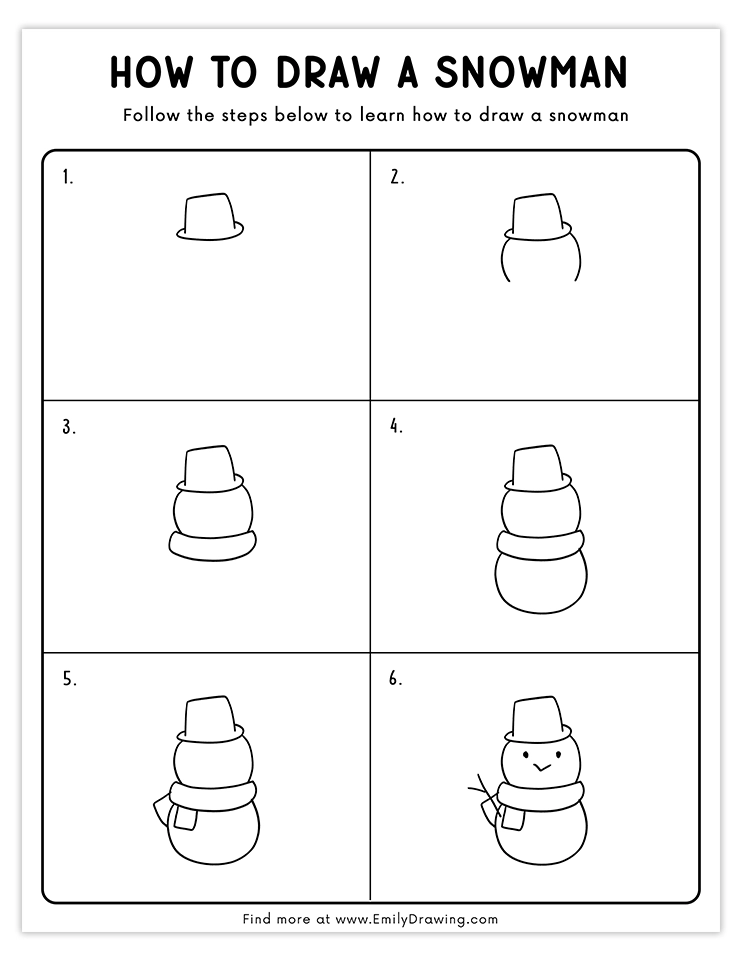
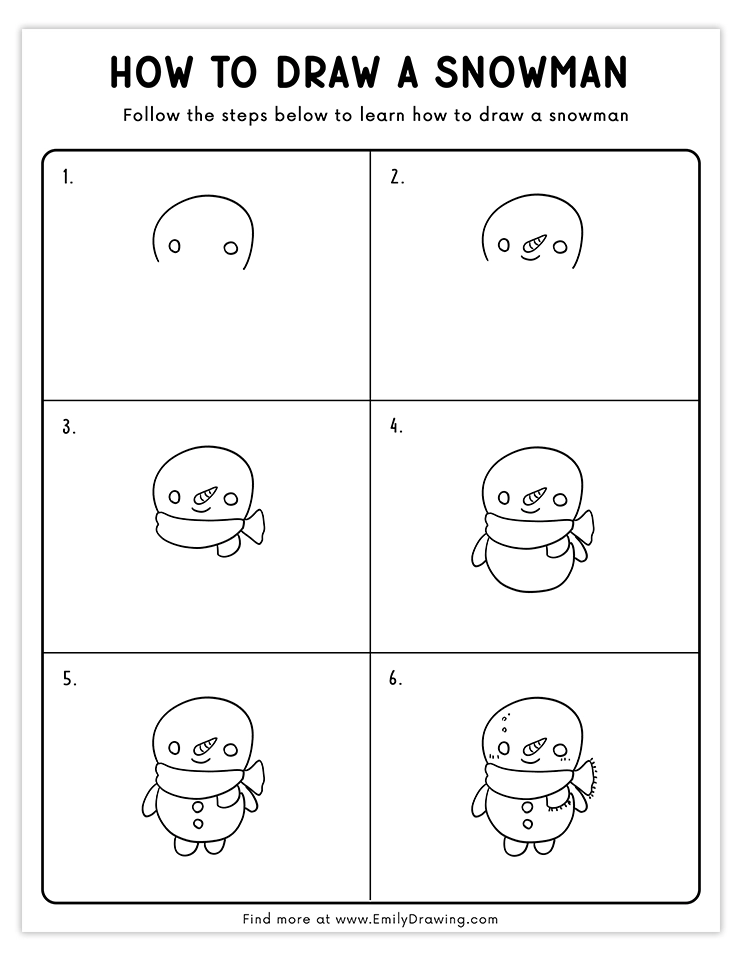
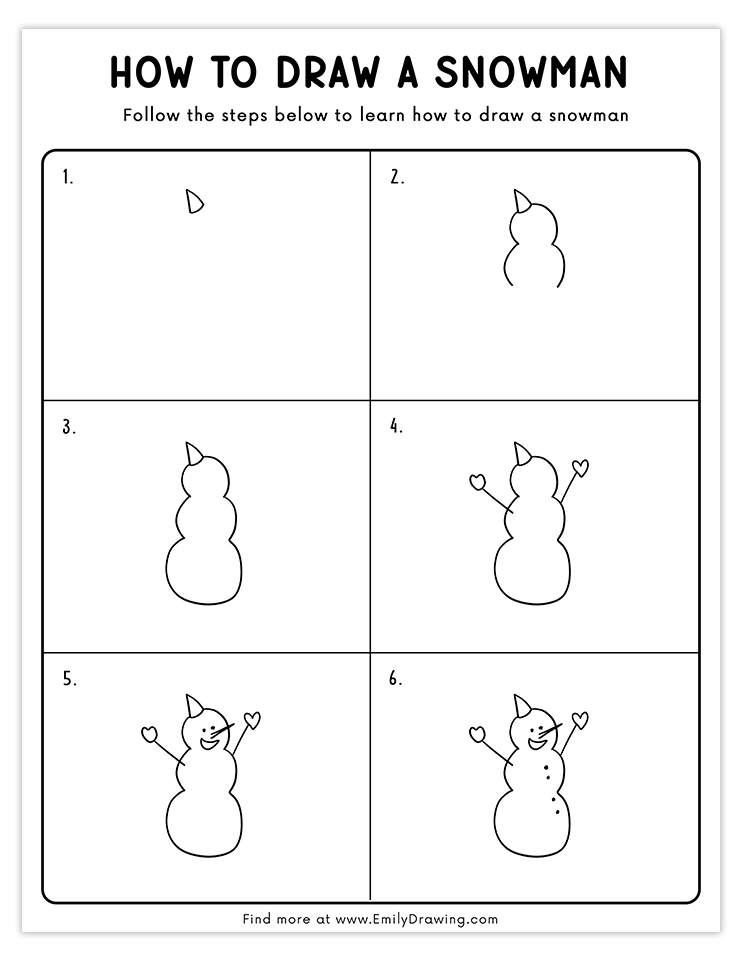
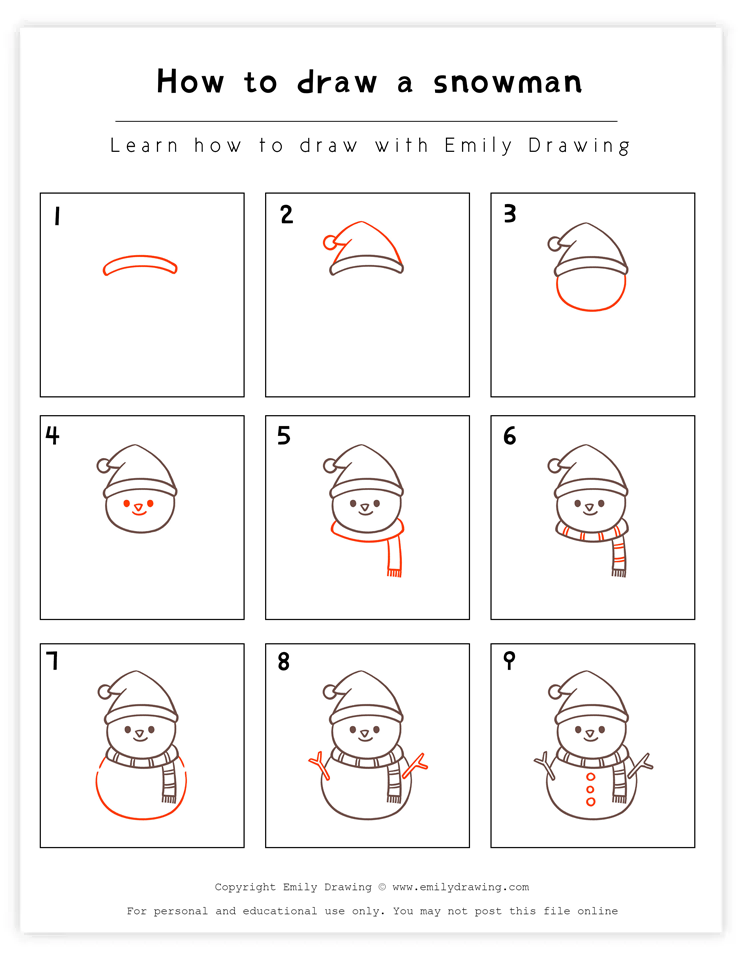
Step 1 – Draw the brim of the snowman’s hat.
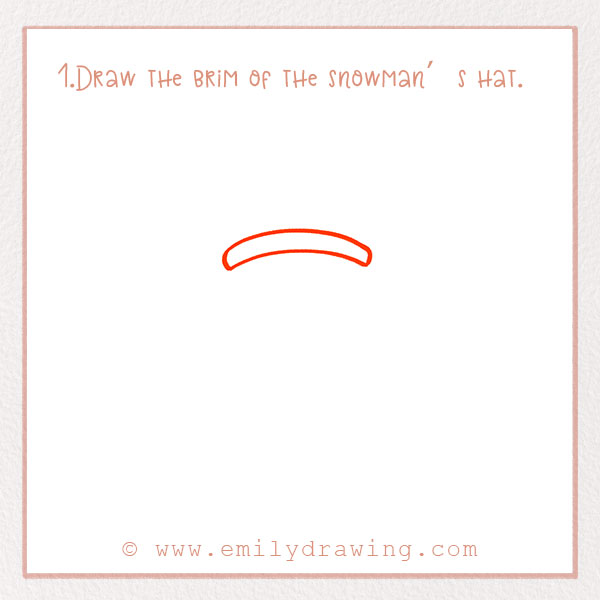
Most snowmen have hats! Let’s add one to ours. Start by drawing the brim of the hat. Draw a long, thin curved rectangle about two-thirds of the way up the page.
Step 2 – Draw the top of the hat.
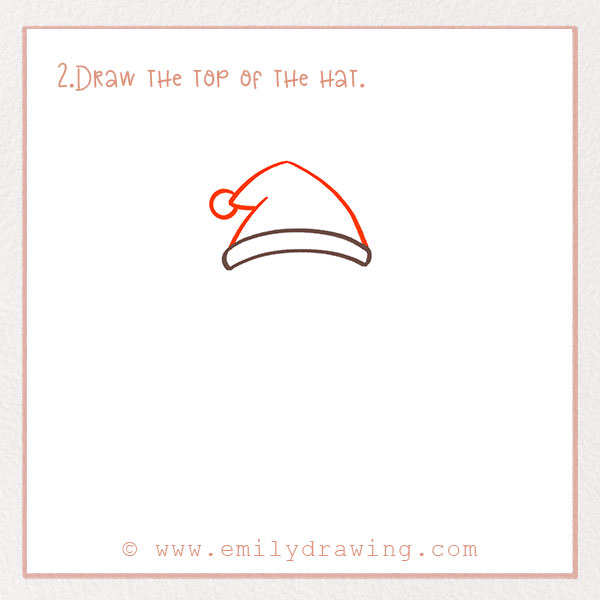
On the top of the curve from Step 1, let’s form the rest of the hat. Draw a triangular shape, but make it bend to the left. Then, add a puff at the bottom. Refer to the photo to see what we mean!
Step 3 – Add the snowman’s head.
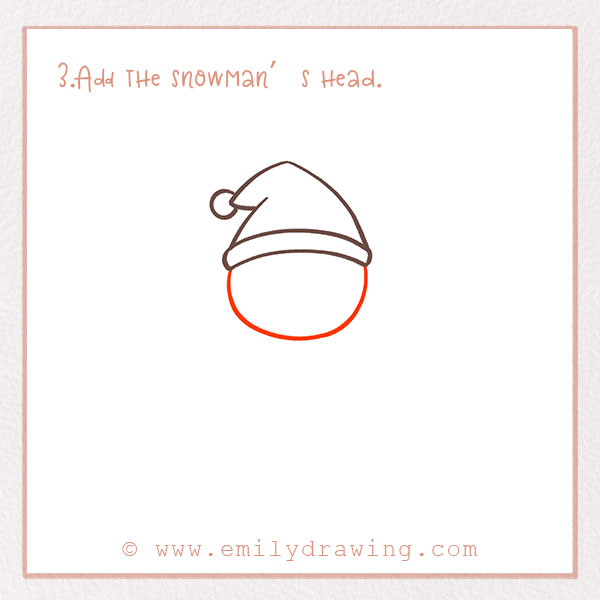
We’ve got to add the head of the snowman. Underneath the brim of the hat, draw a big curve. It should extend about halfway down the page.
The head should look like a circle that’s slightly cut off by the hat.
Step 4 – Add the face of the snowman.
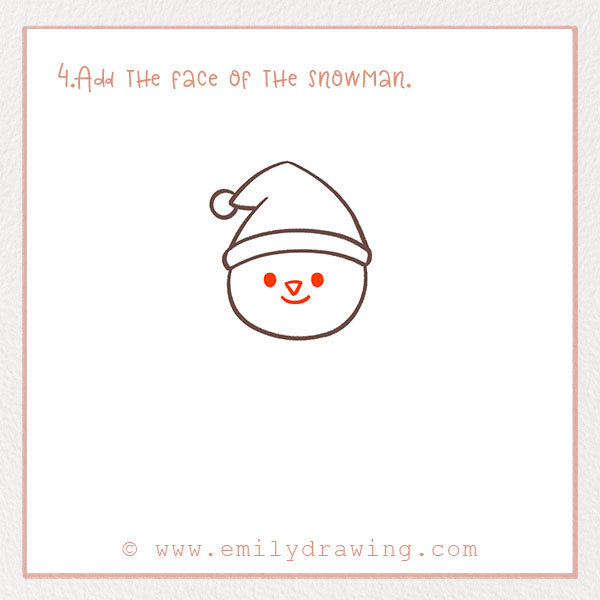
Of course, our snowman needs to have a face!
First, draw a small upside-down triangle in the center of the head. Then, add two eyes—draw two dots on either side of the triangle. Then, draw a small curve underneath the nose for a smile!
We’re done with the face. Good job!
Step 5 – Draw a scarf!
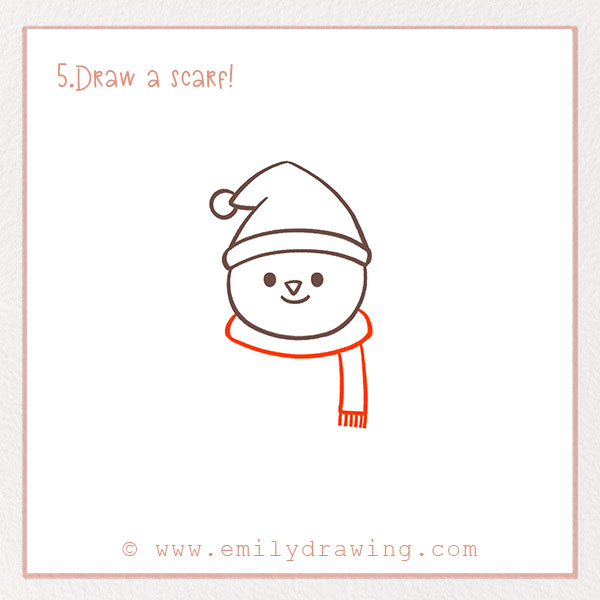
Most snowmen have scarves to keep them warm outside! Let’s start to draw the scarf now.
About an inch underneath the head, draw a curve. It should go a little bit wider than the width of the head. Then, draw two lines upward connecting them back towards the head. Check out the photo to see what we mean!
Then, draw the rest of the scarf by adding a rectangle extending down on the right. Add some detail to the very end—draw tassels by forming a few short lines close together at the bottom of the second rectangle.
For more festive drawing guides, check out How to Draw a Christmas Stocking and How to Draw Santa Claus.
Step 6 – Add detail to the scarf.
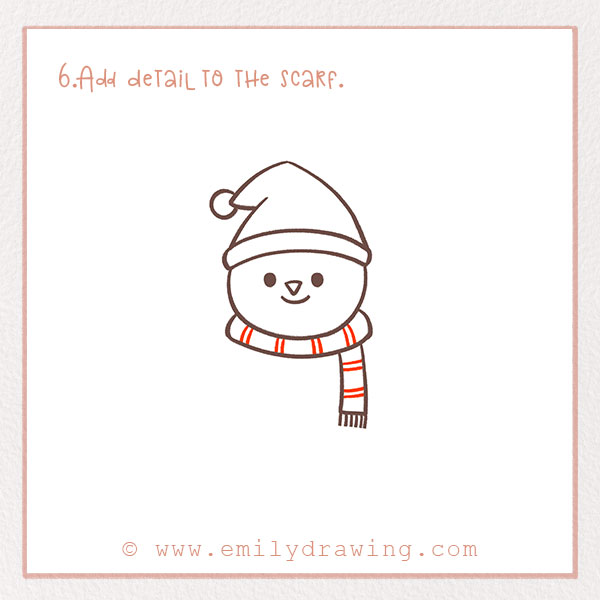
Let’s add some pattern to the scarf to make it look more interesting. Throughout the scarf, draw pairs of lines close together to form a striped pattern.
Step 7 – Draw the body of the snowman.
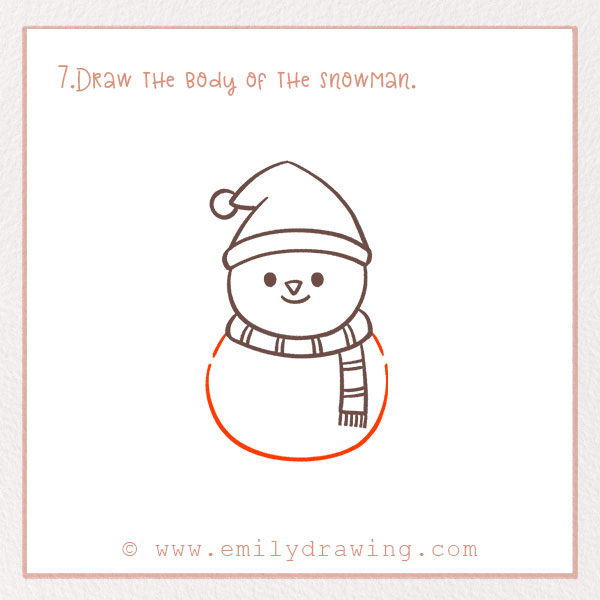
Snowmen are made by forming big snowballs. Similar to the head, we’re going to draw a large round shape. This time, make it even bigger. Below the scarf, sketch a large curve to form the body of your snowman. It should extend from outside the right part of the scarf all the way back to the left side of the head.
Good job!
Step 8 – Add two sticks for arms!
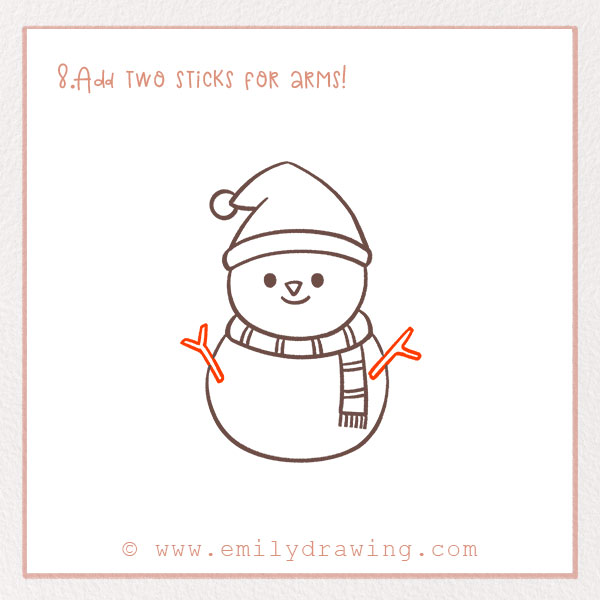
Normally, people use sticks to form the arms of snowmen because they are easily accessible in the environment.
These shapes are irregular, so definitely check out the photo! Basically, there will be two block Y-shapes but turned over on their sides. Make them look like they are in front of the snowman’s body. They should extend up and out.
Step 9 – Draw three buttons.
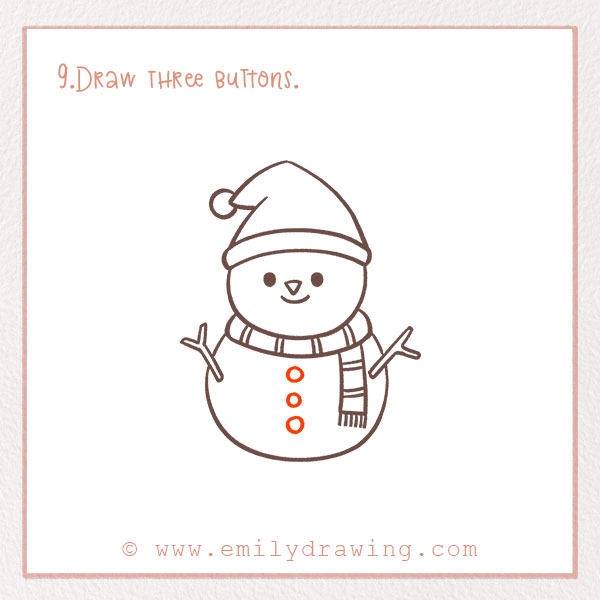
Let’s finish off drawing the snowman. Most snowmen have buttons. These can be made from a bunch of different found materials.
On the belly of the snowmen, draw three circles pretty close together. They should form a vertical line. Now our snowman has buttons.
We’re almost done with our snowman drawing! Ready for the final step?
Step 10 – Color in your snowman!
Last but not least, it’s time to add some color to the snowman! Have fun adding some spunk to your drawing. Find some colors and go for it!
Now that you’ve drawn your snowman, you might enjoy our Snowman Coloring Page and other winter drawing ideas to add more seasonal fun to your art collection.
There you go! You’re all done with your masterpiece!
Thanks for following along with this tutorial—we hope you had fun and love your new snowman friend! Share this tutorial via the social media icons on our website, or just tell a friend who you think might enjoy it!
Browse our site for more tutorials like these, including how to draw winter scenes and holiday characters! If this got you in the holiday spirit, check out our Christmas tree or gingerbread house tutorial! See you next time!
If you’re interested in more winter-themed drawings, you might also enjoy our tutorials on How to Draw a Snowflake.
Pin it now, Draw later!
Get the FREE Printable Drawing Guide
FREE Download Printable Snowman Drawings Tutorials