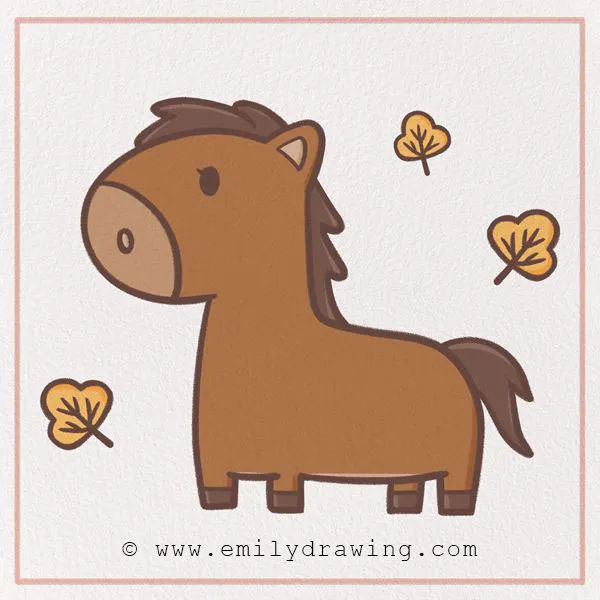
Neigh! Welcome to our step-by-step tutorial for how to draw a horse! We know them from cowboy movies, petting zoos, or maybe you’ve even seen one in person!
There are many different types of horses, and many of them have their own unique strengths and qualities. For example, some horses are really strong and great farm animals. Other horses are amazingly fast, and some horses are especially loving and calm. They are smart and majestic animals that can also have amazing connections with their human friends.
There are also ponies and dwarf horses, which are normally smaller than an average horse!
If you’ve never met a horse in real life, maybe you’ll get to someday and experience this beautiful animal in person. In the meantime, you can learn how to draw one!
Let’s do it—have fun!
Materials:
- a piece of paper
- a pencil for the guiding lines and sketching
- an eraser
- a black sharpie or a pen for the outlines
- markers or colored pencils for coloring
- our printable drawing guide (Join my Email List below to get this Tutorial)
Here are my RECOMMENDED Art Supplies!
- Crayola Coloring Set (140 Pieces – Mega Value!)
- 24 Colored Crayon Set
- A4 Printer Paper
- Crayola Coloring Pencils
- HP Home Printer with Instant Ink!
Time needed:
14 minutes.
How to Draw a Horse — Let’s get started!
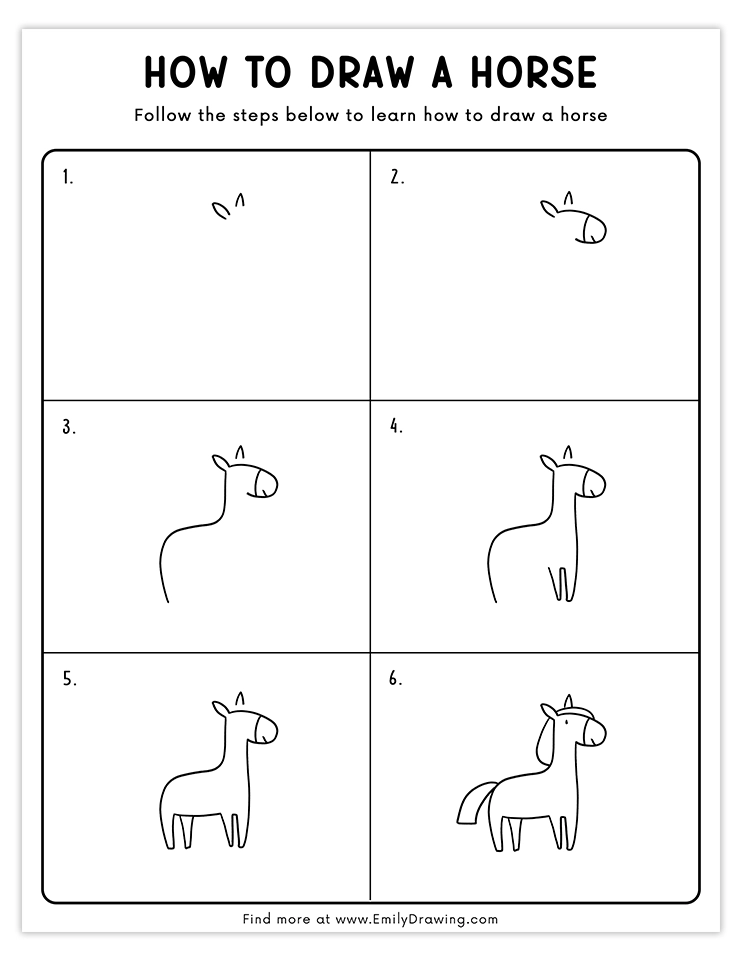
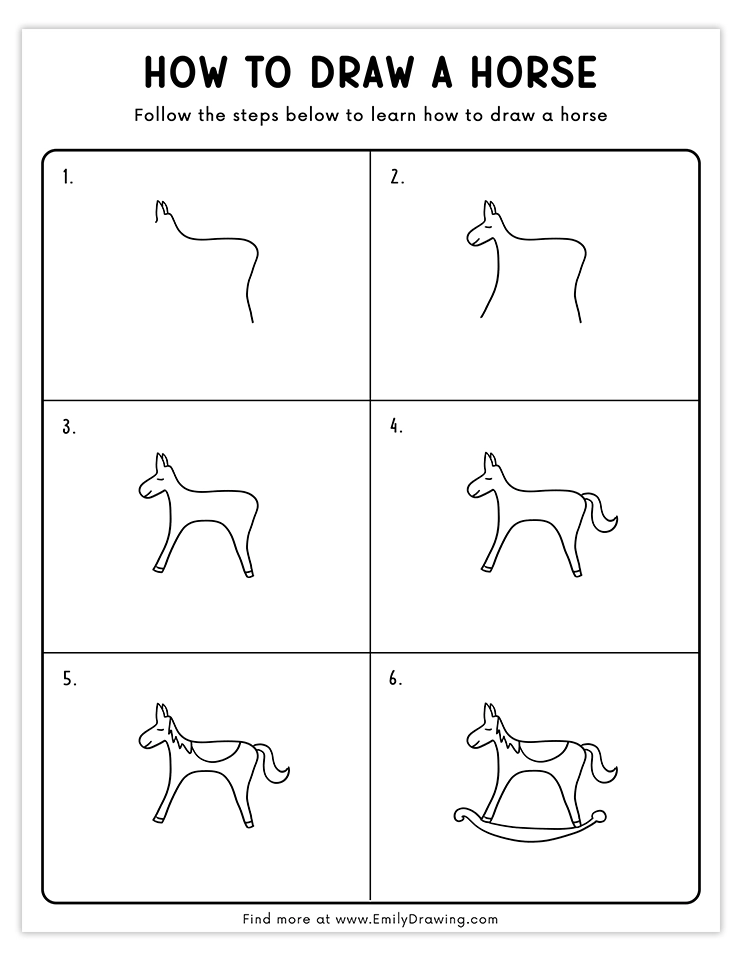
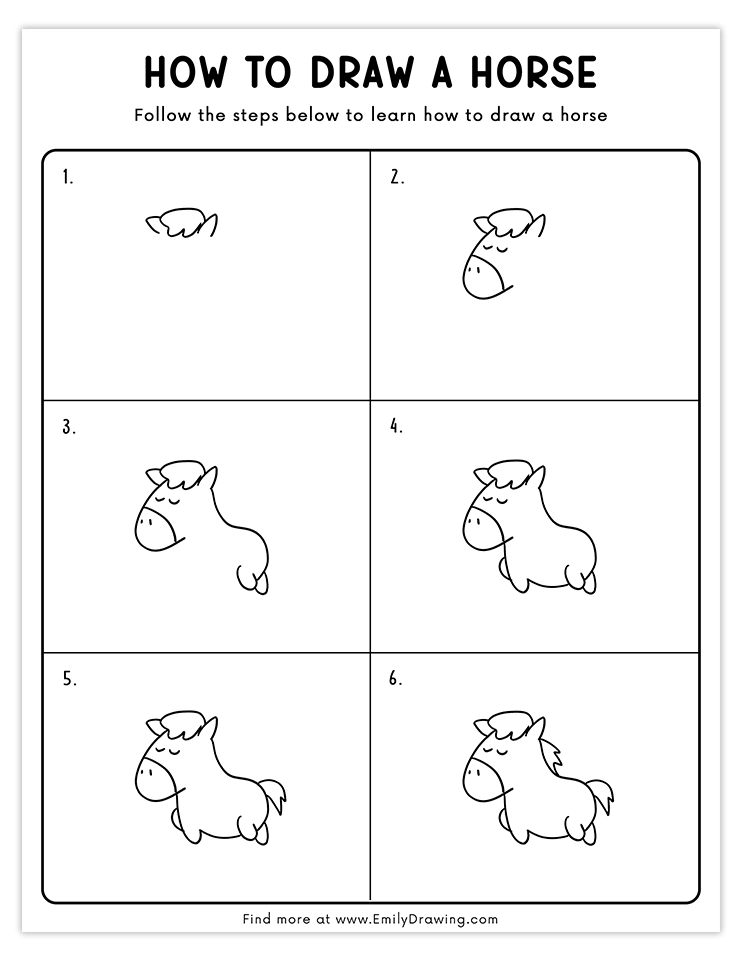
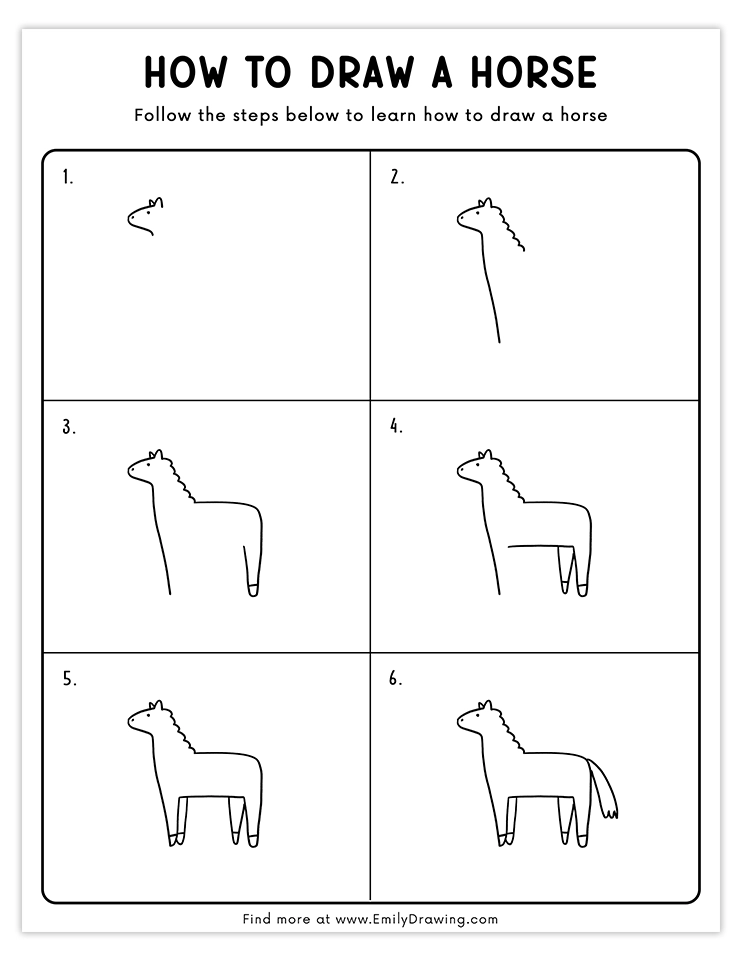
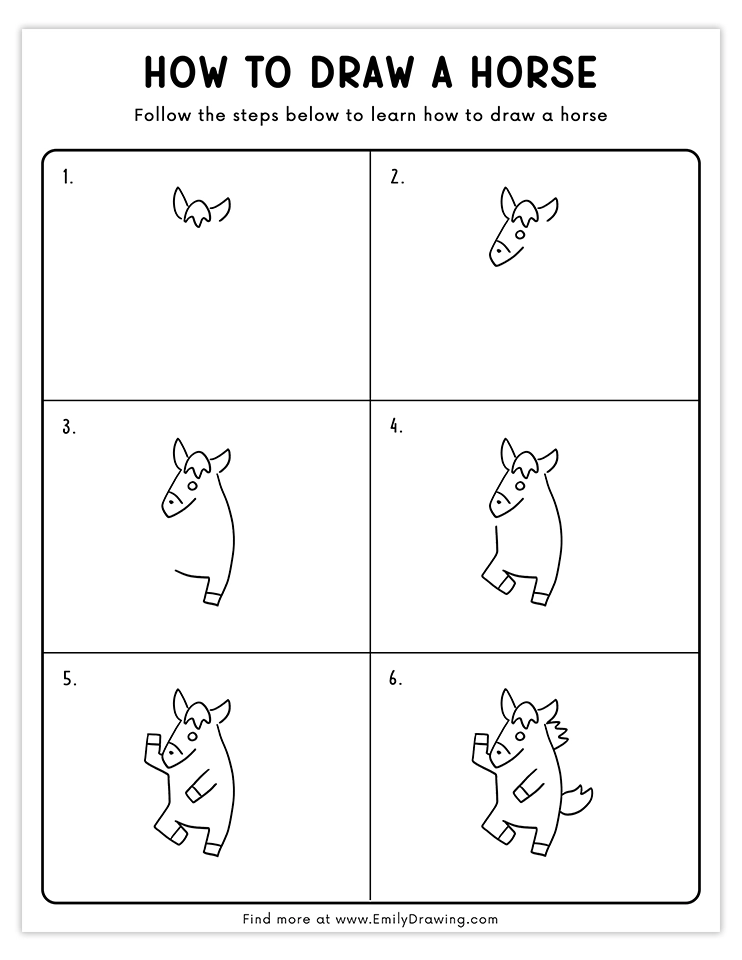
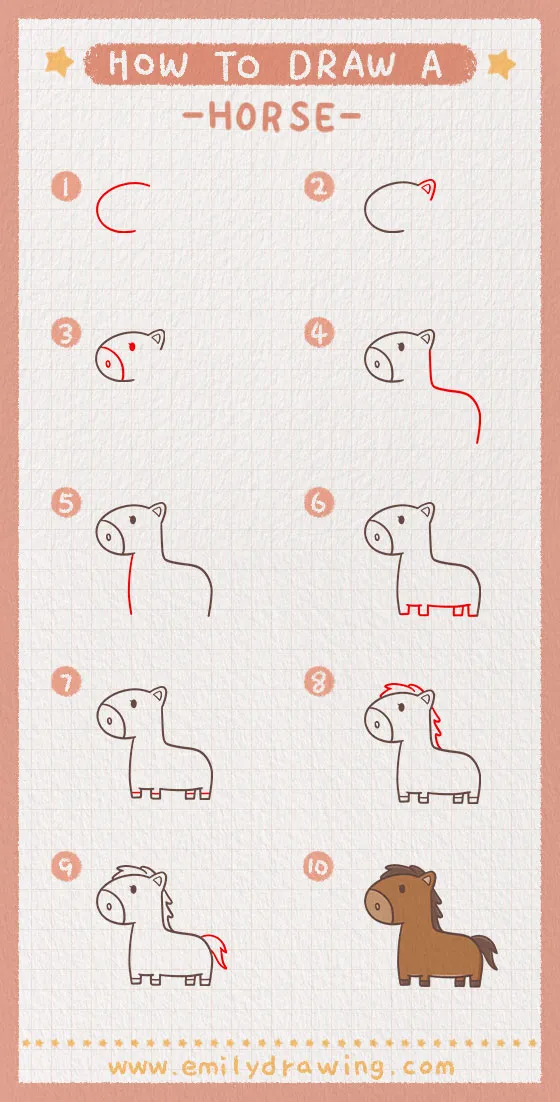
Step 1 – Draw the head.
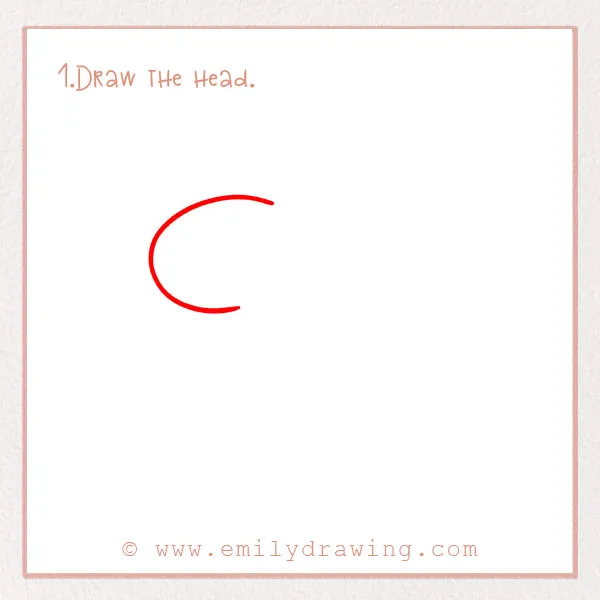
Let’s start with the horse’s head!
On the upper left side of the page, draw a curved line pointing towards the left. It should be a little bit longer on the top.
Step 2 – Draw an ear!
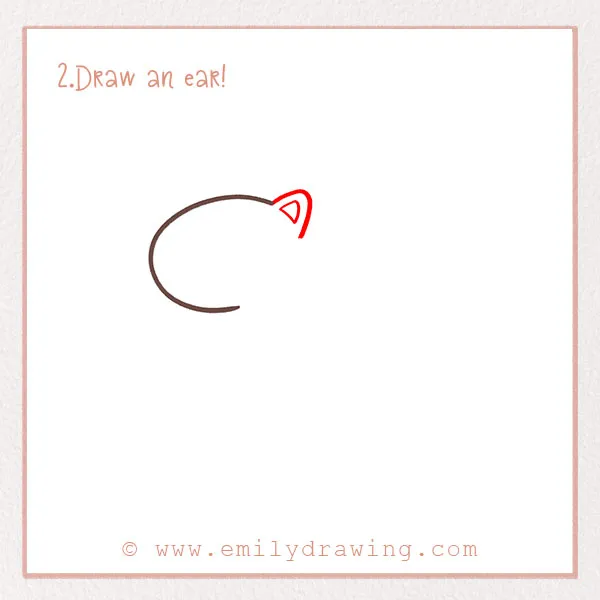
Our horse is going to be standing to the side, so only one ear is visible in this drawing. Let’s add that now.
On the end of the top part of the curve, draw a triangular ear shape. Inside it, draw another triangle. Refer to the photo!
Step 3 – Add the horse’s face!
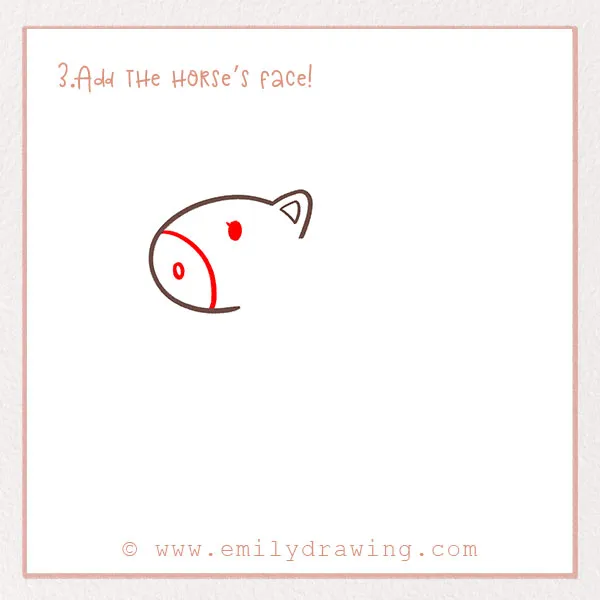
Draw an eye by forming an oval a little bit down and to the left from the ear. Fill it in. Then, add detail to the horse’s mouth by drawing a large arc across the nose. Lastly, add a nostril—draw a small oval by the mouth. Now our horse has more personality!
Step 4 – Start to draw the body.
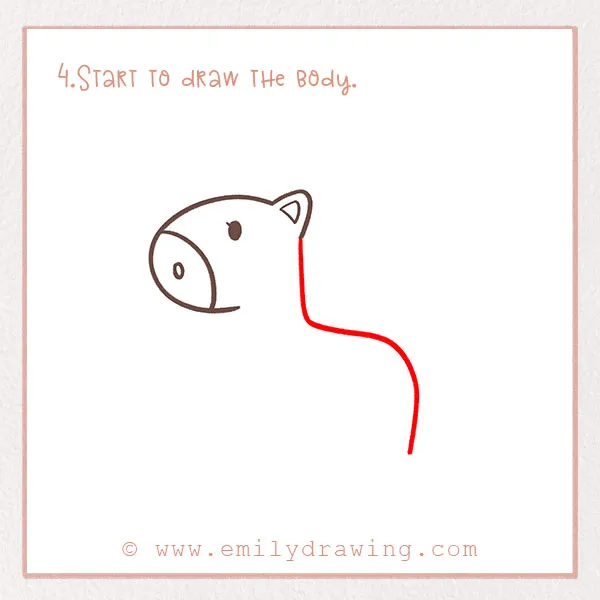
Extending down from the ear, draw a line to form the neck. Then, make it go out a few inches to the right. Finish it off by making it go downwards again. Stop it about an inch away from the bottom of the paper.
Step 5 – Draw the front leg.

To indicate the front leg, draw a slightly curved line coming down from the nose. Stop it at the same level as the line from the last step, so the legs are even!
Step 6 – Finish the legs!
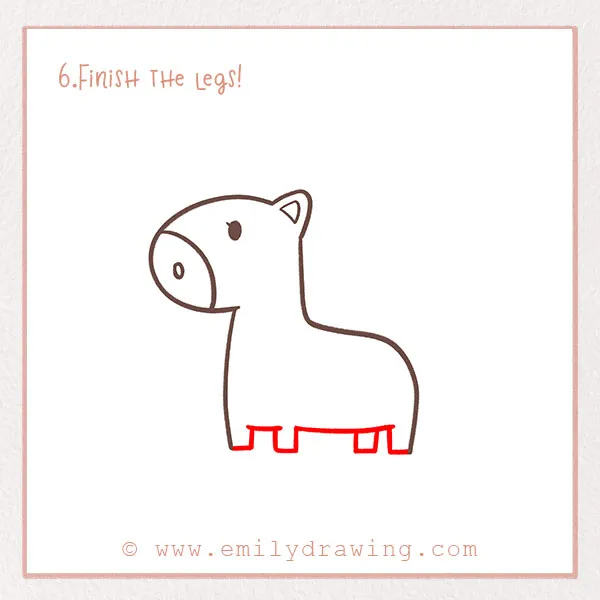
We’re going to add the rest of the legs now so that our horse can run!
Form the underside of the belly by drawing a slightly curved line. Then, add two rectangles extending below. Lastly, the outside lines should also become the legs, so add a few lines showing that.
Refer to the image for this step!
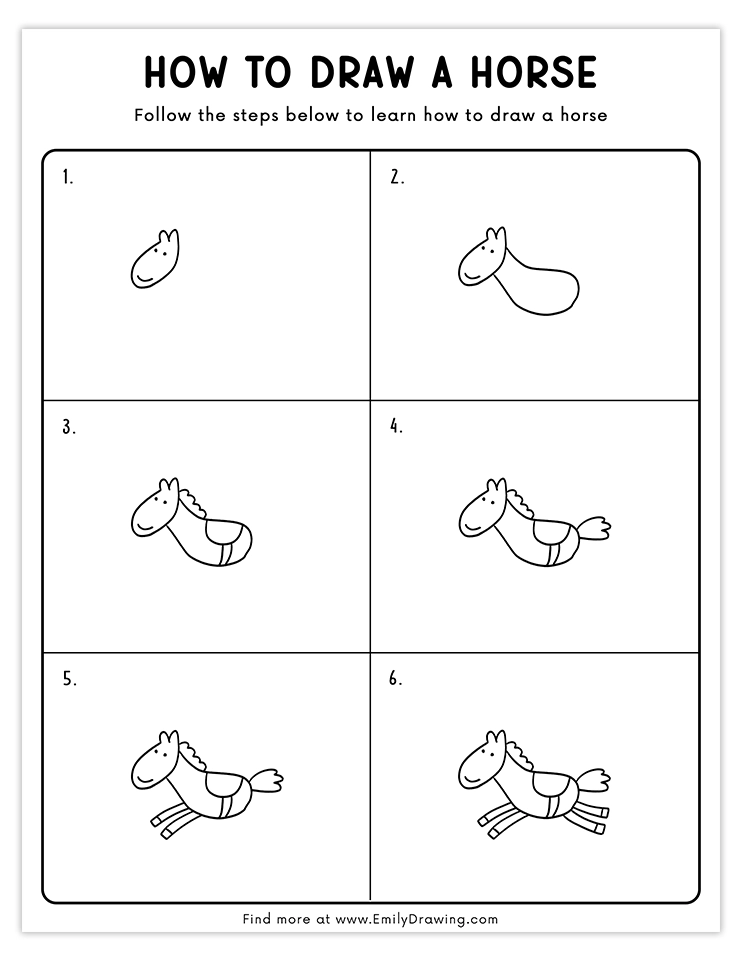
Step 7 – Add detail to the hooves.
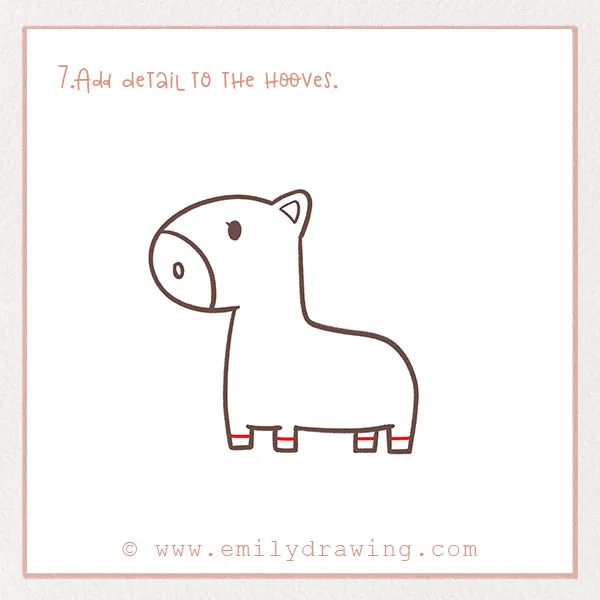
Horses have distinct feet—they have hooves that are really hard and sturdy. Sometimes, they even wear horseshoes that need to be put on by a specialist.
Almost at the very bottom of each leg, draw short, thin lines to indicate hooves.
Step 8 – Draw the mane.
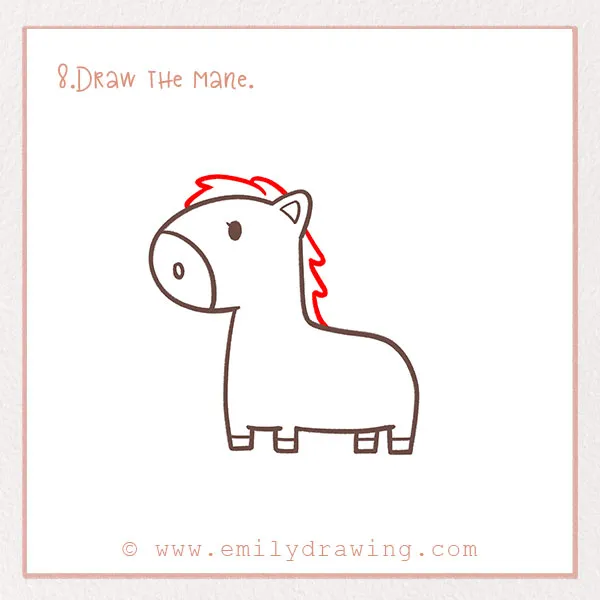
Horses have beautiful manes, just like lions. They can be many colors—you’ll get to color in this mane in the last step!
On top of the head, draw a jagged line to form the long hairs. Then, on the back of the neck, do the same thing, so that it looks like the mane is cascading downwards.
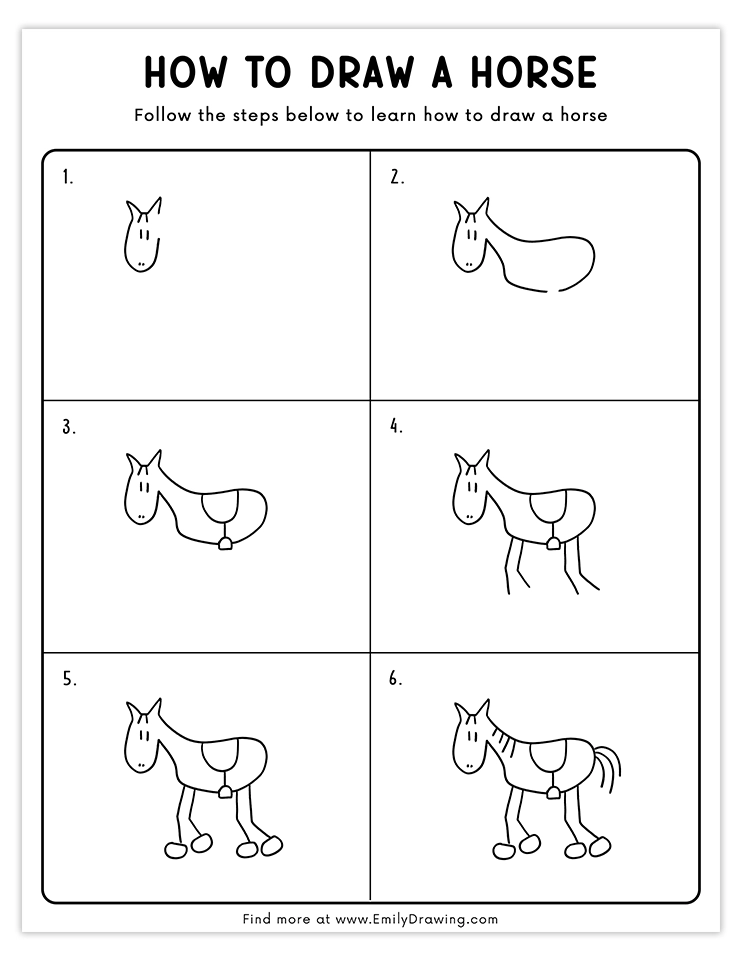
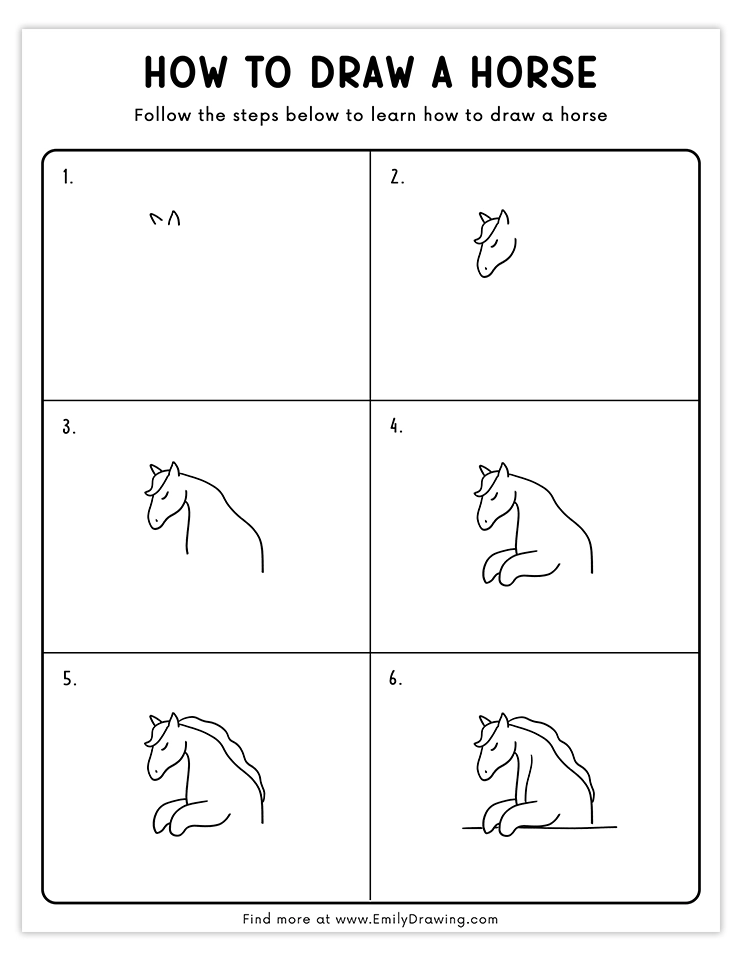
For more animal drawing guides, check out How to Draw a My Little Pony and How to Draw a Unicorn.
Step 9 – Add the tail!
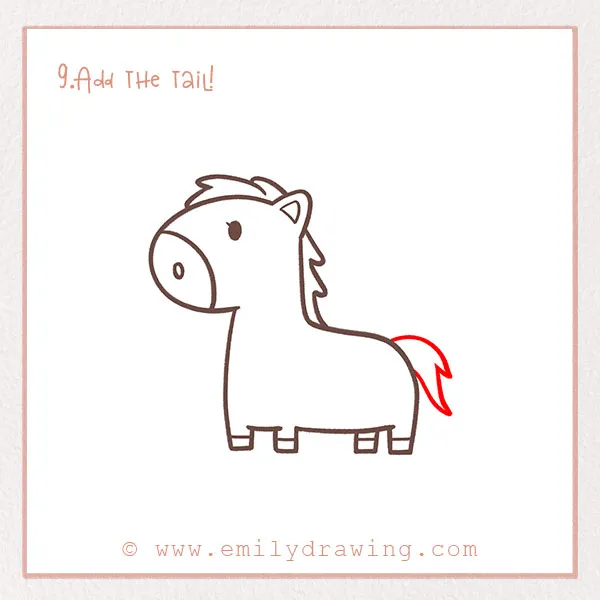
Tails can sometimes indicate the moods of horses. A tail held up high while a horse is running can show excitement, and swishing tails can sometimes just mean flies are bothering it!
Form the tail by drawing a curved line going down from the right side of the body. Then, add some uneven zig-zagged lines and close the shape off by bringing it back towards the body.
Now our horse has a nice long tail!
Step 10 – Color in your buddy!
Lastly, color in your horse! Horses can be lots of colors—yellow, white, black, brown, auburn, spotted, and more! Color in your drawing however you want. Have fun with it!
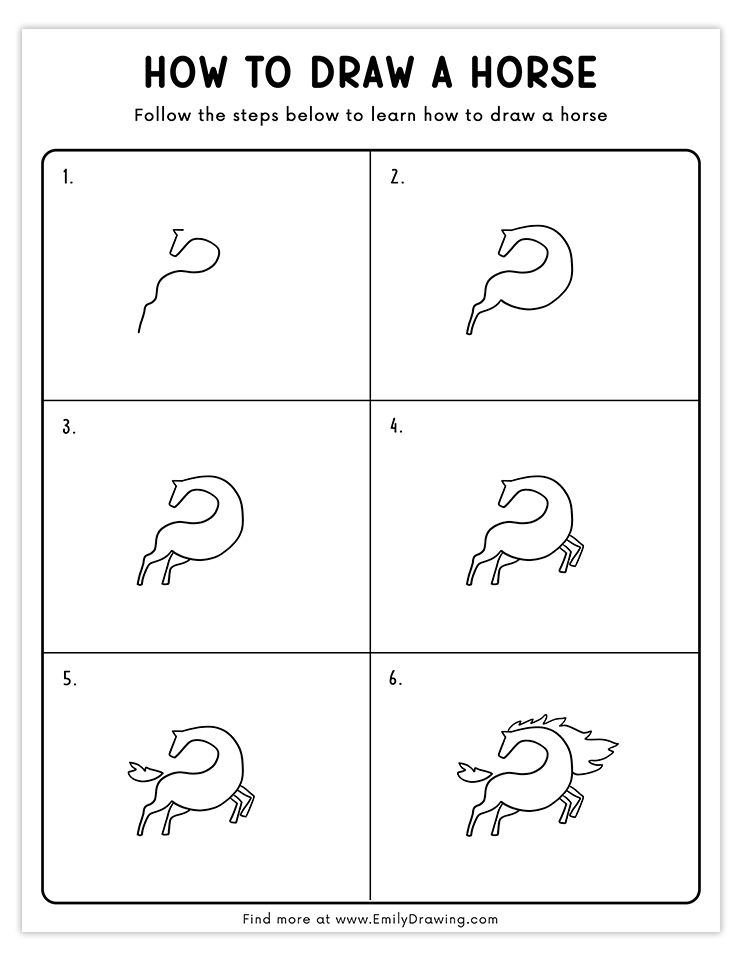
Now that you’ve drawn your horse, you might enjoy our Unicorn Coloring Page to add a touch of magic to your art collection.
Voila! You’ve finished this step-by-step horse drawing for kids tutorial.
Give your horse a name and be proud of your newly-made friend! Comment what you thought of this tutorial and share the name of your horse! Share your creation with loved ones, or with the social media icons on this page!
If you’re interested in beginner horse drawing or other animals, you might also enjoy our tutorials on How to Draw a Bunny and How to Draw a Fox.
Pin it now, Draw later!
Get the FREE Printable Drawing Guide
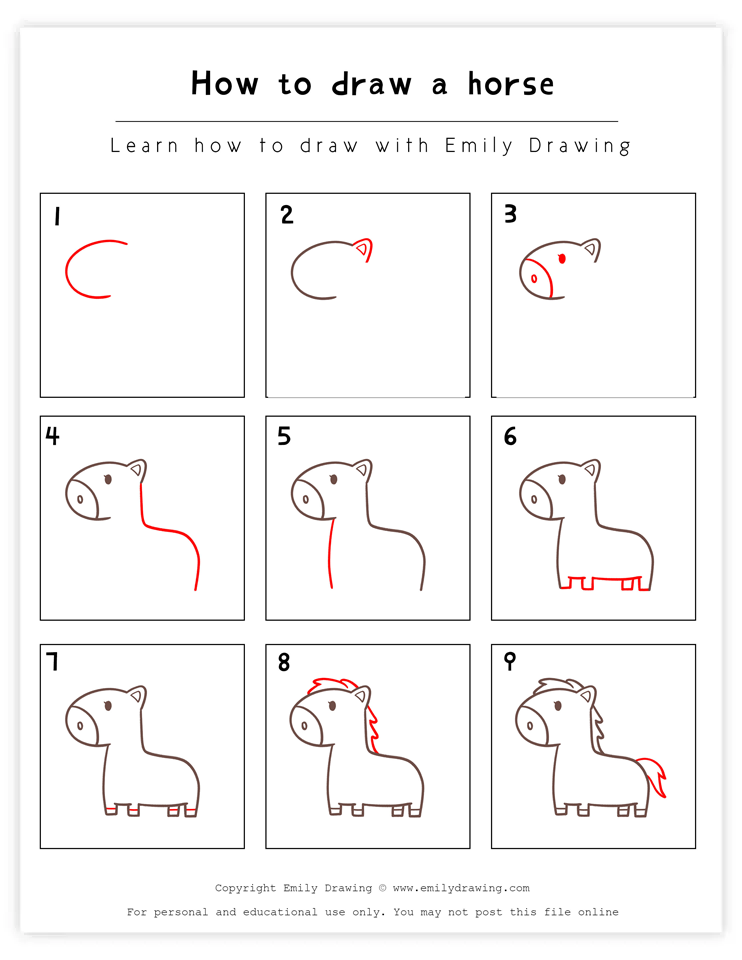
FREE Download Printable Horse Drawing Guide and Tutorials