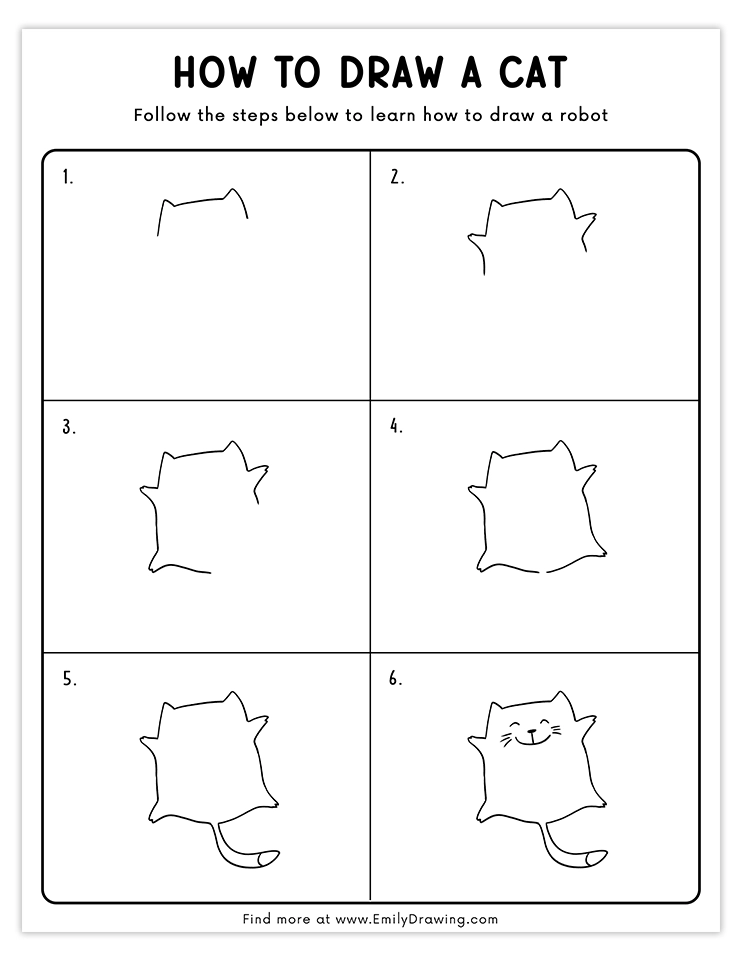
Hello and welcome to this tutorial on how to draw a cat!
Cats are beloved animals across the world. Many people keep them as sweet, cuddly, and loving pets—they’ve actually been kept as pets and worshipped since ancient times, and now are the inspiration for famous characters like Hello Kitty. Cats also, of course, live in the wild.
They are fascinating animals. Did you know that many cats can jump to over 5 times their height? If you have a cat, you may already know how cool they are! In any case, let’s move on to this fun cat drawing step by step project on how to draw a cat!
Ready? Collect some drawing materials, find a comfy spot, and let’s get started!
Materials:
- a piece of paper
- a pencil for the guiding lines and sketching
- an eraser
- a black sharpie or a pen for the outlines
- markers or colored pencils for coloring
- our printable drawing guide (Join my Email List below to get this Tutorial)
Here are my RECOMMENDED Art Supplies!
- Crayola Coloring Set (140 Pieces – Mega Value!)
- 24 Colored Crayon Set
- A4 Printer Paper
- Crayola Coloring Pencils
- HP Home Printer with Instant Ink!
Time needed:
12 minutes.
How to Draw a Cat — Let’s get started!
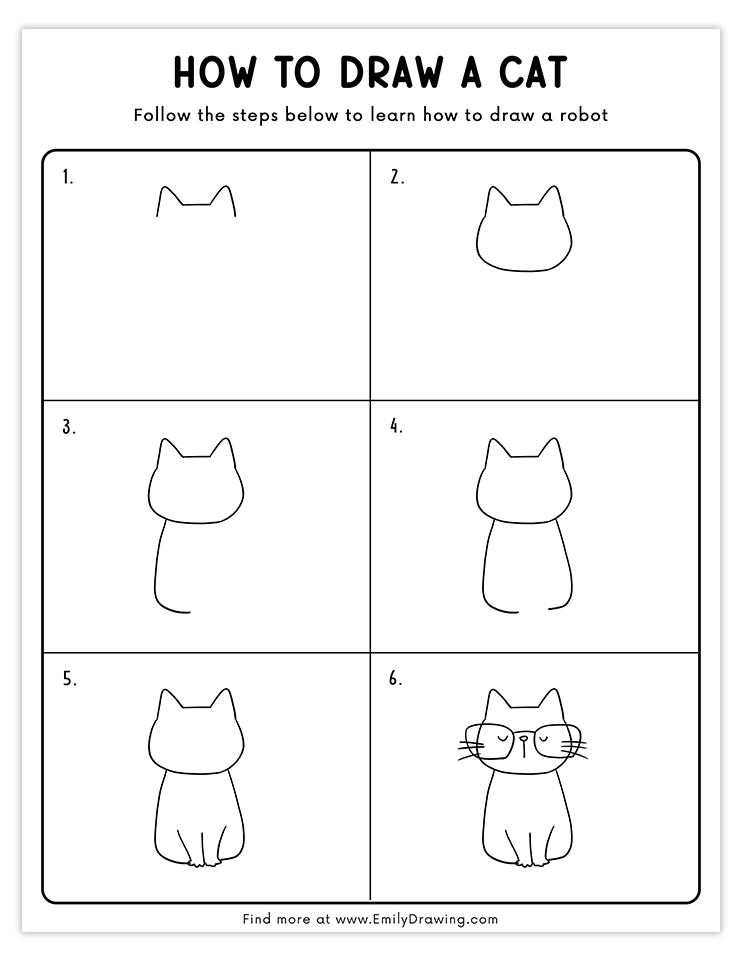
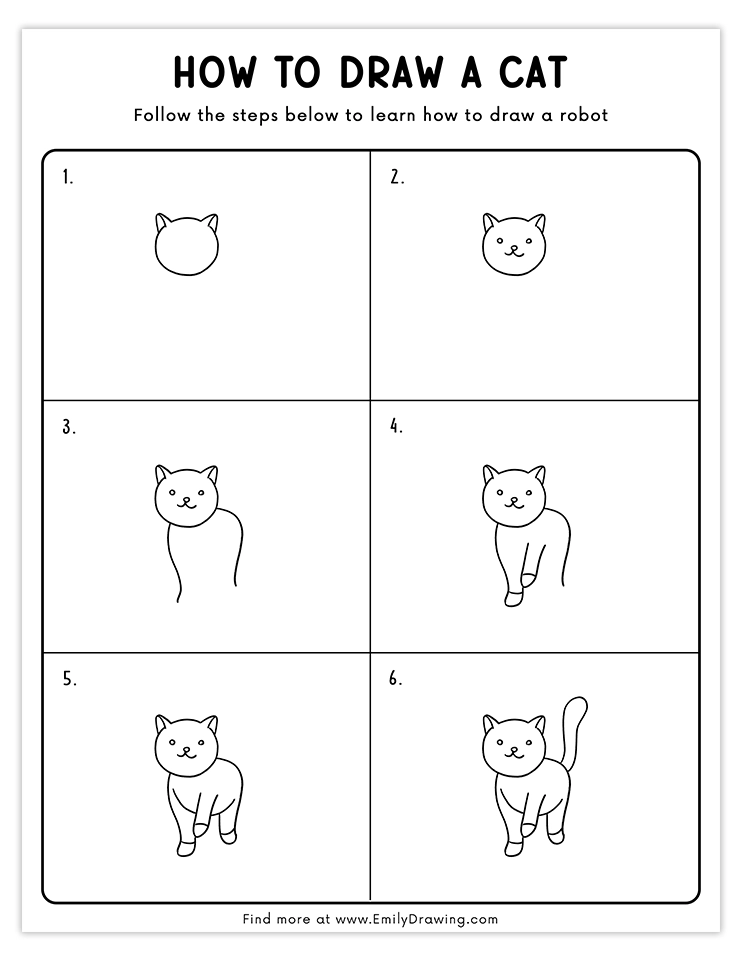
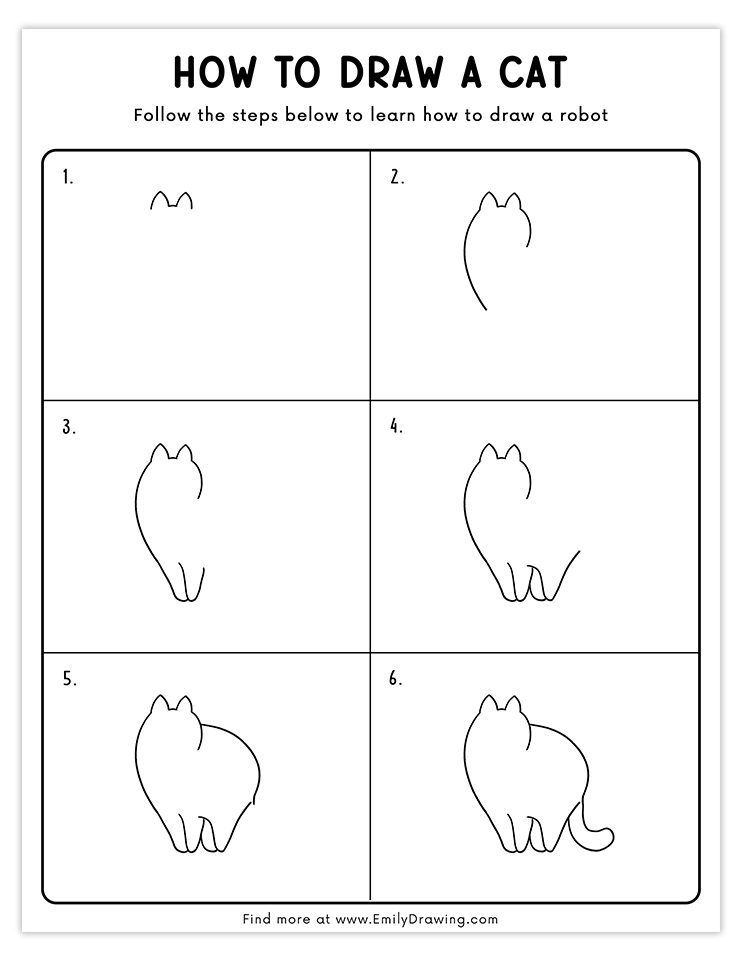
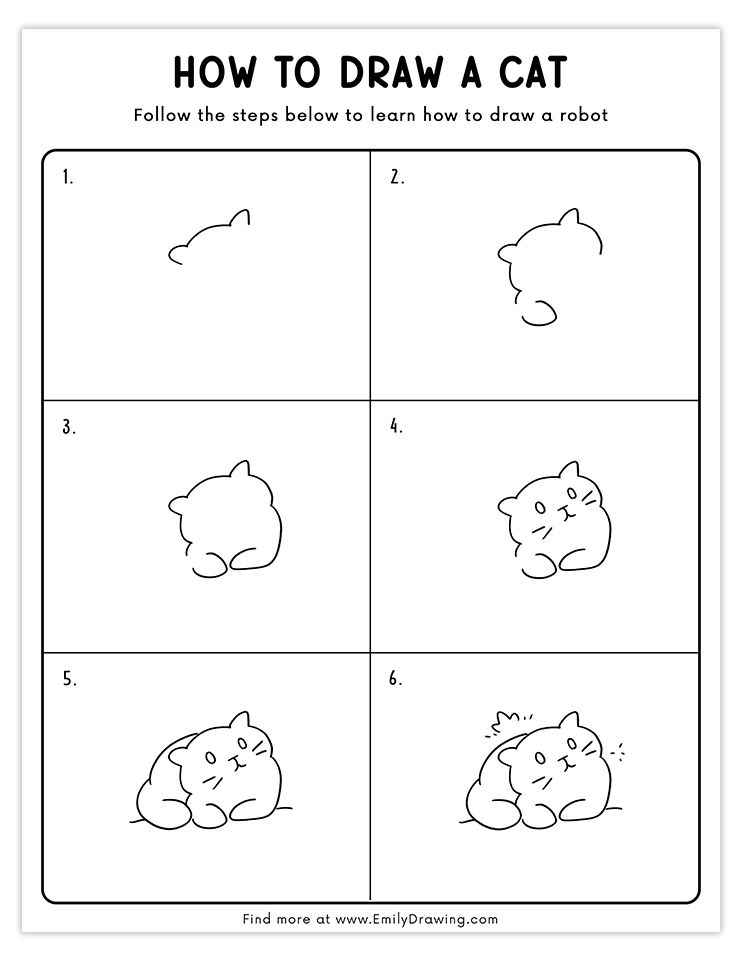
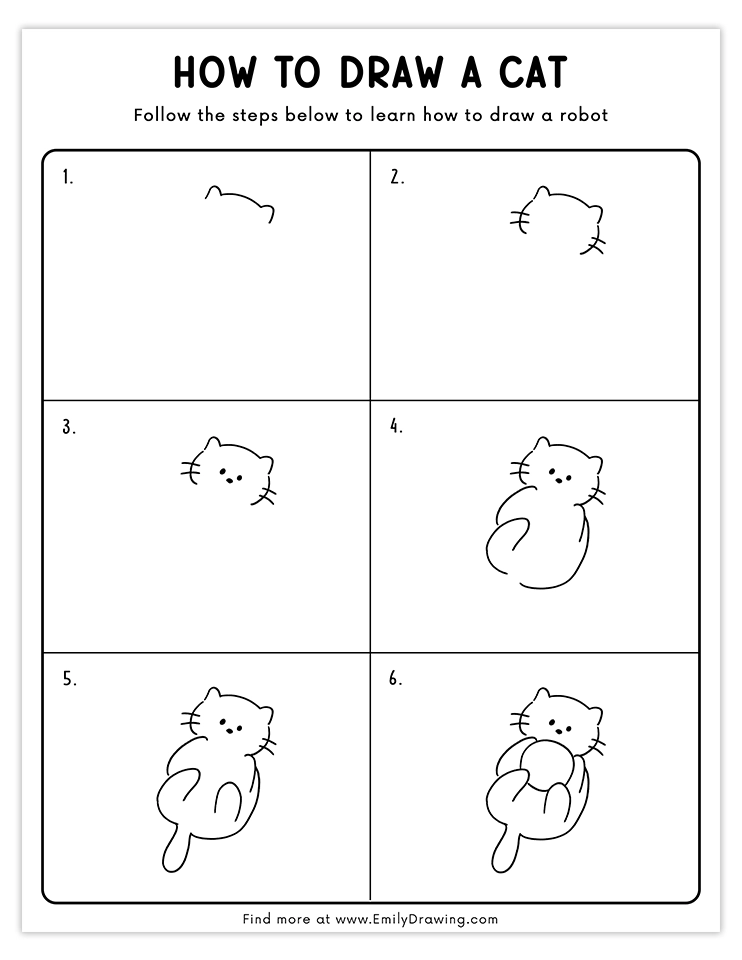
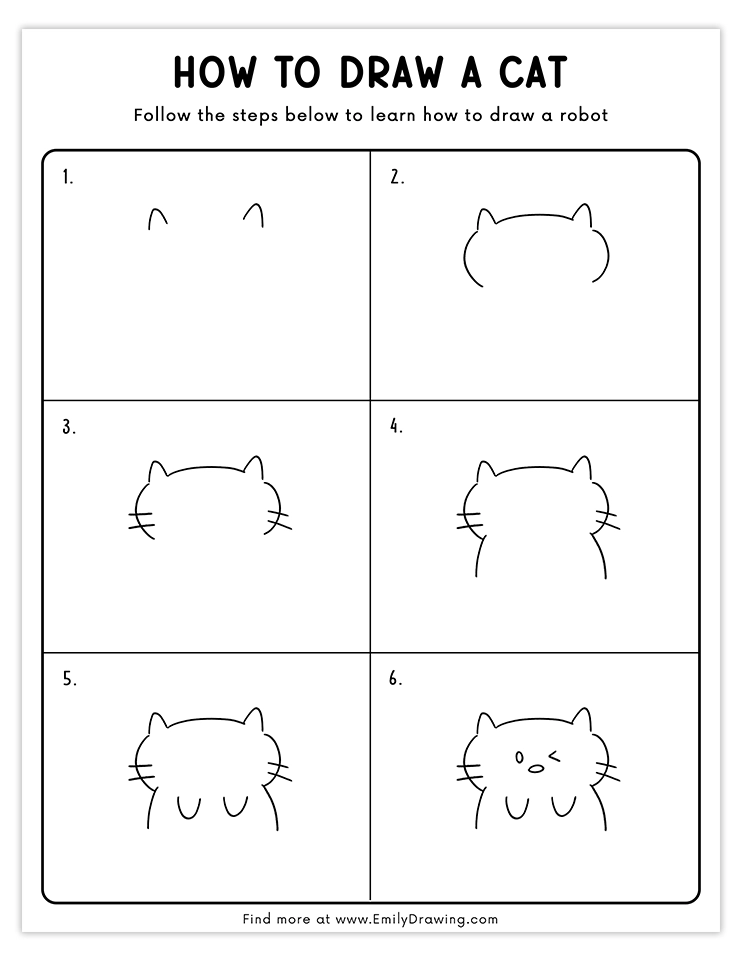
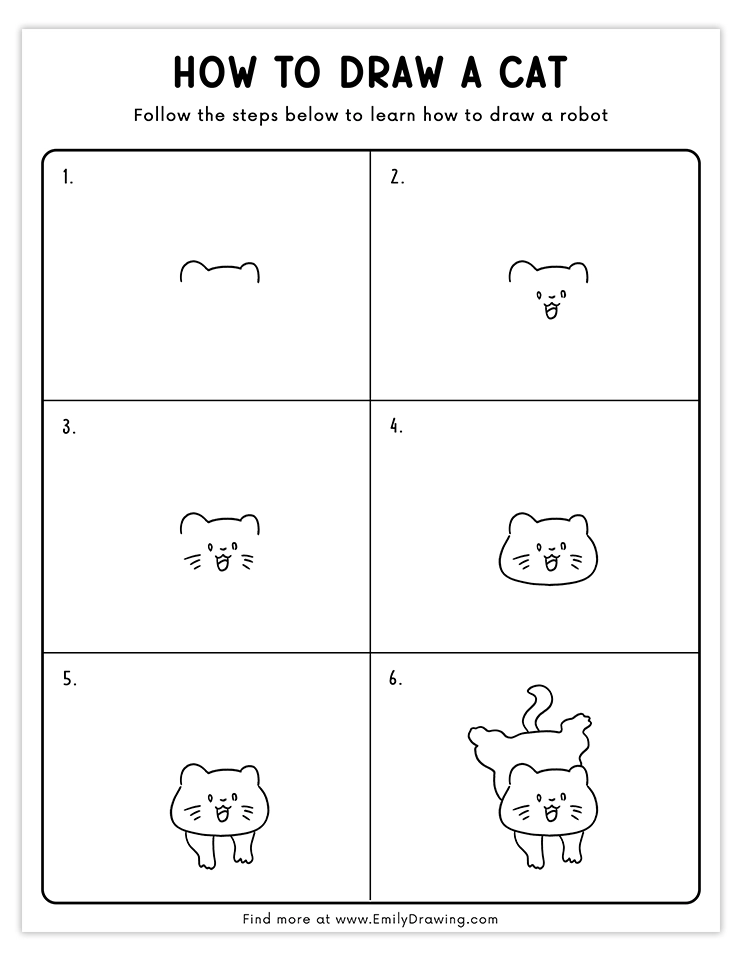
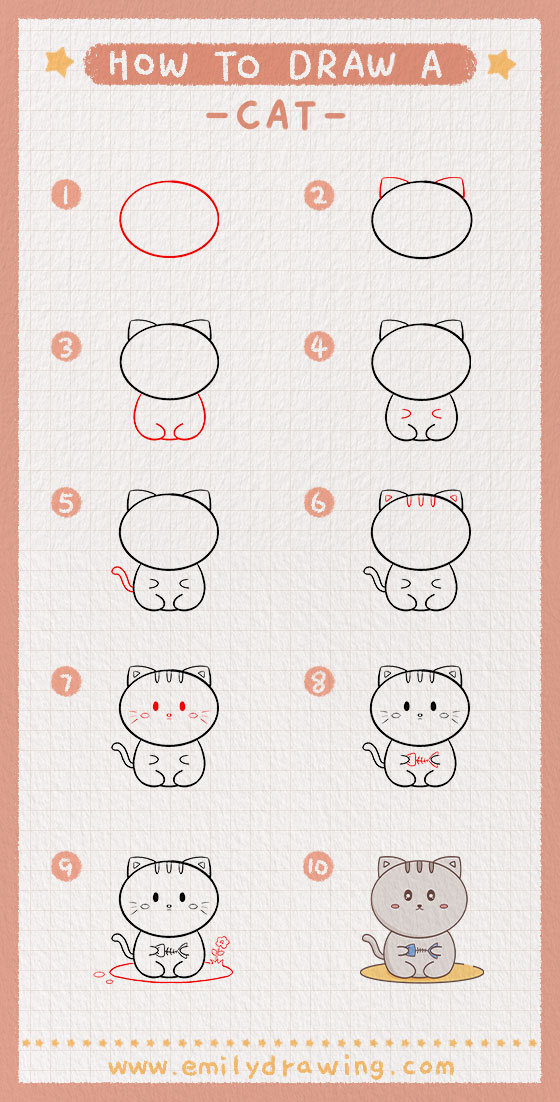
Step 1 – Draw the cat’s head.
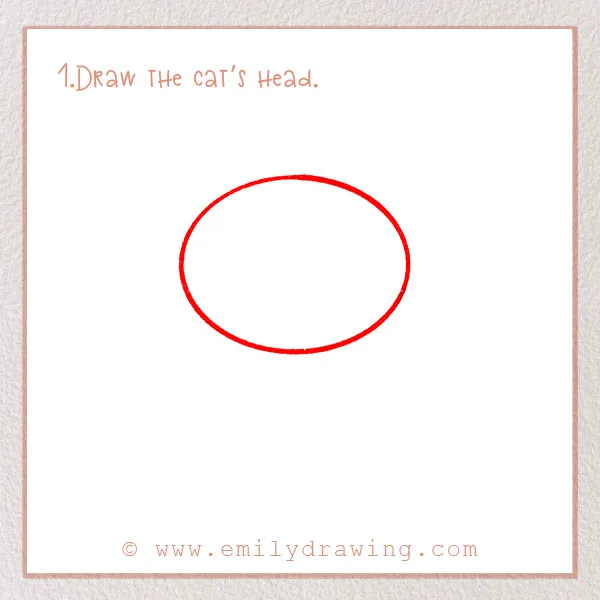
Draw a large oval for the cat’s head. It should be about two-thirds of the way up the page. It should also be wider than it is tall.
Step 2 – Add ears!
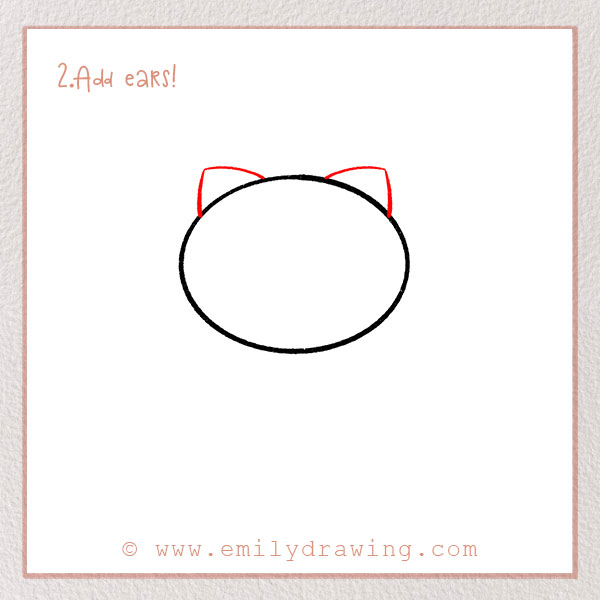
We need to add two ears for our feline! On the top of the head, draw two wide triangle shapes about an inch apart so that they resemble ears. They should be pointing up.
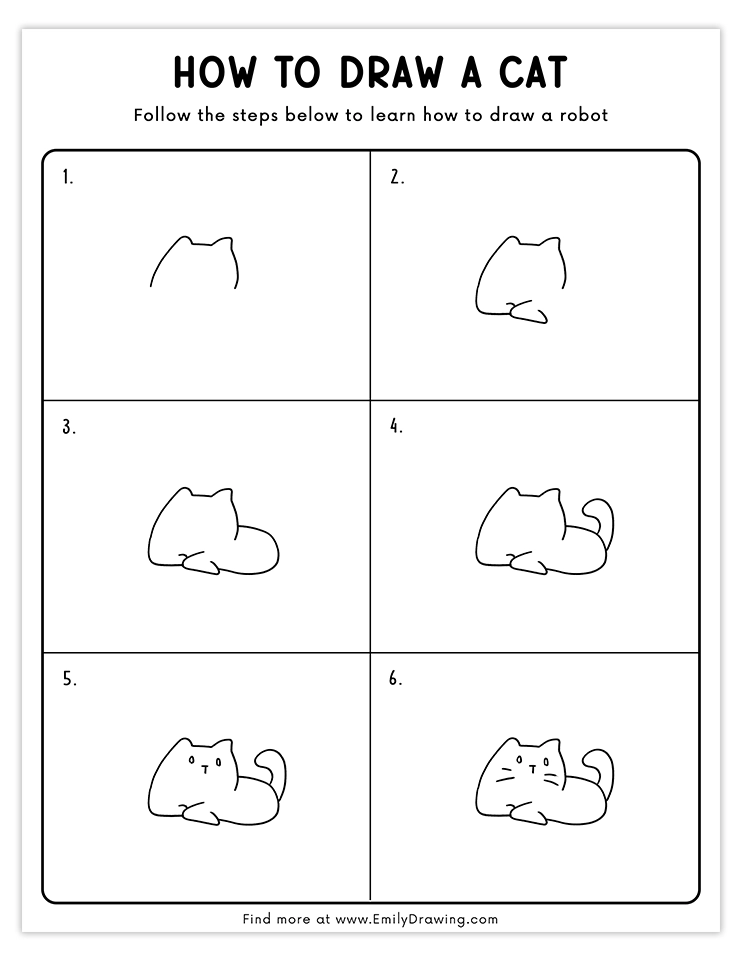
Step 3 – Draw the cat’s body.
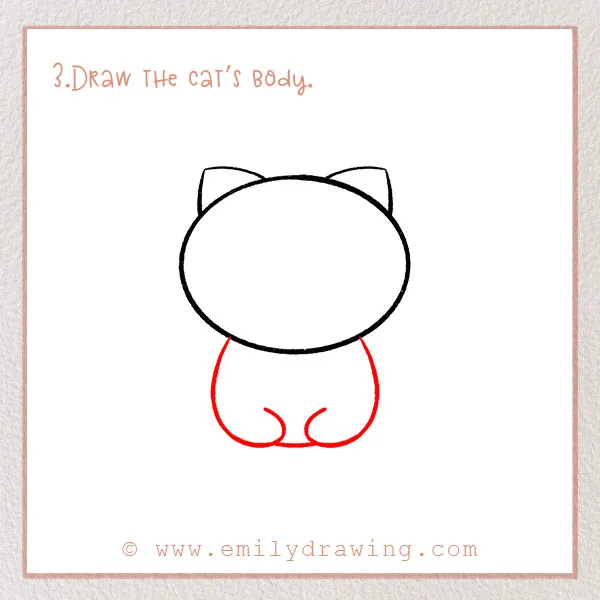
Next, we’re going to add the body of the cat. Below the head, draw two long curved lines. Then, at the bottom, add a line that connects these curved lines.
You should have a rounded, closed shape for the body. It should also be narrower than the head. Refer to the image for this shape if you’re learning how to sketch a cat!
Step 4 – Add two more paws.
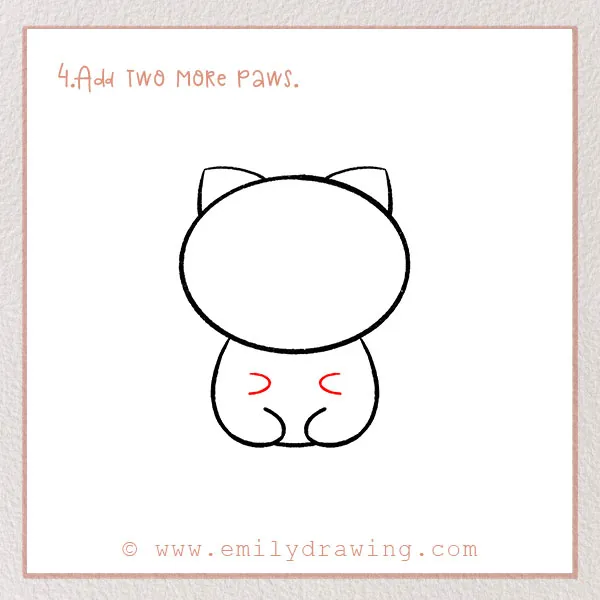
Cats have incredible agility and speed. We need to add two more paws so that our cat has those abilities too!
Draw two semicircles in the middle of the body. The curved part of them should face inwards. Now our cat has two more paws!
Step 5 – Draw the tail!
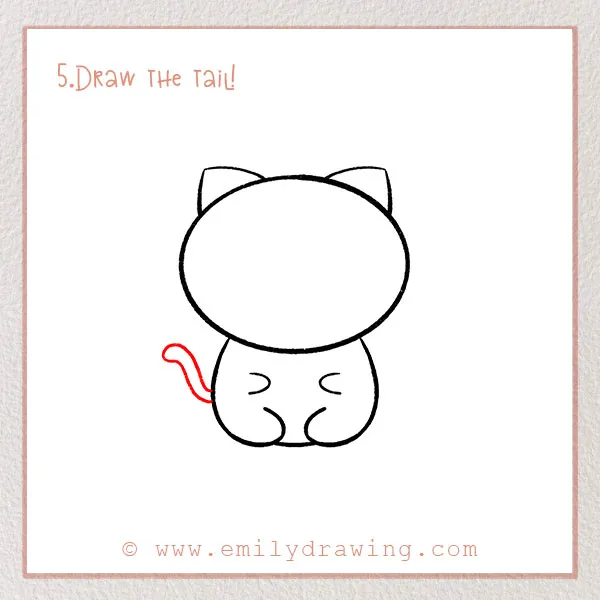
On the left side of the cat’s body, we’re going to add a tail! Did you know cats’ tails can help them balance when walking across skinny surfaces?
To add the tail, draw a squiggly line going upwards. Then, bring the line back towards the body to finish the shape.
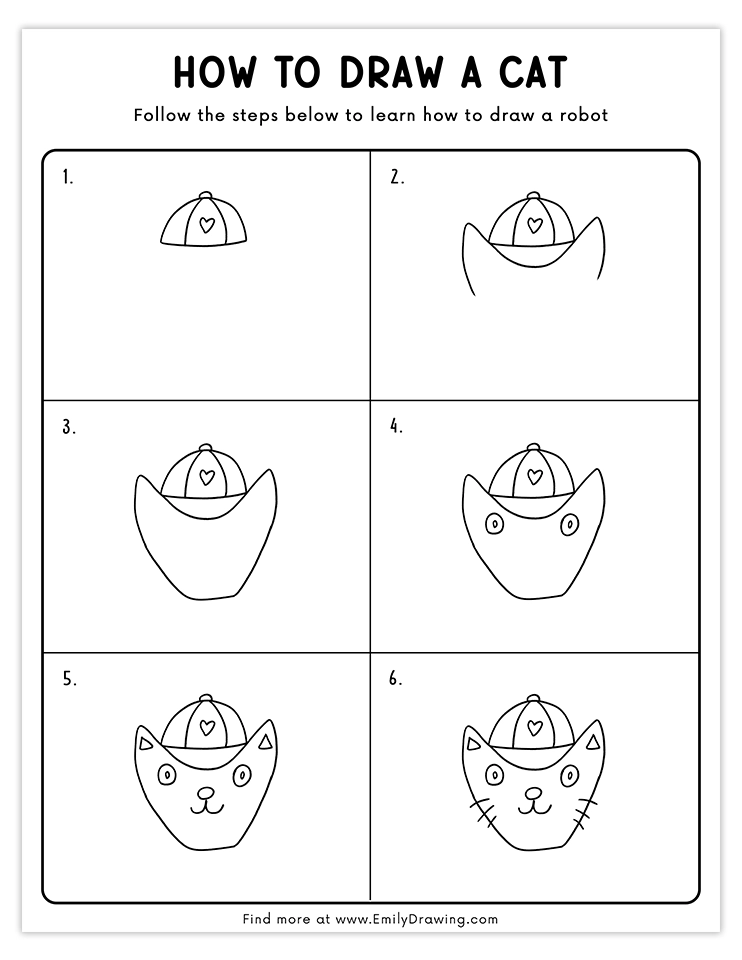
Step 6 – Add detail to the head and ears.
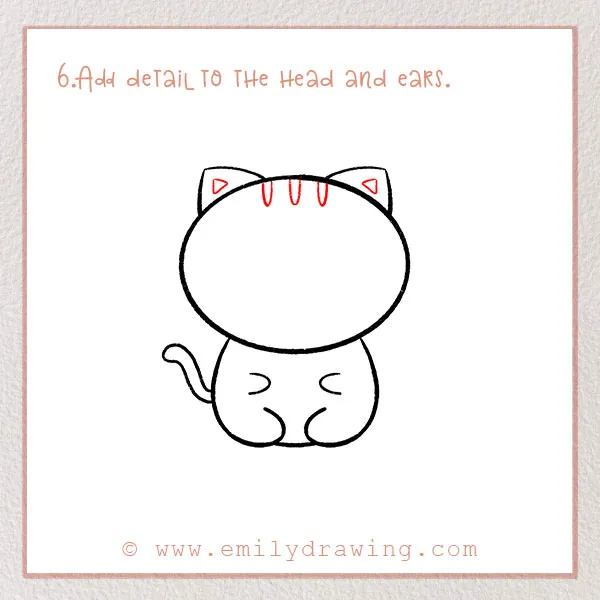
Different cats have different sorts of markings on their body. Let’s add some markings to our cat’s face.
On the top of the head, add a few oval shapes coming down from the top. They should be slightly cut off by the top of the head, so that they look like three stripes. Refer to the image for this.
Also, draw two smaller triangles in the ears to show more detail and depth.
Step 7 – Draw a face!
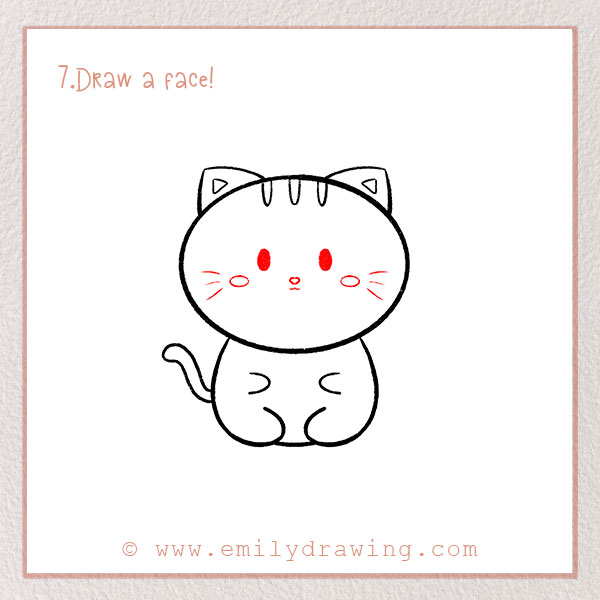
We’ve got to add some personality to our friend!
Begin with the eyes—add two ovals in the middle of the head.
Next, draw a small upside-down triangle for the nose, slightly below and centered between the eyes. Also, add a small line below.
Then, add some details to the cheeks. Draw two ovals on either side of the face, slightly below the eyes. Lastly, add some whiskers! Draw three diagonal lines on both cheeks.
Step 8 – Add a bone in the cat’s paws.
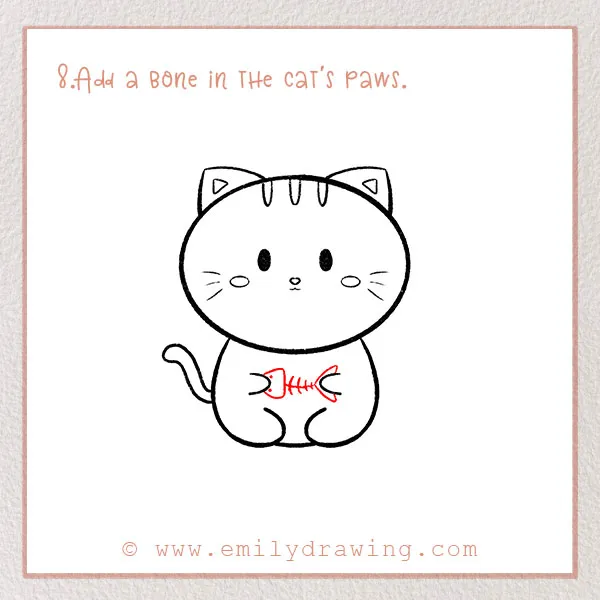
Add a small bone to your cartoon cat illustration—the cat will be holding it in its front paws.
Draw a sideways semicircle in the left paw. Then, add three small, curved, vertical lines in between the paws. Then, draw a line going through all of them. Lastly, draw two diagonal lines in the left paw.
Refer to the image for this shape.
Step 9 – Fill in the setting.
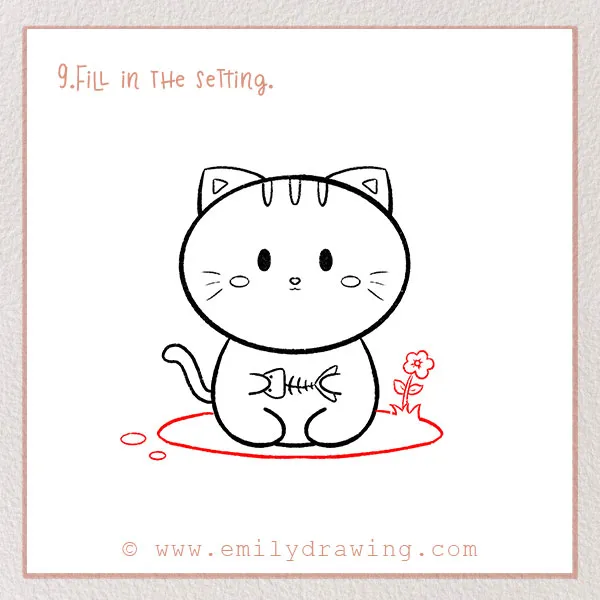
Let’s add a bit of detail to the rest of the drawing.
Draw a curved line around the cat. It should be the shape of an oval, but cut off by the cat’s body, to show perspective. Then, add two small circles on the left side of the cat.
Also, on this curved line, we’re going to add a flower. To the right of the cat, draw a flower—stem, leaves, and petals (we have separate flower tutorials, like How to Draw a Lily and How to Draw a Tulip)
Step 10 – Color in your feline friend!
Cats can be so many colors. Red, brown, black, orange, you name it! Maybe you want to make it resemble a specific cat in your life. Pick some colors and have fun.
Great job! Did you have fun? We hope you learned to draw a few new shapes and had a blast. Enjoy your beautiful creation! Hang it up, and give it a name!
Share your thoughts on this tutorial in the comments below. Feel free to share this page with friends via the social icons on this page! If you enjoyed this drawing project, browse this site for more.
You may also love our guides on How to Draw a Dog or How to Draw a Fox!
Pin it now, Draw later!
Get the FREE Printable Drawing Guide
FREE Download Printable Cat Drawings Tutorials