Welcome to a ten-step step-by-step tooth drawing tutorial on how to draw a tooth!
We all have teeth and use them every day to eat yummy food. Losing baby teeth is something that happens to all of us—some of us even get visited by the tooth fairy! Many cultures around the world have some version of a friendly fairy who gives you a gift when you lose your teeth. Not just humans have teeth—of course, dogs, sharks, cats, and most animals have some version of teeth!
Let’s learn a few things about teeth before we start our tutorial. First off, your teeth are some of the strongest parts of your body. They are also super important for how we speak, helping us form certain sounds. Additionally, going to the dentist is a necessary part of taking care of these important parts of your body. Overall, teeth are very important and serve a lot of useful functions!
Enough talking. Keep reading for Step 1!
Materials:
- a piece of paper
- a pencil for the guiding lines and sketching
- an eraser
- a black sharpie or a pen for the outlines
- markers or colored pencils for coloring
- our printable drawing guide (Join my Email List below to get this Tutorial)
Here are my RECOMMENDED Art Supplies!
- Crayola Coloring Set (140 Pieces – Mega Value!)
- 24 Colored Crayon Set
- A4 Printer Paper
- Crayola Coloring Pencils
- HP Home Printer with Instant Ink!
Time needed:
10 minutes.
How to Draw a Tooth — Let’s get started!
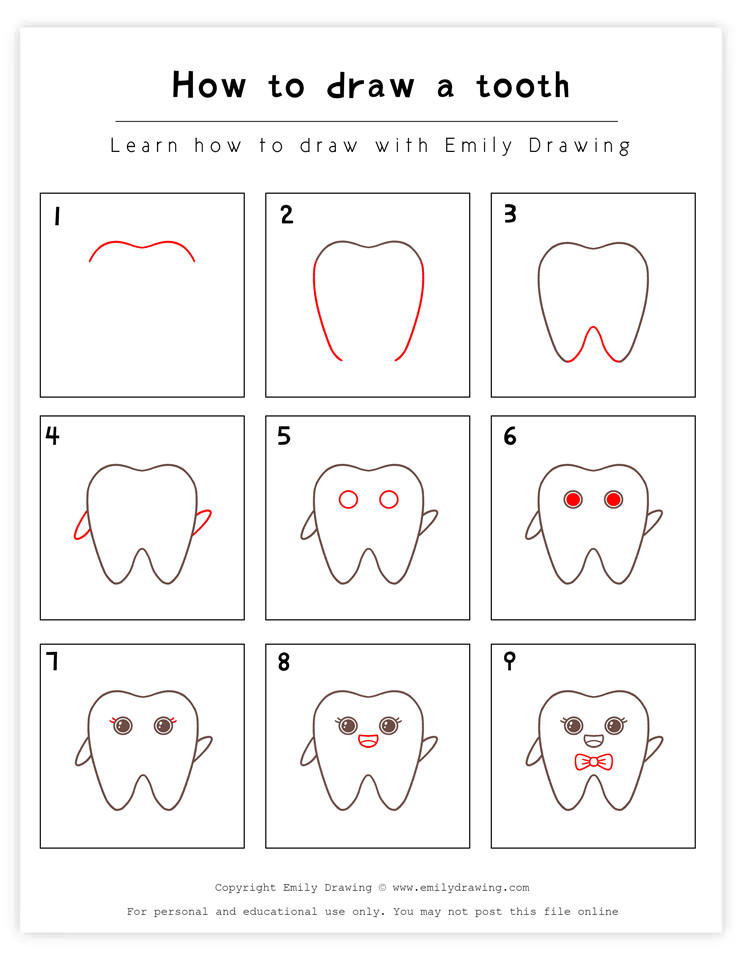
Step 1 – Draw a curved line.
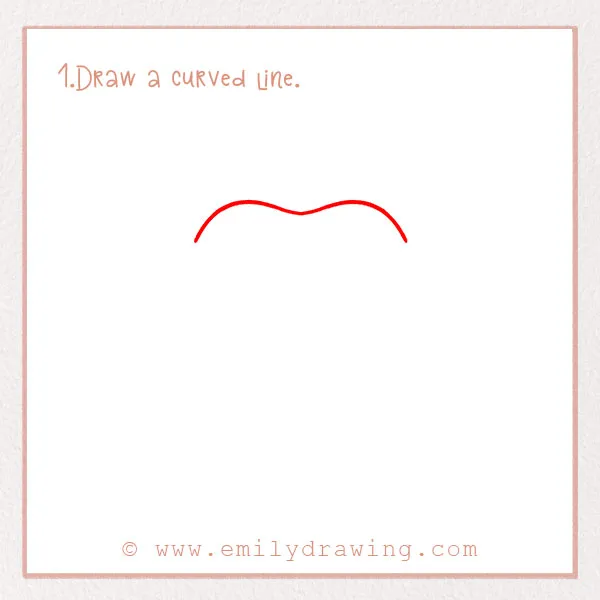
Let’s start with the top of the tooth. Draw a curved line that kind of looks like the top of a heart. This is also called the crown of the tooth.
Step 2 – Add to the perimeter of the tooth.
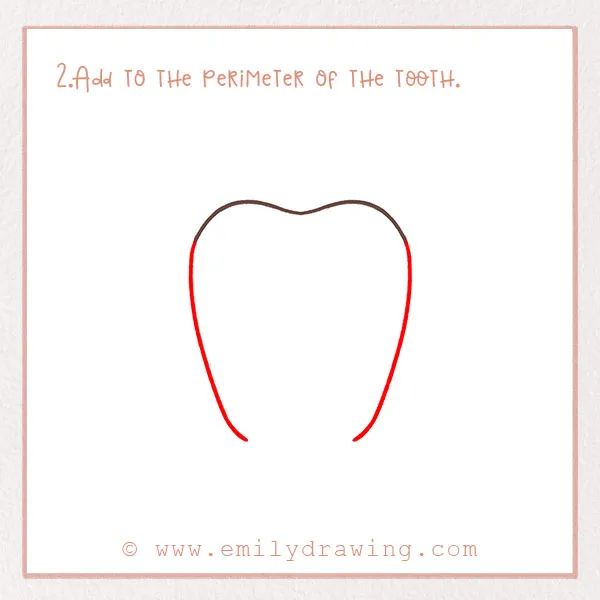
Next, continue the shape of the tooth. Add curved lines on either side. This should take up most of the page.
Step 3 – Finish the tooth outline.
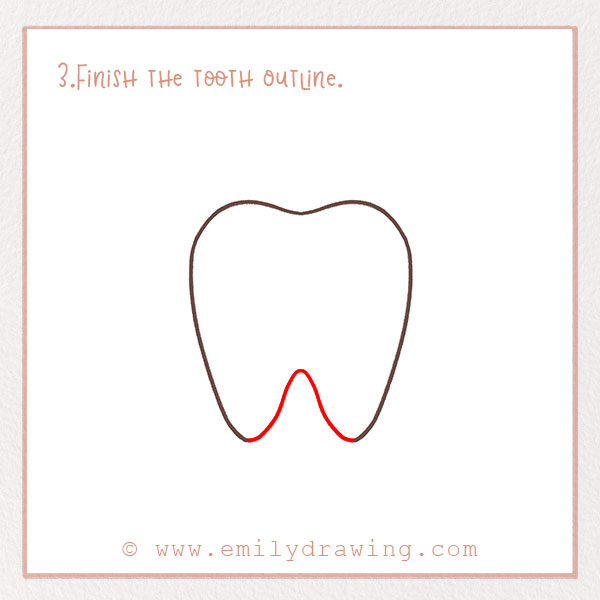
Let’s complete the outline of the tooth, draw an upside down V shape to form the bottom edge of the tooth! Great job.
Step 4 – Add arms.
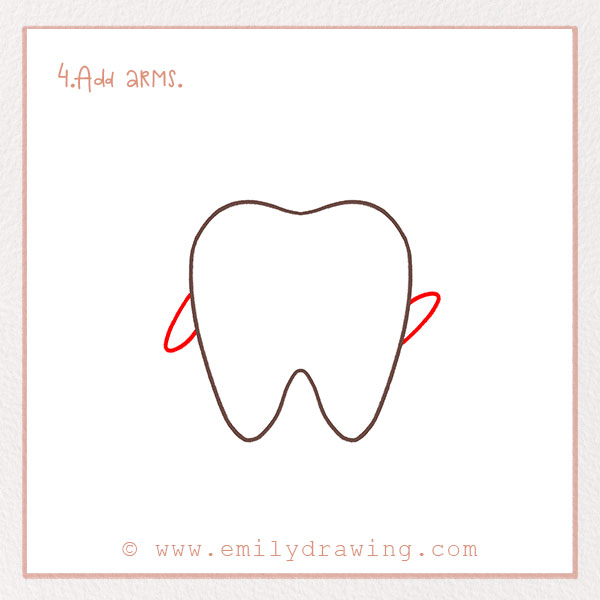
Our tooth is going to be like a little tooth cartoon character. It’s more fun that way! Therefore, we need to add some elements that give it a little bit of personality.
First, let’s add arms. Draw little arms on either side of the tooth. One should be pointing up and the other one should be facing down, almost like it’s dancing!
Good job! We’re making progress!
Step 5 – Add eyes.
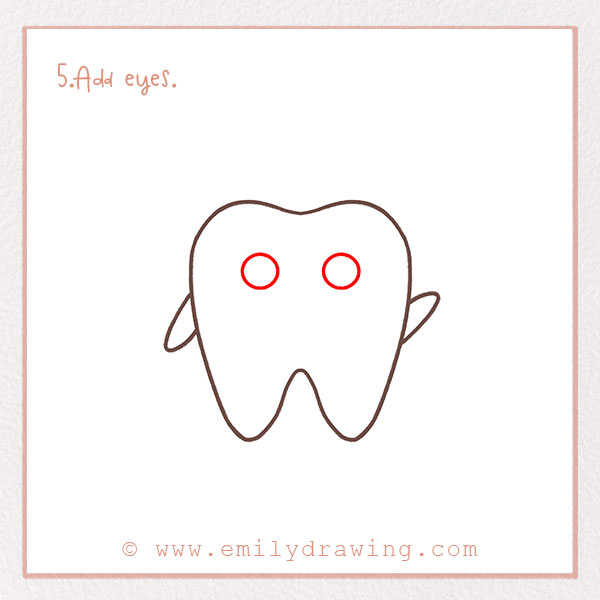
Again, let’s add some fun personality. Draw two medium-sized circles for eyes.
Step 6 – Add detail to the eyes.
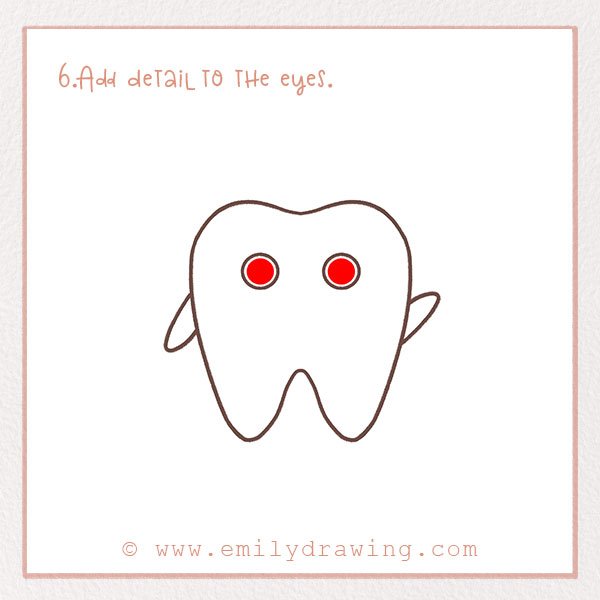
Draw two solid black circles for the pupils of the eyes. We’ll add more in the next step!
Step 7 – Add eyelashes!
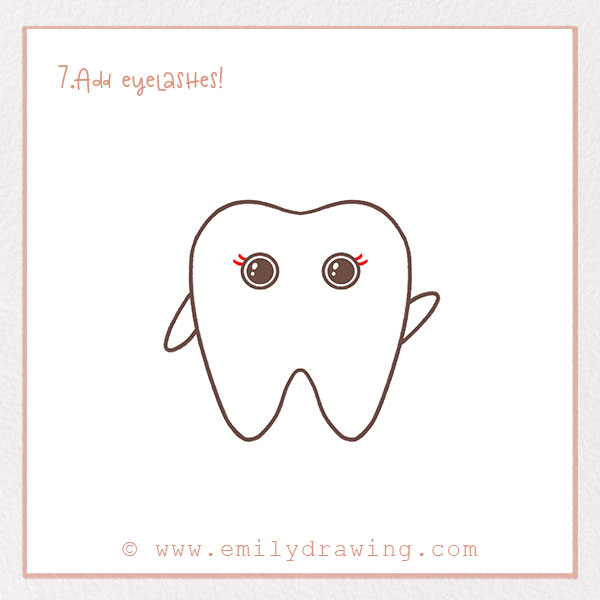
If you’ve done other tutorials on our site, you’ve probably seen this feature drawn in a similar style before. We often draw the eyes the same way because they make things look really friendly—similar to how facial expressions come to life in our step-by-step tutorial on drawing a smile.
Anyways, draw some small eyelashes. Add a little bit of twinkle to the eyes. Awesome job! We’re making progress.
Step 8 – Add a cute smile.
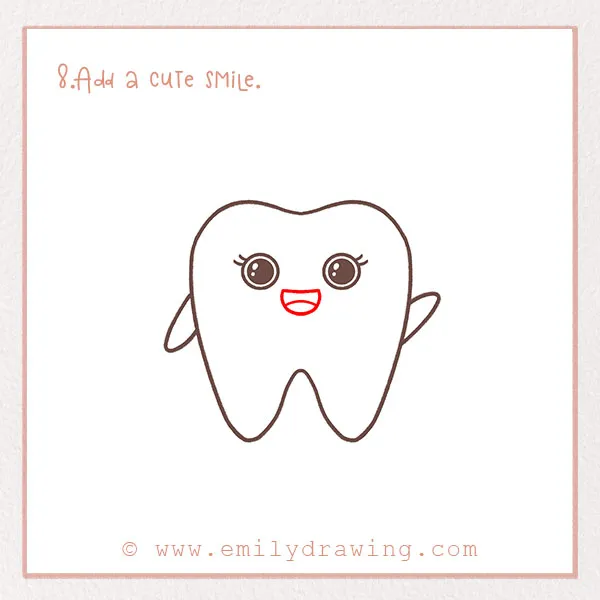
Again, we like to have some cute personality. Add a big open smile! Simply draw a semi-circle and then a line for the teeth, just like we do in our guide on how to draw a smile.
Step 9 – Finally, add a bow!
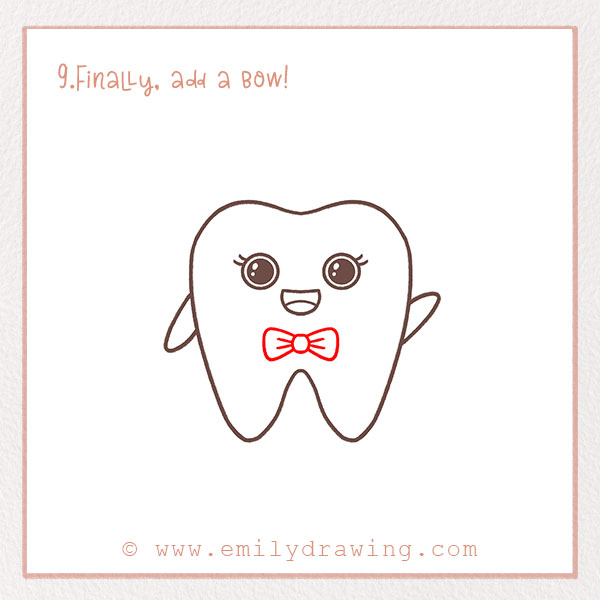
We’re nearly done! Draw a bow on the tooth. For extra help, check out our full tutorial on how to draw a bow—it breaks it down step by step. On either side of the circle, draw a rounded triangle. Add some lines to show creases in the bow, using techniques from our how to draw a bow tutorial for more detail.
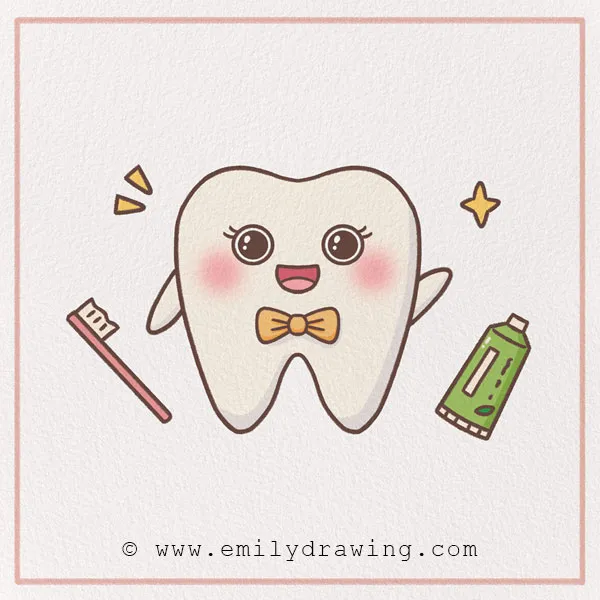
Step 10 – Color in your tooth!

Teeth are, of course, typically white. However, have fun and color in your drawing however you like. Go ahead and fill in the background, too! Make sure you sign the artwork like a true artist!
Pin it now, Draw later!
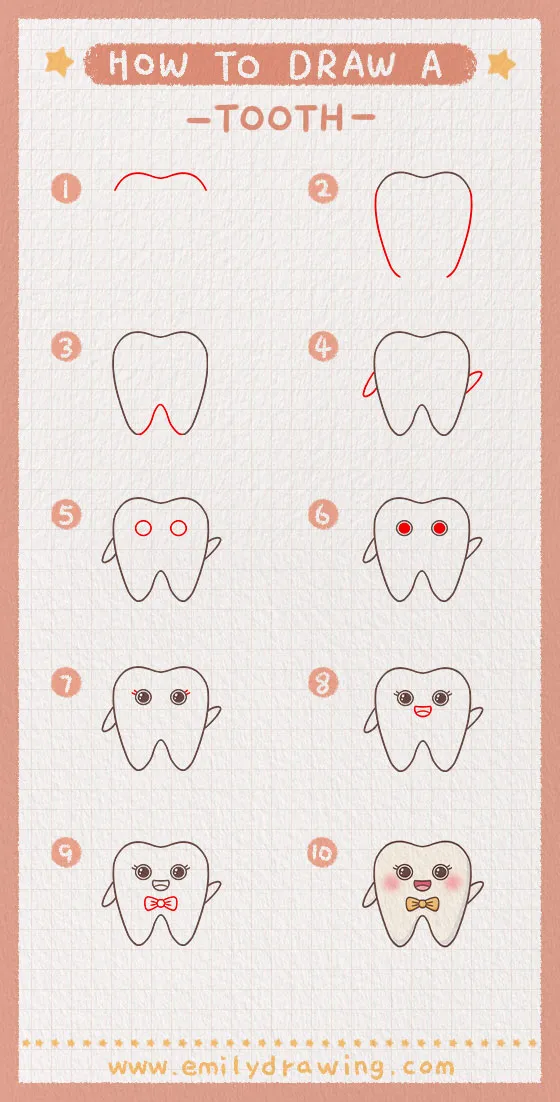
We hope you loved following this fun drawing for kids tutorial—we sure did! Share your artwork with friends in person or using the social icons below.
We have so many tutorials that you will love. We have them sorted nicely on our site, so be sure to check them out! You’ll find holiday, animal, people, food, and other tutorials.
