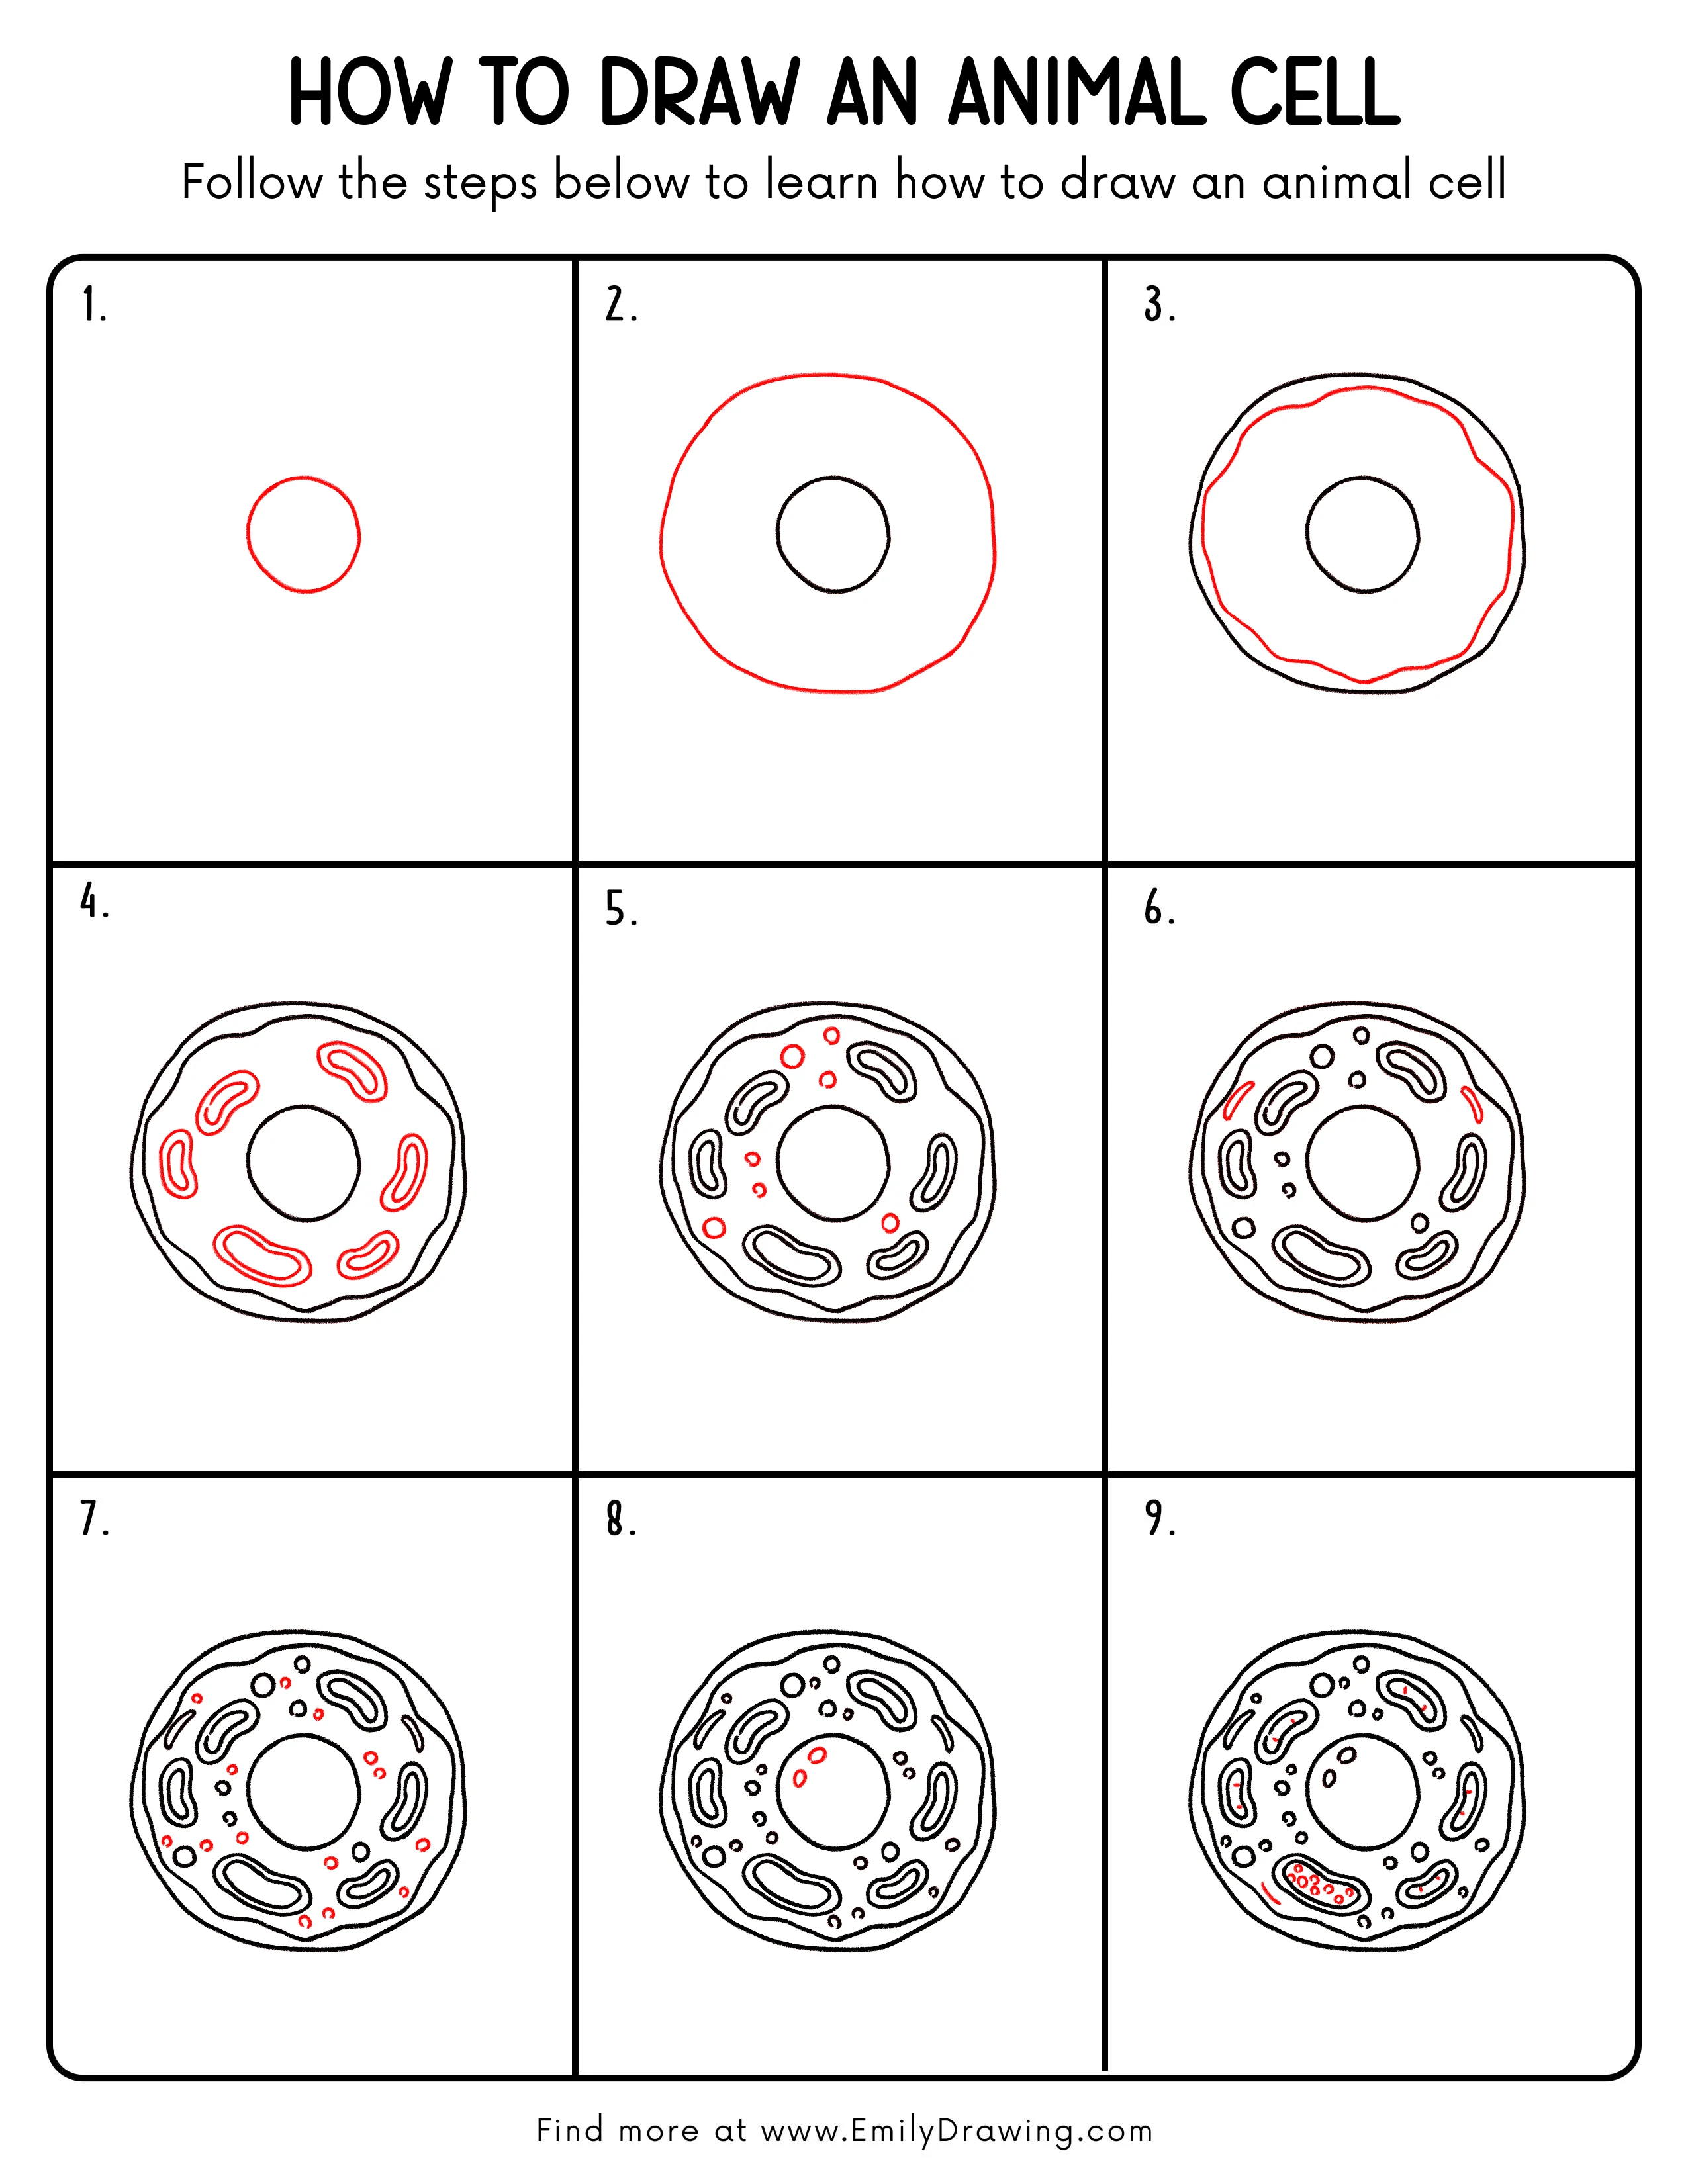
This easy drawing tutorial shows how to draw an animal cell step by step. We will build a clear, simple diagram that is friendly for beginners. Take your time, and let each line stay smooth and calm.
What You Will Need
- Pencil
- Eraser
- Black marker or pen
- Paper
- Optional: colored pencils or markers
Here are my RECOMMENDED Art Supplies!
- Crayola Coloring Set (140 Pieces – Mega Value!)
- 24 Colored Crayon Set
- A4 Printer Paper
- Crayola Coloring Pencils
- HP Home Printer with Instant Ink!
Time needed:
29 minutes.
Step-by-Step Drawing Guide
Step 1: Draw the Nucleus Circle
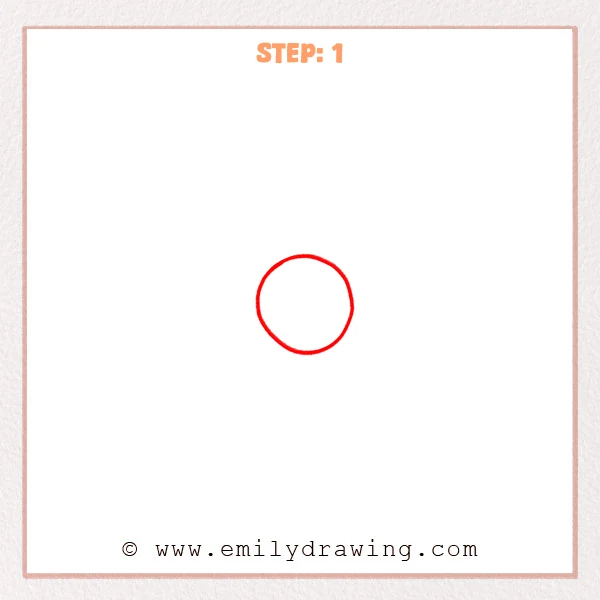
Start with a small circle in the middle of the page for the nucleus. Keep the circle smooth and leave plenty of space around it. This will guide the rest of your animal cell drawing.
Pro Tip: Sketch lightly first, then trace darker once the circle looks even.
Step 2: Add the Outer Cell Shape
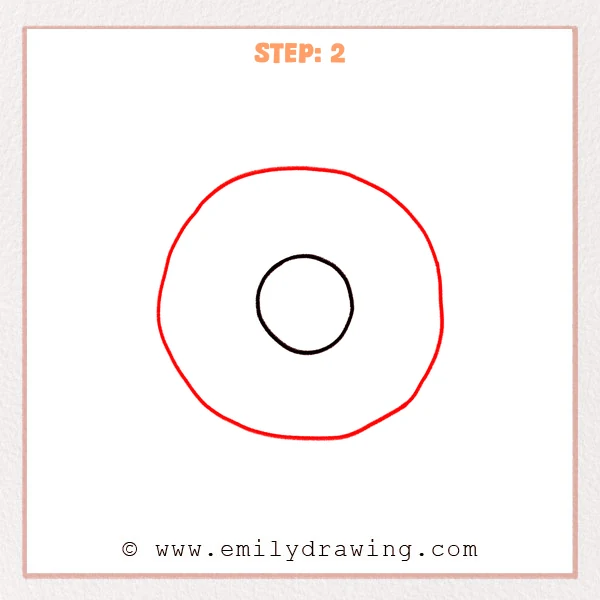
Draw a much larger circle around the nucleus to form the cell boundary. Let the edge be slightly uneven, not perfectly round. This makes the cell feel soft and organic.
Pro Tip: Make the outer shape wide enough to fit many organelles inside later.
Step 3: Draw the Inner Membrane Line
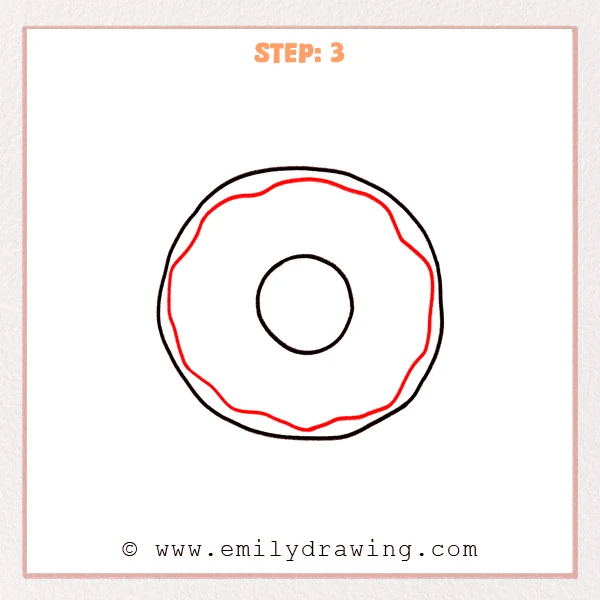
Inside the outer boundary, add a second line that gently waves around the shape. This creates a clear thickness for the cell membrane. Keep the waves small and steady.
Pro Tip: Keep the inner line close to the outer line so the membrane looks consistent.
Step 4: Add Bean-Shaped Organelles
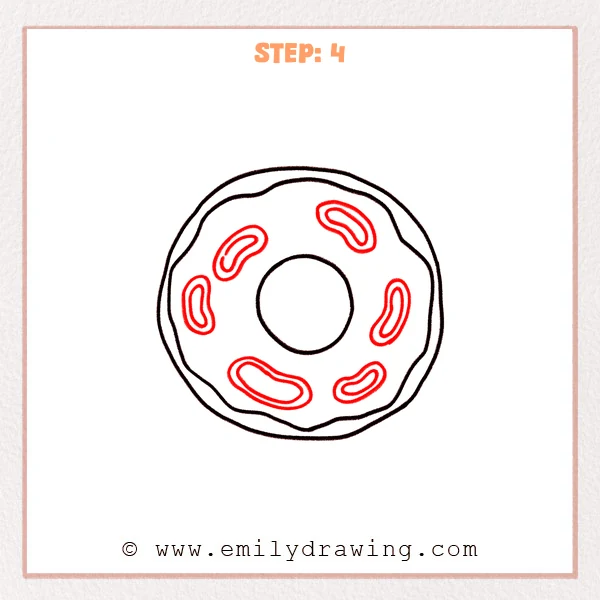
Place several bean-shaped organelles around the inside space. Outline each bean, then add a smaller inner curve to suggest folded details. Spread them out so they do not crowd the nucleus.
Pro Tip: Rotate each organelle a little so they face different directions.
Step 5: Fill More Spaces with Organelles

Add a few more smaller bean shapes in open areas. Try to balance the left and right sides so the picture feels even. Leave some open space for smaller details later.
Pro Tip: Vary the organelle sizes to avoid a repeated pattern.
Step 6: Add Cytoplasm Dots
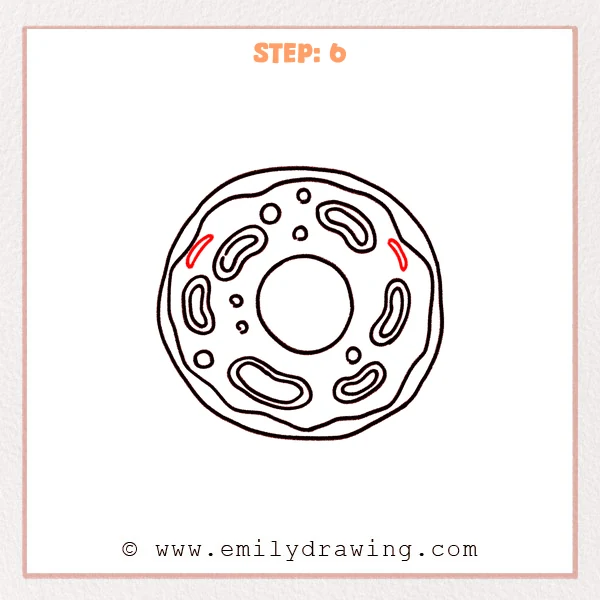
Draw scattered small circles throughout the cell to show texture in the cytoplasm. Use different dot sizes and place them near both the nucleus and the membrane. Keep the dots spaced so the diagram stays readable.
Pro Tip: Add dots slowly and stop often to check if the space feels too busy.
Step 7: Add Nucleus Highlights
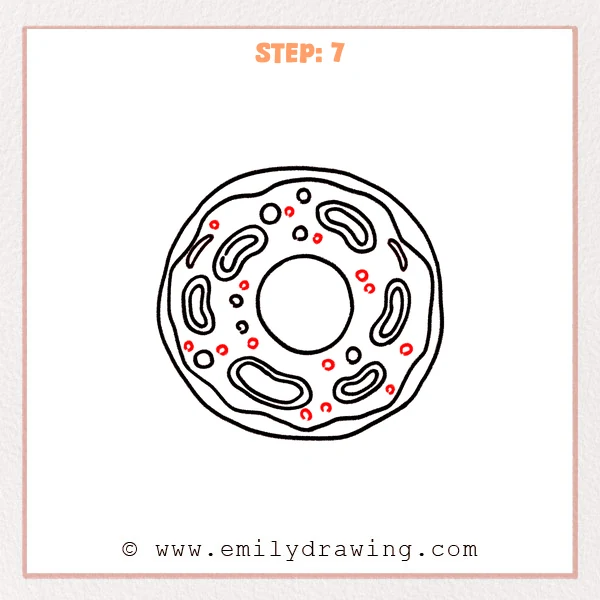
Inside the nucleus, draw two or three tiny ovals for highlight spots. Place them near the top or slightly to one side. This small detail helps the nucleus stand out.
Pro Tip: Keep the highlight shapes tiny so the nucleus still feels simple.
Step 8: Refine Organelles with Extra Details
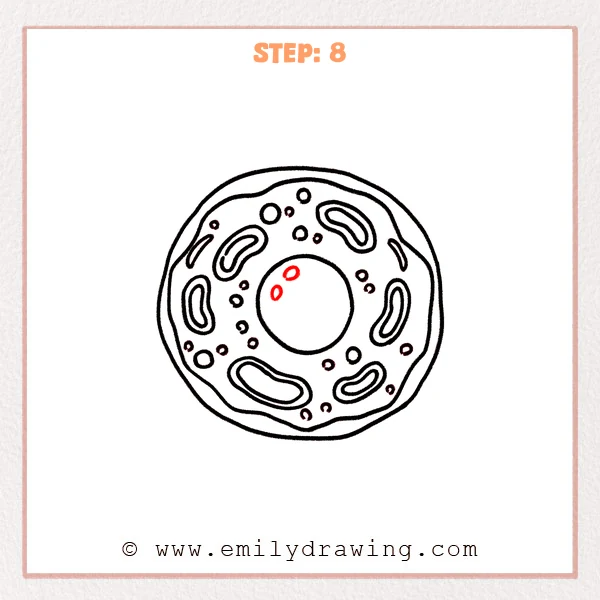
Choose a few organelles and add tiny dots or short lines inside them. Keep most organelles simple and only detail a couple for variety. This gives the animal cell drawing a clear, organized look.
Pro Tip: Concentrate detail in a few areas so the diagram does not look cluttered.
Step 9: Bold the Main Lines and Clean Up
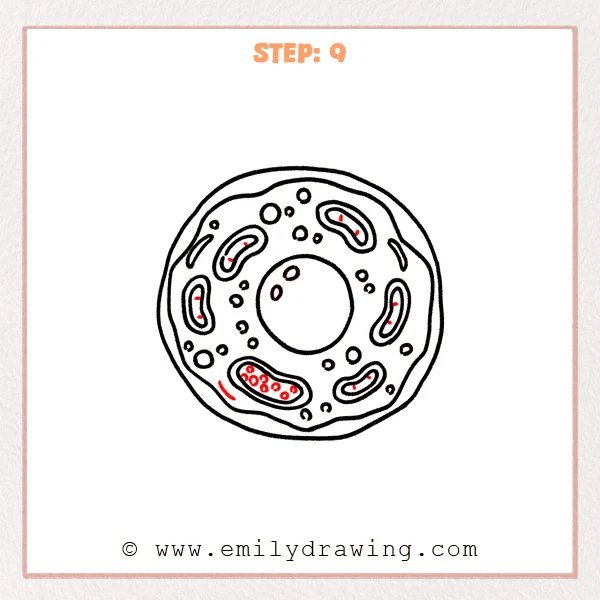
Trace the outer boundary, membrane line, and nucleus outline with a darker pen or marker. Clean up overlapping lines and erase leftover sketch marks. Your step by step drawing of an animal cell should now look neat and finished.
Pro Tip: Trace slowly to keep line thickness steady and controlled.
Step 10: Color in your drawing!
Fun Facts
- Animal cells have a flexible cell membrane, so their shapes can vary.
- Many organelles work together like small “rooms” with different jobs.
- The nucleus helps control the cell by holding genetic information.
Pin it now, Draw later!

You have built an animal cell drawing from a nucleus circle to a detailed cell diagram. To add color, try light yellow or pale blue for the cytoplasm, and a deeper color for the nucleus. Shade gently along one side of organelles to make them look rounded.
One common beginner mistake is making the cell membrane perfectly smooth and stiff. Keep the edge slightly uneven so it feels more natural. Practice this easy drawing tutorial again, and try changing the organelle sizes to make a new version.
Get the FREE Printable Drawing Guide
FREE Download Printable Animal Cell Drawing Tutorial
Frequently Asked Questions
How do I keep the nucleus centered?
Start by placing it first, then build the outer shape around it.
What if my outer cell shape looks too wobbly?
Smooth it by tracing a calmer line over the bumps, keeping gentle curves.
Do I need to label the parts for a school diagram?
You can add simple labels after you finish, using neat, light lines.