Drawing an anchor is a calm and enjoyable activity for young artists. In this easy step-by-step drawing tutorial, you will slowly build the shape using simple curves and clear lines. Take your time with each step, and watch the anchor grow from a small spiral into a strong nautical symbol.
This guide is designed for beginners and children who want to learn how to draw an anchor in a simple and friendly way.
What You Will Need
- A sheet of drawing paper
- A pencil
- An eraser
- A black pen or marker (optional for outlining)
- Colored pencils or crayons (optional)
Here are my RECOMMENDED Art Supplies!
- Crayola Coloring Set (140 Pieces – Mega Value!)
- 24 Colored Crayon Set
- A4 Printer Paper
- Crayola Coloring Pencils
- HP Home Printer with Instant Ink!
Time needed:
28 minutes.
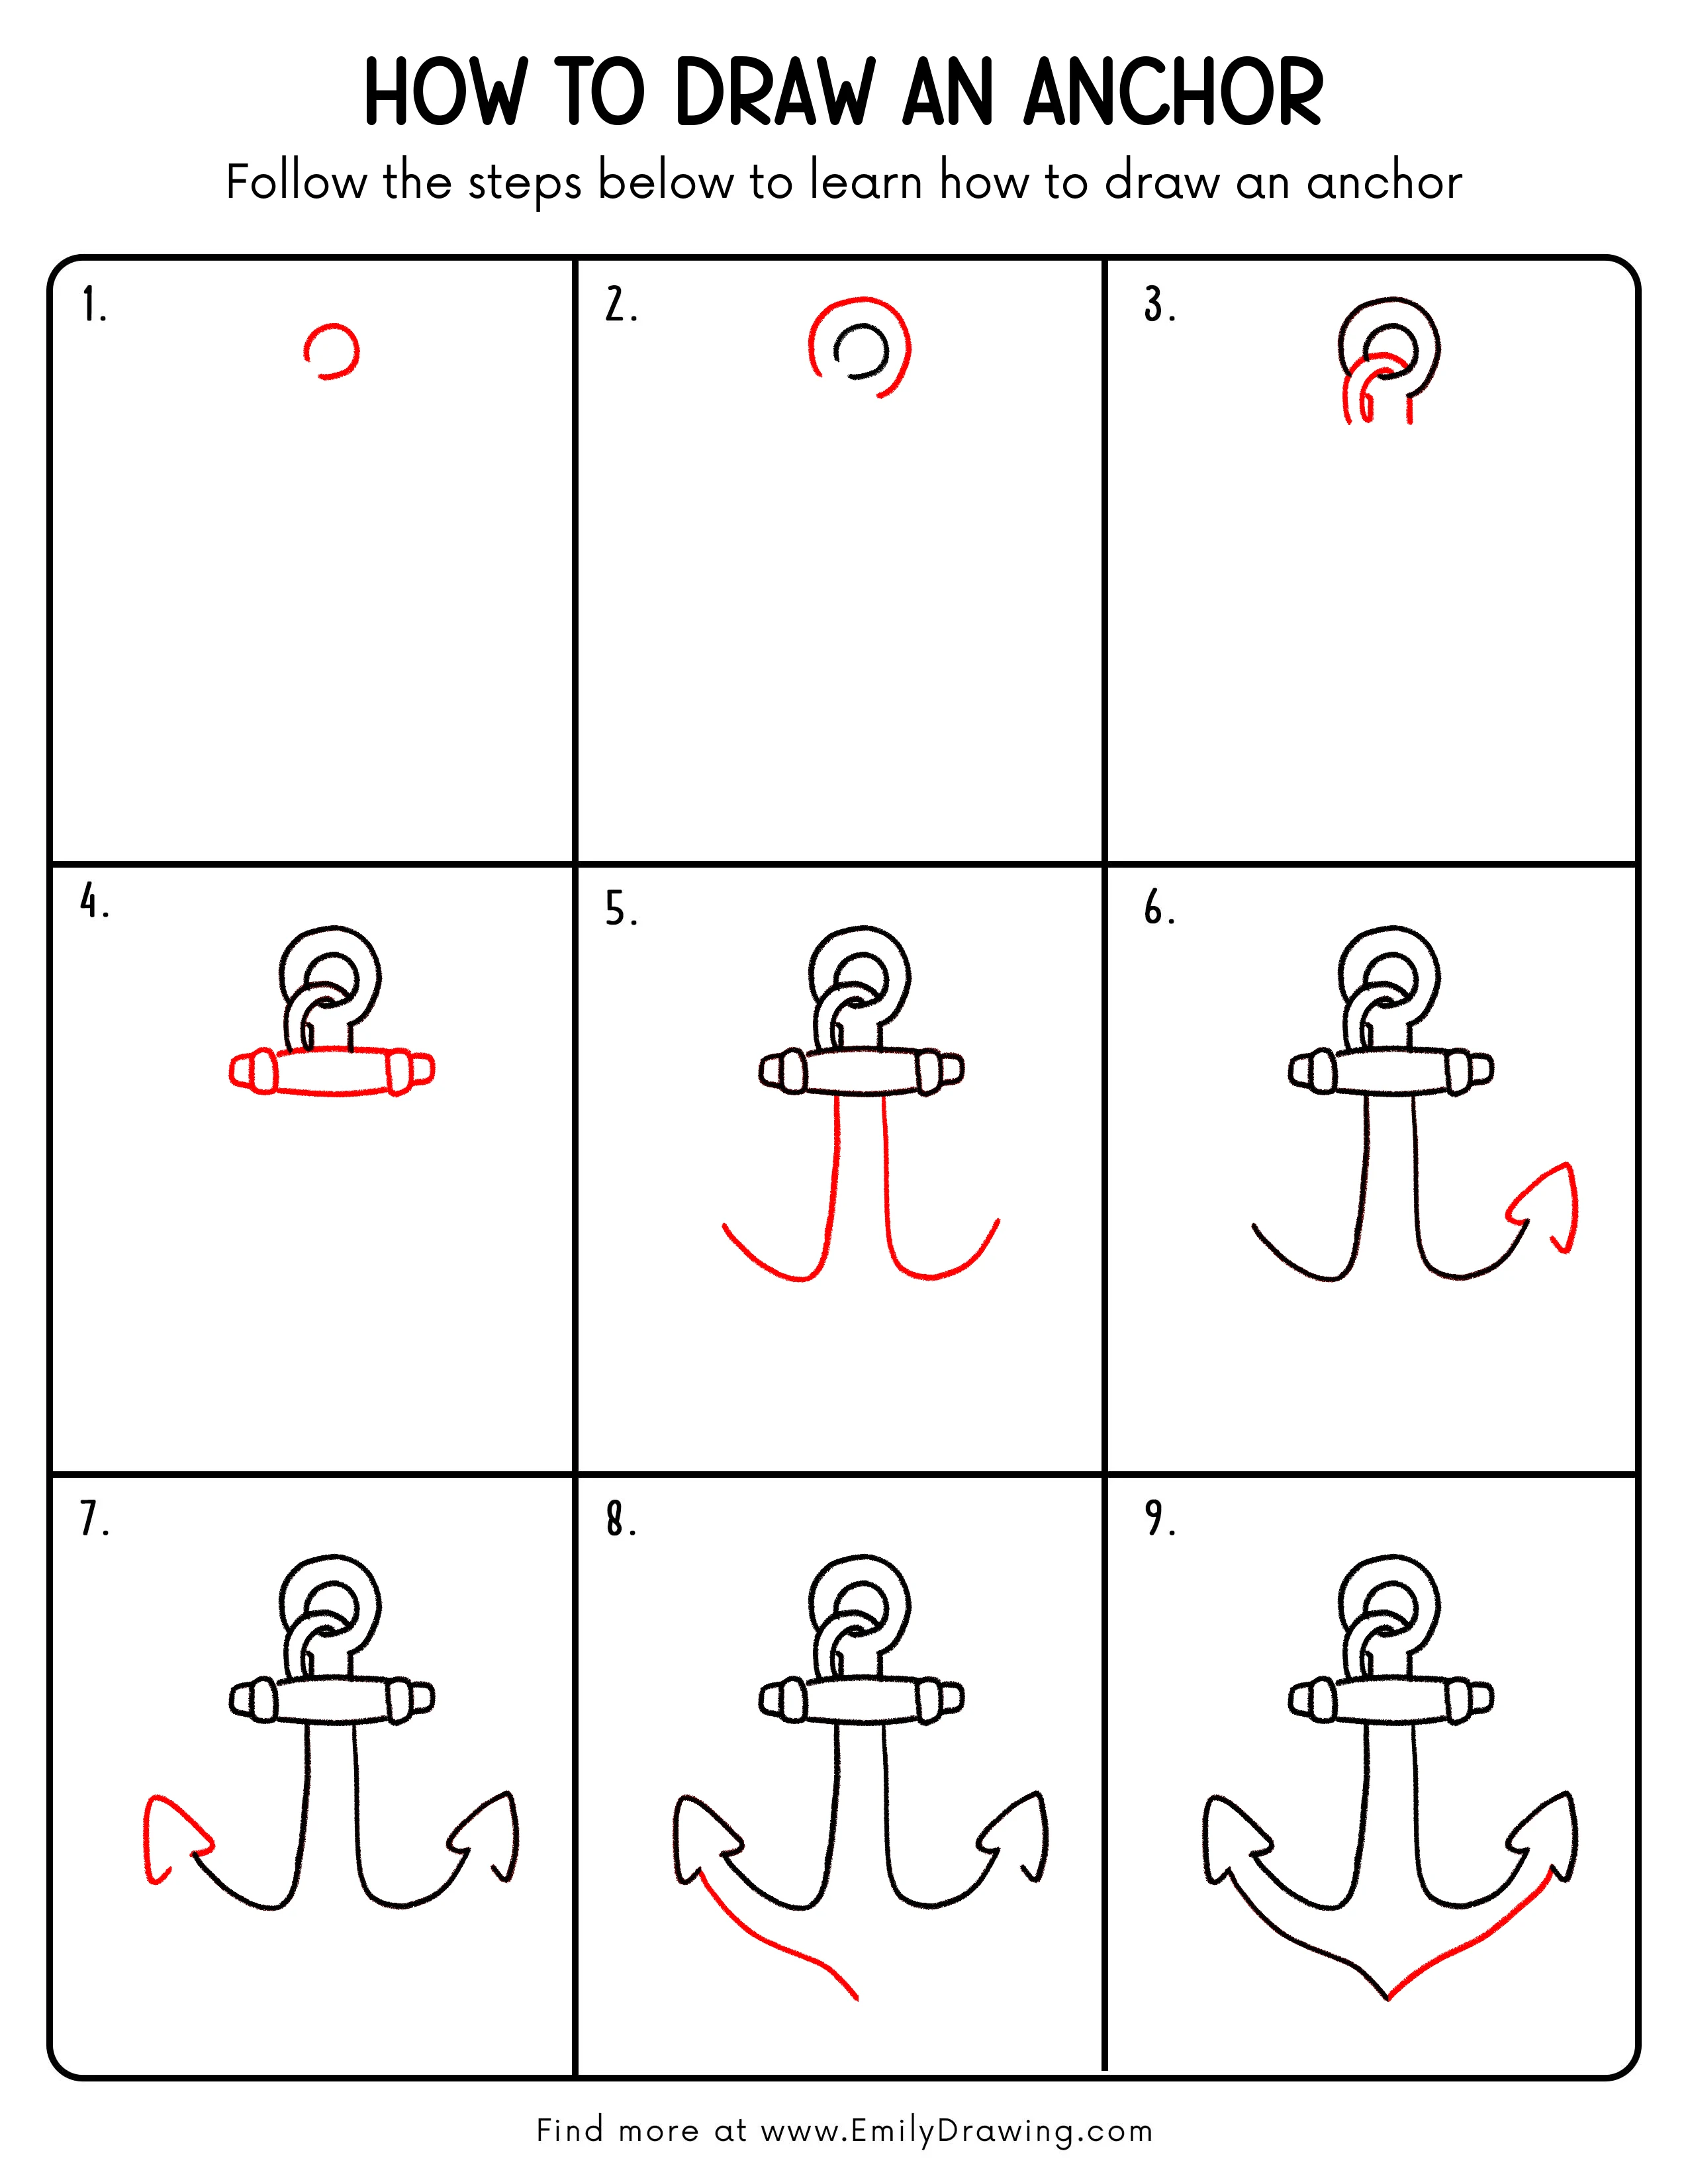
Step-by-Step Drawing Guide
Step 1: Start with a Small Curved Line
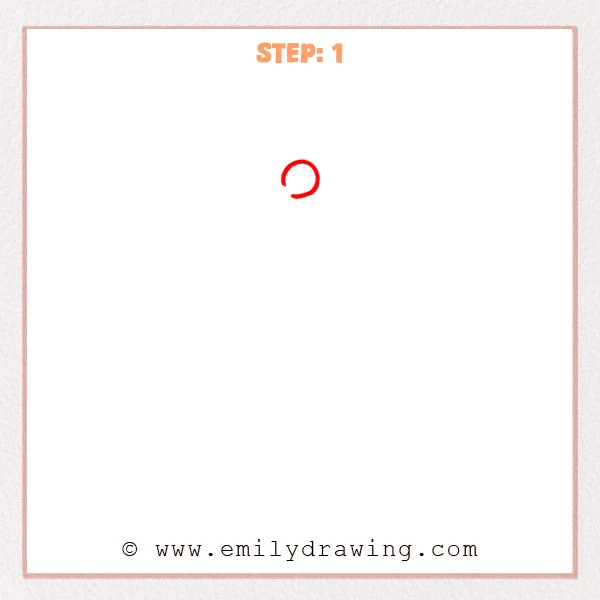
Start near the top of the page with a small curved line, similar to a loose letter “C”. Let the line stay soft and slightly open. This small curve will become the center of the anchor ring.
Pro Tip: Keep the line light so it is easy to adjust later.
[Alt Text: Step 1: small curved spiral beginning the top ring of an anchor]
Step 2: Expand into a Spiral Shape
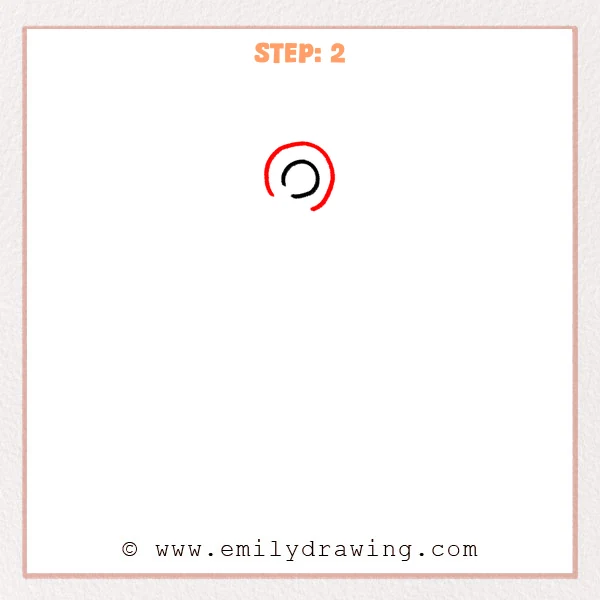
Add a larger curved line around the first curve to create a gentle spiral. Leave a small gap between the lines so the ring looks clear. This builds the outer shape of the anchor’s top ring.
Pro Tip: Try to keep the spiral evenly curved so the ring looks balanced.
[Alt Text: Step 2: larger spiral forming the anchor ring]
Step 3: Add the Downward Hook
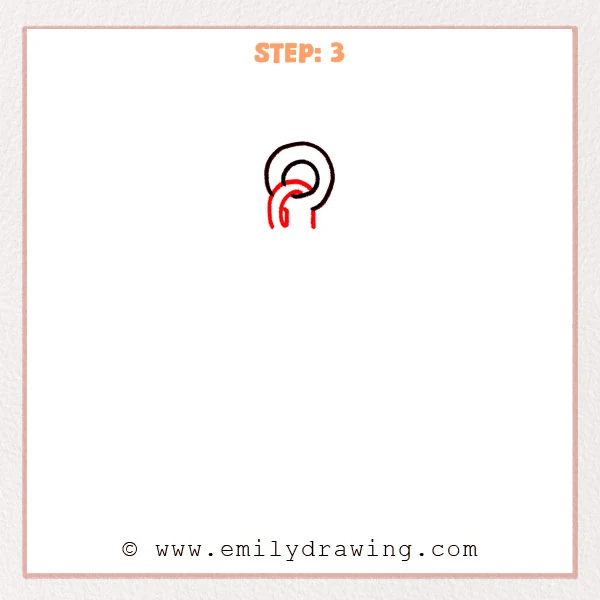
From the inside of the spiral, draw a curved line that bends downward like a hook. Let the line flow naturally toward the center of the page. This begins connecting the ring to the anchor body.
Pro Tip: A soft curve will make the drawing feel more natural.
[Alt Text: Step 3: curved hook extending downward from the anchor ring]
Step 4: Draw the Anchor Crossbar
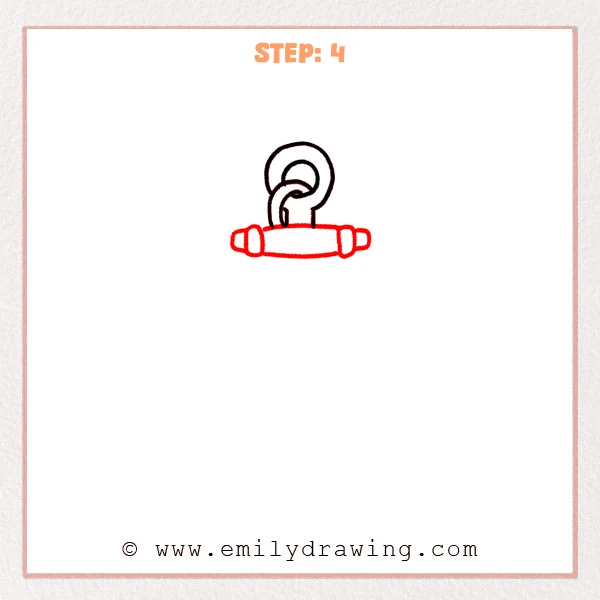
Below the hook, draw a horizontal oval bar across the page. Add small rounded ends on both sides of the bar. This crossbar helps give the anchor its classic shape.
Pro Tip: Try to keep both sides of the bar the same length.
[Alt Text: Step 4: horizontal crossbar added to the anchor]
Step 5: Draw the Anchor Shank
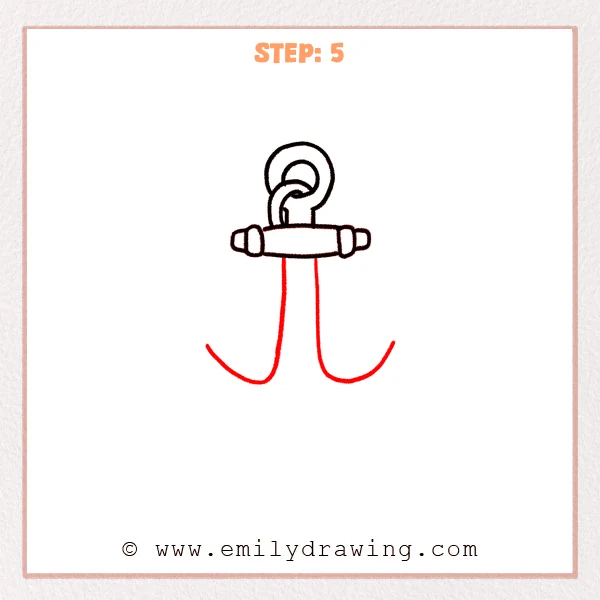
From the center of the crossbar, draw two long lines downward to form the shaft. Let the lines spread slightly outward as they go down. This creates the main body of the anchor.
Pro Tip: Keep the two lines roughly parallel for a neat structure.
[Alt Text: Step 5: long anchor shaft extending downward]
Step 6: Draw the Right Curved Arm
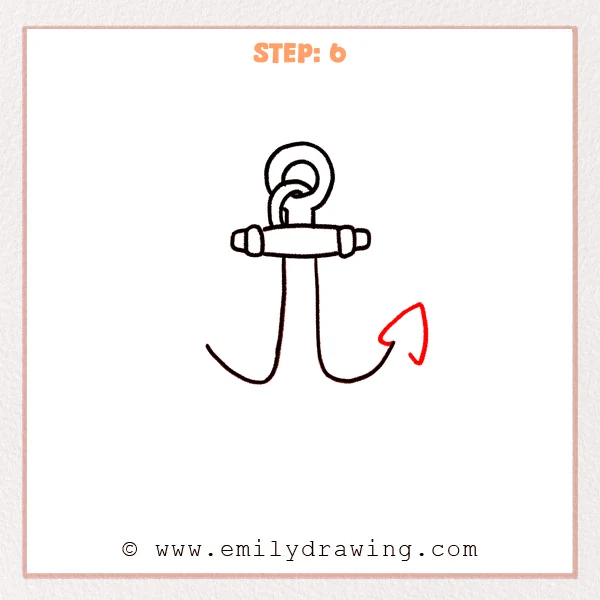
From the bottom right of the shaft, draw a long curved line moving outward and gently upward. The curve should look smooth and relaxed. This begins the right arm of the anchor.
Pro Tip: Smooth curves help the anchor look balanced and steady.
[Alt Text: Step 6: right curved arm of the anchor forming]
Step 7: Add the Left Arrow Tip
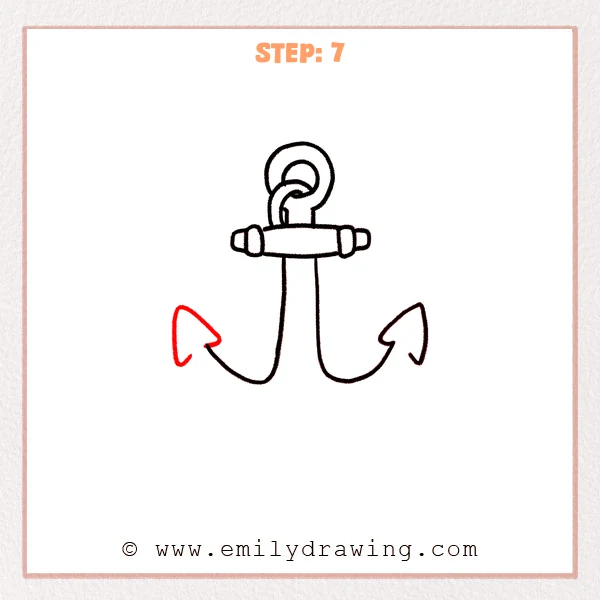
At the end of the left curved arm, draw a pointed arrow shape. Angle the tip slightly upward so it looks like a hook that can grip the sea floor. This forms the left anchor fluke.
Pro Tip: Keep the point simple and clearly shaped.
[Alt Text: Step 7: arrow-shaped tip forming the left anchor fluke]
Step 8: Add the Left Bottom Point
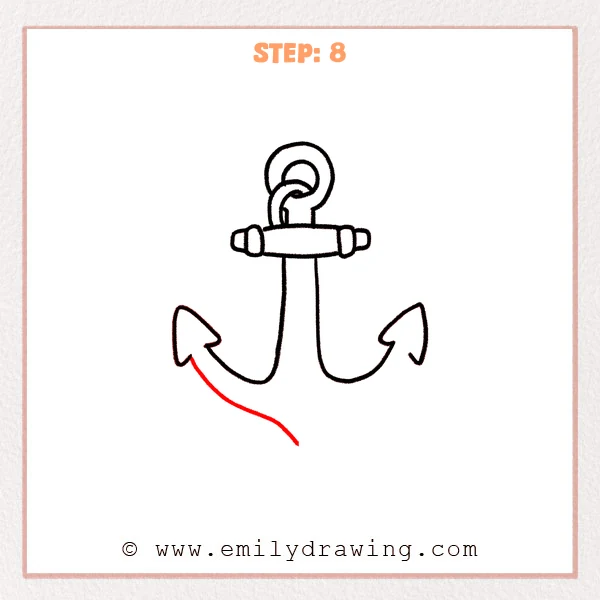
At the end of the other curved arm, draw another arrow-shaped point facing upward. Connect the shape smoothly to the arm. Now both sides of the anchor begin to look balanced.
Pro Tip: Try to keep both arrow tips similar in size.
[Alt Text: Step 8: second arrow-shaped tip added to the anchor]
Step 9: Add the Right Bottom Point and Darken the Outline
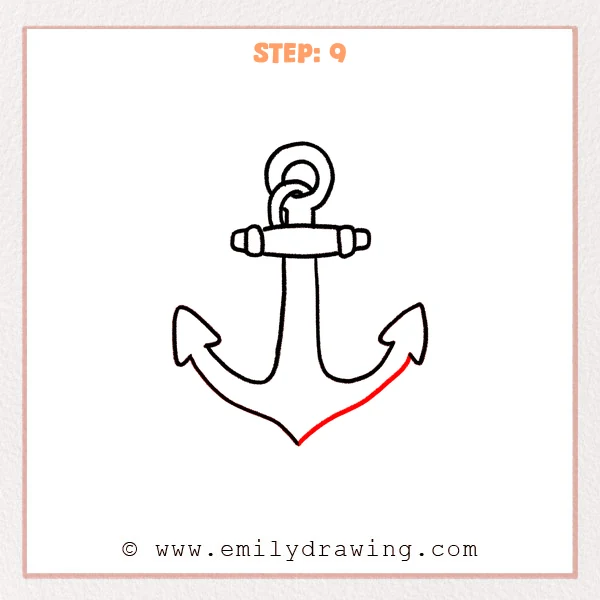
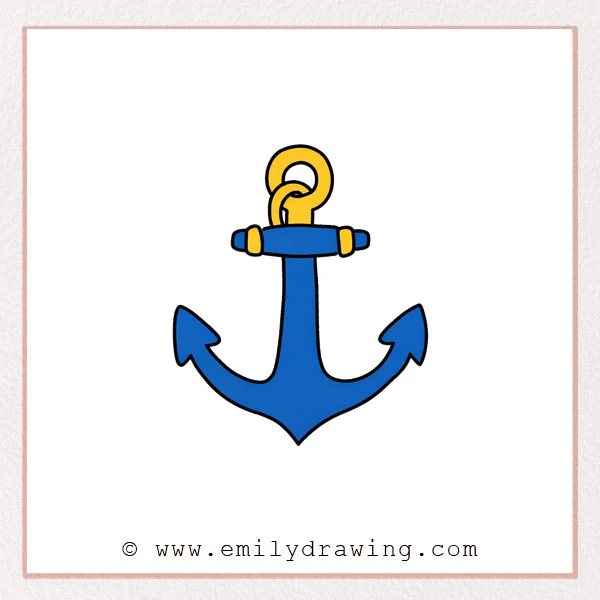
Refine the right bottom point so it matches the opposite side. Then slowly trace over the outer lines of the anchor to darken the final shape. The anchor drawing is now complete.
Pro Tip: Thicken the outline only after the shapes look correct.
[Alt Text: Step 9: completed anchor drawing with symmetrical arms and clean outline]
Fun Facts About Anchors
- Anchors help ships stay in one place in the water.
- Most anchors work by digging their flukes into the sea floor.
- The classic anchor shape has been used for hundreds of years.
- Anchors are also a symbol of strength and stability.
Pin it now, Draw later!
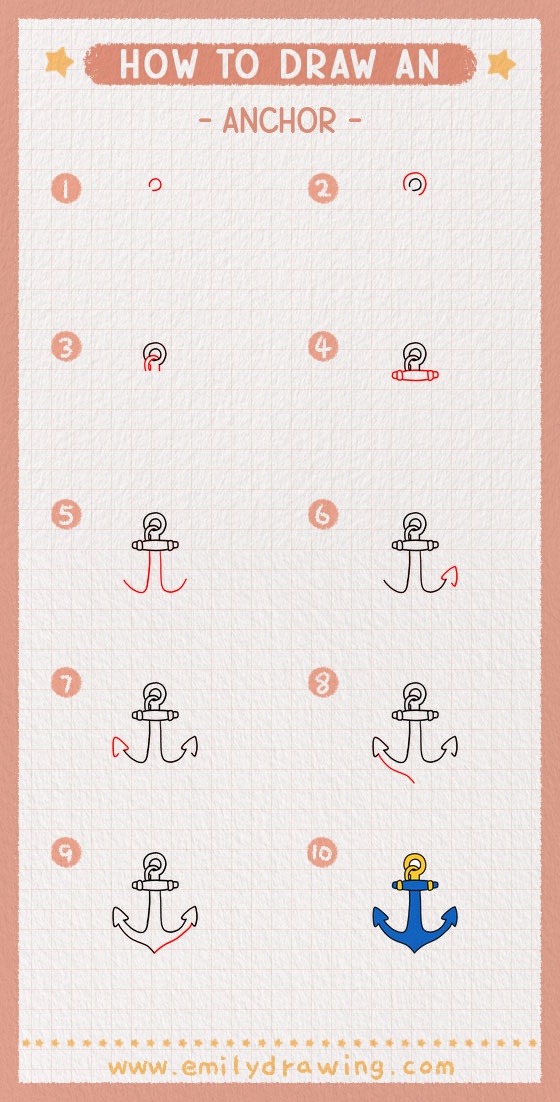
You began with a small spiral and slowly built the full anchor shape step by step. By adding the crossbar, long shaft, and curved arms, the drawing became a complete nautical anchor.
You can color your anchor with gray, silver, or dark blue tones. Light shading along one side can make the metal look stronger and more solid.
One common beginner mistake is drawing the arms unevenly. Take a moment to compare both sides before darkening the lines.
Keep practicing simple shapes like this. Each drawing helps your hand become steadier and more confident. Try drawing other ocean-themed objects next, such as a ship wheel or a sailboat.
Get the FREE Printable Drawing Guide
FREE Download Printable Anchor Drawing Tutorial
Frequently Asked Questions
Is an anchor hard to draw for beginners?
Not at all. Anchors are built from simple curves and straight lines, which makes them great for beginner drawing practice.
Why does an anchor have pointed ends?
The pointed parts are called flukes. They help the anchor dig into the sea floor and hold the ship in place.
Can I color my anchor drawing?
Yes. Many artists color anchors gray or metallic, but you can also use bright colors to make your drawing unique.