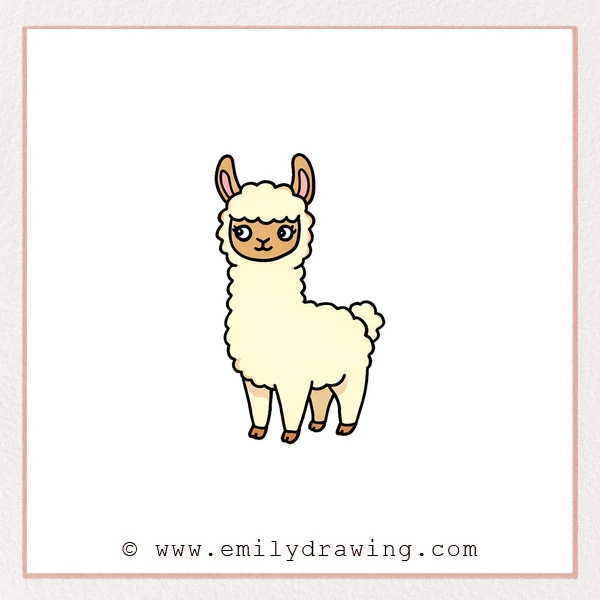
This easy drawing tutorial shows how to draw an alpaca step by step. We will build a cute, fluffy alpaca using simple shapes and calm, steady lines. It is a gentle drawing for beginners, and each step adds one clear change.
What You Will Need
- Pencil
- Eraser
- Black marker or pen
- Paper
- Coloring tools (crayons, colored pencils, or markers)
Here are my RECOMMENDED Art Supplies!
- Crayola Coloring Set (140 Pieces – Mega Value!)
- 24 Colored Crayon Set
- A4 Printer Paper
- Crayola Coloring Pencils
- HP Home Printer with Instant Ink!
Time needed:
21 minutes.
Step-by-Step Drawing Guide
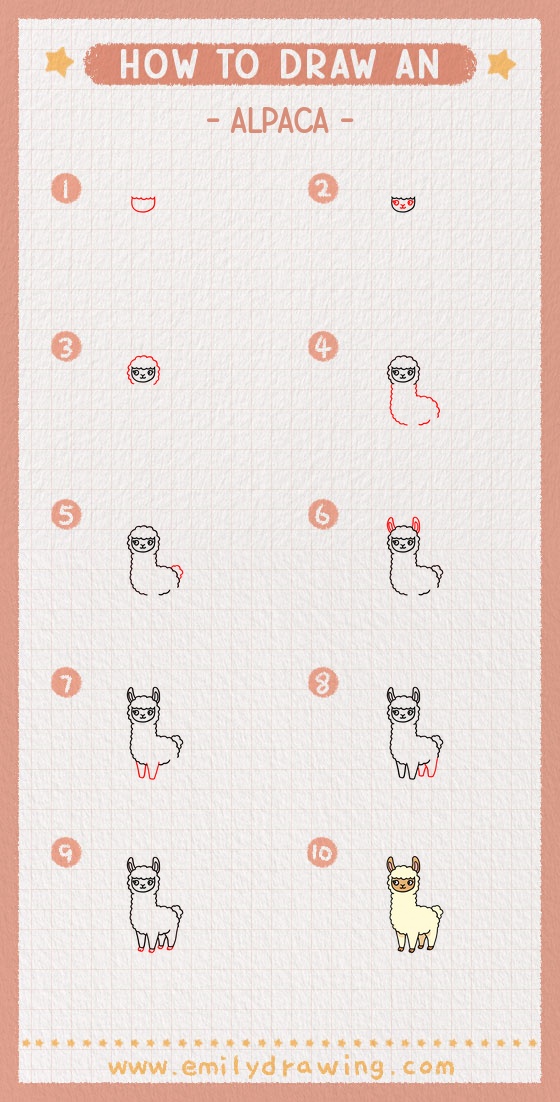
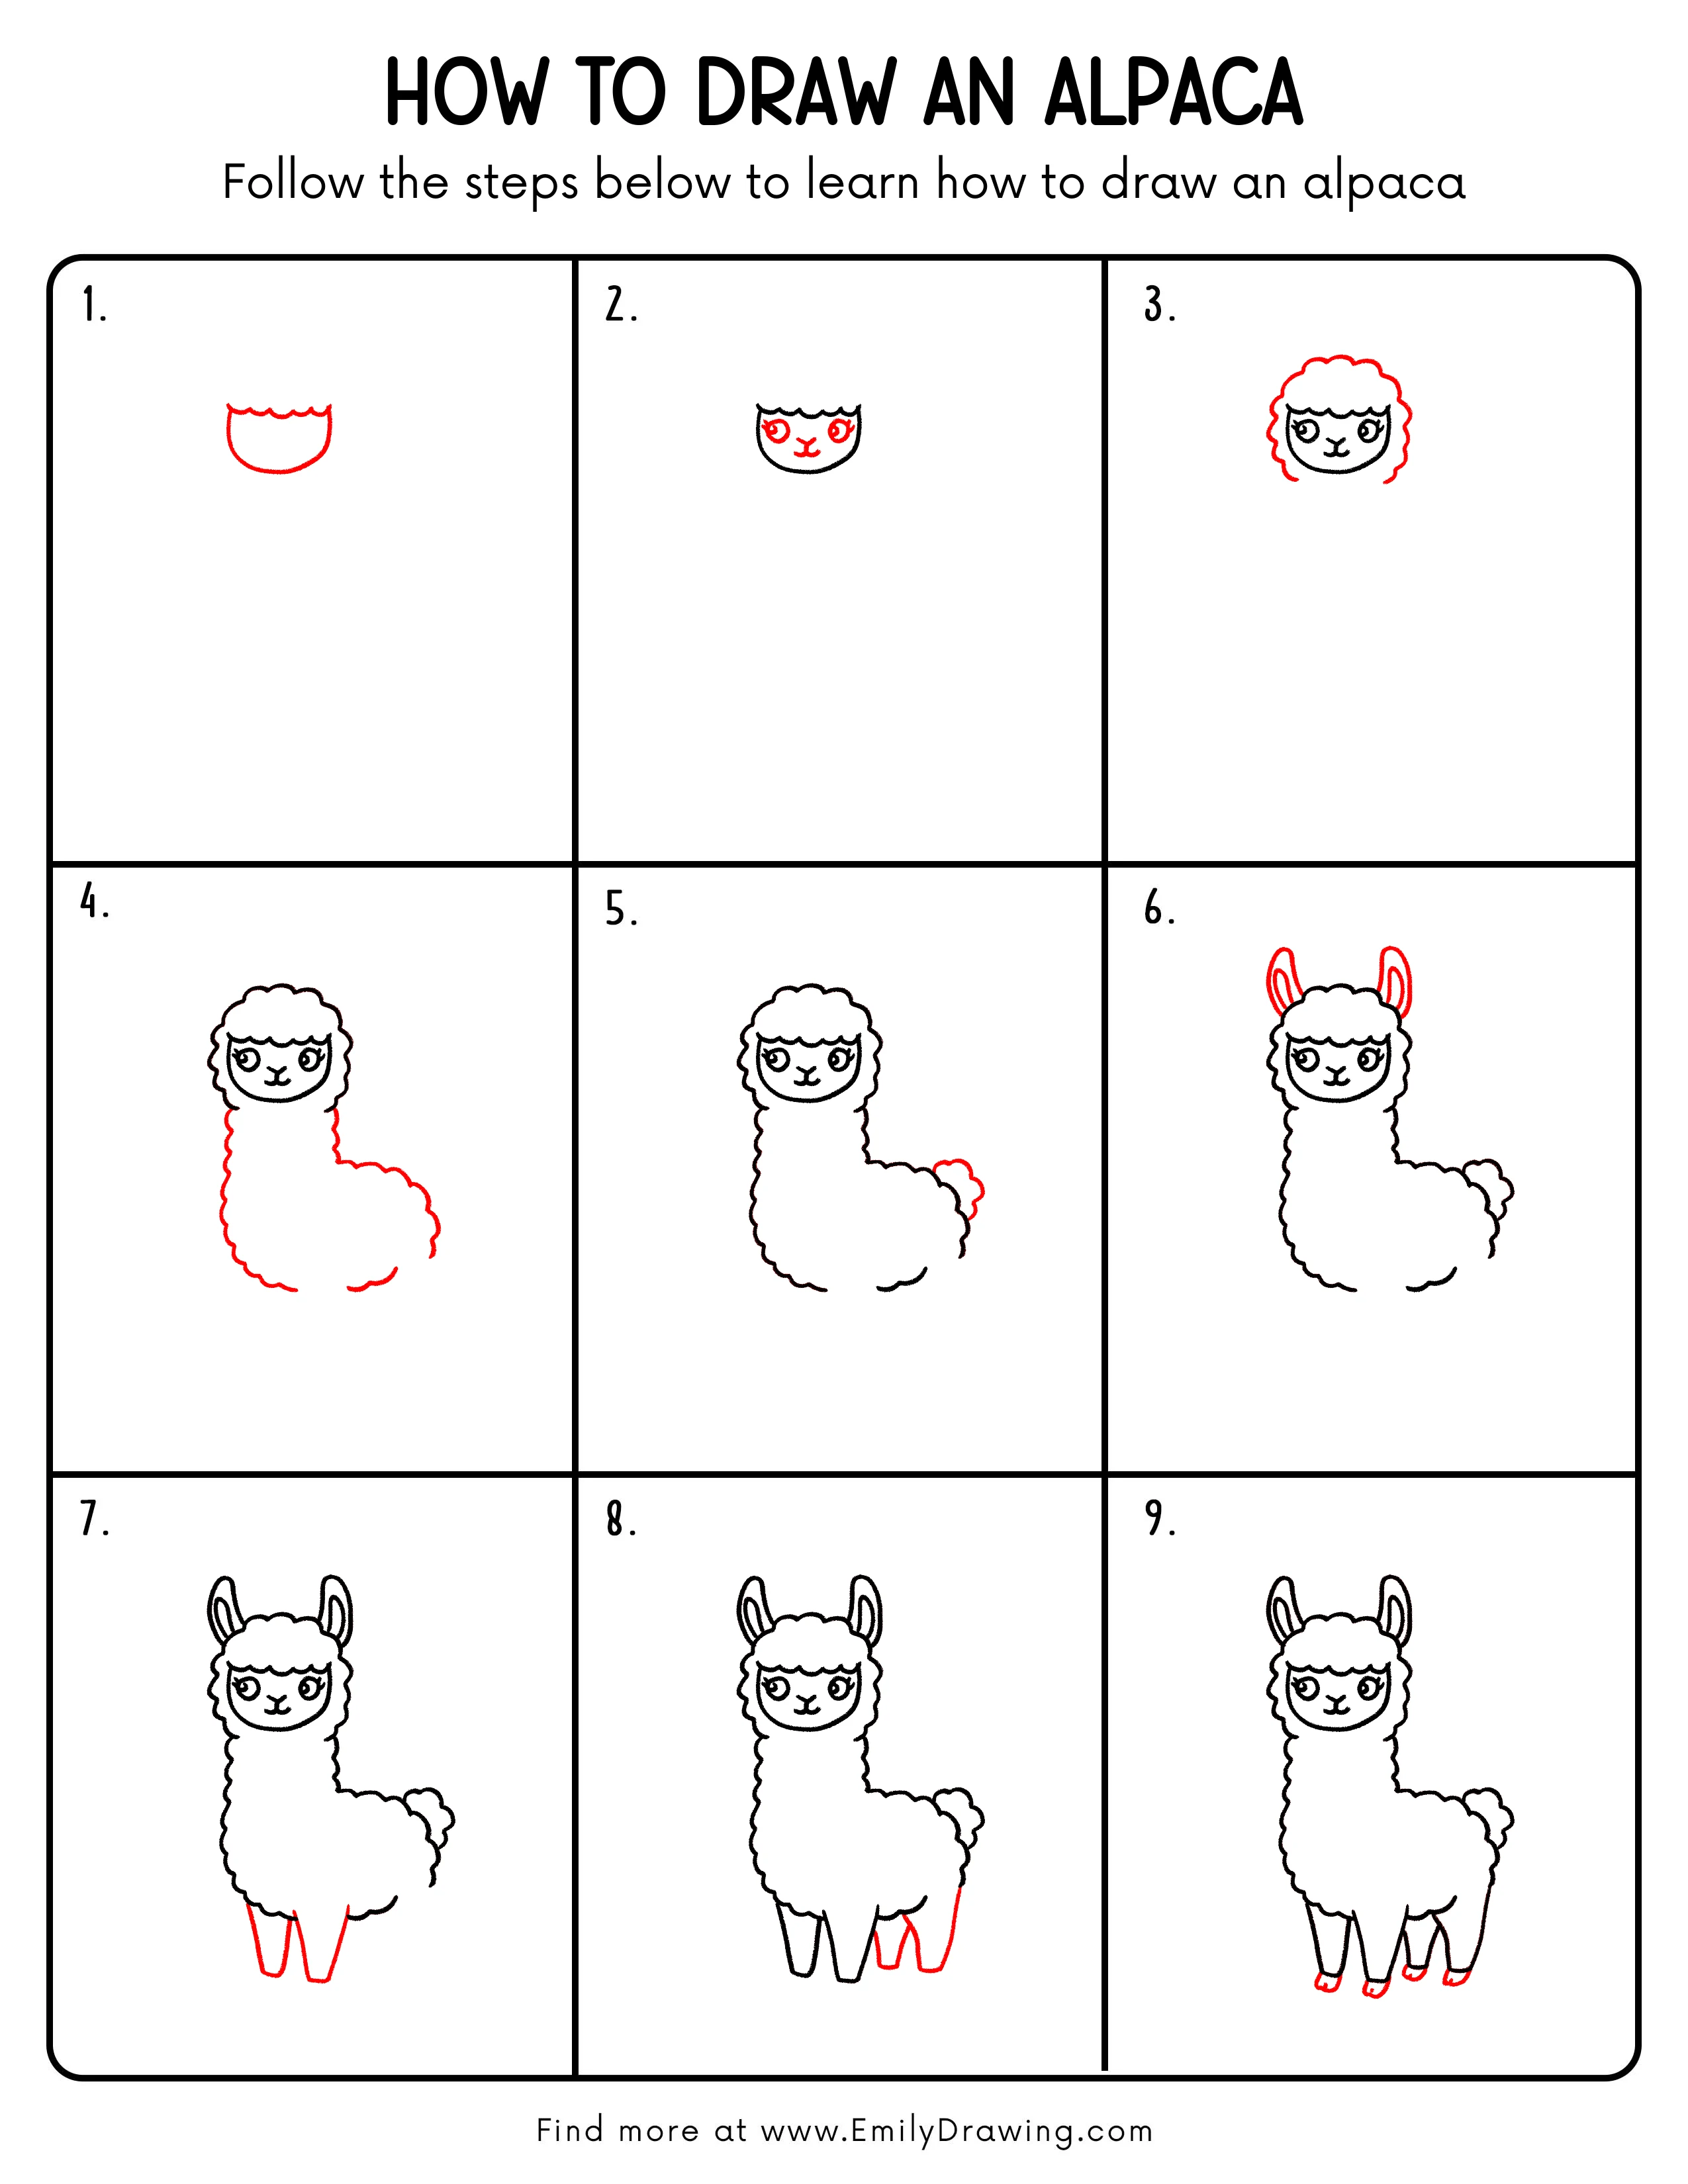
Step 1: Draw the Face Base and Bangs
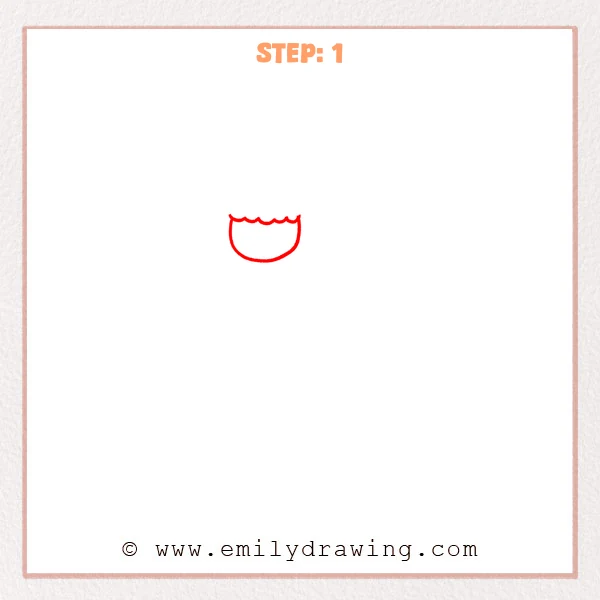
Start with a rounded “U” shape near the top of the page for the alpaca’s face. Add a short wavy line across the top edge to form soft bangs.
Pro Tip: Keep both sides even, and make the bottom curve gently rounded.
Step 2: Add the Eyes and Small Mouth
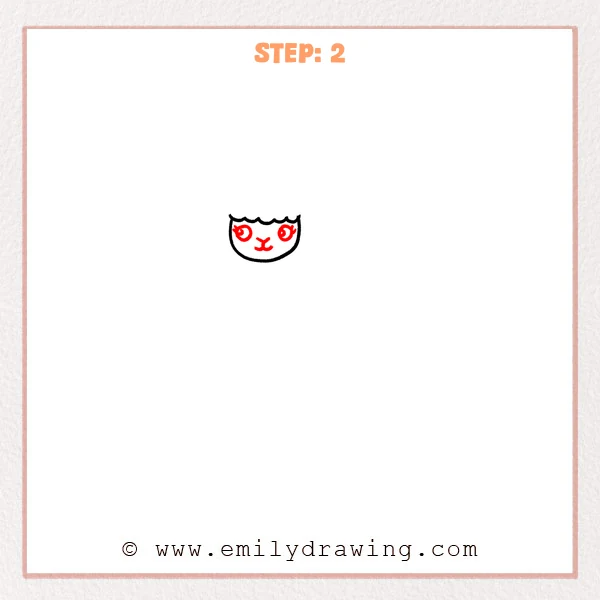
Draw two large eyes inside the face, leaving a tiny highlight in each pupil. Add a small nose and a short mouth line in the center, shaped like a gentle “Y.”
Pro Tip: Place the eyes at the same height, about one eye-width apart.
Step 3: Draw the Fluffy Cheek Wool
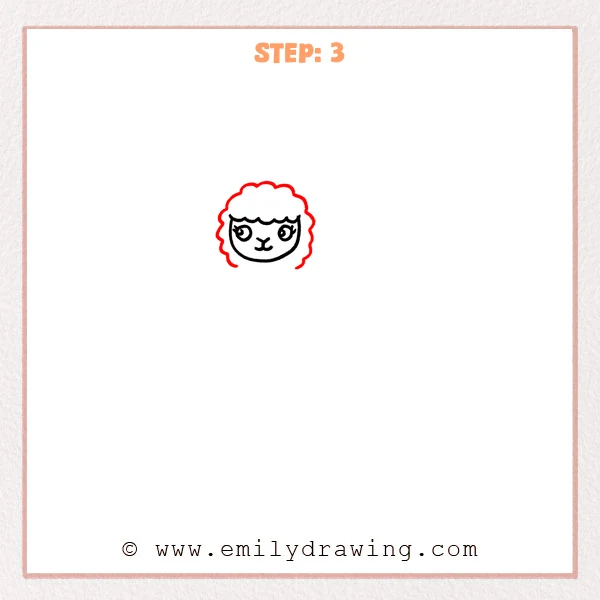
Outline the face with a wavy “cloud” line to create fluffy wool around the cheeks and head. Let each bump be round and similar in size for a soft look.
Pro Tip: Avoid sharp points; round bumps look more like wool.
Step 4: Extend the Neck and Outline the Body
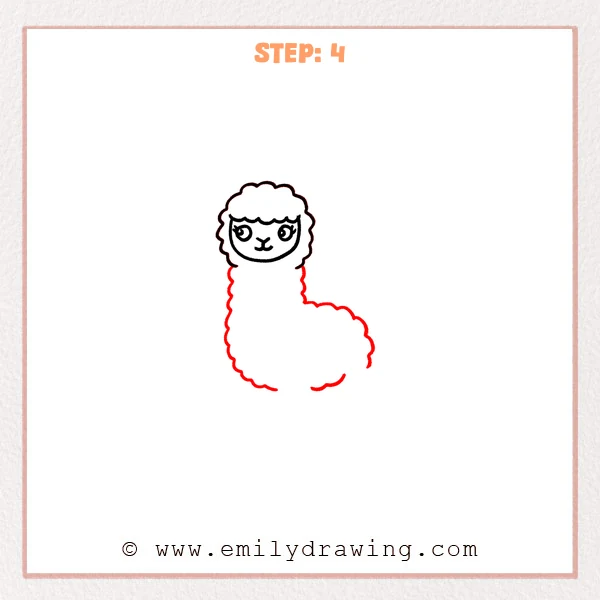
From under the head, draw a long fluffy neck using a wavy line that goes downward. Add a large cloud-shaped body to the right, making it much bigger than the head.
Pro Tip: Start the neck slimmer, then widen into the larger body shape.
Step 5: Add the Small Tail
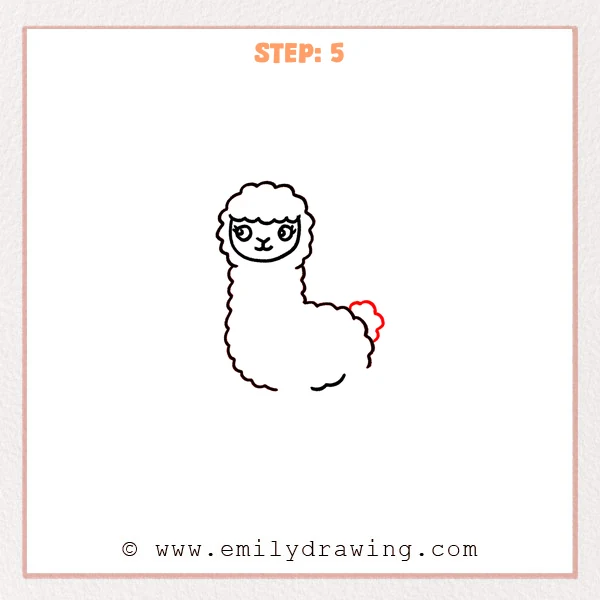
Draw a small wavy puff at the back of the body like a mini cloud. Keep it close to the body edge so it feels attached.
Pro Tip: Place the tail around the back-middle area for better balance.
Step 6: Draw the Two Long Ears

Add two tall oval ears on top of the head, one on each side of the wool. Draw a smaller inner line in each ear to show the inner ear shape.
Pro Tip: Keep the ears close in height and angle so they match.
Step 7: Add the Two Front Legs
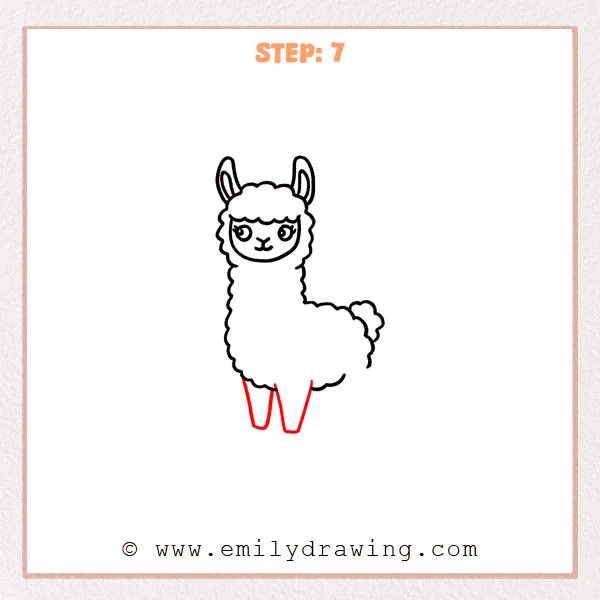
Draw two long “U” shaped legs hanging from the bottom of the body. Leave a small gap between them and keep the bottoms fairly flat for hooves later.
Pro Tip: Don’t make the legs too thin; a slightly wider shape looks steadier.
Step 8: Add the Two Back Legs
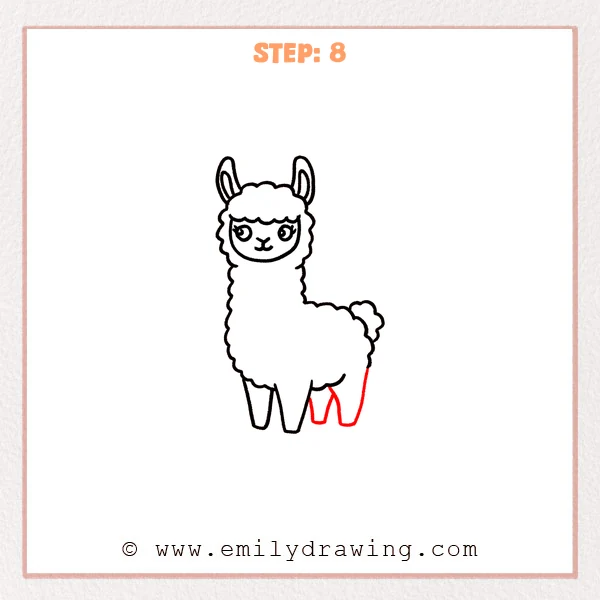
Draw two more legs under the back half of the body, with one partly hidden behind the other. Place them slightly farther back to show a comfortable standing pose.
Pro Tip: Draw only part of the hidden leg to create depth.
Step 9: Add Hooves and Clean Up Lines
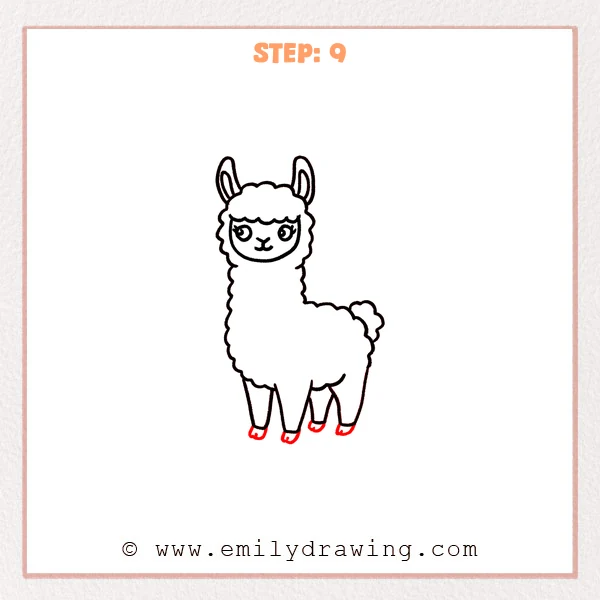
Add small curved hoof shapes at the bottom of each leg. Thicken the outer outline with a marker and erase extra overlaps to keep the alpaca neat.
Pro Tip: Keep the hooves similar in size; small and clear looks cutest.
Step 10: Color in your drawing!
Fun Facts
- Alpacas are known for their soft fleece, which is used to make warm clothing.
- They have long necks and gentle faces, which makes them fun to draw.
- Alpacas often live in herds, so you can draw a whole group later.
Pin it now, Draw later!
You have drawn a fluffy alpaca by building the face, wool, body, ears, and legs step by step. For coloring, try light cream or white for the wool and a soft gray or tan for the face and legs. Add gentle shading under the chin, along the belly, and behind the legs to help the alpaca look round. A common beginner mistake is making the legs too skinny or uneven, so keep them similar in width and length. Try drawing the alpaca again a little bigger or smaller, and practice this easy drawing tutorial to make your lines even smoother.
Get the FREE Printable Drawing Guide
FREE Download Printable Alpaca Drawing Tutorial
Frequently Asked Questions
How do I make my alpaca look fluffier?
Use more rounded bumps in the wool outline and keep the bumps fairly even. You can also add a few short, light fur lines inside the body.
What if my ears look uneven?
Lightly sketch the ear shapes first, then adjust the height before you darken the lines. Keeping both ear bases at the same level helps a lot.
How can I shade this drawing without making it messy?
Shade with light pressure and build up slowly in layers. Keep the darkest shadows under the chin and near the legs.