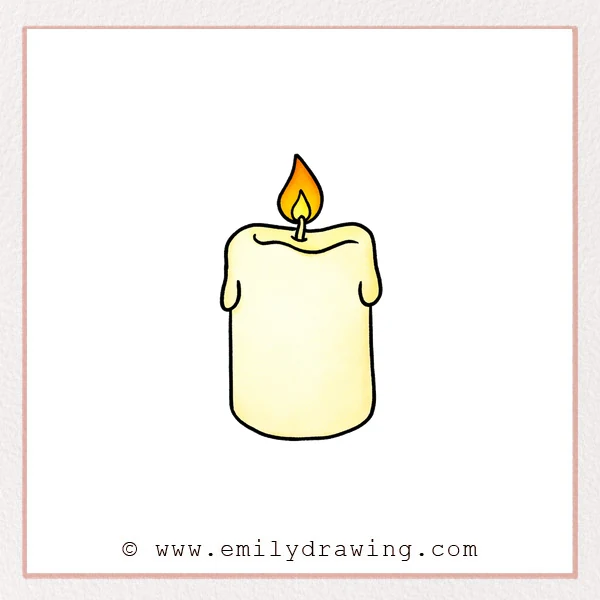
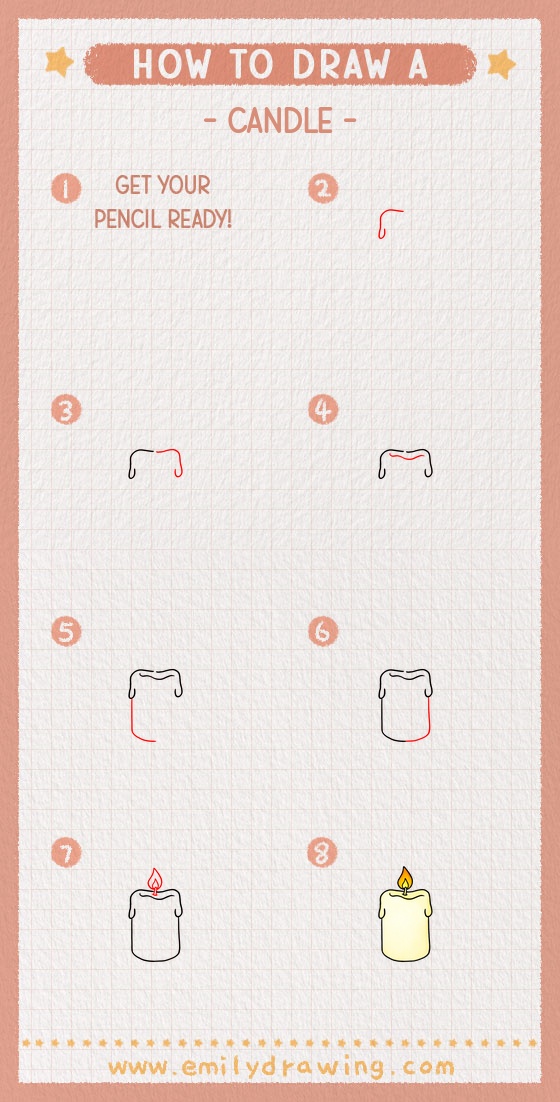
This easy drawing tutorial shows how to draw a candle step by step with simple shapes. If you are practicing drawing for beginners, this calm candle sketch is a good place to start.
What You Will Need
- Pencil and eraser
- Black marker or pen
- Paper
- Optional: colored pencils or markers (yellow, orange, light gray)
Here are my RECOMMENDED Art Supplies!
- Crayola Coloring Set (140 Pieces – Mega Value!)
- 24 Colored Crayon Set
- A4 Printer Paper
- Crayola Coloring Pencils
- HP Home Printer with Instant Ink!
Time needed:
24 minutes.
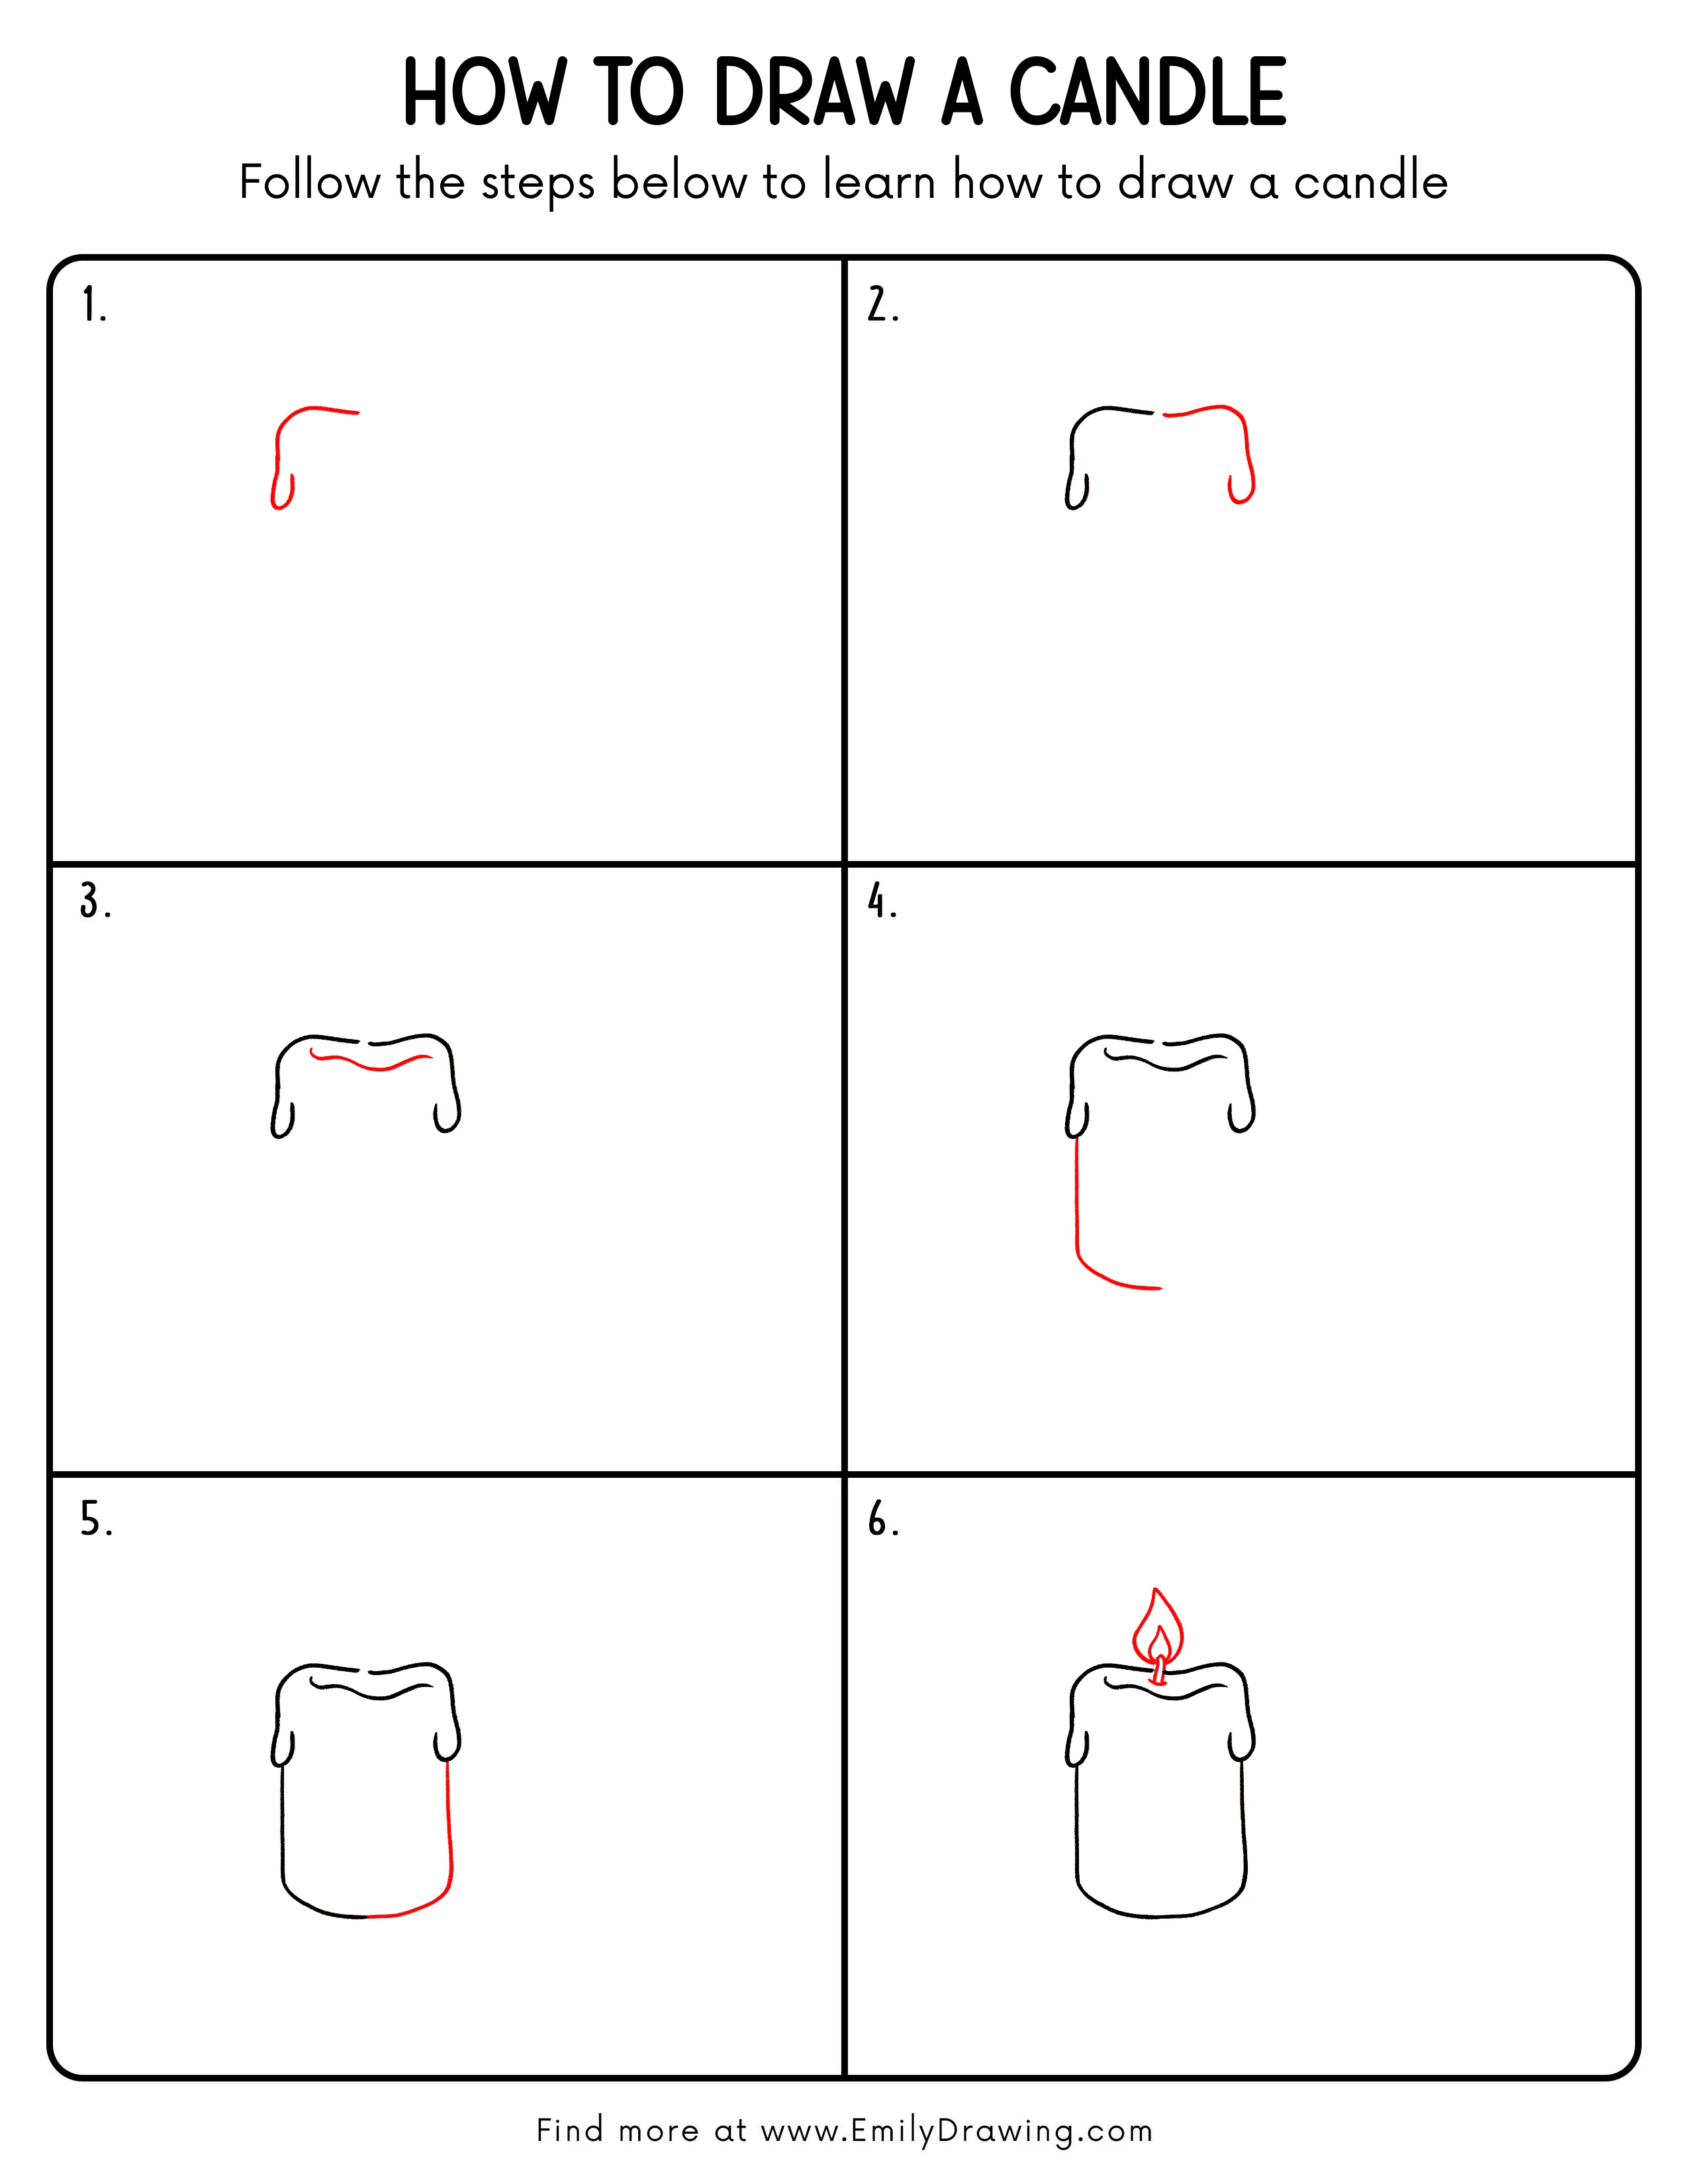
Step-by-Step Drawing Guide
Step 1: Start the Candle’s Outline
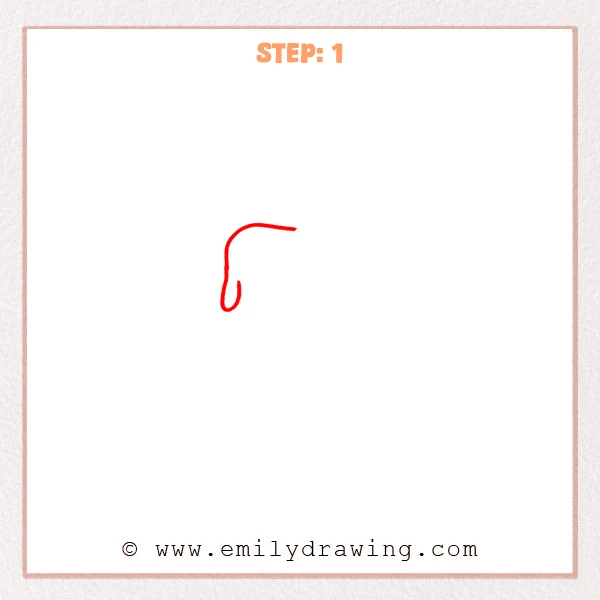
Start with one thick, curved line that looks like an upside-down “J.” Let the top curve stretch gently to the right to hint at the candle’s top edge.
Pro Tip: Keep the small bottom hook rounded so the candle feels soft.
Step 2: Complete the Other Side
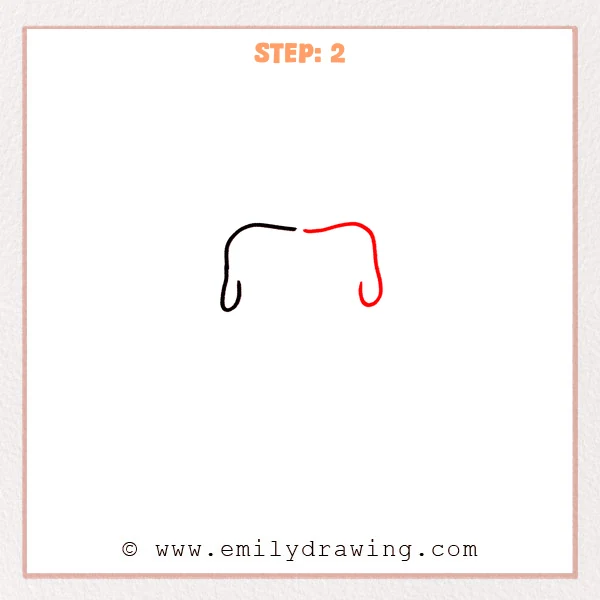
Add a matching curved outer line on the right so it mirrors the left side and rounds in at the bottom. Then draw a gentle wavy line across the top, leaving a small gap in the center like a soft dip in melted wax.
Pro Tip: Keep both sides the same height and width for a steady candle shape.
Step 3: Add the Inner Melted Wax Curve
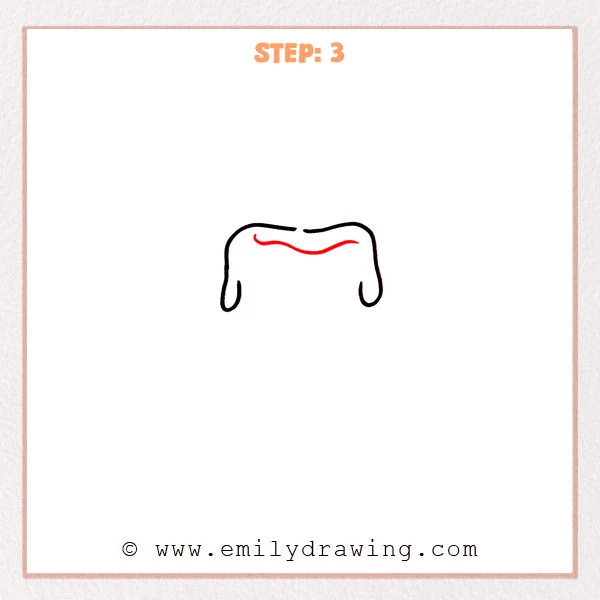
Inside the top of the candle, sketch a second wavy line a little lower than the rim. Let it rise near both sides and dip slightly in the middle to show a soft pool of melted wax.
Pro Tip: Keep this inner wave gentler than the rim so the depth reads clearly.
Step 4: Extend the Candle Body and Start the Base
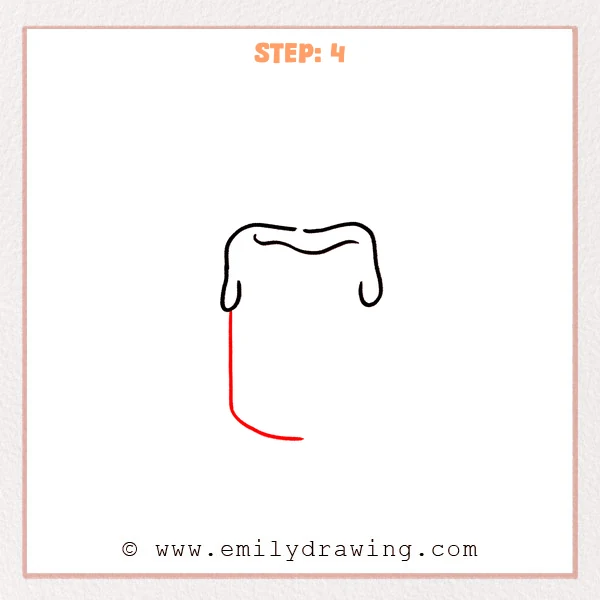
From under the left wax drip, pull a long straight line downward to form the candle’s left side. Near the bottom, curve it gently to the right to begin the rounded base.
Pro Tip: Keep this long side line steady and straight so the candle stands tall.
Step 5: Finish the Right Side and Close the Rounded Base
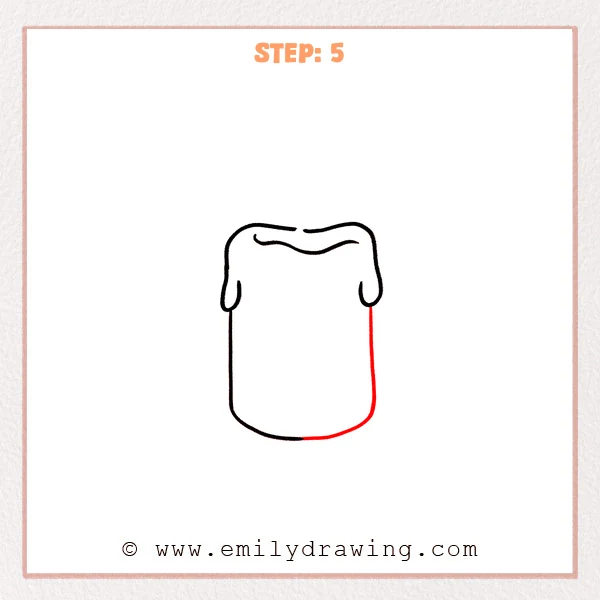
From under the right wax drip, draw the candle’s right side straight down to match the left. Continue the bottom curve and connect it smoothly into the right side to create a soft, rounded base.
Pro Tip: Let the bottom curve turn smoothly into the sides, without sharp corners.
Step 6: Add the Wick and Flame
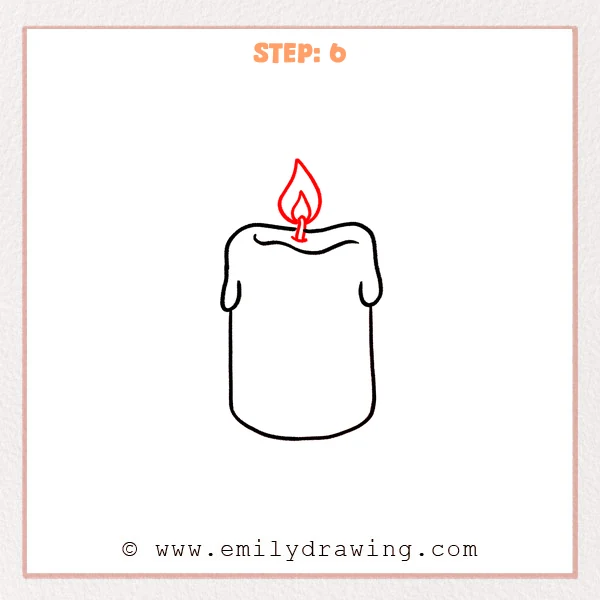
In the small gap at the top center, draw a short wick that stands slightly upward. Around it, sketch a large teardrop flame, then add a smaller flame shape inside for a bright glow.
Pro Tip: Aim the flame tip right above the wick so it looks balanced.
Step 7: Color in your drawing!
Fun Facts
- Candle flames are usually teardrop-shaped because warm air rises.
- Melted wax can drip and cool into rounded shapes, like the drips you drew.
- A wick pulls melted wax upward, helping the flame keep burning.
Pin it now, Draw later!
You now have a simple candle drawing with melted wax and a bright flame. Try coloring the flame with yellow in the center and orange near the edges, then add a light gray shadow on one side of the candle body. A common beginner mistake is placing the flame off-center, so take a moment to line it up with the wick. Keep practicing this step by step drawing, and try drawing candles with different drip shapes and taller flames next.
Get the FREE Printable Drawing Guide
FREE Download Printable Candle Drawing Tutorial
Frequently Asked Questions
How can I make the candle look more 3D?
Add a soft shadow on one side and keep the opposite side lighter.
What if my candle sides look uneven?
Lightly sketch a guide line first, then redraw the sides slowly.
How do I make the flame look like it is glowing?
Leave a small white area inside the inner flame and shade outward gently.