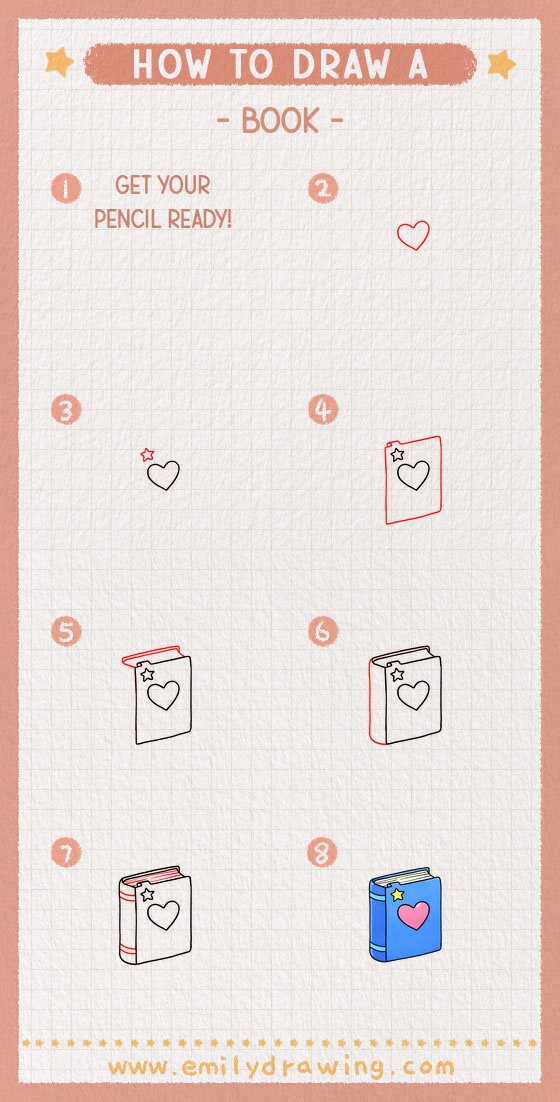
This easy drawing tutorial shows how to draw a book step by step with a cute cover design. You will sketch a heart and star first, then build the cover, pages, and spine for a simple 3D look. Follow along slowly for a drawing for beginners that feels clear and relaxing.

What You Will Need
- Pencil
- Eraser
- Drawing paper
- Black pen or fineliner (optional)
- Colored pencils or markers (optional)
Here are my RECOMMENDED Art Supplies!
- Crayola Coloring Set (140 Pieces – Mega Value!)
- 24 Colored Crayon Set
- A4 Printer Paper
- Crayola Coloring Pencils
- HP Home Printer with Instant Ink!
Time needed:
28 minutes.
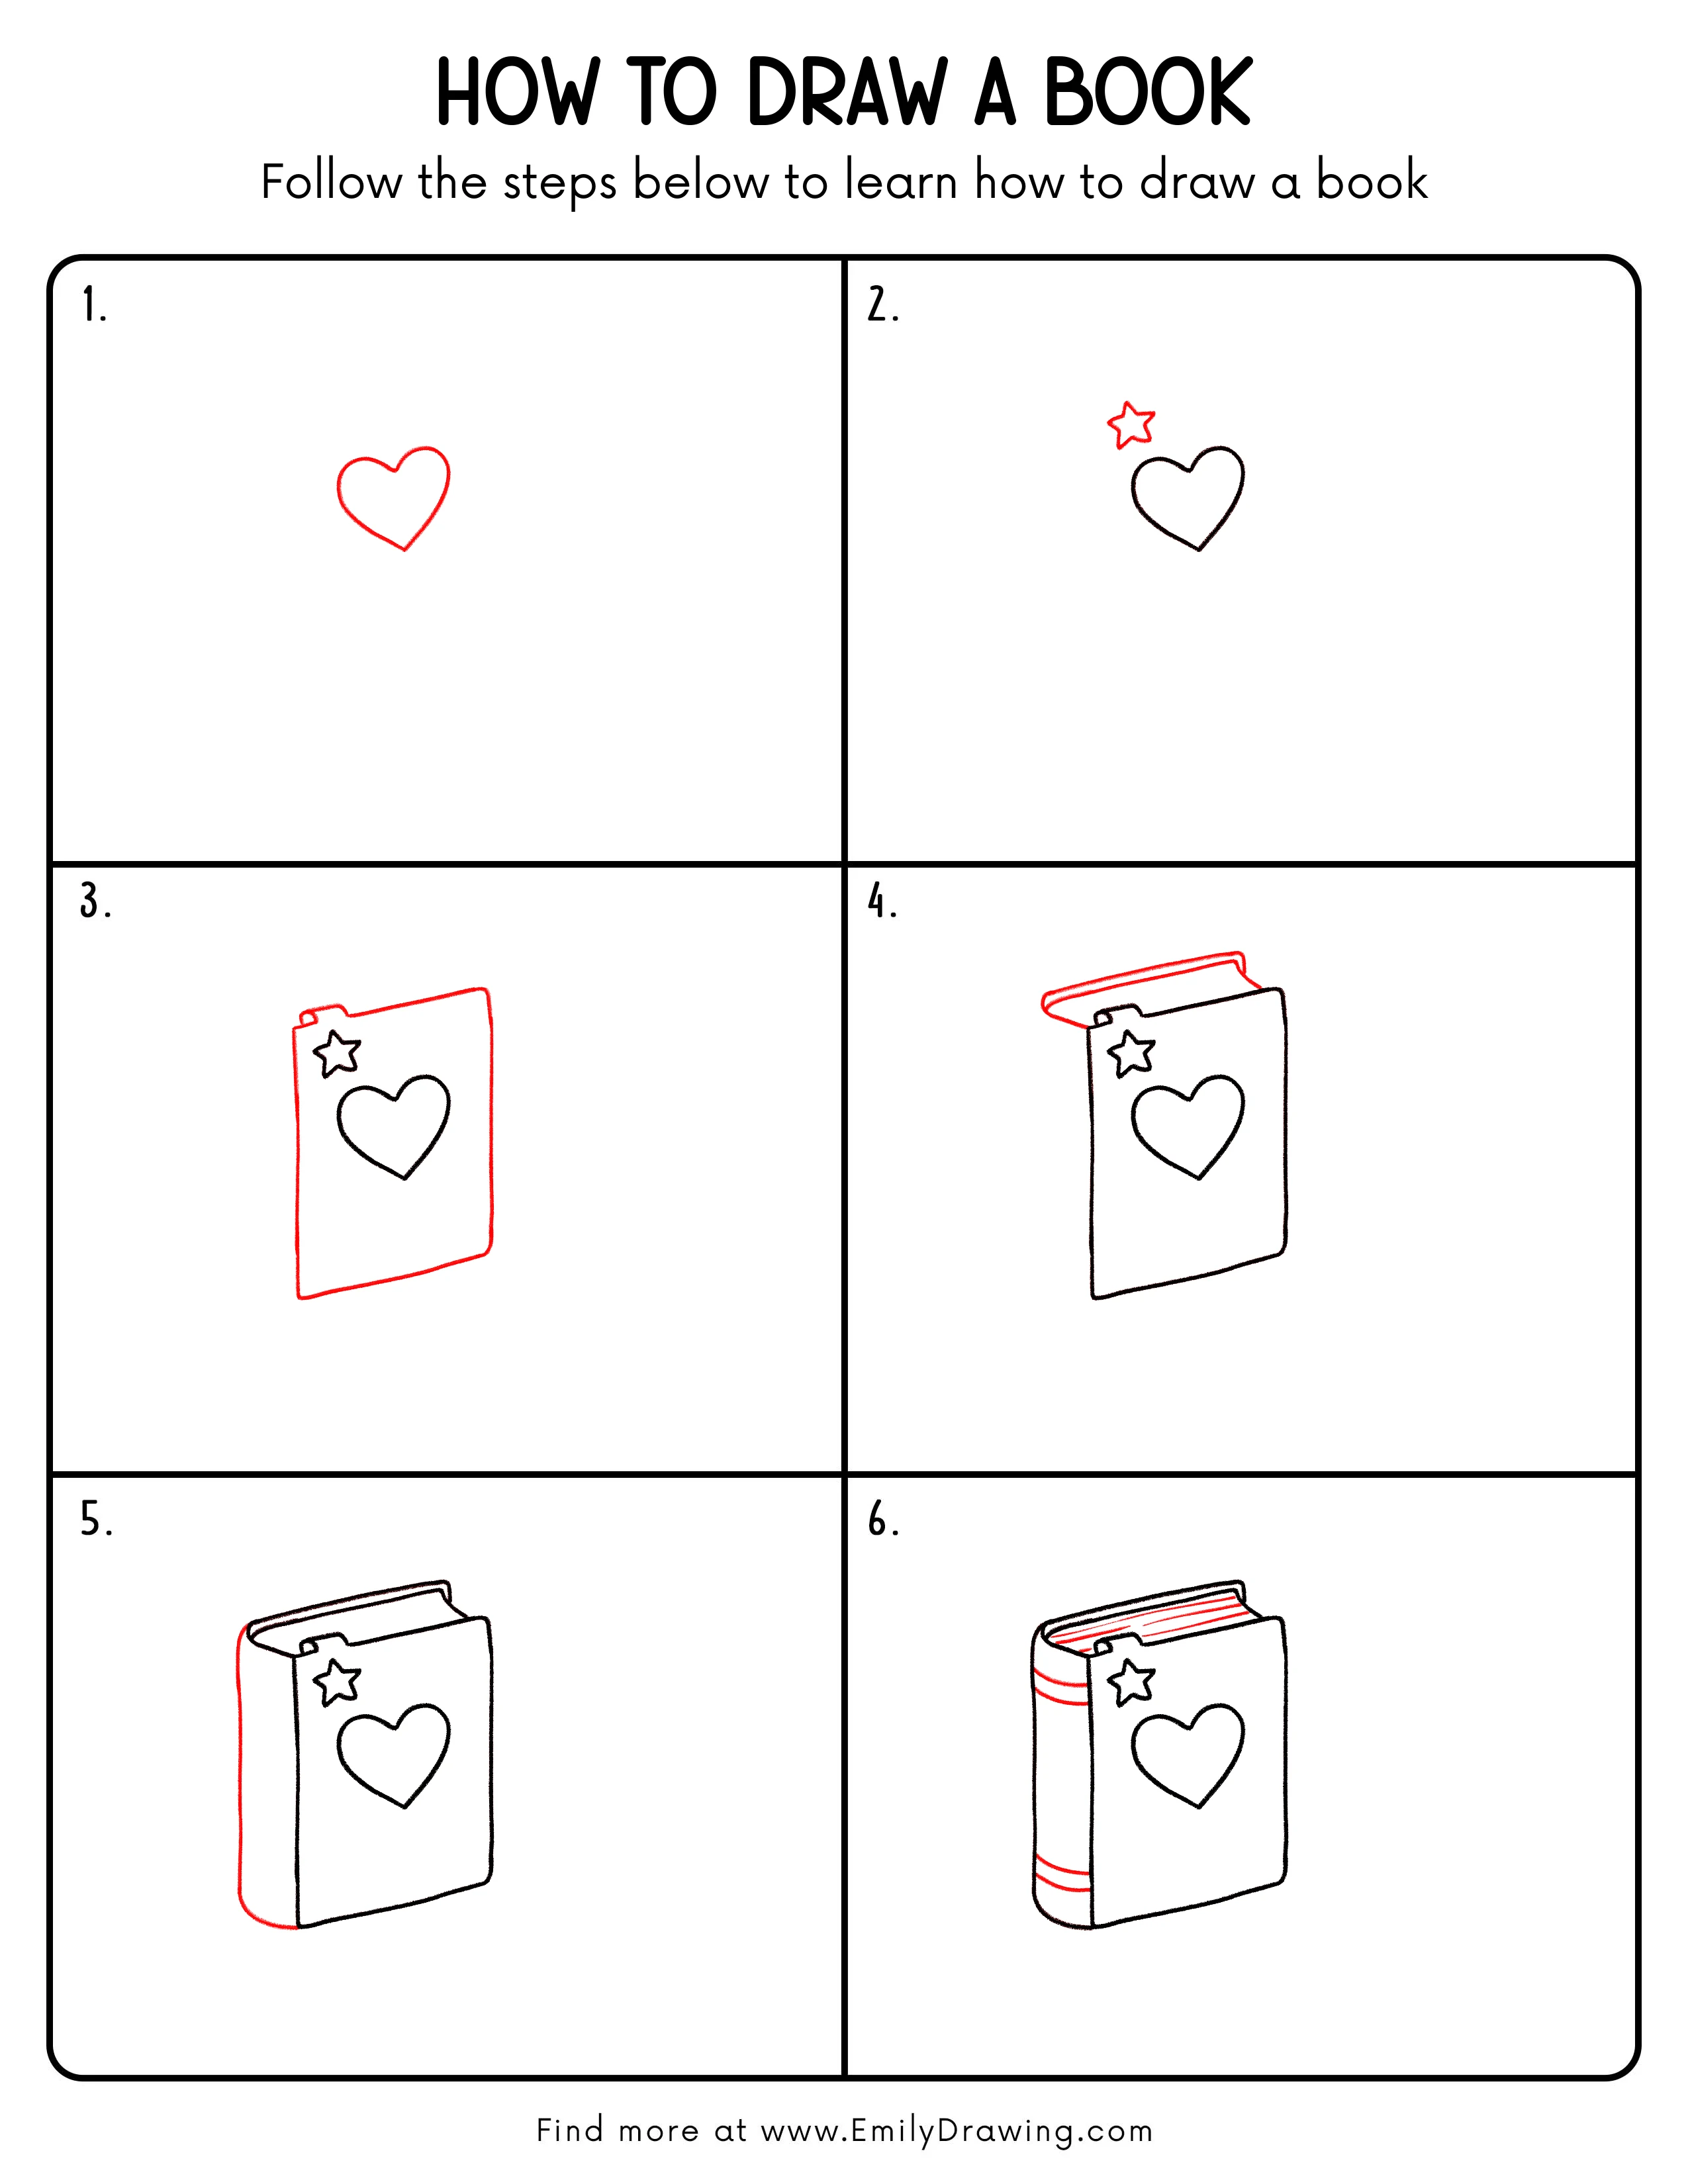
Step-by-Step Drawing Guide
Step 1: Draw the Heart on the Cover
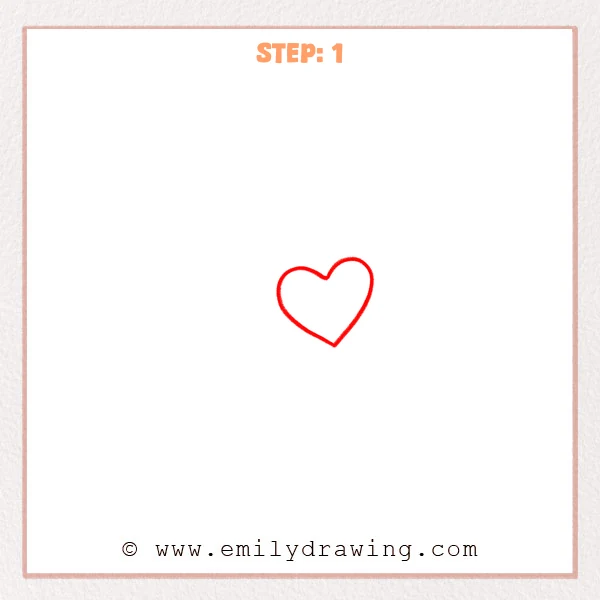
Start with a smooth heart shape in the center of your page area. Keep the two top curves even, then bring the bottom into a gentle point.
Pro Tip: Make both top bumps the same size for a balanced heart.
Step 2: Add a Star Above the Heart
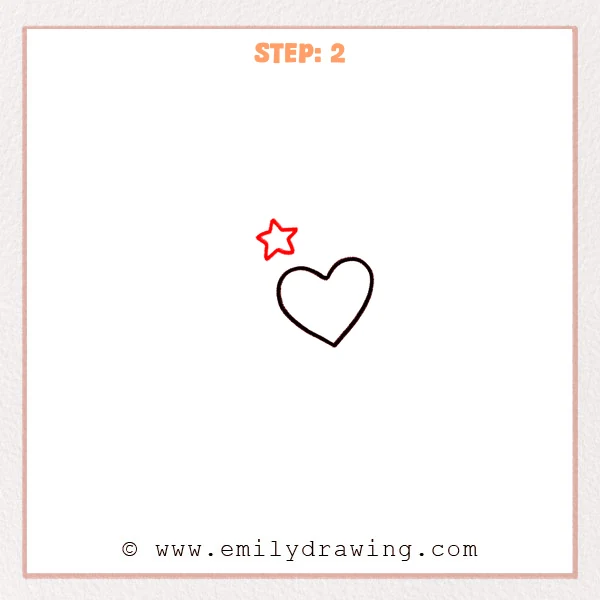
Draw a small five-point star above the heart, slightly to the left. Keep each point similar in length so the star looks tidy.
Pro Tip: Lightly mark a small circle guide so the points stay evenly spaced.
Step 3: Draw the Front Cover Outline
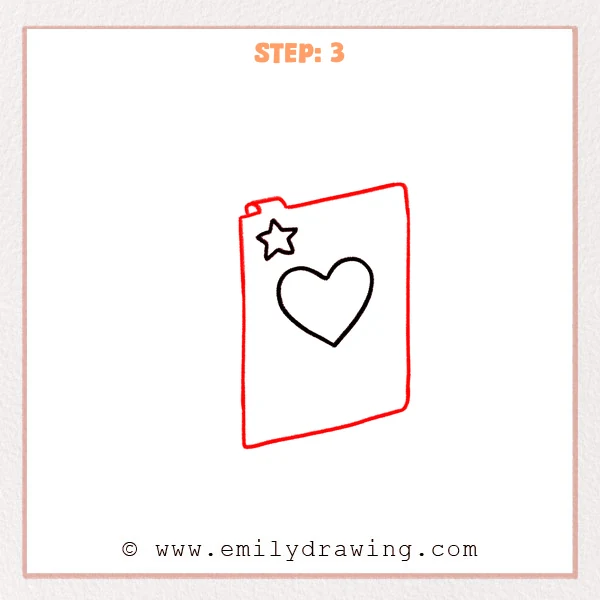
Sketch a tall rounded rectangle around the heart and star to form the front cover. Add a small notch near the top edge and a tiny circle detail beside it.
Pro Tip: Keep the left and right edges parallel so the cover stands straight.
Step 4: Add the Top Pages and Open Edge
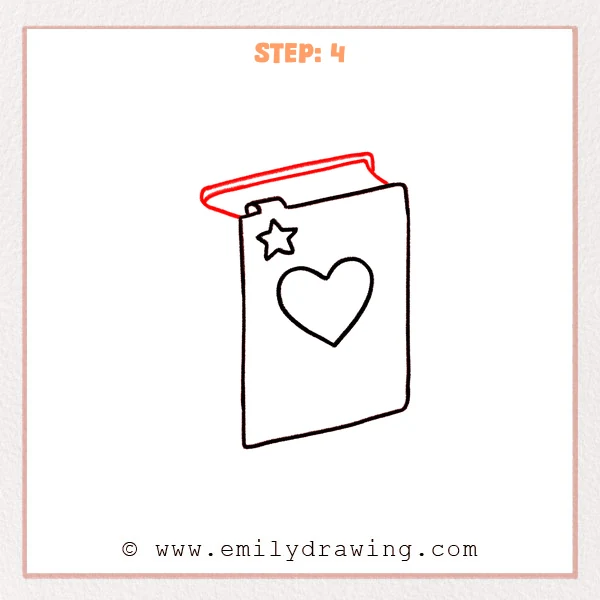
Draw a slanted top edge for the page stack above the cover and add a few thin lines to show layers. Extend a curved flap on the upper left to suggest the cover is slightly open.
Pro Tip: Use thin, light page lines so they read as paper, not another cover.
Step 5: Draw the Spine Thickness
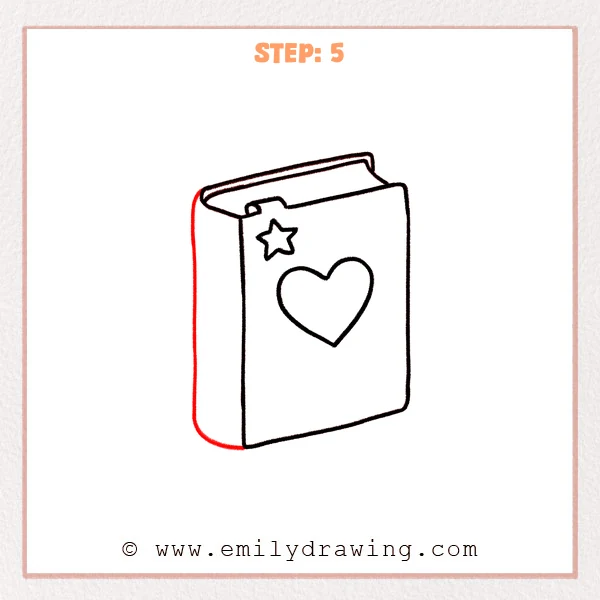
Add a rounded outer curve along the left side to create the spine. Draw a second inner line to show the book’s thickness and how the cover wraps around.
Pro Tip: Match the spine height to the cover height for even thickness.
Step 6: Add Details on the Spine
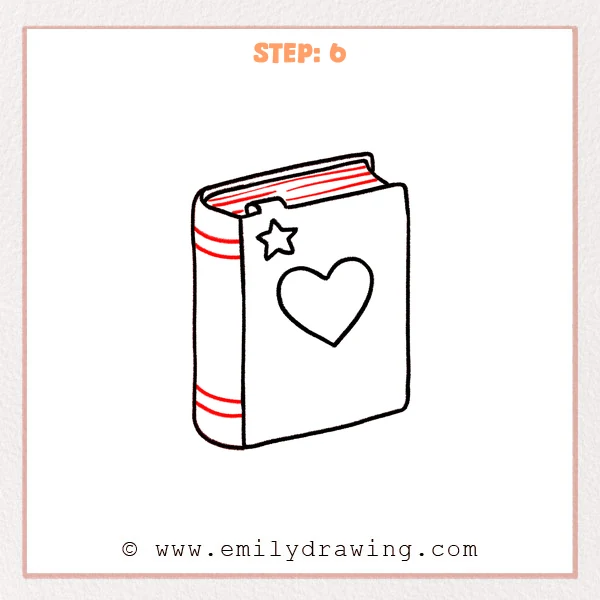
Draw two narrow horizontal bands across the spine, one near the top and one near the bottom. Smooth the top page edge and add a few fine lines to finish the 3D look.
Pro Tip: Keep the spine bands narrow so the spine still feels clean and simple.
Step 7: Color in your drawing!
Fun Facts
- Books look more realistic when the spine is rounded and thicker than the cover edge.
- A few short page lines can suggest many pages without drawing each one.
- Rounded corners help a simple book drawing feel friendly and soft.
Pin it now, Draw later!
You have drawn a book step by step by building the cover icons, the cover shape, the page stack, and the spine. For coloring, try a bright cover color, a lighter shade for the spine, and pale gray for the page edges. Add gentle shading under the top page edge and along the spine curve to make the book feel solid.
One common beginner mistake is making the spine thickness too wide, which can make the book look swollen. Keep the spine thickness modest and consistent from top to bottom.
If you enjoyed this easy drawing tutorial, draw the same book again with a different cover symbol or a thicker page stack. Keep practicing and try another step by step drawing to grow your drawing for beginners skills.
Get the FREE Printable Drawing Guide
FREE Download Printable Book Drawing Tutorial
Frequently Asked Questions
How do I keep the cover rectangle from looking crooked?
Lightly draw two vertical guide lines first, then connect them with rounded corners.
What if my pages look like a second cover?
Make the page lines thinner and add just a few short layer marks.
How can I make the book look more 3D?
Darken the spine edge slightly and add a soft shadow along the bottom edge.