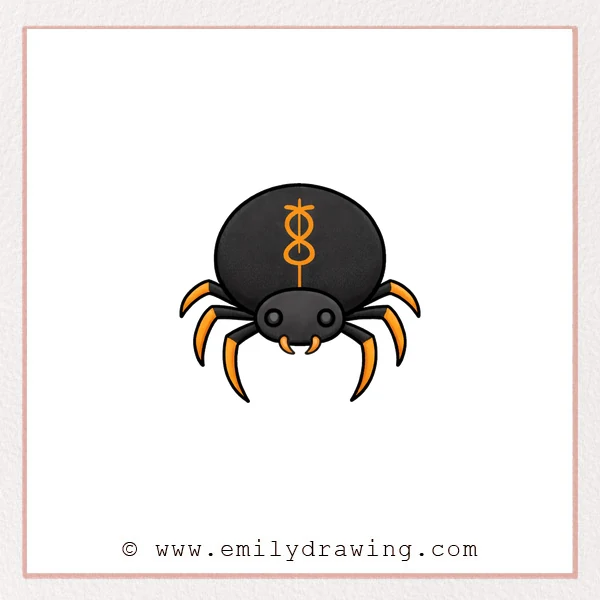
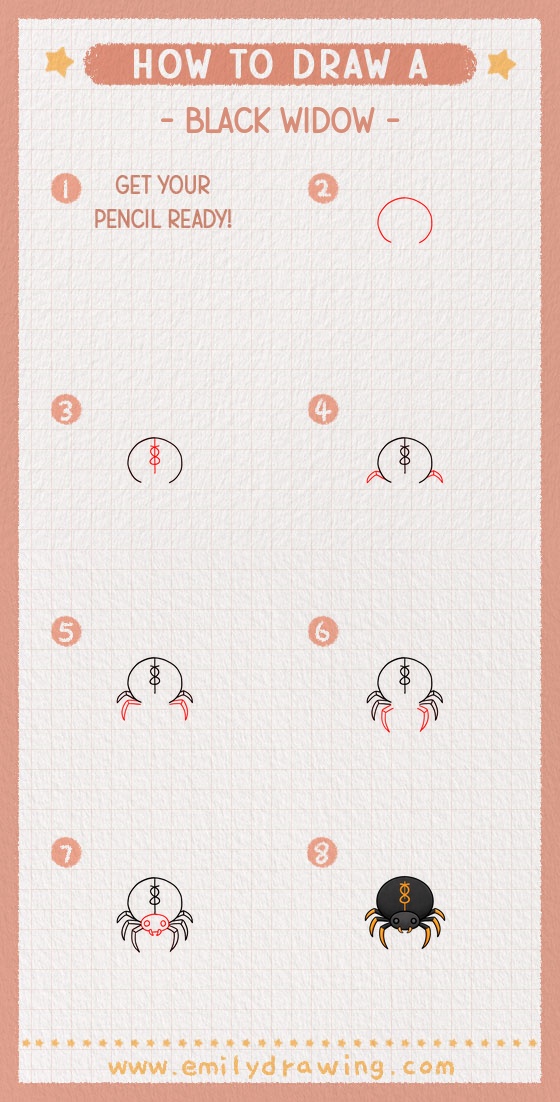
This easy drawing tutorial shows how to draw a black widow step by step with simple shapes. You will build the round abdomen first, then add the legs, and finish with the small head and face details. Take your time with symmetry, and this drawing for beginners will feel clear and steady.
What You Will Need
- Pencil
- Eraser
- Drawing paper
- Black pen or fineliner (optional)
- Colored pencils or markers (optional)
Here are my RECOMMENDED Art Supplies!
- Crayola Coloring Set (140 Pieces – Mega Value!)
- 24 Colored Crayon Set
- A4 Printer Paper
- Crayola Coloring Pencils
- HP Home Printer with Instant Ink!
Time needed:
13 minutes.
Step-by-Step Drawing Guide
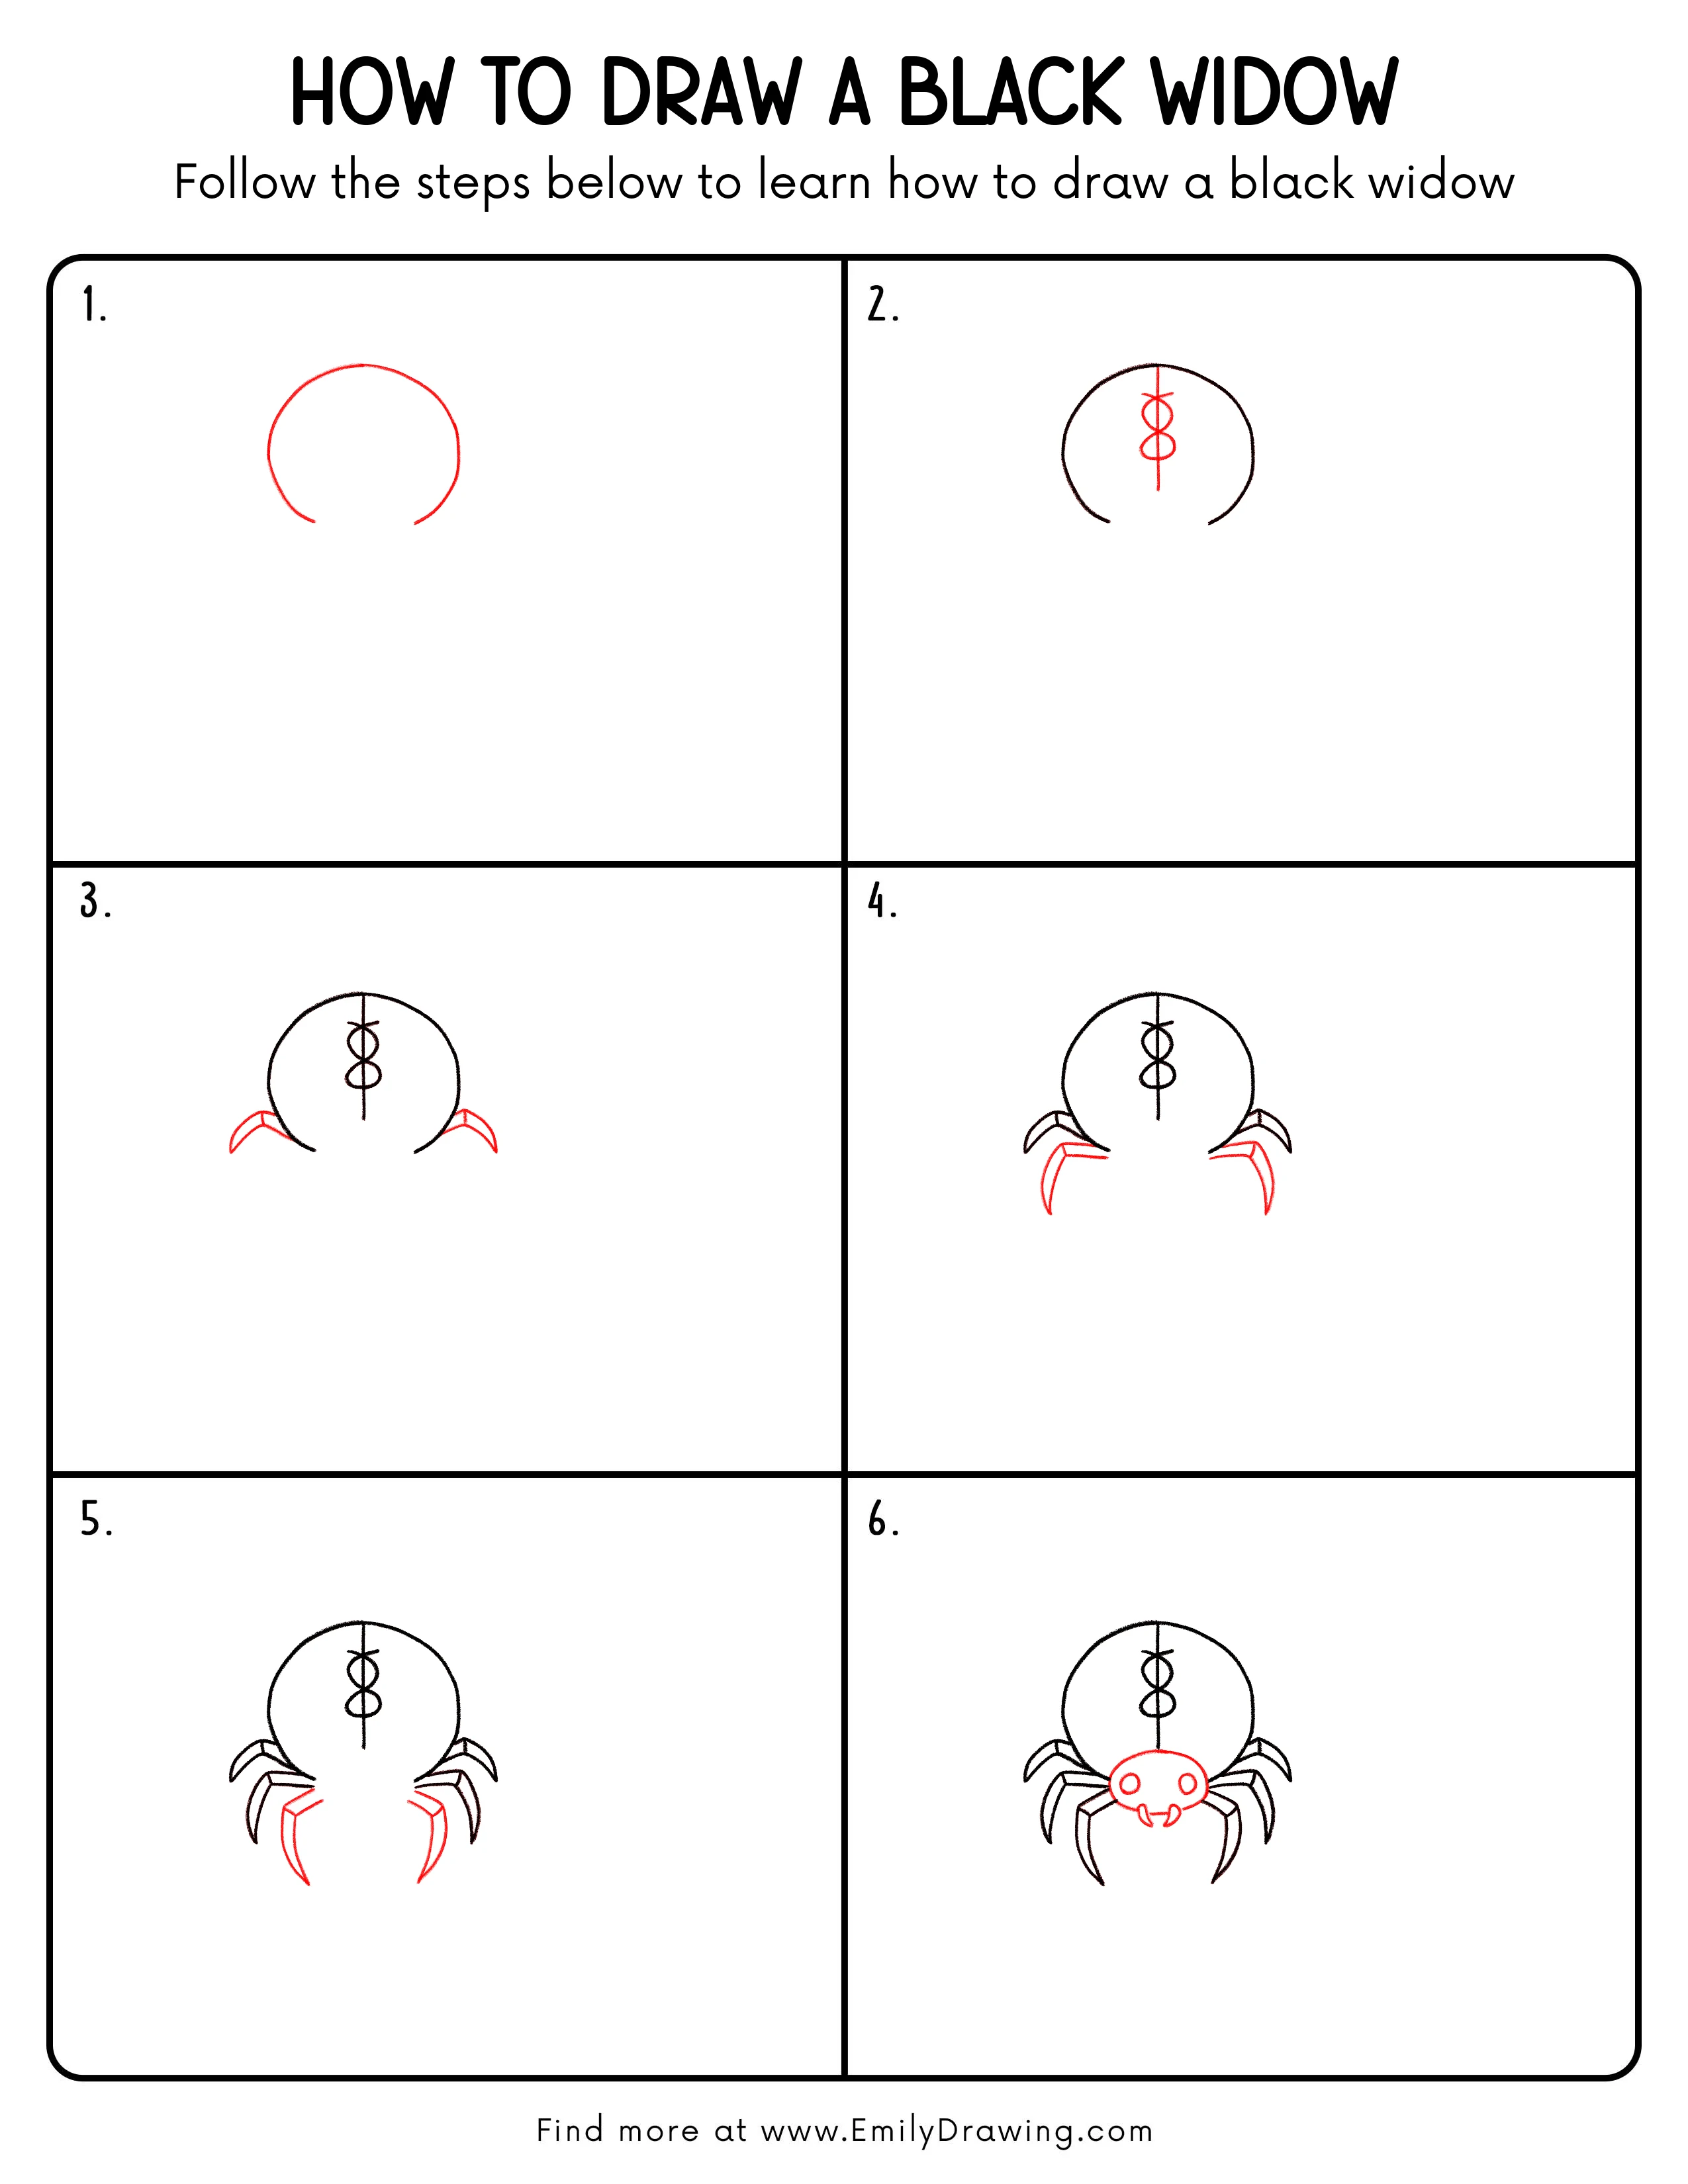
Step 1: Draw the Large Abdomen Circle
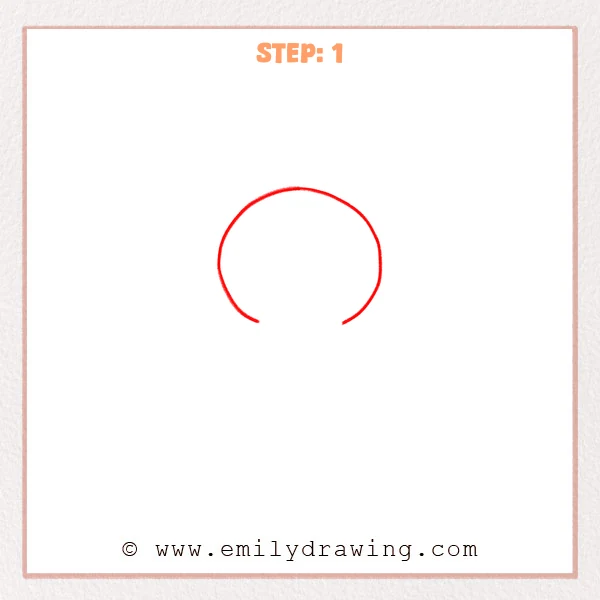
Start with a big circle for the black widow’s abdomen, leaving a small gap at the bottom. Keep the curve smooth so the body feels round and full.
Pro Tip: Use a gentle wrist turn to keep the circle even.
Step 2: Add a Center Line and Back Mark
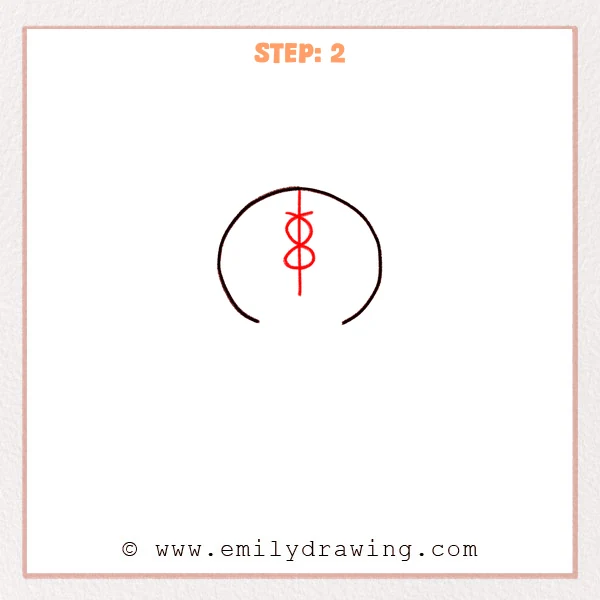
Draw a vertical center line down the abdomen to guide symmetry. Add a simple small marking near the top of the line to show a back pattern.
Pro Tip: Run the line through the center so later parts stay balanced.
Step 3: Draw the Side Back Legs
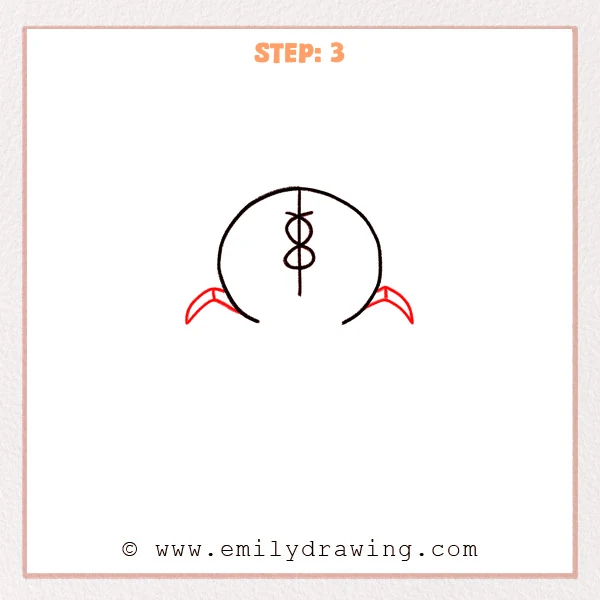
Add one curved leg on each side, starting from the abdomen edge and bending outward. Build each leg with two angled segments to suggest joints.
Pro Tip: Sketch the overall curve first, then add the joint bend.
Step 4: Add the Front Thick Leg Segments
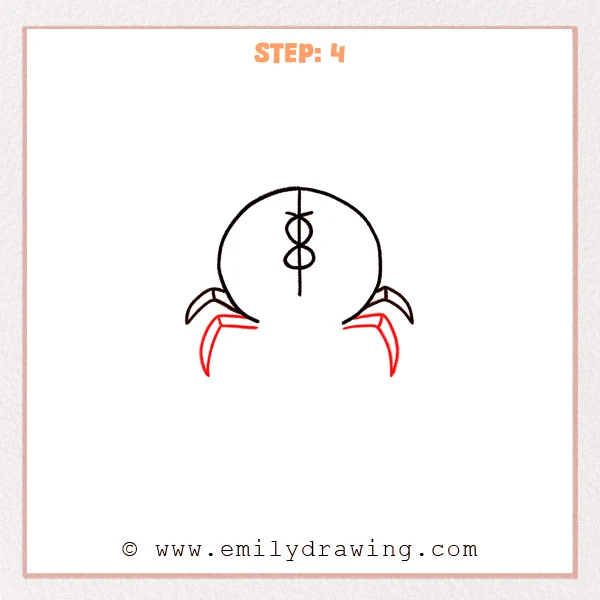
Draw thicker leg segments lower on both sides to give the spider strength. Make the legs wider near the body and slimmer toward the tips.
Pro Tip: Keep the taper similar on both sides for matching legs.
Step 5: Add More Legs and Connections
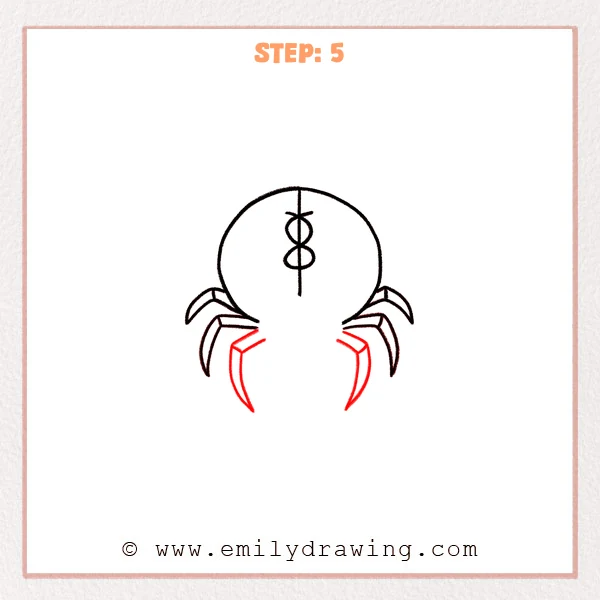
Add a few shorter legs on each side to build the black widow’s eight-leg look. Start them near the lower edge of the abdomen and spread them at different angles.
Pro Tip: Vary the angles so the legs do not all point the same way.
Step 6: Draw the Cephalothorax and Face Details
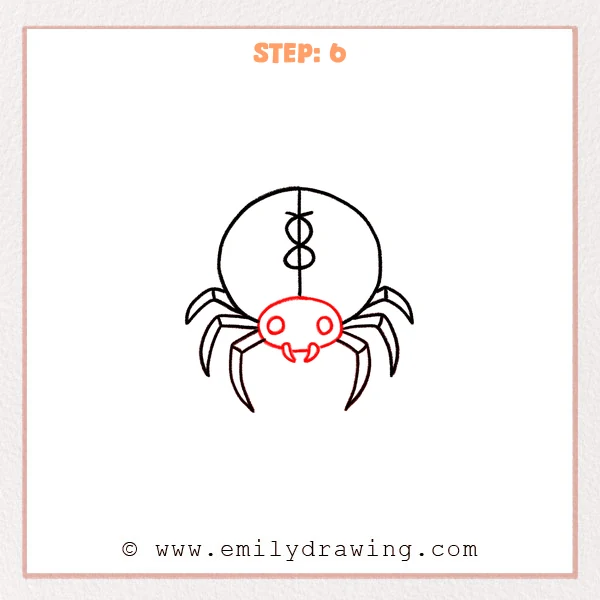
Draw a small oval under the abdomen for the cephalothorax, touching the body closely. Add two small eyes and two short fang shapes to finish the black widow’s face.
Pro Tip: Keep the cephalothorax much smaller than the abdomen for correct proportion.
Step 7: Color in your drawing!
Fun Facts
- Black widow spiders are known for their shiny, rounded abdomens.
- Spiders have eight legs, and each leg has bending joints.
- Simple symmetry helps a spider drawing look neat and realistic.
Pin it now, Draw later!
You have learned how to draw a black widow step by step, starting with the abdomen and ending with the face. For shading, darken the lower edges of the abdomen and the underside where the legs attach. If you color it, use deep black with a soft gray highlight to suggest a shiny surface.
One common beginner mistake is placing the legs too high on the abdomen, which can make the spider look unbalanced. Keep the leg bases near the lower sides of the abdomen for a stable look.
Try drawing the black widow again with slightly different leg angles to practice symmetry. Keep going with another easy drawing tutorial and build your drawing for beginners skills.
Get the FREE Printable Drawing Guide
FREE Download Printable Black Widow Drawing Tutorial
Frequently Asked Questions
How do I make the abdomen look more round?
Use one smooth curve and avoid sharp corners, then add light shading along one side.
What if my legs do not match?
Draw one leg first, then mirror its angles on the opposite side.
How can I make the spider look shinier?
Leave a small white highlight area and shade around it with dark gray.