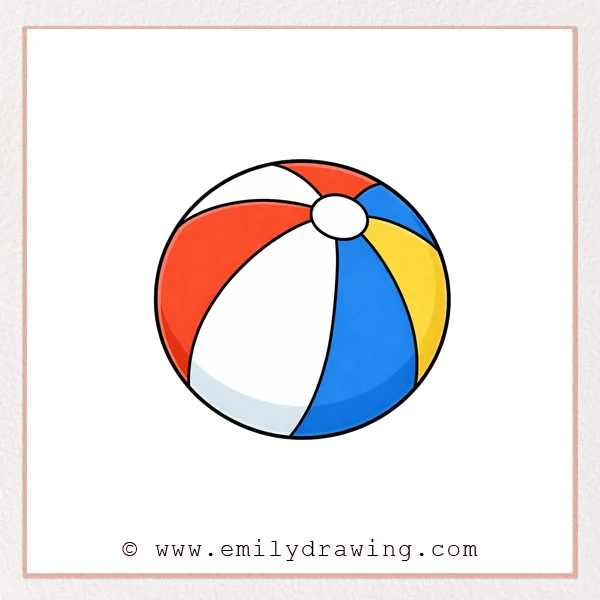
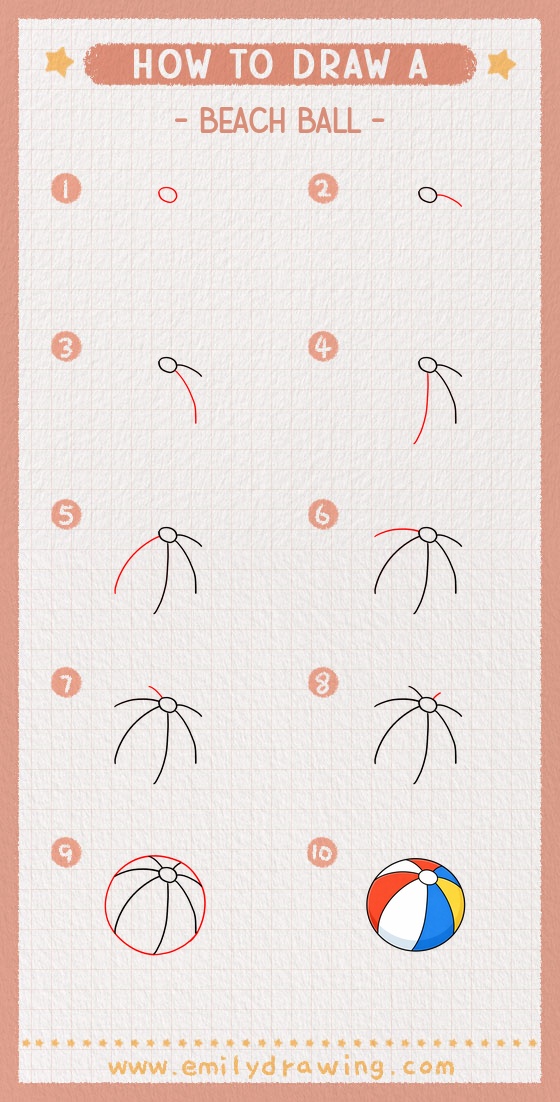
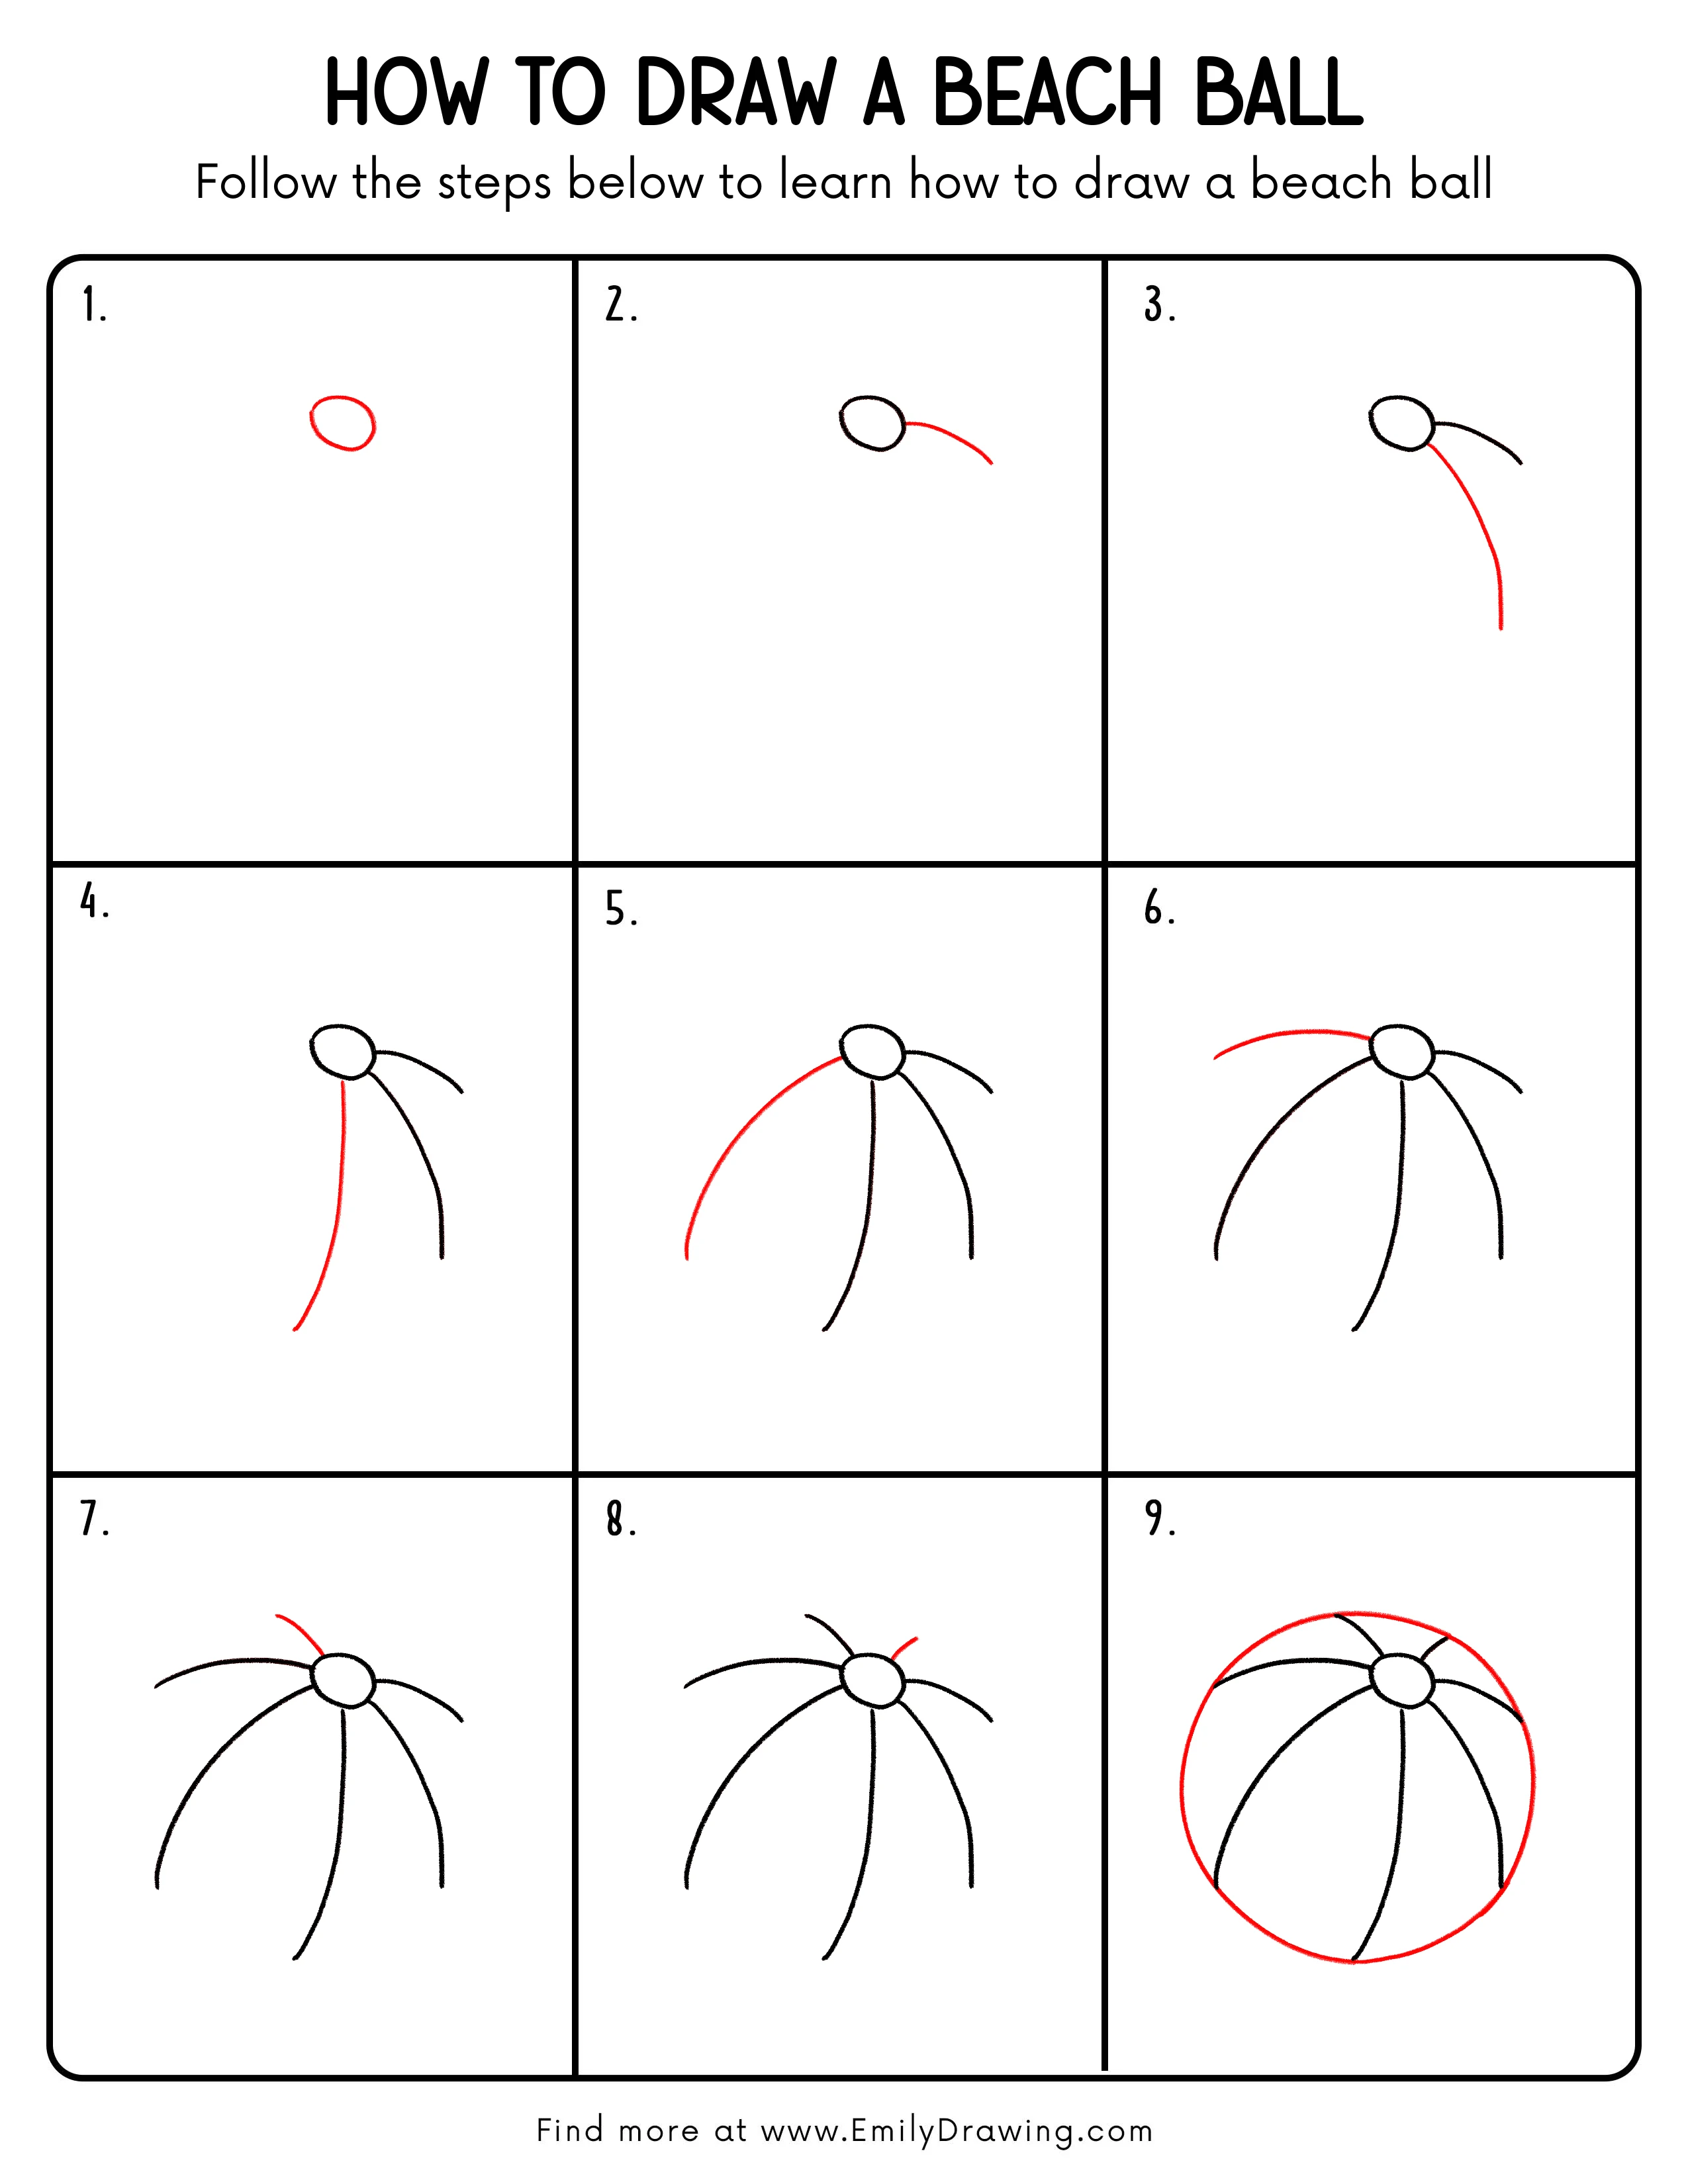
This easy drawing tutorial shows how to draw a beach ball step by step. You will use simple ovals and smooth curves to build a round, inflatable look. Take your time and keep your lines light at first.
What You Will Need
- Pencil
- Eraser
- Black pen or marker (optional)
- Paper
- Colored pencils, markers, or crayons
Here are my RECOMMENDED Art Supplies!
- Crayola Coloring Set (140 Pieces – Mega Value!)
- 24 Colored Crayon Set
- A4 Printer Paper
- Crayola Coloring Pencils
- HP Home Printer with Instant Ink!
Time needed:
12 minutes.
Step-by-Step Drawing Guide
Step 1: Draw the Valve Patch
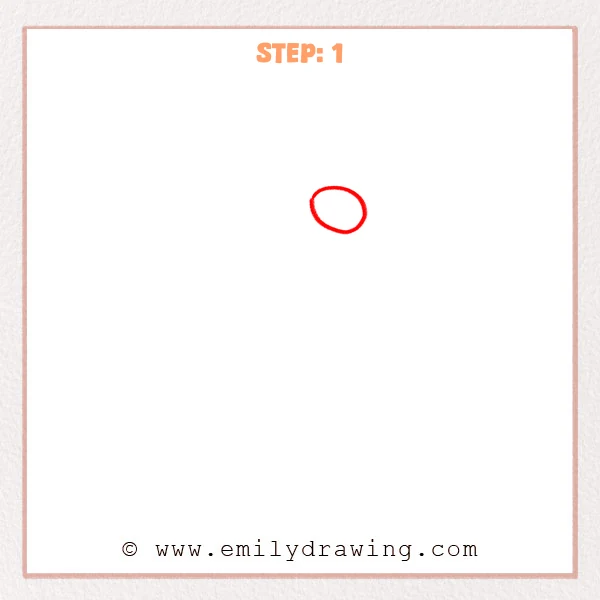
Start with a small oval near the upper part of the page. Close the shape so it looks like a little button.
Pro Tip: Keep the oval slightly tall so it feels puffy, not flat.
[Alt Text: Step 1: A small oval near the top marks the beach ball valve patch.]
Step 2: Add a Curved Top Stripe

From the right side of the oval, draw a long curve bending down to the right. Keep it smooth like a stripe on a round beach ball.
Pro Tip: Let the curve taper softly at both ends for a clean finish.
[Alt Text: Step 2: A long curved line extends from the valve to begin a beach ball stripe.]
Step 3: Draw a Long Downward Curve
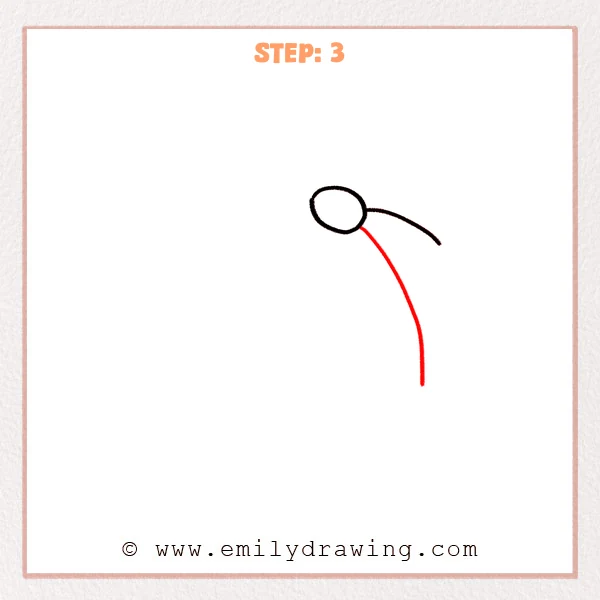
From under the oval, draw a long curved line going downward like a panel edge. Let it bend inward slightly near the bottom.
Pro Tip: Draw this line in one steady stroke to keep it elegant.
[Alt Text: Step 3: A long curved panel line drops from the valve area toward the bottom.]
Step 4: Add a Second Panel Curve
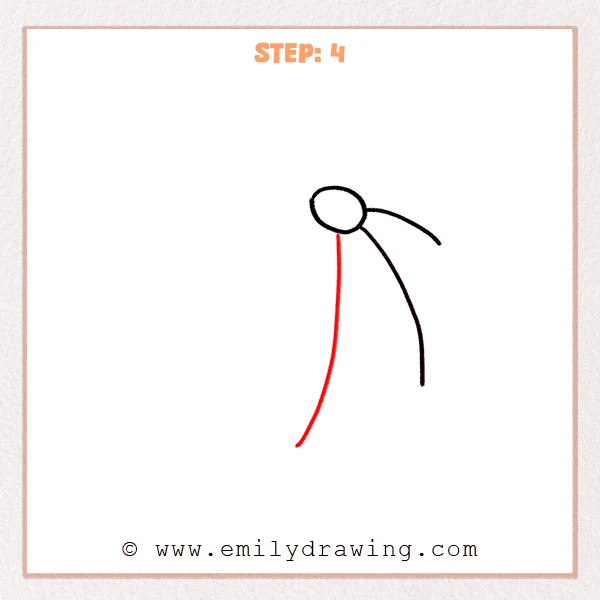
On the lower-right side of the oval, add another long curved line. Leave a small gap from the previous line so the panels feel separate.
Pro Tip: Make this curve a little different, so the ball looks more rounded.
[Alt Text: Step 4: A second long curve appears on the right, shaping another beach ball panel.]
Step 5: Add the Big Left Panel Curve
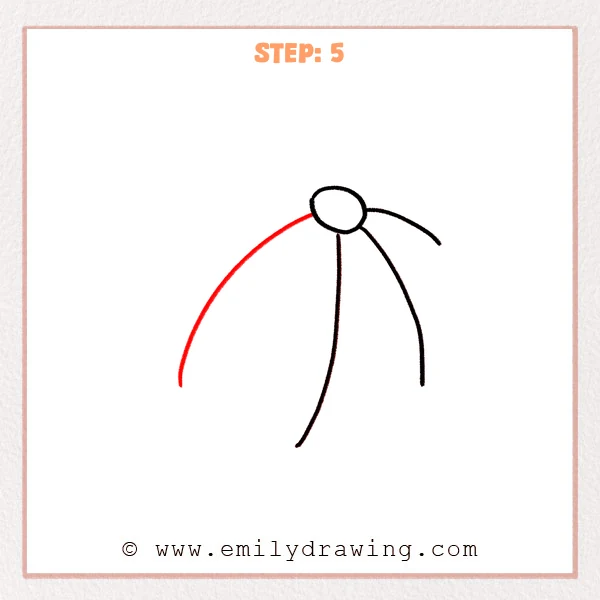
From the left side of the oval, sketch a larger sweeping curve downward. Let it feel wide and open, like the biggest panel.
Pro Tip: A rounder left curve makes the beach ball look more inflated.
[Alt Text: Step 5: A wide sweeping curve on the left creates the beach ball’s largest panel.]
Step 6: Add a Shorter Left Panel Curve
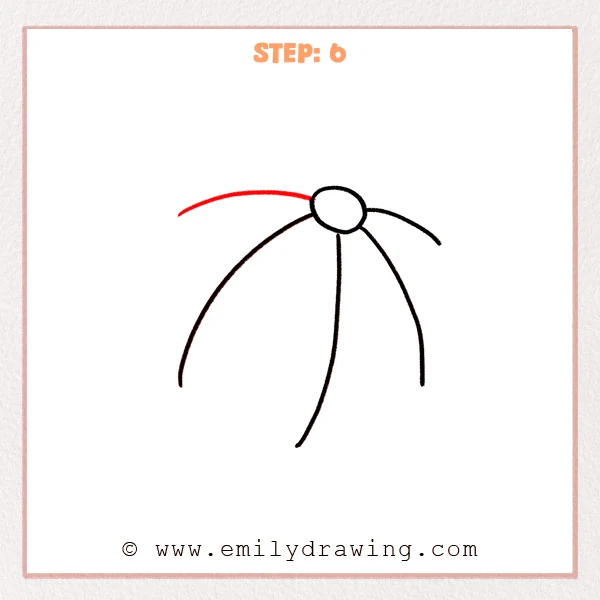
On the upper-left side, add a shorter curved line starting near the valve. Curve outward and stop early to suggest a smaller panel.
Pro Tip: Keep this curve clearly shorter than the big left panel line.
[Alt Text: Step 6: A short upper-left curve adds an extra beach ball panel near the top.]
Step 7: Add One Short Top Divider
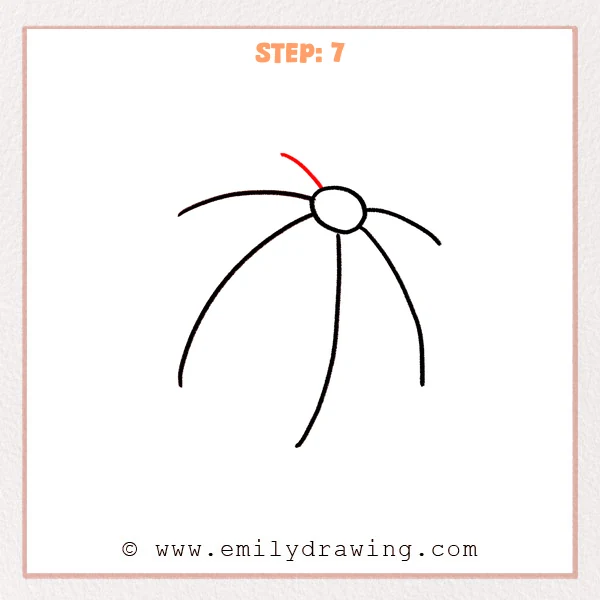
Above the oval, draw one short curved divider line. Let it arch gently upward, like a small panel split coming from the valve.
Pro Tip: Start the divider close to the oval edge so it connects naturally.
[Alt Text: Step 7: One short curved divider is added above the valve to split the top panels.]
Step 8: Add an Even Shorter Top Divider
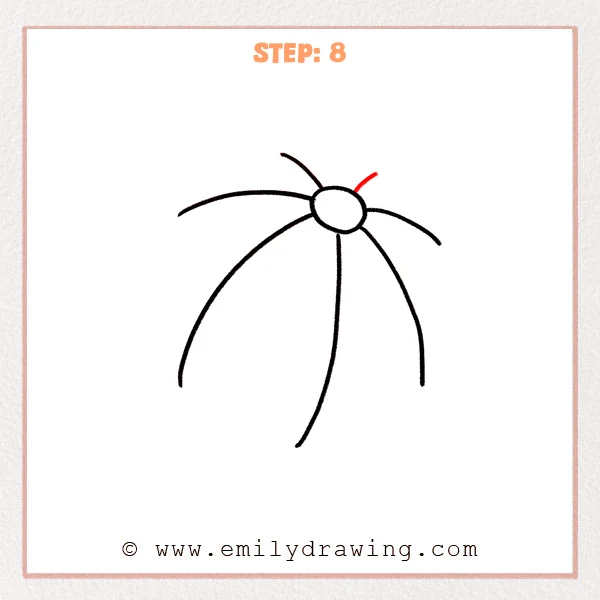
Add another top divider on the other side, even shorter than the last one. Different lengths help the top feel rounded and lively.
Pro Tip: Leave a small gap between the two short dividers so they do not crowd.
[Alt Text: Step 8: A second, shorter top divider is added to refine the beach ball’s upper sections.]
Step 9: Draw the Big Outer Circle
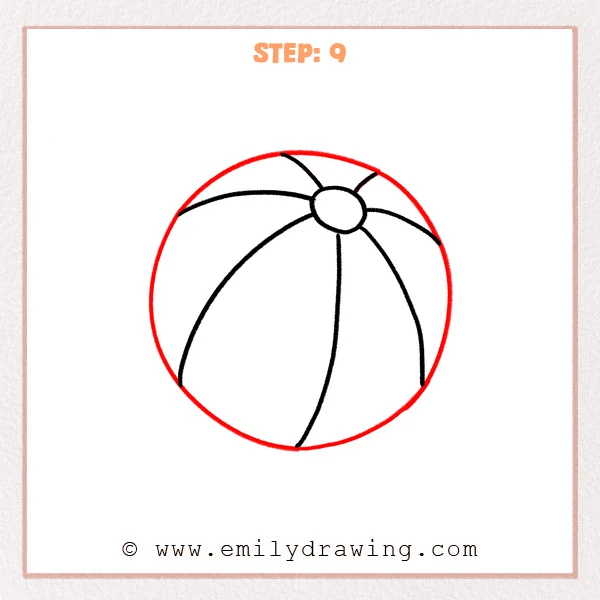
Draw a large rounded circle around all the lines to form the beach ball outline. Let the circle close smoothly at the bottom.
Pro Tip: Sketch the circle lightly first, then darken it once it feels balanced.
[Alt Text: Step 9: A large circular outline completes the beach ball’s outer shape around the panels.]
Step 10: Color in your drawing!
Fun Facts
- Beach balls are made to be light, so they bounce and float easily.
- Curved panels help an inflated ball keep its round shape.
- Bright color sections make a beach ball easy to spot on sand.
Pin it now, Draw later!
You have drawn a beach ball using a valve oval, panel curves, and a smooth outer circle. For shading, darken one side of the ball with a light gray, then blend softly toward the middle. Leave a small white highlight near the top to show shiny plastic.
One common beginner mistake is making the outer circle too oval, which can flatten the ball. Lightly adjust the outline with an eraser until it feels round.
Keep practicing this step by step drawing, and try drawing beach balls in different sizes. If you want more drawing for beginners, try another easy drawing tutorial and build your confidence line by line.
Get the FREE Printable Drawing Guide
FREE Download Printable Beach Ball Drawing Tutorial
Frequently Asked Questions
How do I make the beach ball look more 3D?
Add a soft shadow on one side and leave a small highlight unshaded.
Do the panel lines need to be perfectly even?
No, gentle differences still look natural and hand-drawn.
What colors should I use for a beach ball?
Try bright colors like red, yellow, blue, and green, then add a darker shade for shadows.