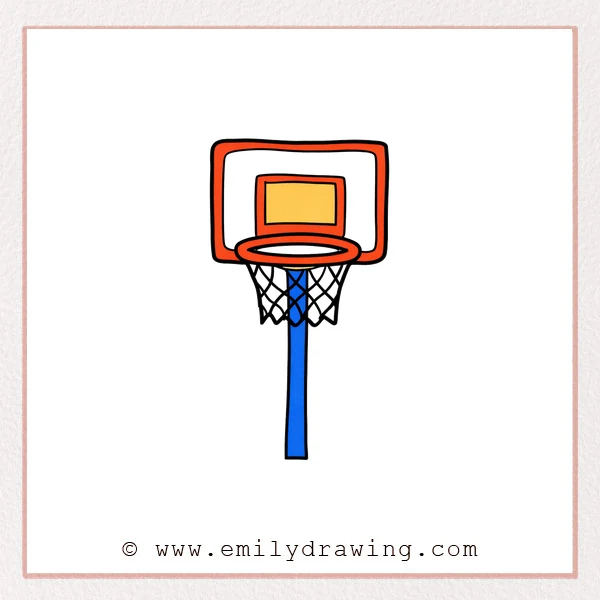
This easy drawing tutorial shows how to draw a basketball hoop step by step with simple, rounded shapes. You will build the backboard first, then add the rim, net, and support pole. Take your time with symmetry, and this drawing for beginners will look clean and steady.
What You Will Need
- Pencil
- Eraser
- Black marker or fineliner
- Plain drawing paper
- Colored pencils or crayons (optional)
Here are my RECOMMENDED Art Supplies!
- Crayola Coloring Set (140 Pieces – Mega Value!)
- 24 Colored Crayon Set
- A4 Printer Paper
- Crayola Coloring Pencils
- HP Home Printer with Instant Ink!
Time needed:
30 minutes.
Step-by-Step Drawing Guide
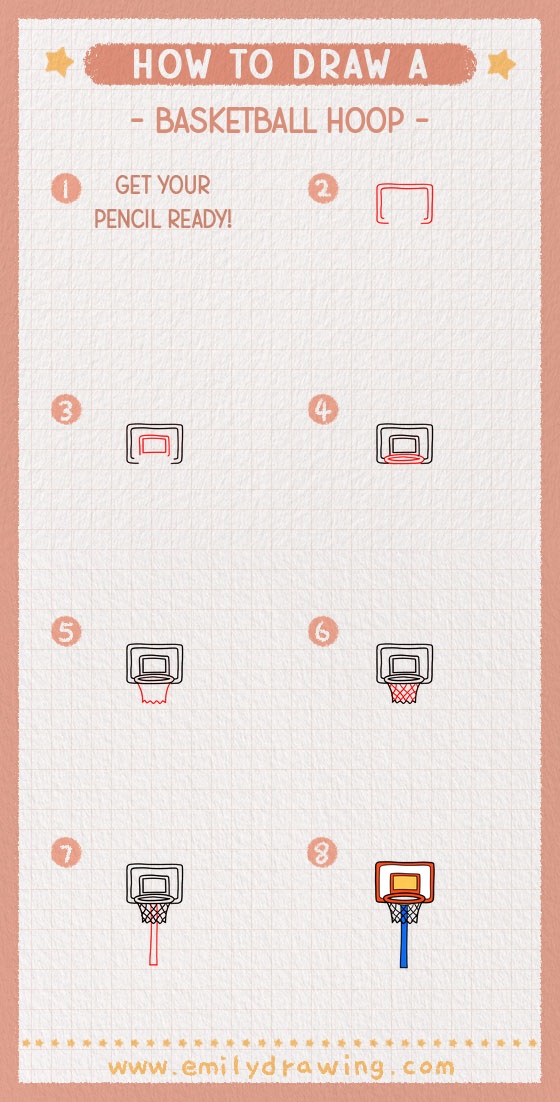
Step 1: Draw the Backboard Frame
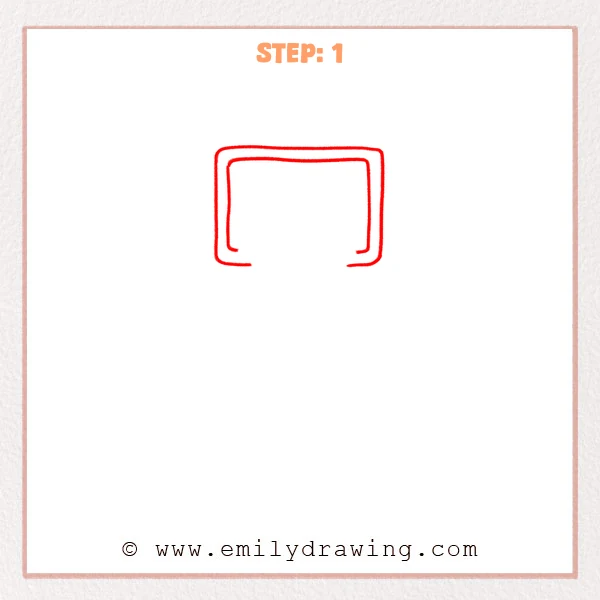
Start with a large rounded rectangle for the backboard. Add a smaller rounded rectangle inside to show the border thickness.
Pro Tip: Keep the corner curves similar so the board looks even.
[Alt Text: Step 1: A basketball hoop backboard is started with a rounded outer rectangle and an inner border.]
Step 2: Add the Center Target Box
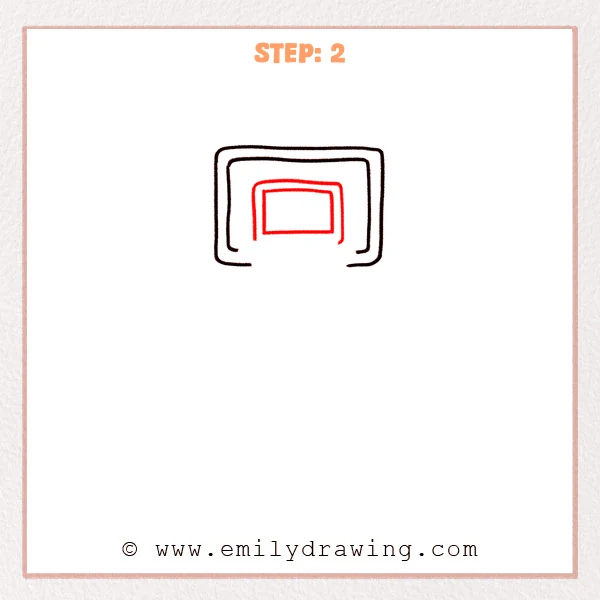
Draw a smaller rounded rectangle in the center as the target box. Add another smaller line inside it to give it depth.
Pro Tip: Center the target box so it lines up with the rim.
[Alt Text: Step 2: A centered target box is added inside the basketball backboard.]
Step 3: Draw the Rim Oval
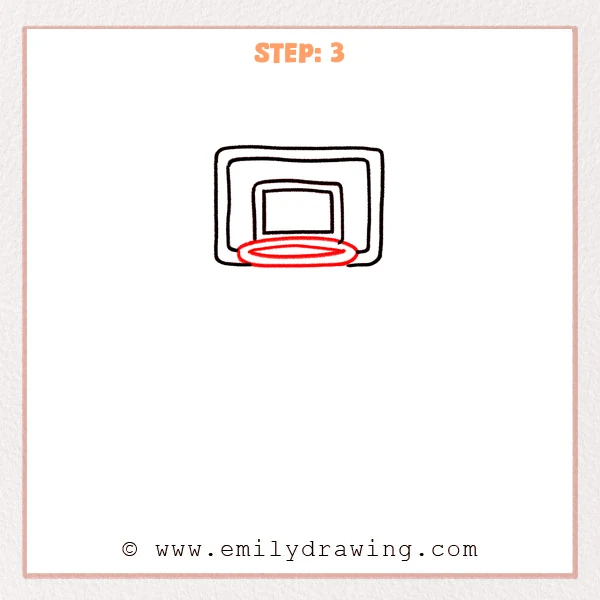
Draw a flat oval under the backboard for the rim opening. Add a smaller oval inside to show the rim’s thickness.
Pro Tip: Keep the oval symmetrical so it doesn’t look tilted.
[Alt Text: Step 3: An oval rim is drawn under the backboard with an inner oval for thickness.]
Step 4: Sketch the Net Shape

From the rim, draw two lines that narrow inward to form an upside-down trapezoid net. Finish the bottom with a small wavy edge.
Pro Tip: Keep the bottom slightly wide so the net feels soft.
[Alt Text: Step 4: The basketball net outline is added, tapering down with a wavy bottom edge.]
Step 5: Add the Crisscross Net Pattern
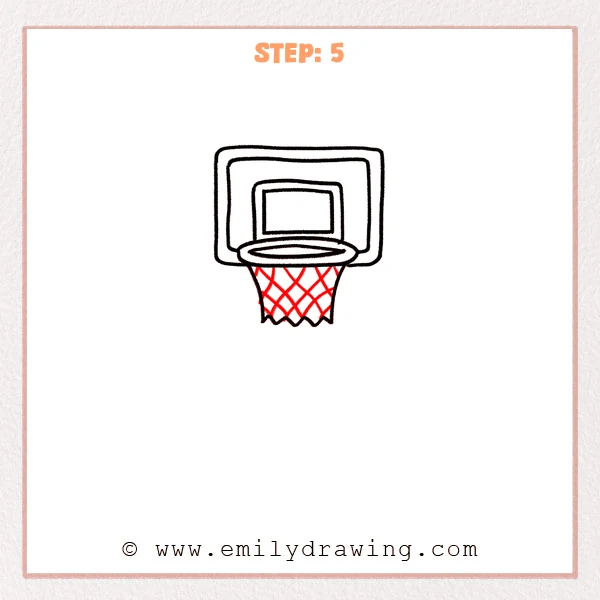
Draw one set of diagonal lines across the net, following its taper. Add the opposite diagonals to form diamond shapes.
Pro Tip: Draw one diagonal direction first, then add the other for neat diamonds.
[Alt Text: Step 5: Diagonal lines are crossed to create a diamond net pattern under the rim.]
Step 6: Draw the Support Pole
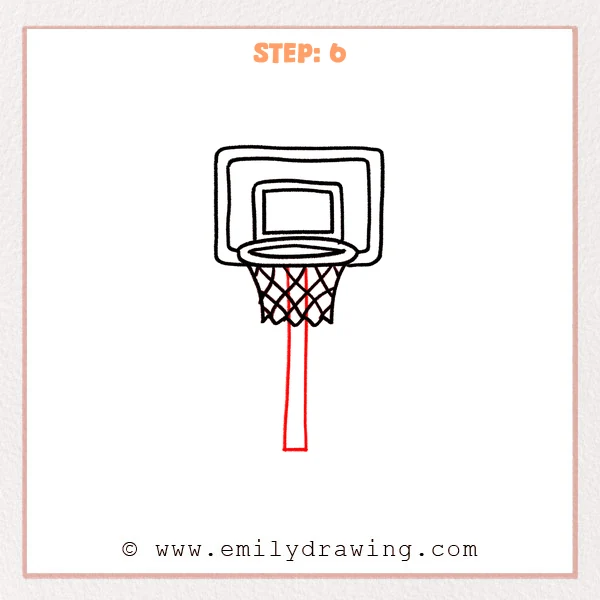
Draw two parallel vertical lines directly under the rim to form the support pole. Close the bottom with a short line so it looks sturdy.
Pro Tip: Align the pole with the rim’s center so the hoop feels balanced.
[Alt Text: Step 6: A straight vertical support pole is added beneath the basketball hoop.]
Step 7: Color in your drawing!
Fun Facts
- The center target box helps players aim for bank shots.
- A rim looks like an oval in drawings because you see it at an angle.
- A net tapers downward, which makes the hoop feel more three-dimensional.
Pin it now, Draw later!
You now know how to draw a basketball hoop step by step, from the backboard to the rim, net, and pole. Trace your final outline with a marker, then erase leftover pencil lines once the ink is fully dry.
For coloring, try light gray for the backboard frame and a brighter color for the rim. Add gentle shading under the rim and inside the net to show depth, and keep a small highlight on the rim for shine.
One common beginner mistake is drawing the rim oval uneven, which makes the hoop look tilted. Keep practicing this easy drawing tutorial, and try placing a basketball near the rim to create a fun scene.
Get the FREE Printable Drawing Guide
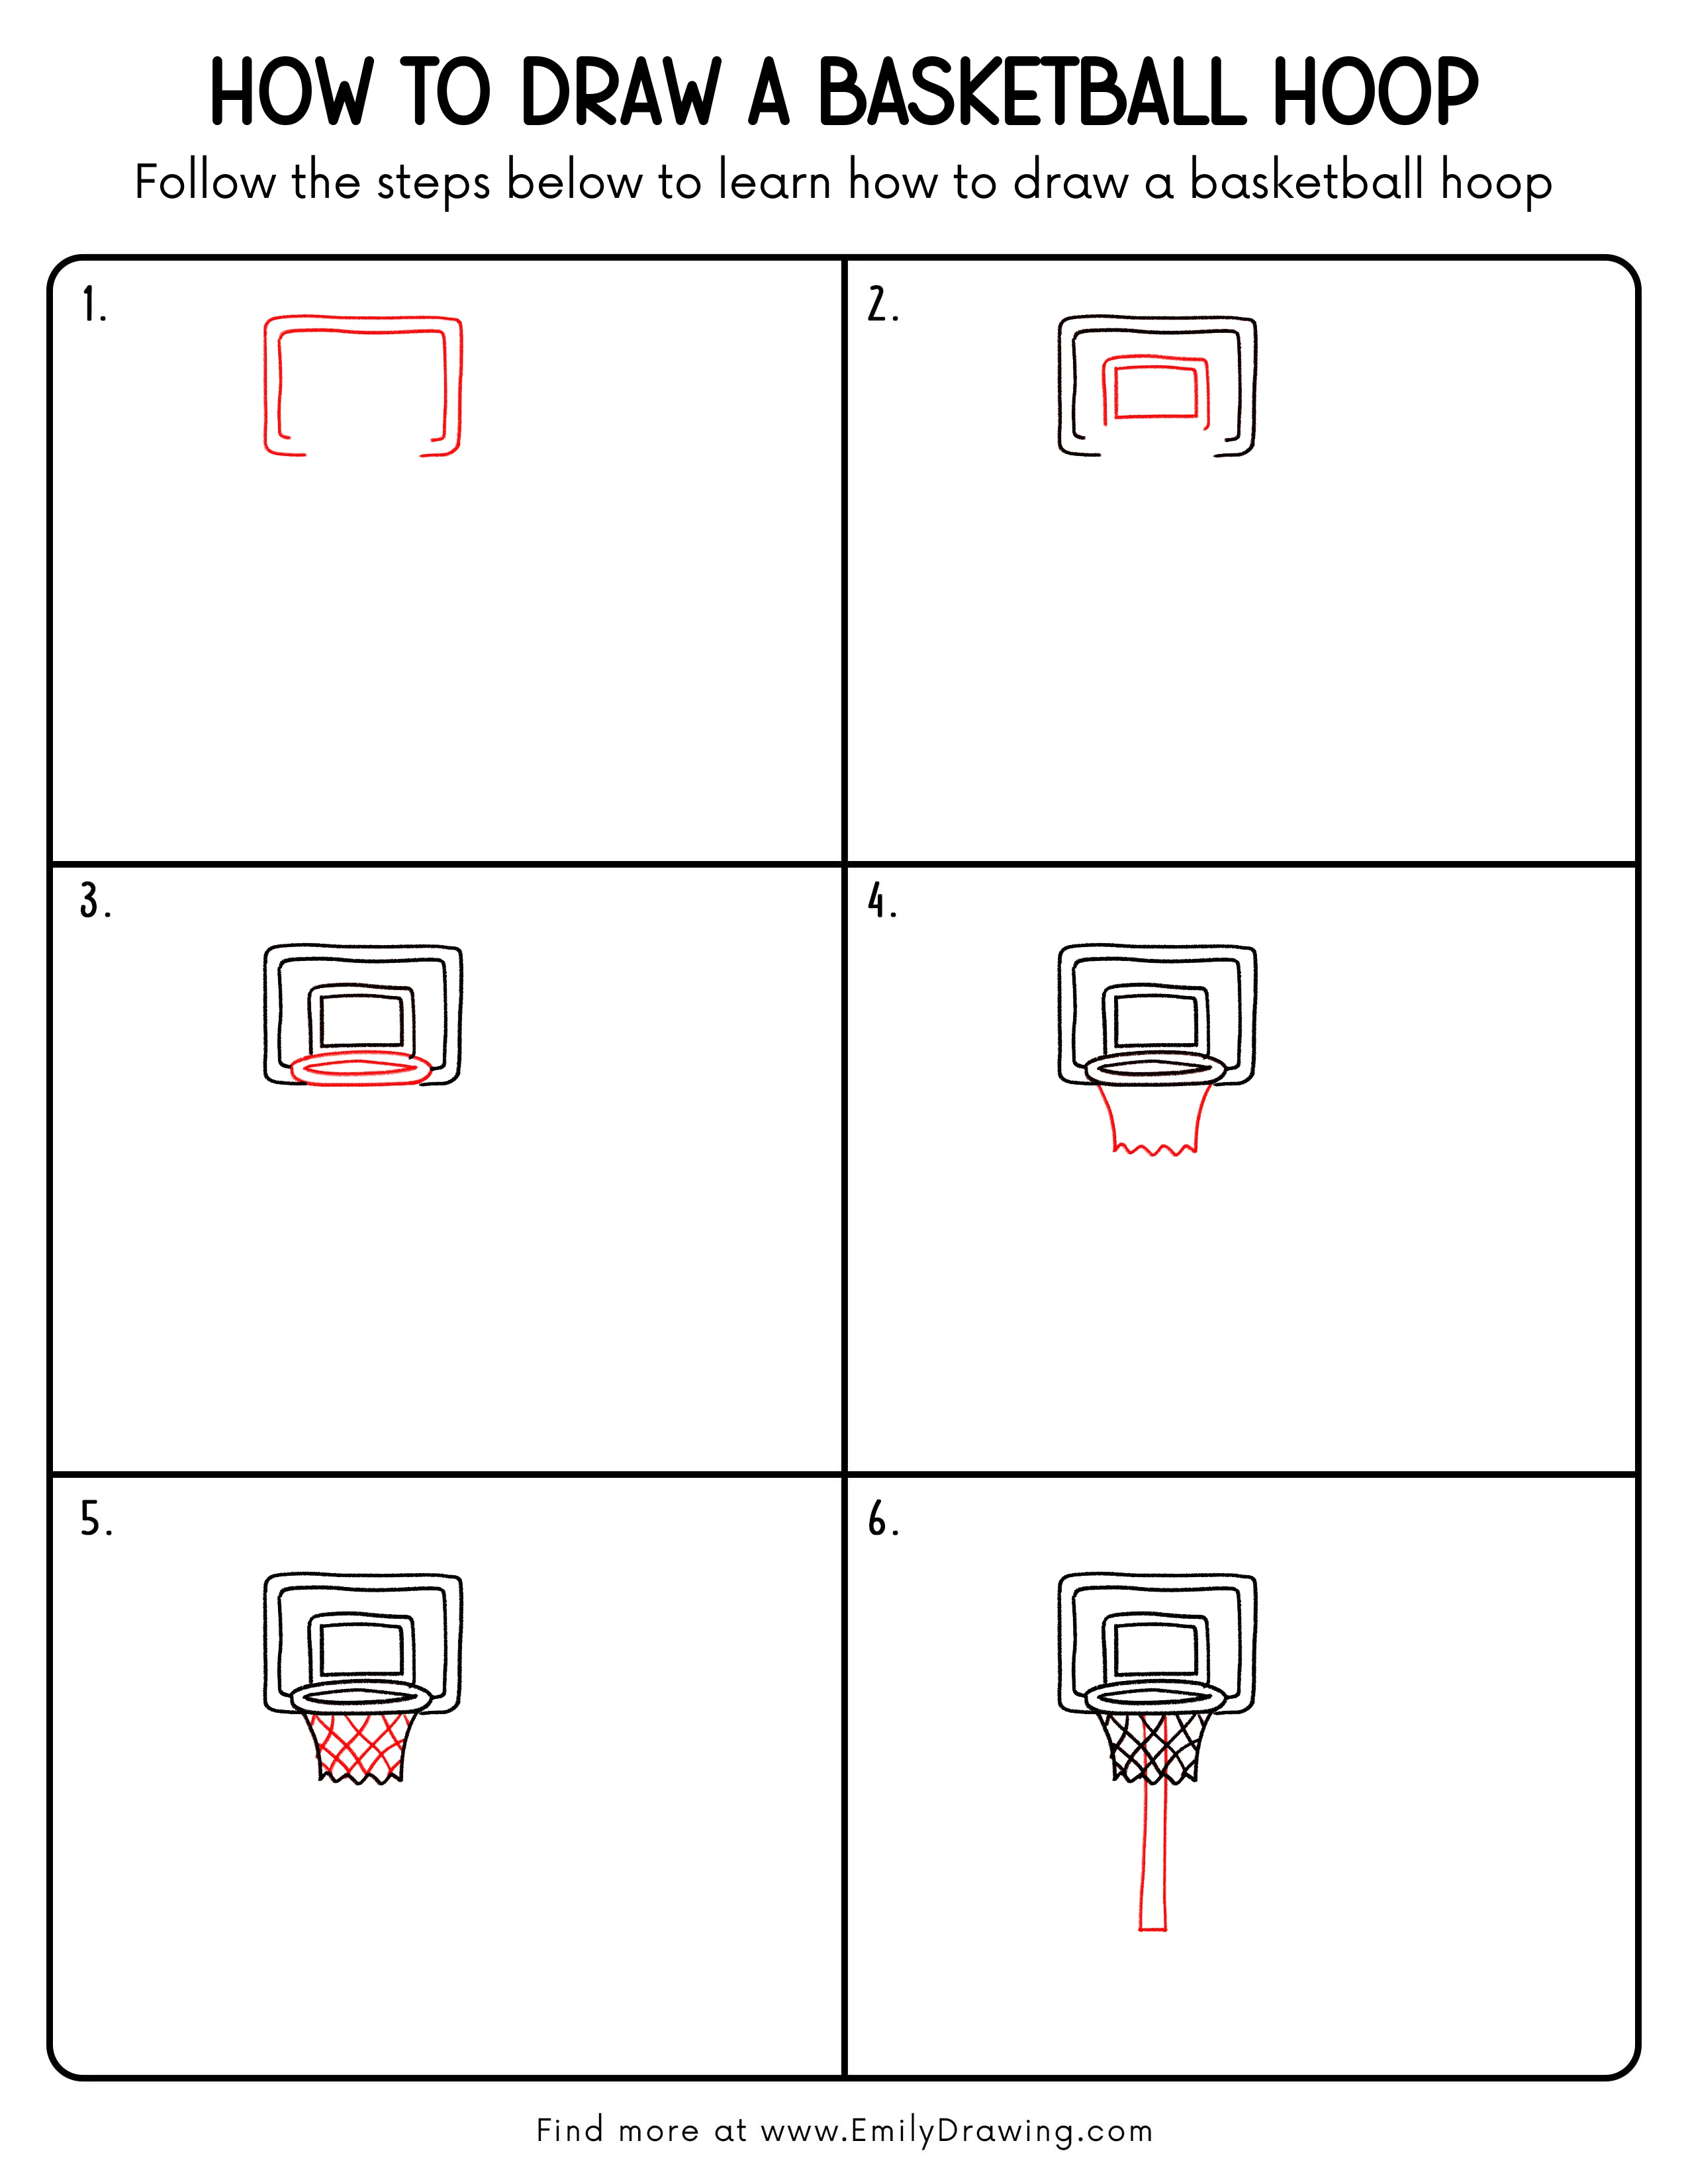
FREE Download Printable Basketball Hoop Drawing Tutorial
Frequently Asked Questions
How do I make the backboard look straight?
Lightly sketch the rectangle first, then smooth the corners before you ink.
Why does my rim look like a circle instead of an oval?
Flatten the oval a bit more to show you are viewing the rim at an angle.
How can I keep the net diamonds even?
Space the first diagonal lines evenly, then mirror the spacing for the second set.