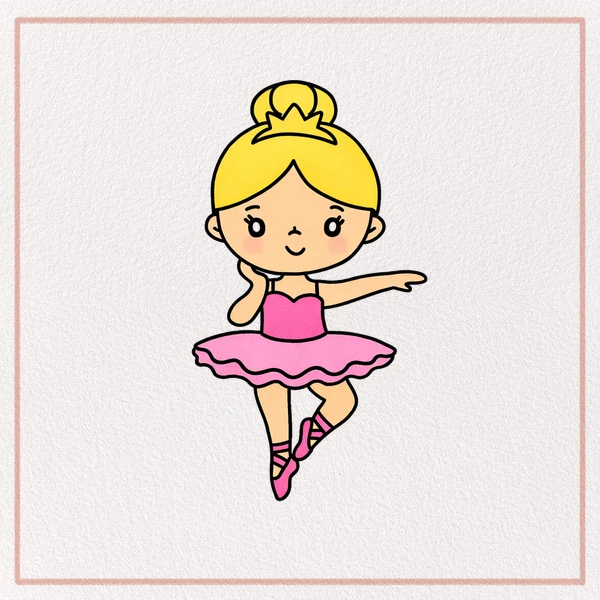
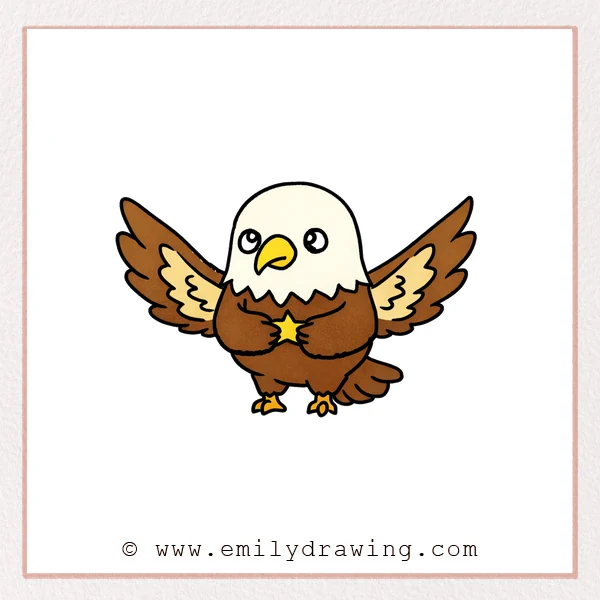
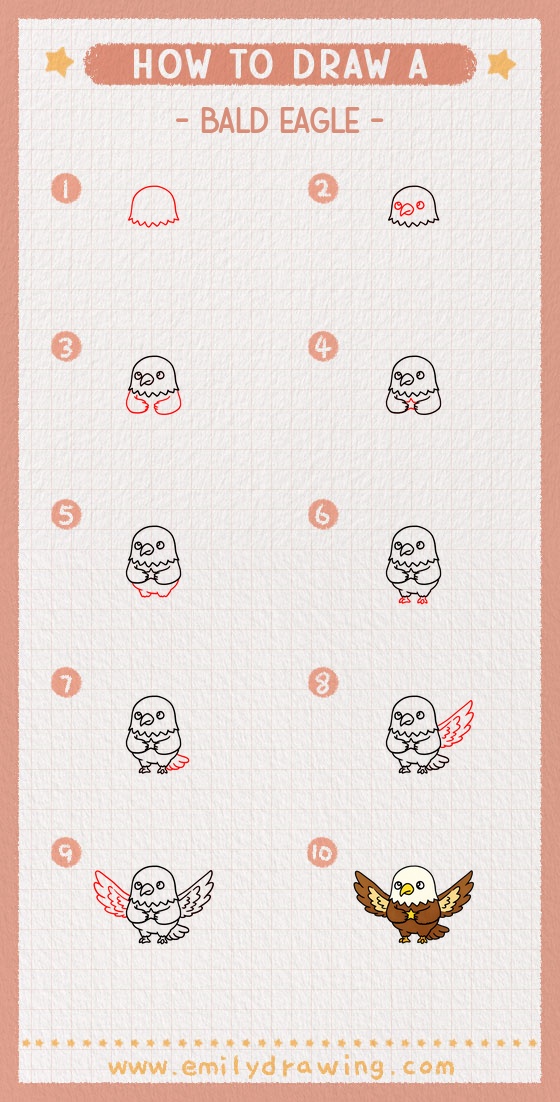
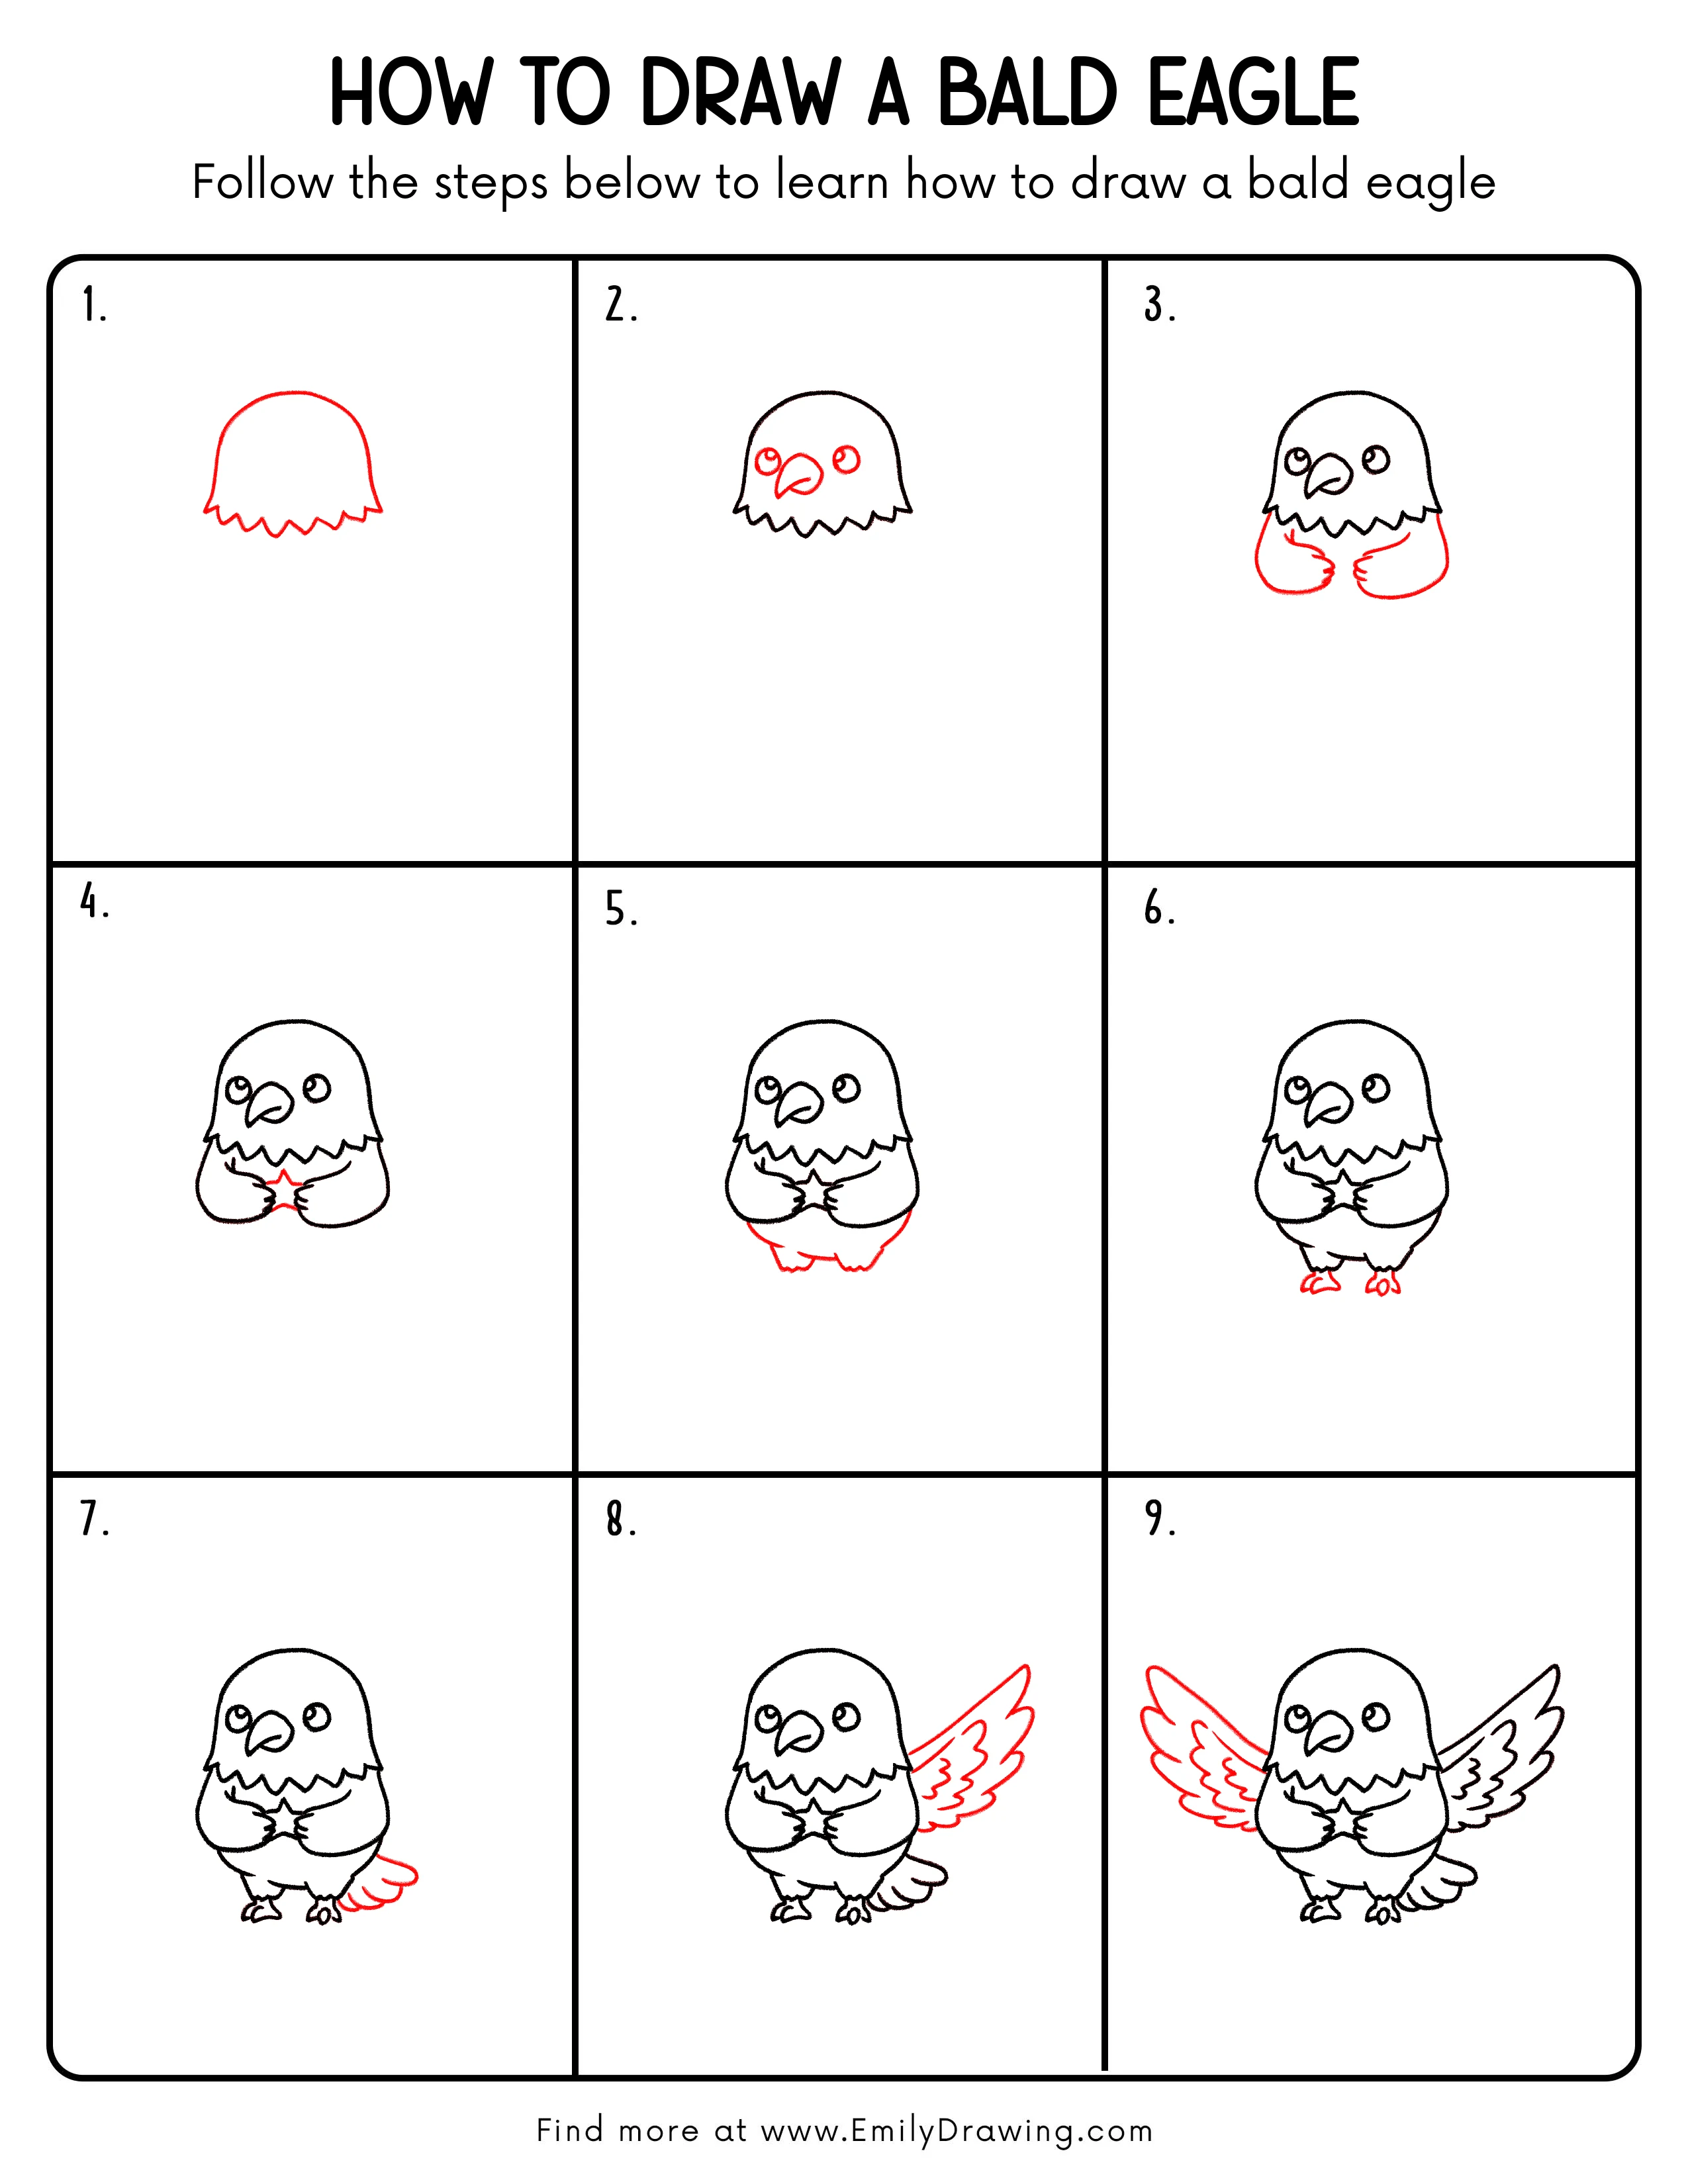
This easy drawing tutorial shows how to draw a bald eagle step by step.
You will start with the head and folded wings, then add a star and spread wings.
It is a calm drawing for beginners using simple curves and feather edges.
What You Will Need
- Pencil
- Eraser
- Black pen or fine liner
- Paper
- Colored pencils or markers (optional)
Here are my RECOMMENDED Art Supplies!
- Crayola Coloring Set (140 Pieces – Mega Value!)
- 24 Colored Crayon Set
- A4 Printer Paper
- Crayola Coloring Pencils
- HP Home Printer with Instant Ink!
Time needed:
26 minutes.
Step-by-Step Drawing Guide
Step 1: Draw the Bald Eagle Head Shape
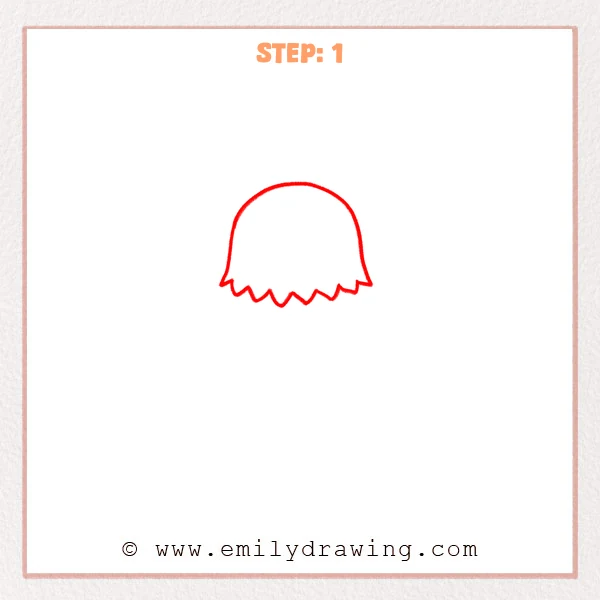
Start with a rounded head outline, like a smooth dome.
Add a jagged, fluffy feather edge along the bottom of the head.
Keep the lines clean with no extra details yet.
Pro Tip: Use small, even zigzags so the feather edge looks tidy.
Step 2: Add the Basic Eyes and Beak
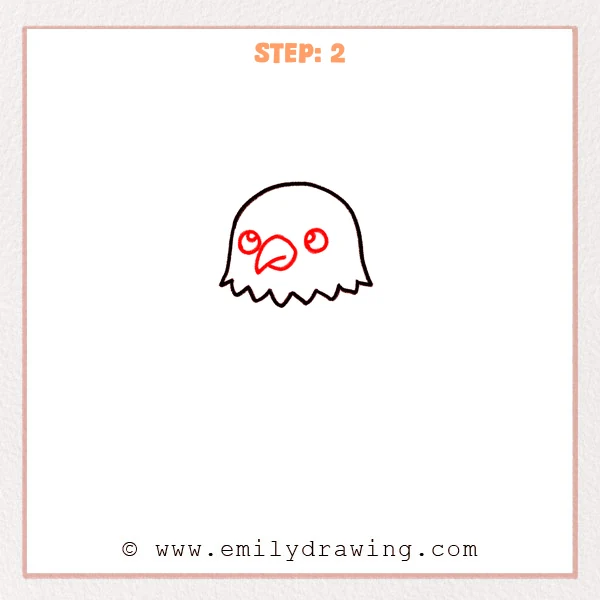
Draw two round eyes near the upper middle of the head, level with each other.
Add a large hooked beak in the center, curving downward at the tip.
Focus on the big shapes first, and keep the beak base wide.
Pro Tip: Make the beak base wider to give a stronger eagle look.
Step 3: Draw the Folded Wings on the Chest
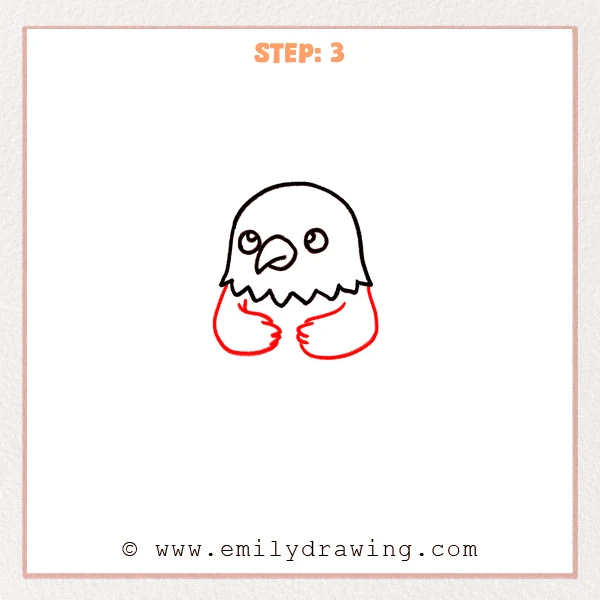
Under the feather edge, draw two large rounded wing shapes that hug the front.
Add a few small pointed curves in the center to show overlapping feathers.
Keep both sides similar in size so the pose feels balanced.
Pro Tip: Sketch the two big wing curves first, then add the small center feathers.
Step 4: Draw a Five-Point Star Between the Wings
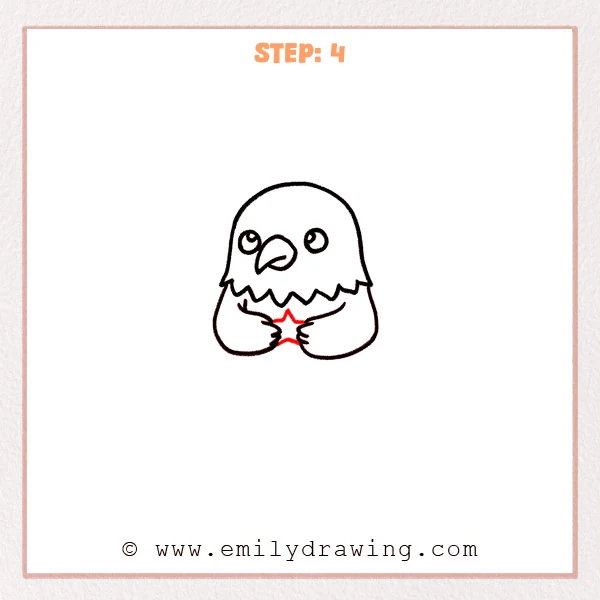
Draw a small five-point star at the center where the folded wings meet.
Keep the top point facing upward and balance the side points.
Make it small enough to sit neatly on the chest.
Pro Tip: Sketch a tiny pentagon first, then pull the points outward.
Step 5: Add the Lower Body Outline
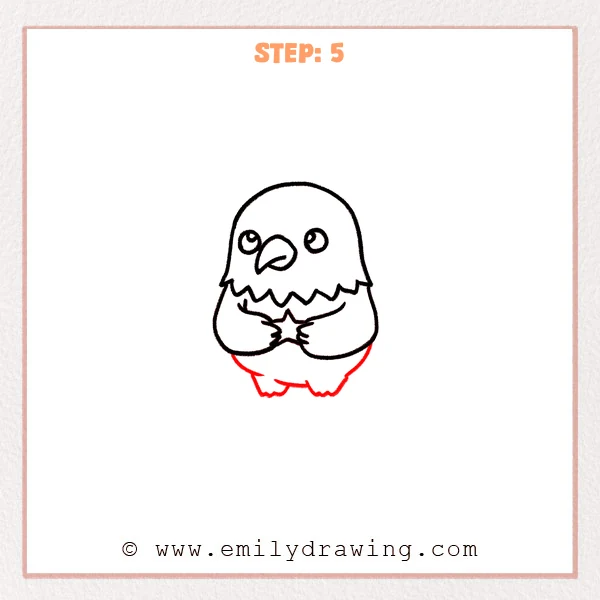
Draw a rounded belly under the wings, narrowing slightly toward the bottom.
Add small fluffy bumps at the lower edge for soft belly feathers.
Keep the body shape like a plump oval.
Pro Tip: Keep the belly curves round, not straight, for a cute style.
Step 6: Draw the Feet and Talons
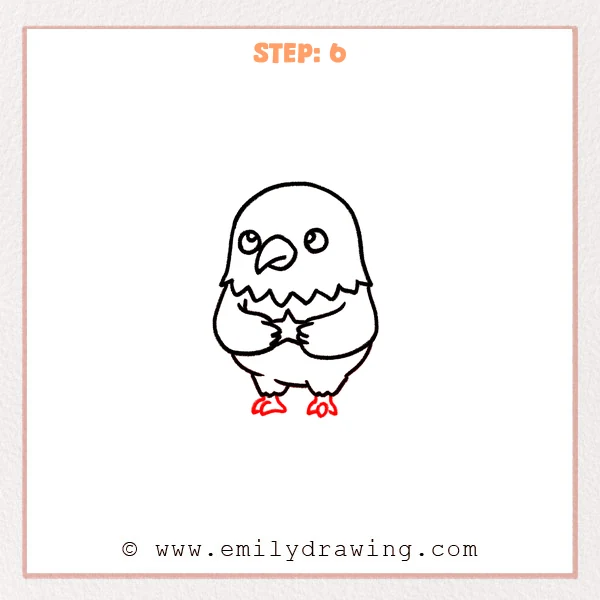
Add two small feet peeking out from the bottom feathers.
Draw curved talons using two to three little hooked toes on each foot.
Keep the feet short but steady under the body.
Pro Tip: Leave a small gap between the feet for a balanced stance.
Step 7: Add the Tail
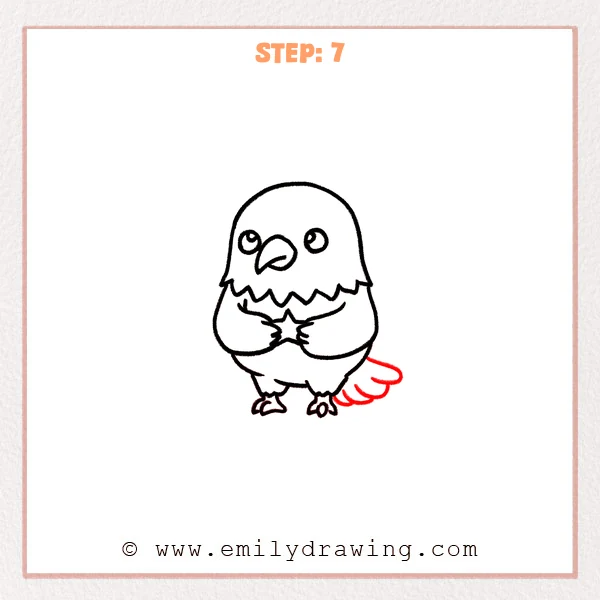
Draw a small tail on the lower right side using three to four rounded feather tips.
Let it extend from the back of the body without being too long.
Keep the feather edges soft and slightly layered.
Pro Tip: Place the tail a bit lower so it feels attached behind the body.
Step 8: Add the Right Outstretched Wing
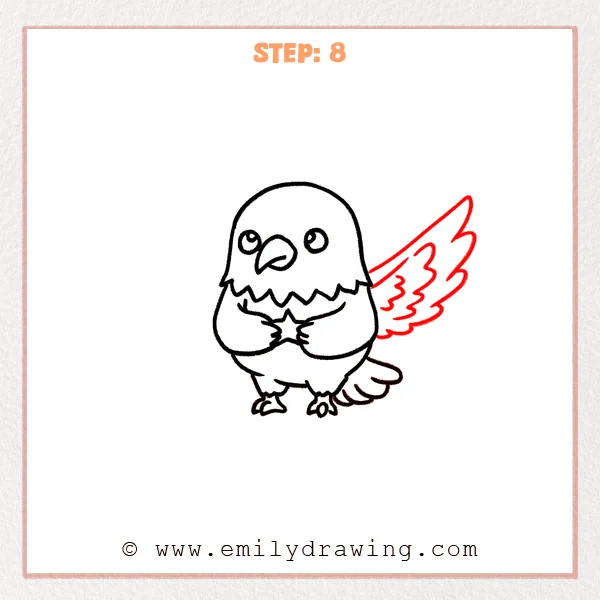
Draw a large wing extending from the right side with a long leaf-like outline.
Add a few wavy inner feather lines to show layered feathers.
Angle the wing tip slightly upward for energy.
Pro Tip: Outline the wing first, then add feather layers for clarity.
Step 9: Complete the Left Outstretched Wing
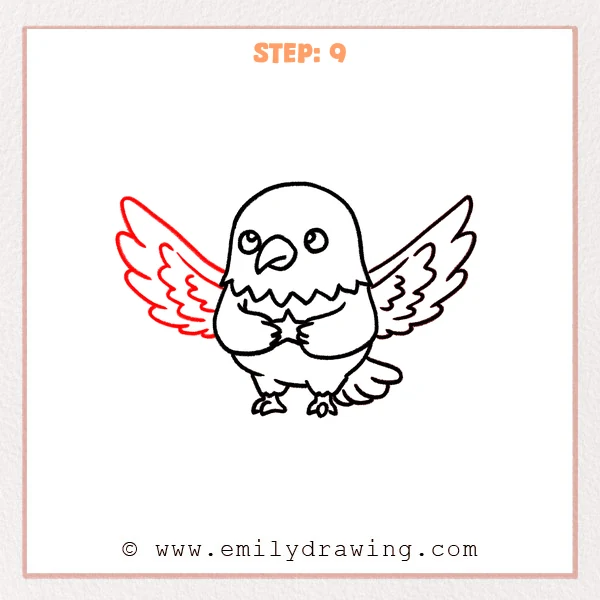
Draw the matching left wing extended outward, similar in size to the right.
Add the same layered feather lines so both sides match.
Keep the wing base snug against the body so it looks connected.
Pro Tip: Keep both wing tips at similar heights for symmetry.
Step 10: Color in your drawing!
Fun Facts
- Bald eagles have white head feathers and a strong hooked beak.
- Wing shapes look more natural when the tips angle slightly upward.
- Simple zigzag lines can suggest fluffy feathers without heavy shading.
Pin it now, Draw later!
You have drawn a bald eagle with folded wings, a chest star, and wings spread wide.
Erase extra sketch marks and keep the main outer outline bold and clear.
For coloring, try a white head, a darker body, and a bright yellow beak.
Add gentle shading under the wings and along one side of the belly.
One common beginner mistake is making one wing much longer than the other.
If that happens, adjust the wing tip before you darken the final lines.
Keep practicing how to draw a bald eagle step by step, and try new poses next.
Get the FREE Printable Drawing Guide
FREE Download Printable Bald Eagle Drawing Tutorial
Frequently Asked Questions
How do I keep both wings the same size?
Lightly mark both wing tips first, then connect them back to the body.
What if my feather edge looks messy?
Use smaller zigzags and keep the points evenly spaced.
How can I make the beak look more eagle-like?
Make the top beak line longer and let the tip hook down a little more.