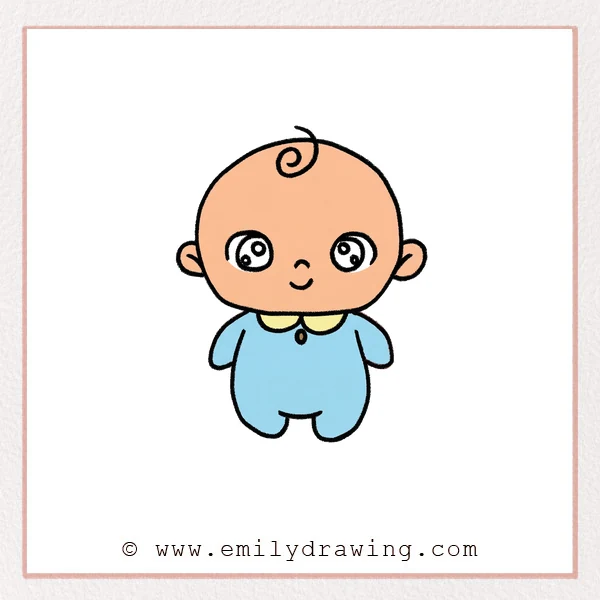
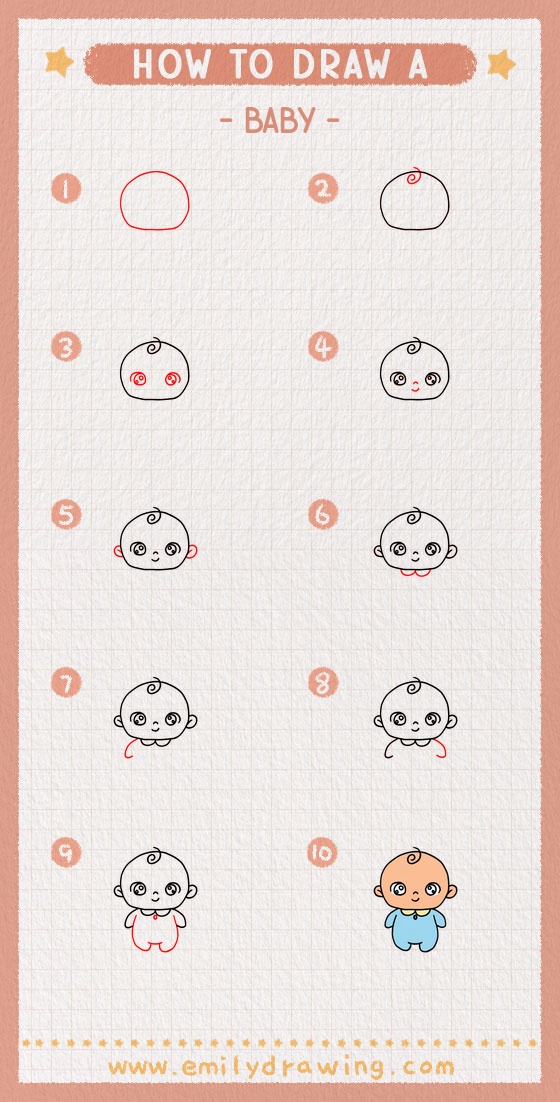
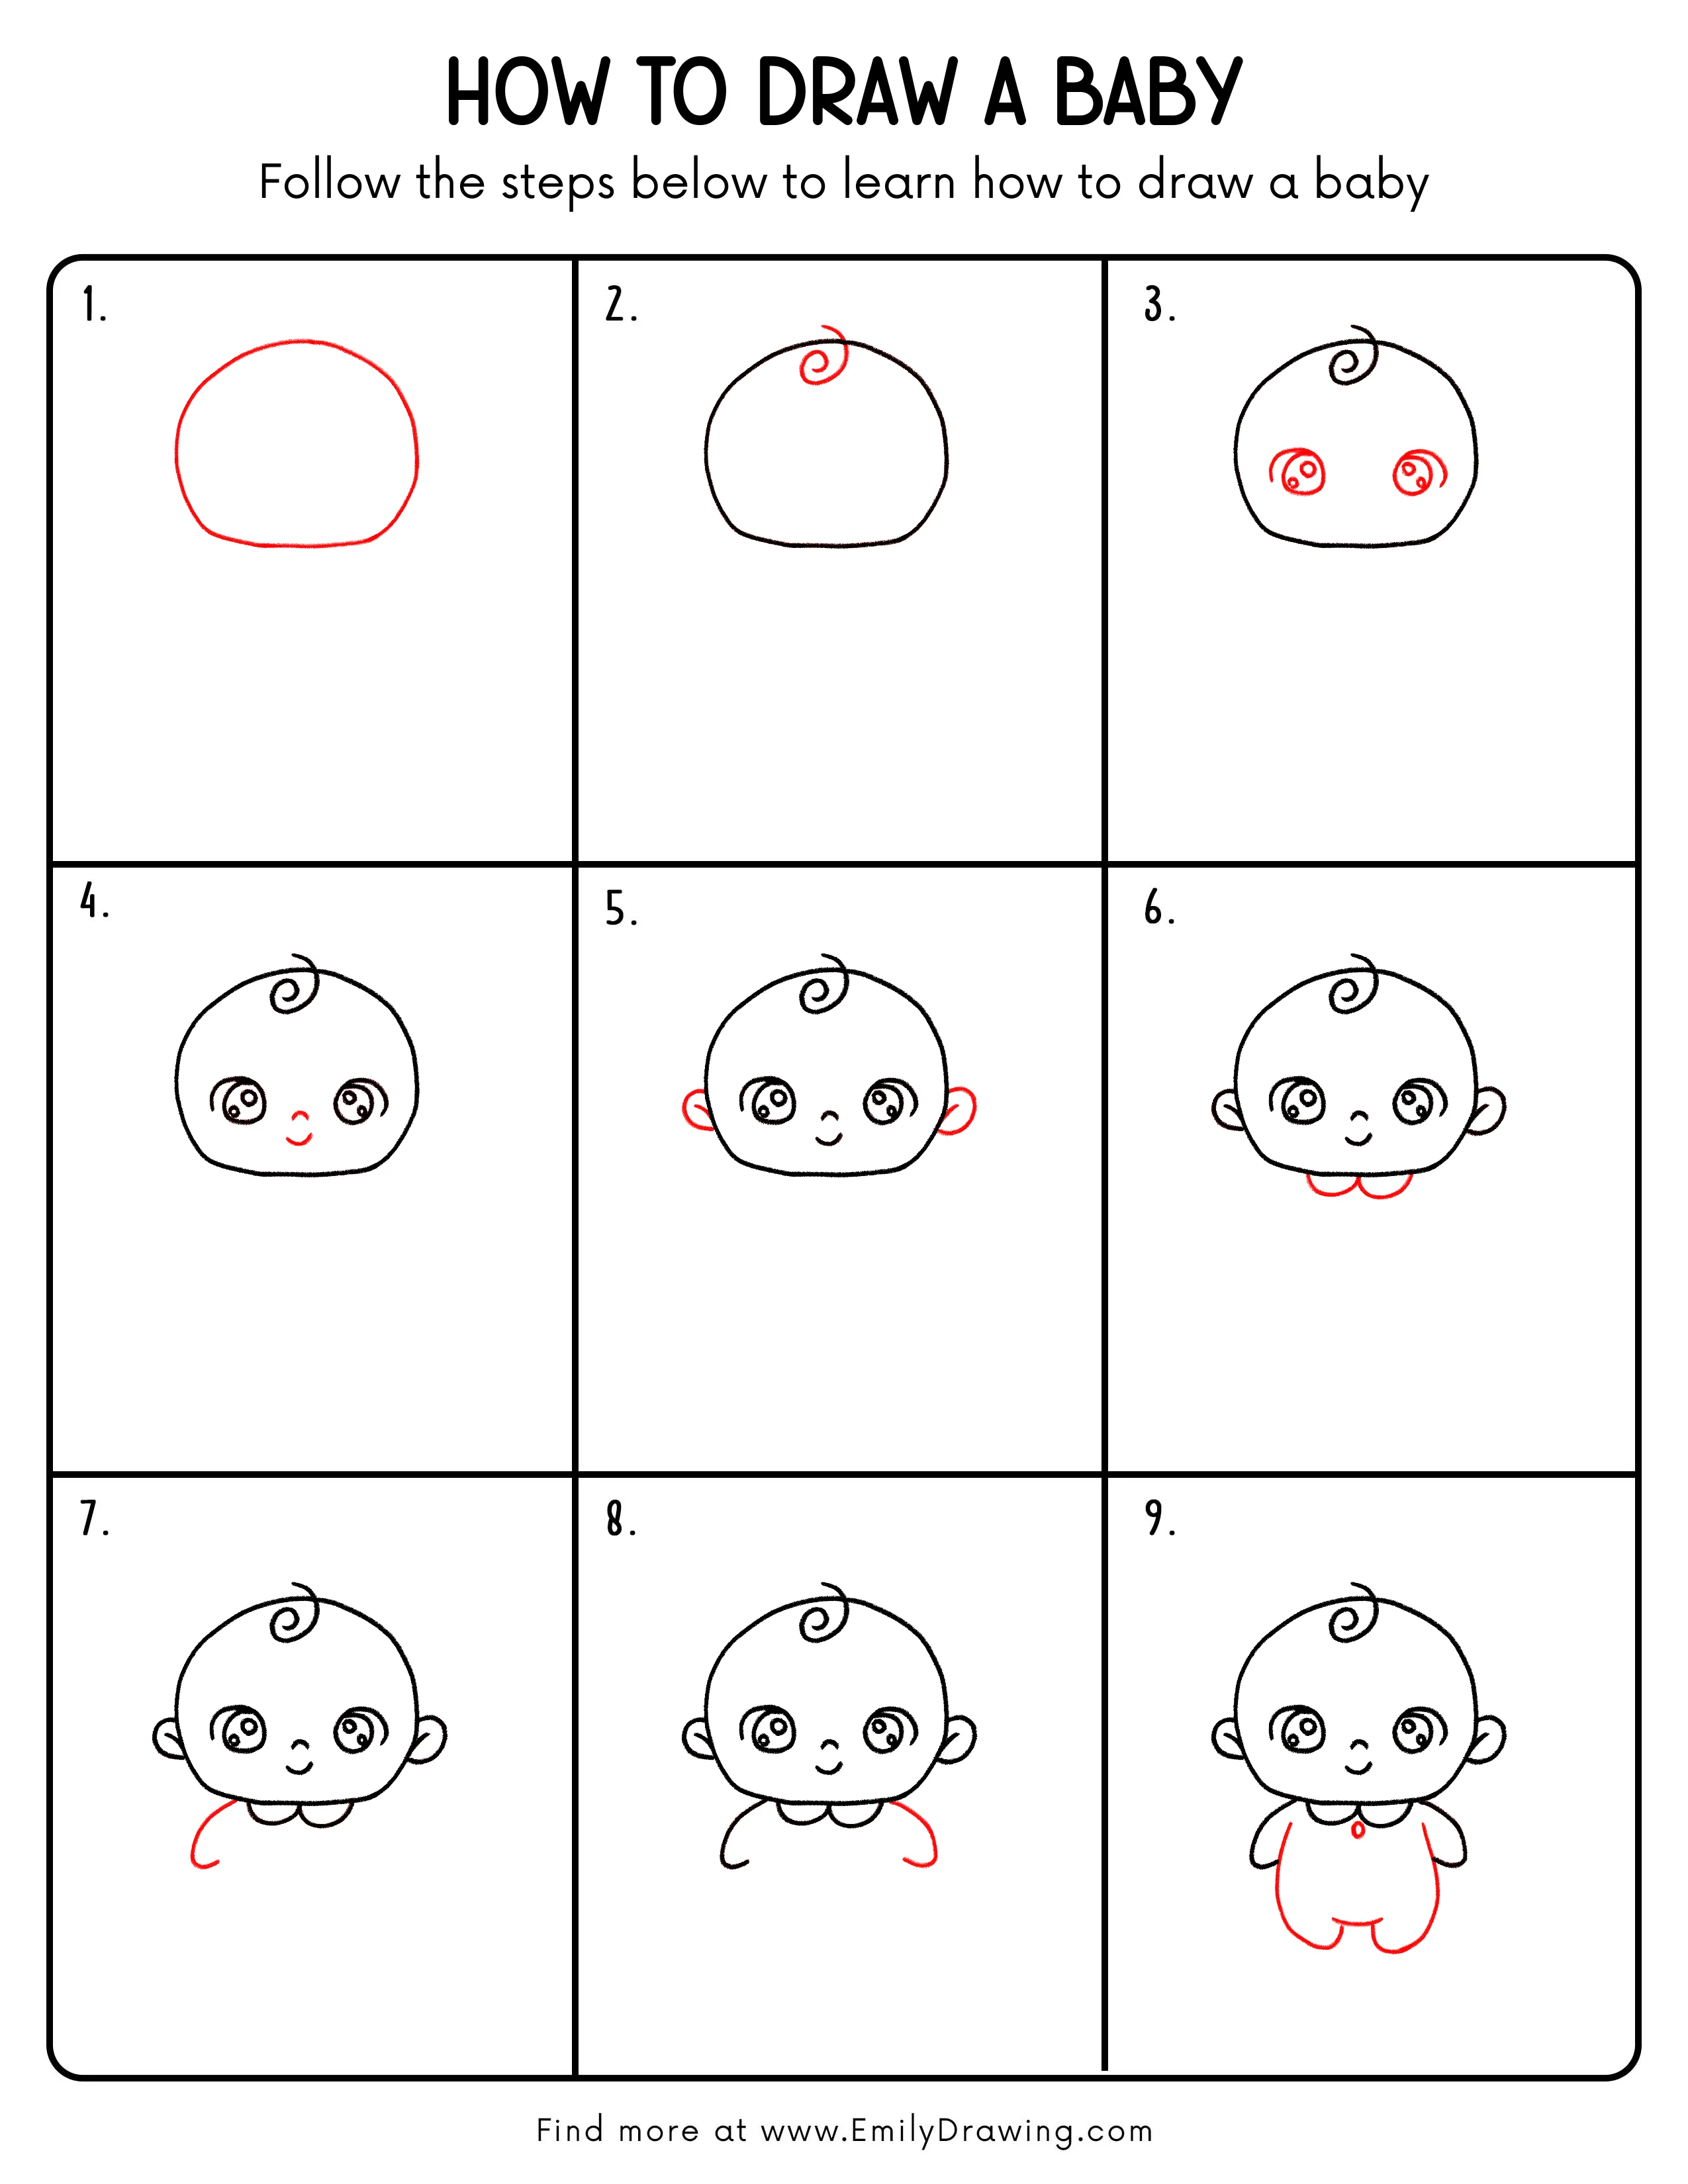
This easy drawing tutorial shows how to draw a baby step by step.
You will build a cute baby face first, then add simple arms and a round body.
It is a calm drawing for beginners, with clean shapes and gentle lines.
What You Will Need
- Pencil
- Eraser
- Black pen or fine liner
- Paper
- Colored pencils or markers (optional)
Here are my RECOMMENDED Art Supplies!
- Crayola Coloring Set (140 Pieces – Mega Value!)
- 24 Colored Crayon Set
- A4 Printer Paper
- Crayola Coloring Pencils
- HP Home Printer with Instant Ink!
Time needed:
27 minutes.
Step-by-Step Drawing Guide
Step 1: Draw the Baby Head Shape
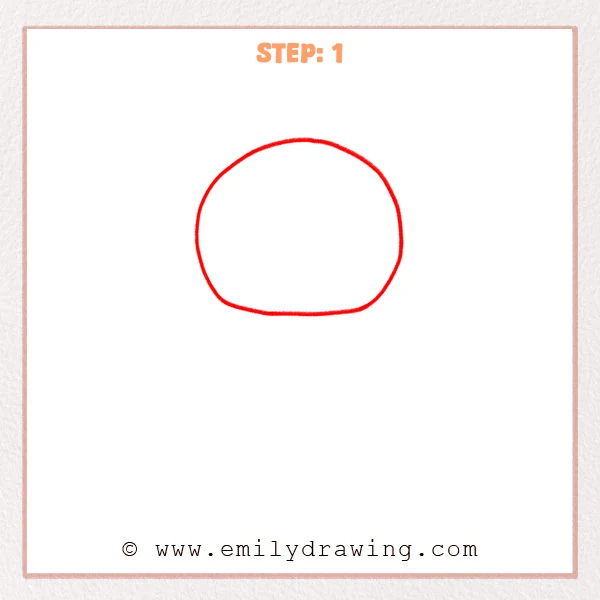
Start with a large rounded head shape near the top of the page.
Flatten the bottom slightly, like a soft bun shape.
Keep the outline smooth and simple, with no details yet.
Pro Tip: Make the head extra large for a cute baby proportion.
Step 2: Add the Tiny Curl of Hair

Place a short curved stroke at the top center of the head.
Curl it into a small swirl that sits lightly on the outline.
Keep the curl small so it feels soft and baby-like.
Pro Tip: Leave a little space inside the curl for a clean look.
Step 3: Place the Big Eye Shapes
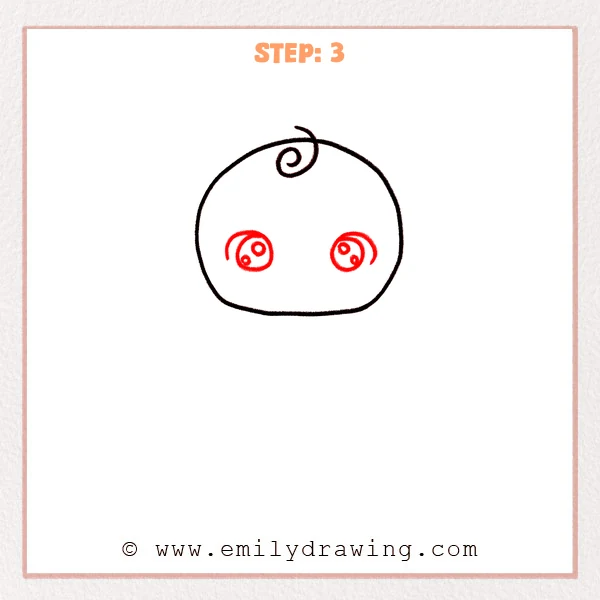
Draw two large round eyes on the left and right side of the face.
Keep them level with each other, leaving space between them.
Leave room inside each eye for pupils and highlights later.
Pro Tip: Lightly mark the eye centers first to keep symmetry.
Step 4: Draw the Nose and Small Smile
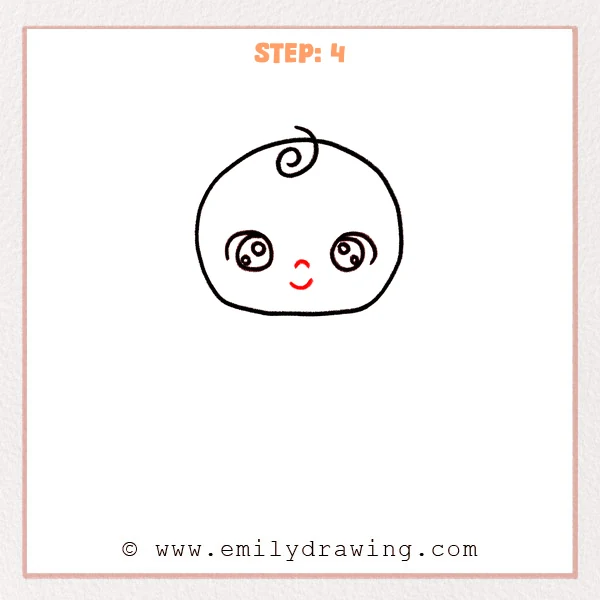
Add a tiny curved nose between the eyes, slightly lower.
Draw a small smiling mouth with a gentle curve under the nose.
Keep both features centered to maintain a sweet expression.
Pro Tip: Keep the mouth small and centered for a gentle look.
Step 5: Draw the Ears
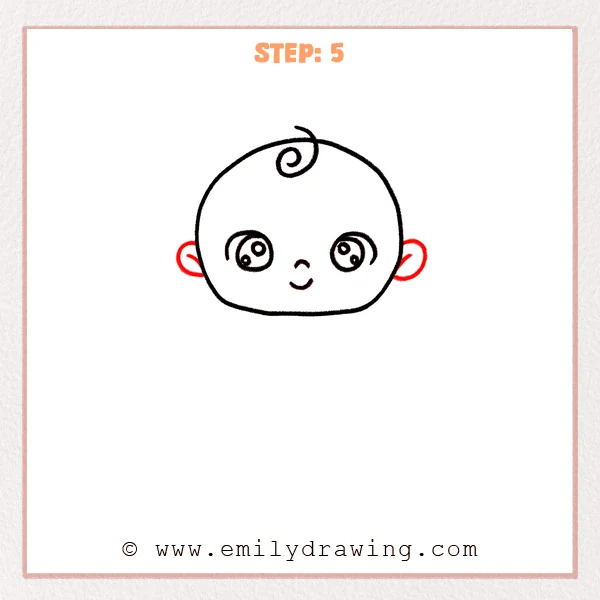
Add a small rounded ear on each side of the head.
Use a simple half-oval shape, then add a short inner curve.
Try to place both ears at the same height.
Pro Tip: Place the ears near eye level for a balanced look.
Step 6: Add the Small Collar
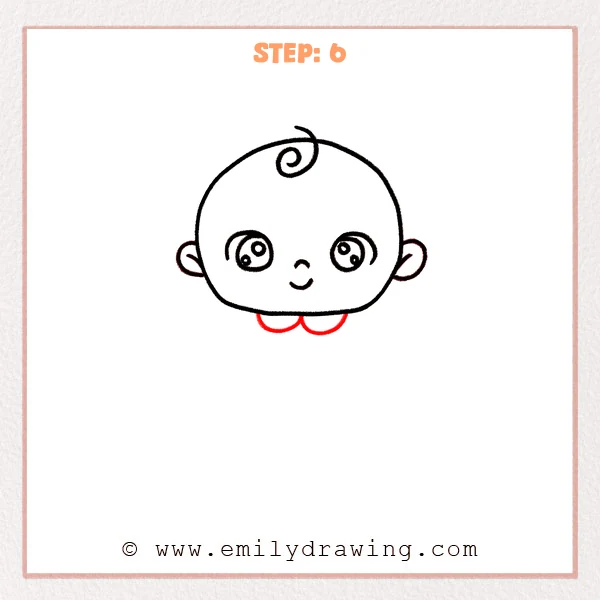
Under the chin, draw two small half-ovals side by side.
Let the collar shapes touch lightly in the middle.
Keep the collar close to the chin so it stays cute and tidy.
Pro Tip: Match both collar halves so the neckline looks neat.
Step 7: Sketch the Left Arm Curve
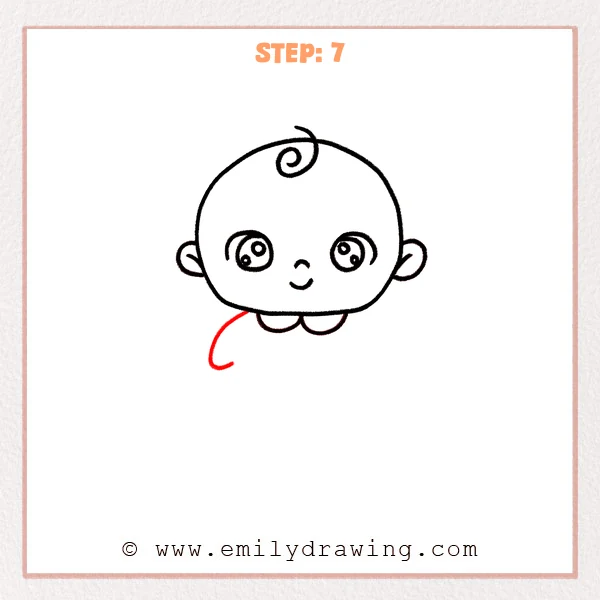
From the left side under the head, draw a short curved arm line.
End it with a rounded hand shape, without drawing fingers.
Let the arm feel soft and slightly tucked in.
Pro Tip: Keep the arm short so the baby feels extra chubby.
Step 8: Finish the Right Arm
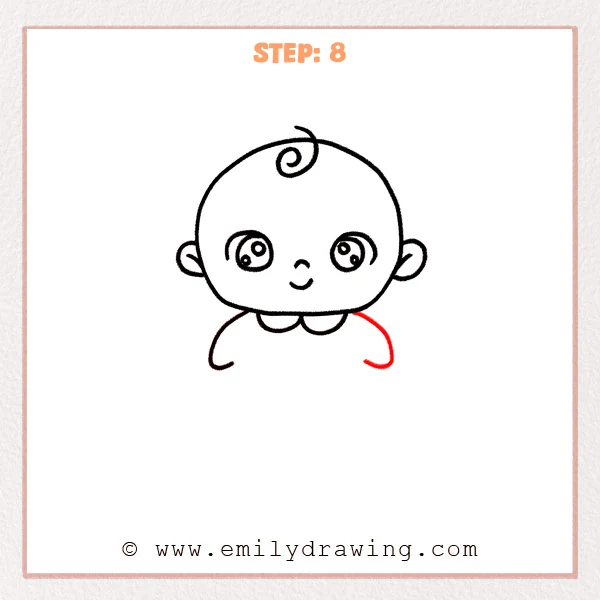
Add a matching right arm on the other side under the head.
Use a similar curve and length so both arms feel paired.
End with the same rounded hand shape for a simple style.
Pro Tip: Slightly different hand angles can look more natural.
Step 9: Draw the Body Shape and Add a Small Button
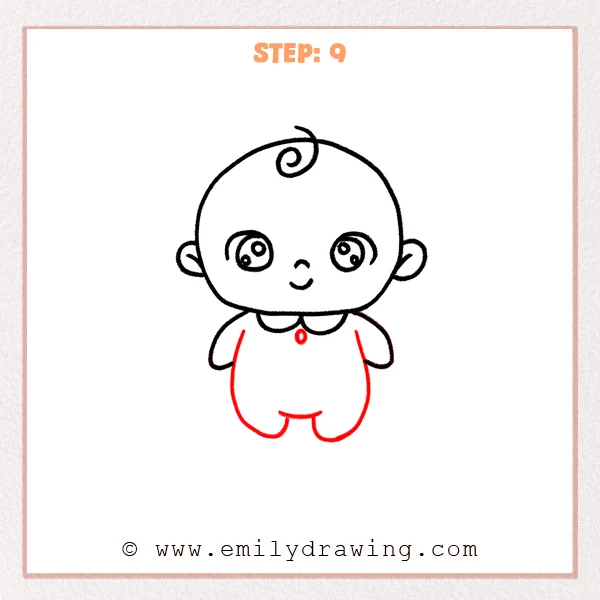
Draw a chubby body with a rounded bottom, connecting under the collar.
Add two rounded legs and leave a small gap between them.
Place a small oval button on the chest, then darken the main outline.
Pro Tip: Keep the body very rounded, because straight lines feel less baby-like.
Step 10: Color in your drawing!
Fun Facts
- Babies often have larger heads compared to their bodies in drawings.
- Big eyes and small features help create a gentle baby expression.
- Round shapes make characters feel softer and friendlier.
Pin it now, Draw later!
You have finished a cute baby using simple shapes and clean lines.
For coloring, try a light peach skin tone and a soft pink collar.
Add gentle shading under the chin, inside the ears, and below the cheeks.
One common beginner mistake is placing the eyes at different heights.
If that happens, lightly adjust one eye before you ink the outline.
Keep practicing this step by step drawing, and try another easy drawing tutorial next.
Get the FREE Printable Drawing Guide
FREE Download Printable Baby Drawing Tutorial
Frequently Asked Questions
How do I draw a baby face that looks even?
Use light guidelines for eye height and keep features centered.
What if my head shape looks lopsided?
Redraw the curve lightly and compare both sides from the center.
How can I make the baby look more cute?
Make the head slightly bigger, keep the mouth small, and use rounder lines.