Hello, and welcome to another 10-step art tutorial! Today, Today, we are going to learn how to draw a flamingo together with this step-by-step flamingo drawing tutorial.
Flamingos are some of the most iconic and recognizable animals. They are truly fascinating with their bright pink color, elegant build, and fascinating behaviors—quite a contrast to the sturdy form of the animal in our how to draw an ox guide. In this tutorial, we are going to learn some fun facts about flamingos as we go through the drawing steps.
Did you know that a group of flamingos is called a flamboyance? They often gather in groups because, in the wild, they can number in the thousands! Flamingos can be found in many areas worldwide, such as the Caribbean and throughout South America, often living in brackish waters—quite a different habitat from the animals in our ox drawing tutorial. This unique bird has six species: Caribbean, Lesser, Greater, James’s (or Puna), Chilean, and Andean.
Let’s get started on this easy flamingo sketch tutorial now! Find some drawing materials and keep reading for Step 1. As always, we will have pictures to help you. Happy drawing!
Materials:
- a piece of paper
- a pencil for the guiding lines and sketching
- an eraser
- a black sharpie or a pen for the outlines
- markers or colored pencils for coloring
- our printable drawing guide (Join my Email List below to get this Tutorial)
Here are my RECOMMENDED Art Supplies!
- Crayola Coloring Set (140 Pieces – Mega Value!)
- 24 Colored Crayon Set
- A4 Printer Paper
- Crayola Coloring Pencils
- HP Home Printer with Instant Ink!
Time needed:
12 minutes.
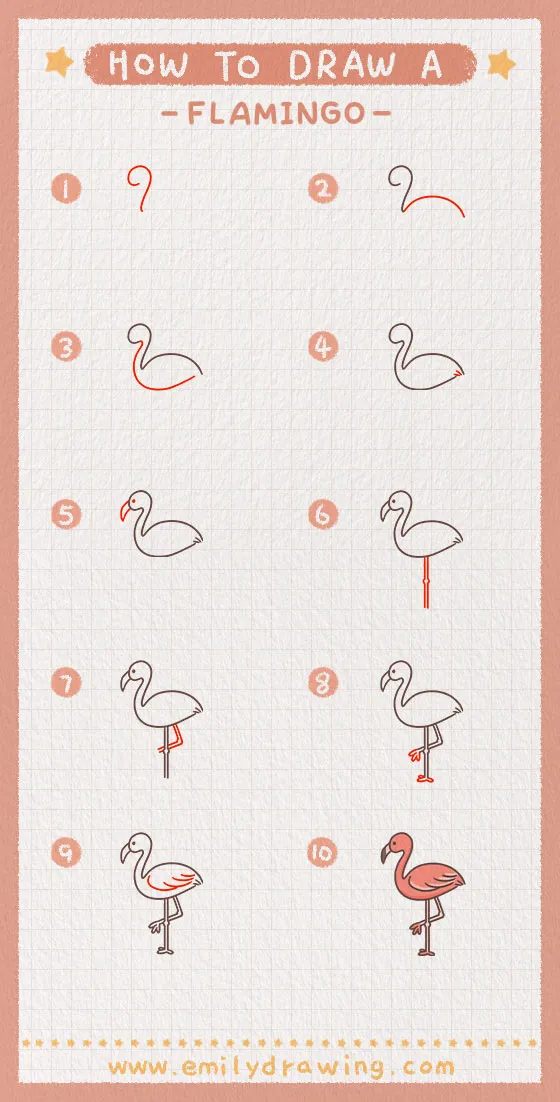
How to Draw a Flamingo — Let’s get started!
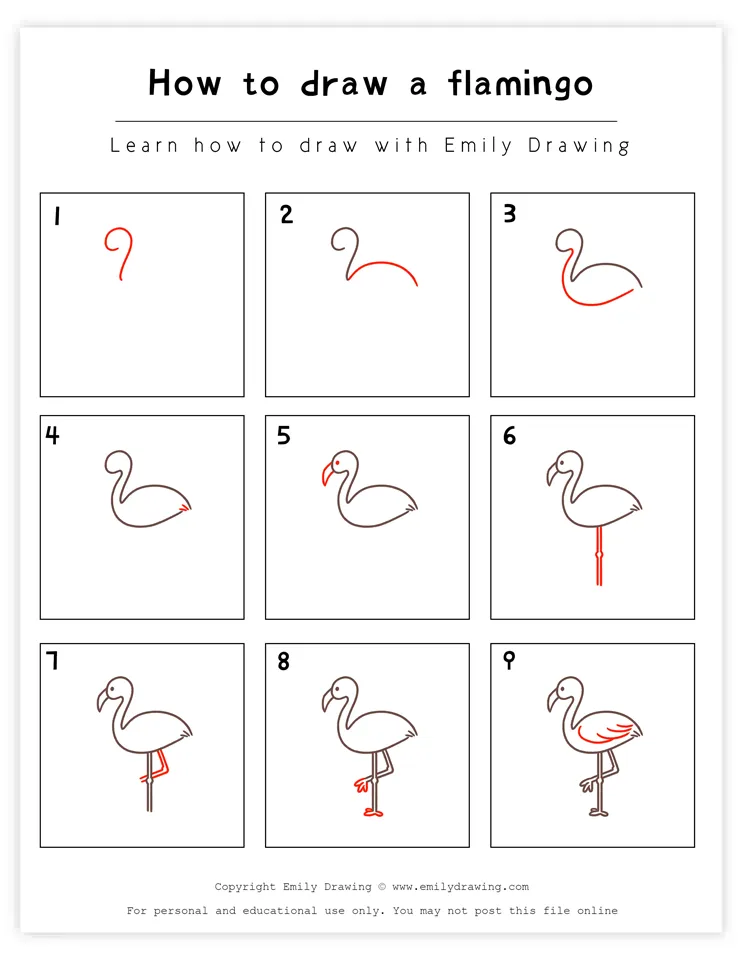
Step 1 – Draw the flamingo’s head and neck.
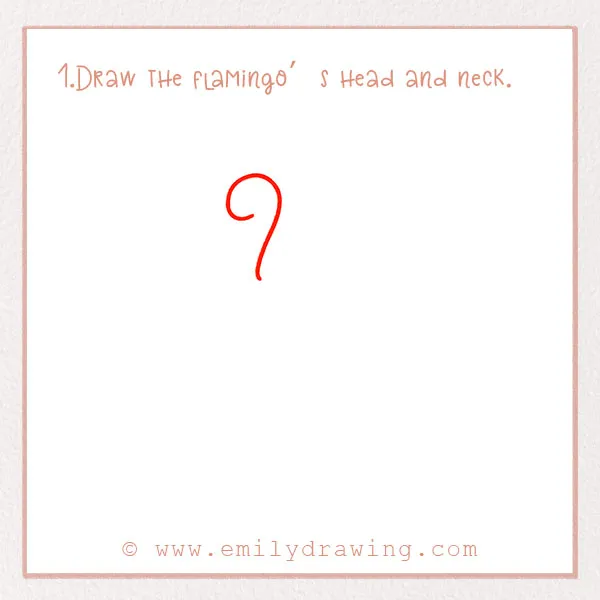
First, we are going to draw the flamingo’s head and long neck, starting about two-thirds of the way up the page. If you’ve ever seen a flamingo, you probably noticed its elegant long neck. Flamingos’ long necks help them eat food in the water for long periods of time.
Begin by drawing a curve on the left side of the page. Make it swirl around to the right. Extend it down a few inches—this forms the long neck. Refer to the photo. Great job!
Step 2 – Draw the flamingo’s back.
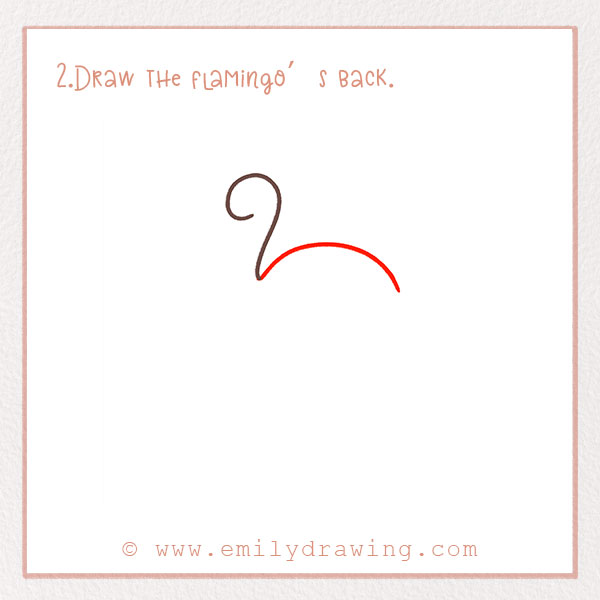
Let’s keep drawing the body. From the bottom of the neck, draw a large semicircle for the arc of the back! It should be a few inches long. Ensure plenty of space on the page below for its long legs!
Step 3 – Complete the flamingo’s neck and belly.
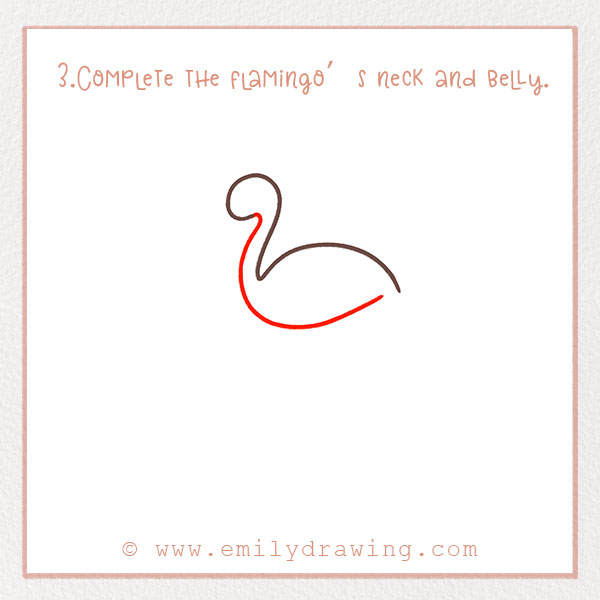
Let’s draw the flamingo’s belly now. From the bottom of the head, draw the front part of the neck—it should have the same shape as the other side of the neck. Continue the line to form the underbelly, almost connecting with the arc of the back. However, leave a gap because that’s where the tail will be.
Step 4 – Draw the flamingo’s tail.
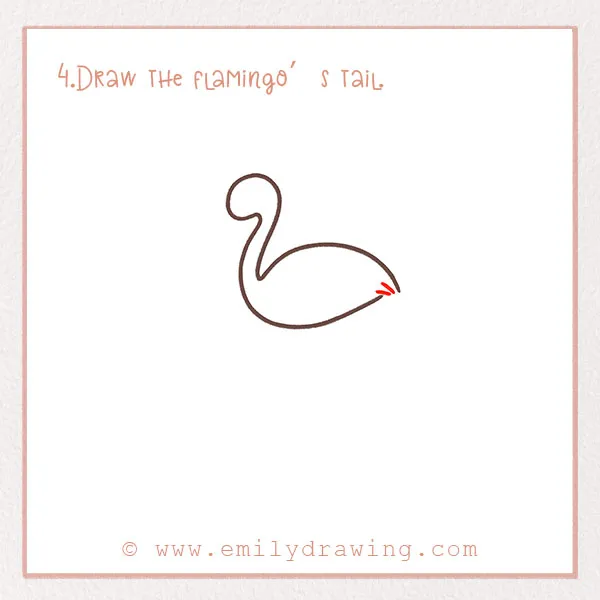
Draw some tail feathers in the space we just left in Step 3. Do this by adding a few short dashes suggesting feathers. Check out the photo! Great job.
Step 5 – Add the flamingo’s beak!
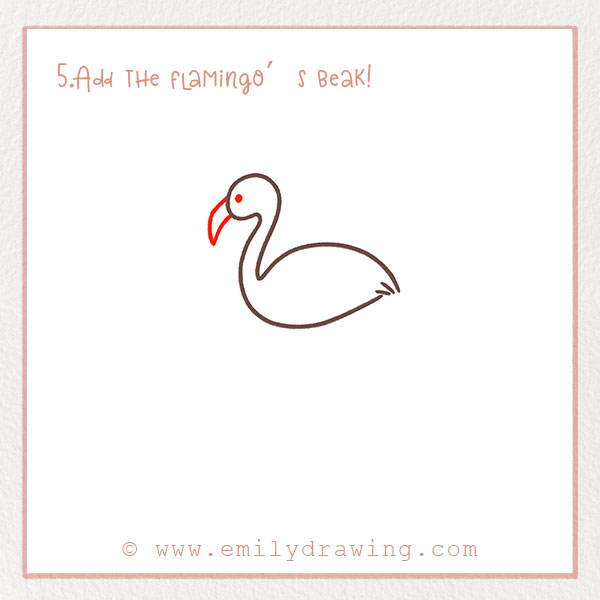
Now it’s time to add the beak! Their long curved beaks help them filter food in water on the ground. Draw two curves that come together at a point. Additionally, draw a small dot for the eye! We can only see one eye since we are drawing the profile of the flamingo.
Step 6 – Add a leg!
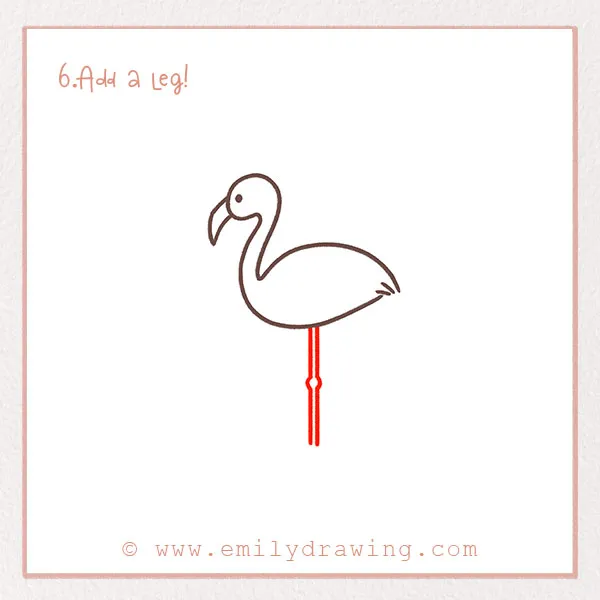
As we mentioned, flamingos often stand in the water. This especially helps them stay cool in warmer climates. They will stand for pretty long periods of time, even long enough to sleep! You will often see them standing on one leg, which can help save energy. The other leg stays tucked underneath feathers.
Let’s draw the first leg. Draw two lines very close together. Continue them to the bottom of the page. However, about halfway down, you’ll want to bulge them out to show the ankle (although this might seem like the Flamingo’s knee, it is actually their ankle! The knee is higher up, but you can’t see it because feathers cover it.
Step 7 – Draw another leg.
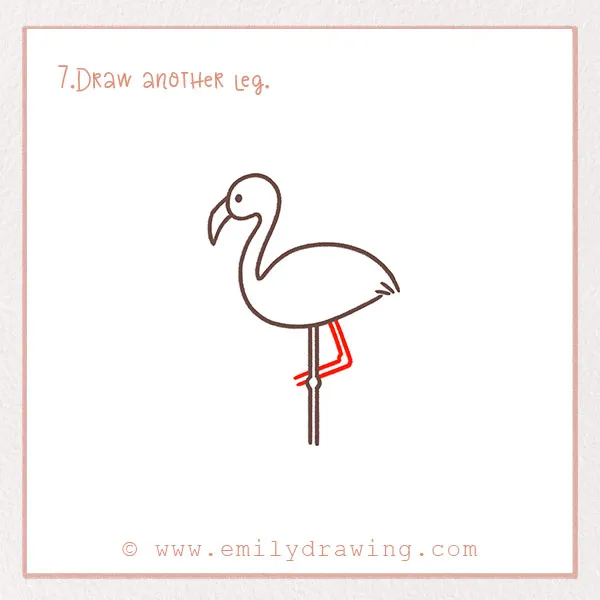
Our flamingo will be in that famous one-legged stance. Draw another leg, but this time, make it bend forward. Check out the photo!
Step 8 – Add the flamingo’s toes!
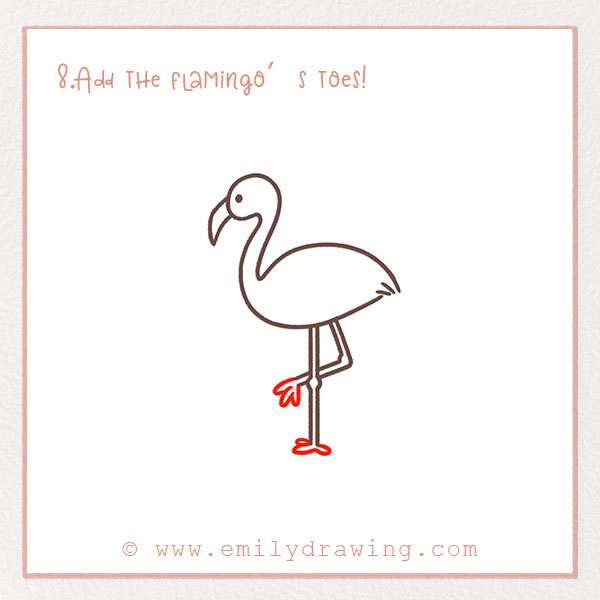
Flamingos have three toes on each foot. Did you know that flamingos can run, walk, and fly? Let’s add the toes now! At the bottom of each foot, draw three small curves. Make the toes on the straight leg look as if they are standing on flat ground.
Step 9 – Draw a few feathers.
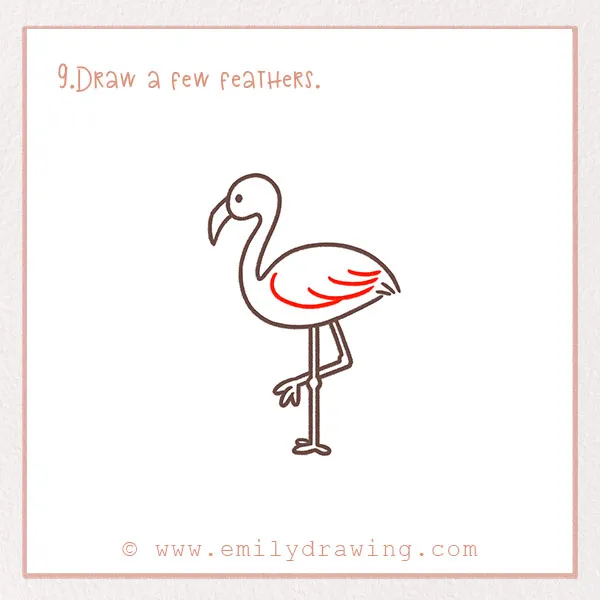
Almost done! Let’s add some finishing touches to our flamingo—then maybe try a feathery friend in our hen drawing tutorial. In the middle of the body, draw long sweeping curves. Refer to the photo. Stack them on top of each other, drawing them smaller and smaller each time. These are the feathers, which help them fly. Did you know that flamingos can fly up to 40 mph on long-distance flights?
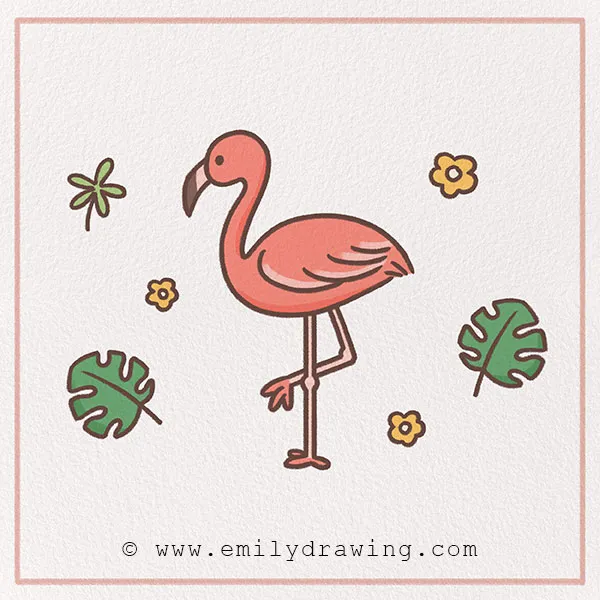
Step 10 – Color in your drawing!
Although we typically think of flamingos’ feathers as pink, baby flamingos are actually born with grey feathers. It takes a while for them to turn pink. They are what they eat—since they primarily eat algae and brine shrimp, those pigments make its feathers pink. For another fun bird drawing, check out our step-by-step hen tutorial.
So, decide how you want to color in your flamingo illustration and go for it! If you feel like it, you can fill in the background. Is your flamingo by water? Is the sun shining? Be creative and as always, have fun with it!
Pin it now, Draw later!
Thanks for following along on our 10-step drawing tutorial. We hope you had a fantastic time and learned a few things about flamingos along the way—if you enjoyed this, you might also like our rooster drawing tutorial! There are tons more animal-themed tutorials on our site, like this fun guide on how to draw a rooster, as well as food, holiday, people, and cartoon characters, so be sure to browse for more!
Get the FREE Printable Drawing Guide