Hello! Today, we are going to learn how to draw a baby chick together. As usual, there will be photos with every step so you can follow along easily. If you like this format, we’ve got tons more for you on our site!
A baby chick is simply a very young chicken. Before we begin our beginner chick sketch, here are some fascinating facts about these adorable animals—for example, like other animals, baby chicks dream and recognize their mother’s voice. When a baby chick is born, it weighs only 1.5 ounces—however, it soon weighs over 100 times its newborn weight!
Baby chicks are some of the cutest animals around. Chances are you’ve seen one before, but if you haven’t, you absolutely need to! They are so small and fluffy, making them the perfect subject for a cute chick illustration. Although chickens are native to Southwest Asia, they now exist in many places around the world, so you can probably find one without going too far.
Alright, let’s start this baby chick drawing tutorial. Are you ready? Let’s go!
If you enjoy drawing small and adorable animals, you might also like How to Draw a Bunny or How to Draw a Mouse.
Materials:
- a piece of paper
- a pencil for the guiding lines and sketching
- an eraser
- a black sharpie or a pen for the outlines
- markers or colored pencils for coloring
- our printable drawing guide (Join my Email List below to get this Tutorial)
Here are my RECOMMENDED Art Supplies!
- Crayola Coloring Set (140 Pieces – Mega Value!)
- 24 Colored Crayon Set
- A4 Printer Paper
- Crayola Coloring Pencils
- HP Home Printer with Instant Ink!
Time needed:
12 minutes.
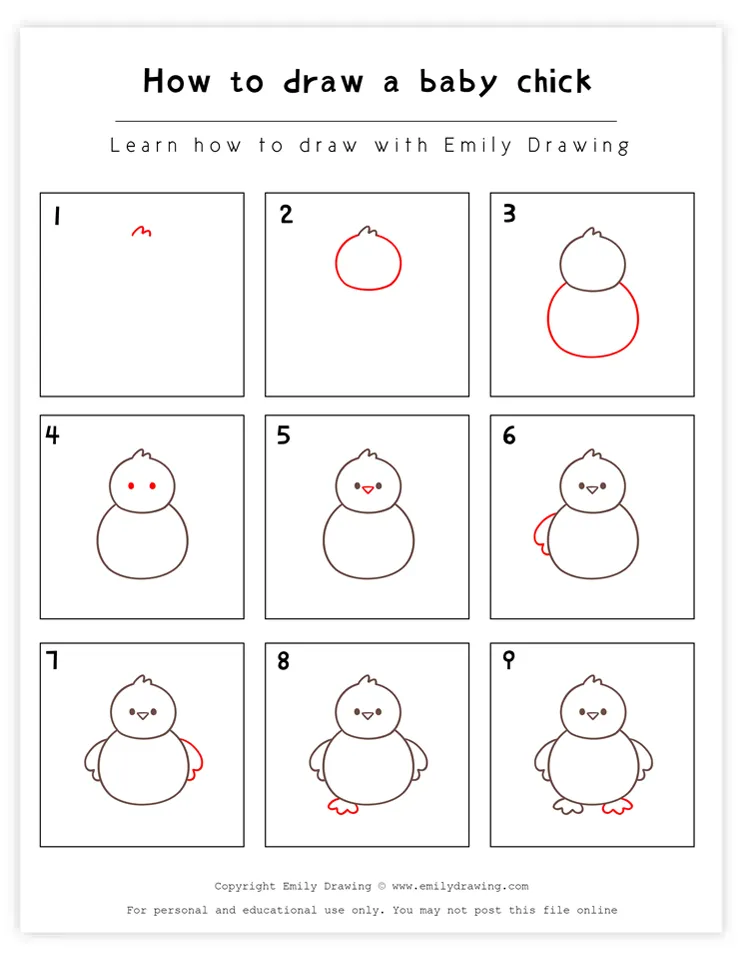
How to Draw a Baby Chick — Let’s get started!
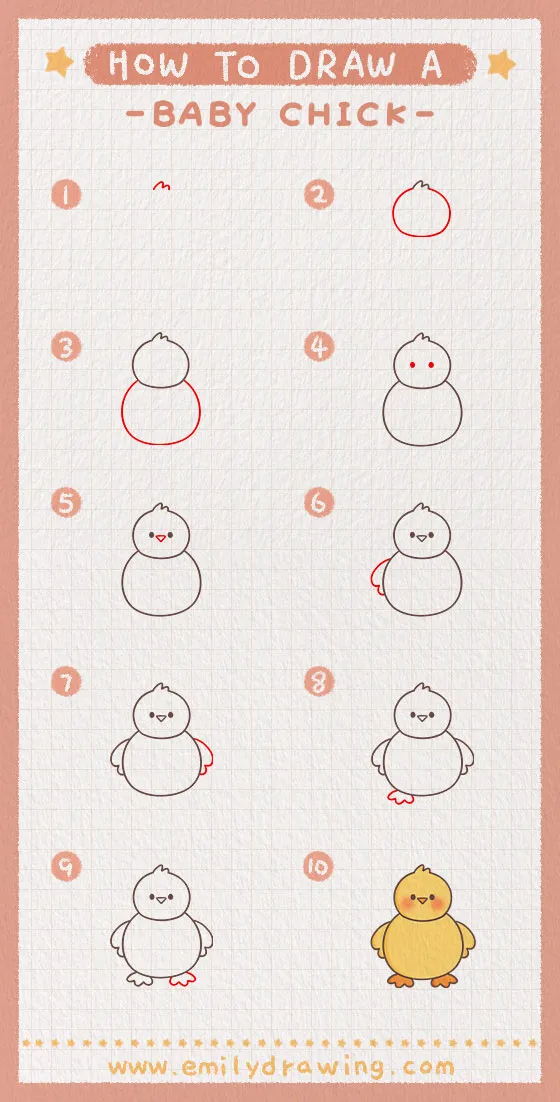
Step 1 – Begin drawing the baby chick’s head.
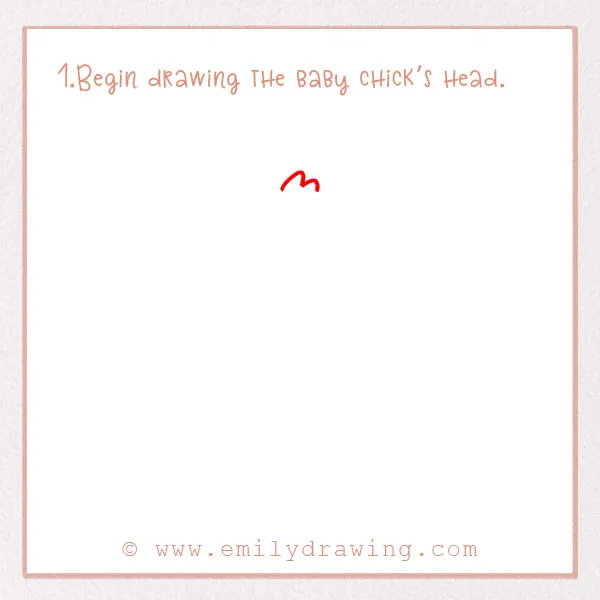
Let’s begin the chick step-by-step drawing at the very top of its head. To do this, draw a short squiggle just below the top of the page. This is the feather tuft on the baby chick’s head.
Leave plenty of room below for the rest of the head and body. Refer to the photo!
Step 2 – Draw the rest of the head’s outline.
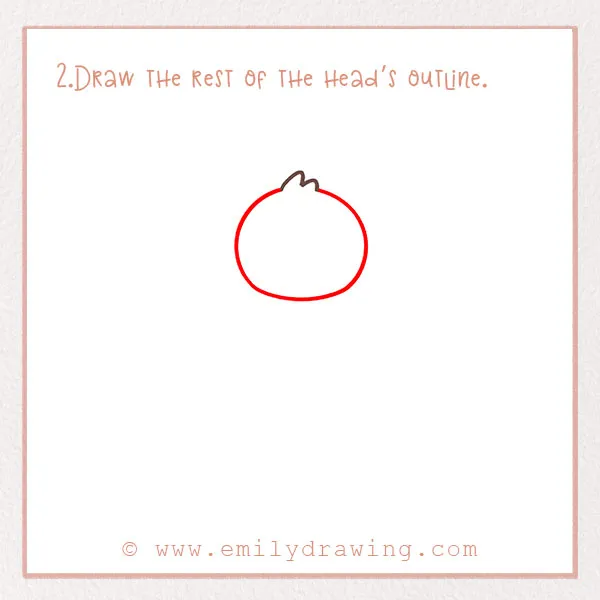
Next, let’s draw the baby chick’s head shape. Draw a circle underneath the tuft from Step 1. The head should be a few inches wide.
Good job!
Step 3 – Create the baby chick’s body.
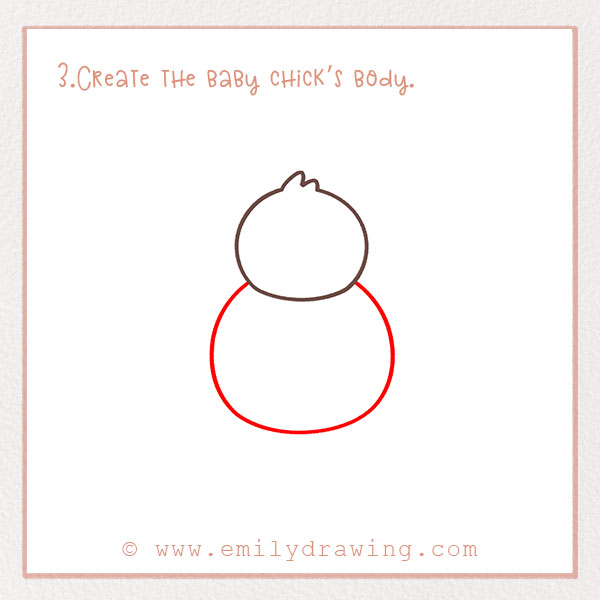
Right below the head, draw a large egg shape for the body. At the top, it should be cut off a little bit by the head. The body should be about twice the size of the head and very round! Leave a bit of space at the bottom of the page because we still need to draw the feet. Refer to the photo!
For more practice with rounded shapes, check out How to Draw a Penguin or How to Draw a Turtle.
Step 4 – Draw the baby chick’s eyes!

Let’s go back to the head. We need to draw a face on our baby chick! Let’s draw the eyes now. Did you know that chickens have good daytime eyesight, but very poor nighttime eyesight? In the center of the head, draw two small dots for eyes. Great job!
Step 5 – Add the baby chick’s beak.
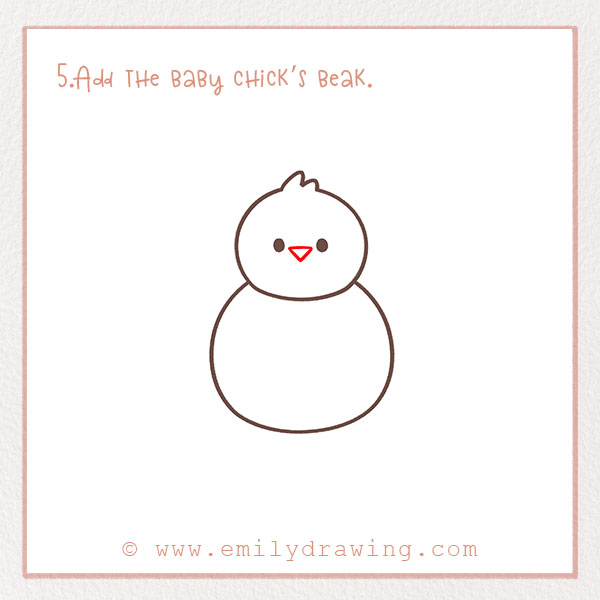
One of the most recognizable features of chickens is the beak. Although chicken beaks look tough, they actually have many nerve endings, making them quite sensitive. In fact, scientists think they are similar in sensitivity to the human hand!
So, let’s draw the beak now. In between the eyes you just drew, draw a small upside-down triangle. This is the beak. Good job!
If you enjoy adding detailed features to your animal drawings, try How to Draw a Fox or How to Draw a Bird.
Step 6 – Draw the left wing.
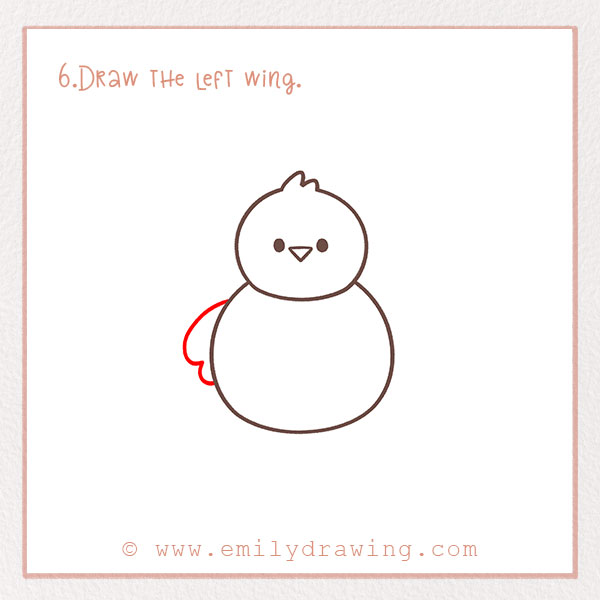
We need to add the wings of the baby chick! Although chickens have wings, they aren’t very good at using them to fly. Most chickens can only take flight for a very short period of time. Generally, chickens prefer to stay on the ground.
Anyways, let’s start drawing the wings. On the left side of the body, draw a wide curve. Make a slight indent, so the line is scalloped. This makes it look like feathers. Check out the photo!
Step 7 – Draw the other wing.
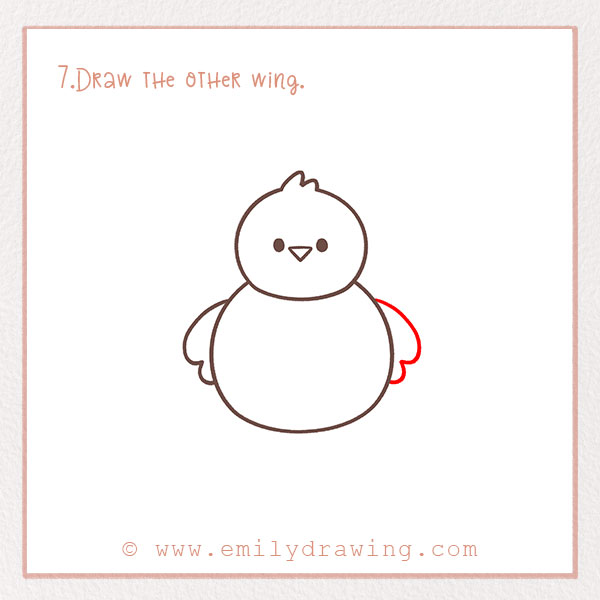
Our chicken needs two wings! Do the exact same thing from Step 6, but this time on the right side. Now our chicken has both of its wings.
Step 8 – Add the baby chick’s feet!
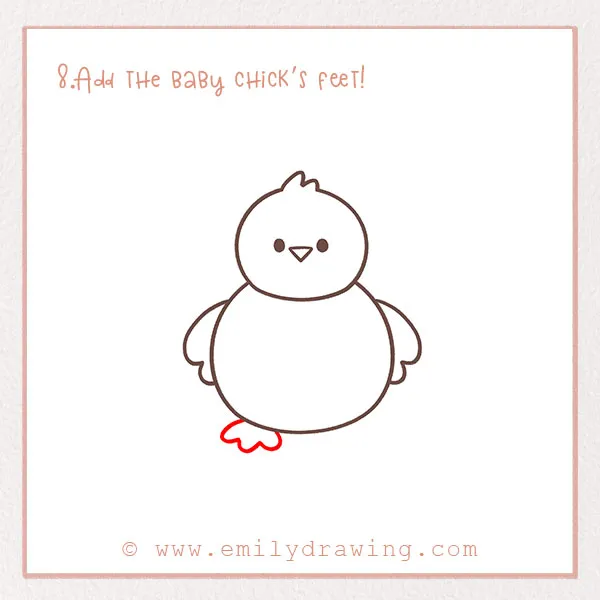
Before we wrap up this tutorial, we need to add feet to the chicken! Did you know that chickens can actually run up to 9 MPH? They are also surprisingly agile. Most chickens have three toes on each foot, but some breeds actually have five.
For this step, draw the left foot. It should have three round toes. Check out the photo!
Step 9 – Draw the other foot!
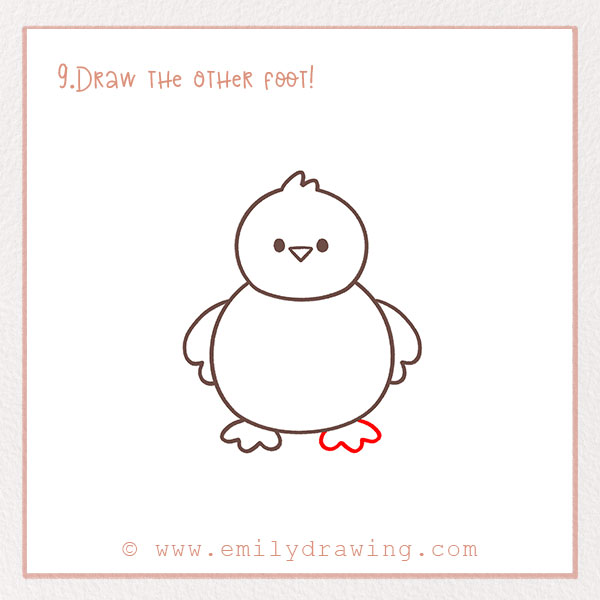
Let’s draw the other foot! Right next to the first foot, draw another one. It should be the same shape as the first one.
You’re all done with the shape of the chicken. We just have one last step. Awesome job!
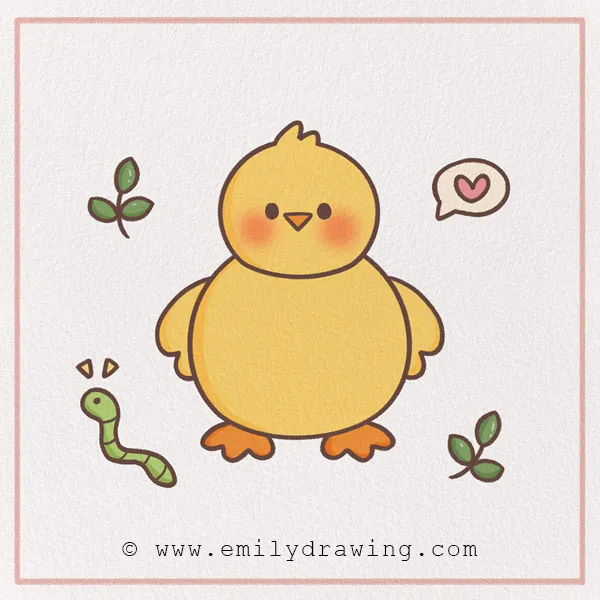
Step 10 – Color in your baby chick!
Last but not least, add some color to your baby chick! We typically think of baby chicks as pale yellow, but feel free to use any color you want. Be sure to fill in the background, too! Have fun with it!
Awesome! You’ve finished drawing your baby chick! We hope you loved this easy baby bird drawing tutorial and learned some fun facts about baby chicks along the way.
Once you’ve drawn your baby chick, expand your collection with How to Draw a Duck or How to Draw a Baby Deer.
If you know anyone who would enjoy this tutorial, share it with them with the social icons on our website! And, of course, browse around for more tutorials. If you’re a fan of animal-themed tutorials, be sure to check out the animal section! There are tons of tutorials, such as horses, whales, octopuses, and more. We have other baby animal ones, such as how to draw a baby deer.
Pin it now, Draw later!
Get the FREE Printable Drawing Guide